2004 NISSAN XTERRA compass
[x] Cancel search: compassPage 66 of 296

2 Instruments and controls
Instrument panel...................................2-2
Meters and gauges................................2-3
Speedometer and odometer.....................2-3
Tachometer....................................2-5
Engine coolant temperature gauge...............2-5
Fuel gauge....................................2-6
Compass and outside temperature display
(if so equipped)...................................2-6
Outside temperature display.....................2-7
Compass display...............................2-7
Warning/indicator lights and audible reminders.......2-9
Checking bulbs................................2-9
Warning lights................................2-10
Indicator lights................................2-13
Audible reminders.............................2-15
Security system (if so equipped)...................2-15
Vehicle security system.........................2-15
Windshield wiper and washer switch...............2-18
Switch operation..............................2-18
Rear window wiper and washer switch..............2-19
Rear window defroster switch......................2-20
Headlight and turn signal switch....................2-20
Headlight control switch........................2-20Daytime running light system (Canada only)......2-21
Instrument brightness control...................2-22
Turn signal switch.............................2-22
Fog light switch (if so equipped)................2-22
Hazard warning flasher switch.....................2-23
Horn............................................2-23
Vehicle dynamic control (VDC) off switch
(if so equipped)..................................2-24
Power outlet.....................................2-24
Dual 12 volt power outlets (if so equipped)..........2-26
Storage.........................................2-26
Storage compartment..........................2-26
Storage trays (if so equipped)...................2-27
Roof headliner net (if so equipped)..............2-27
Map pocket...................................2-28
Cup holders..................................2-29
Glove box....................................2-30
Console box (if so equipped)...................2-30
Luggage hooks................................2-31
Tonneau cover (if so equipped)..................2-32
Tubular roof rack with gear basket...............2-33
Windows........................................2-36
Power windows (if so equipped)................2-36
ZREVIEW COPY:Ð2004 Xterra(xtr)
Owners Manual(owners)ÐUSA English(nna)
10/23/03Ðdebbie
X
Page 72 of 296

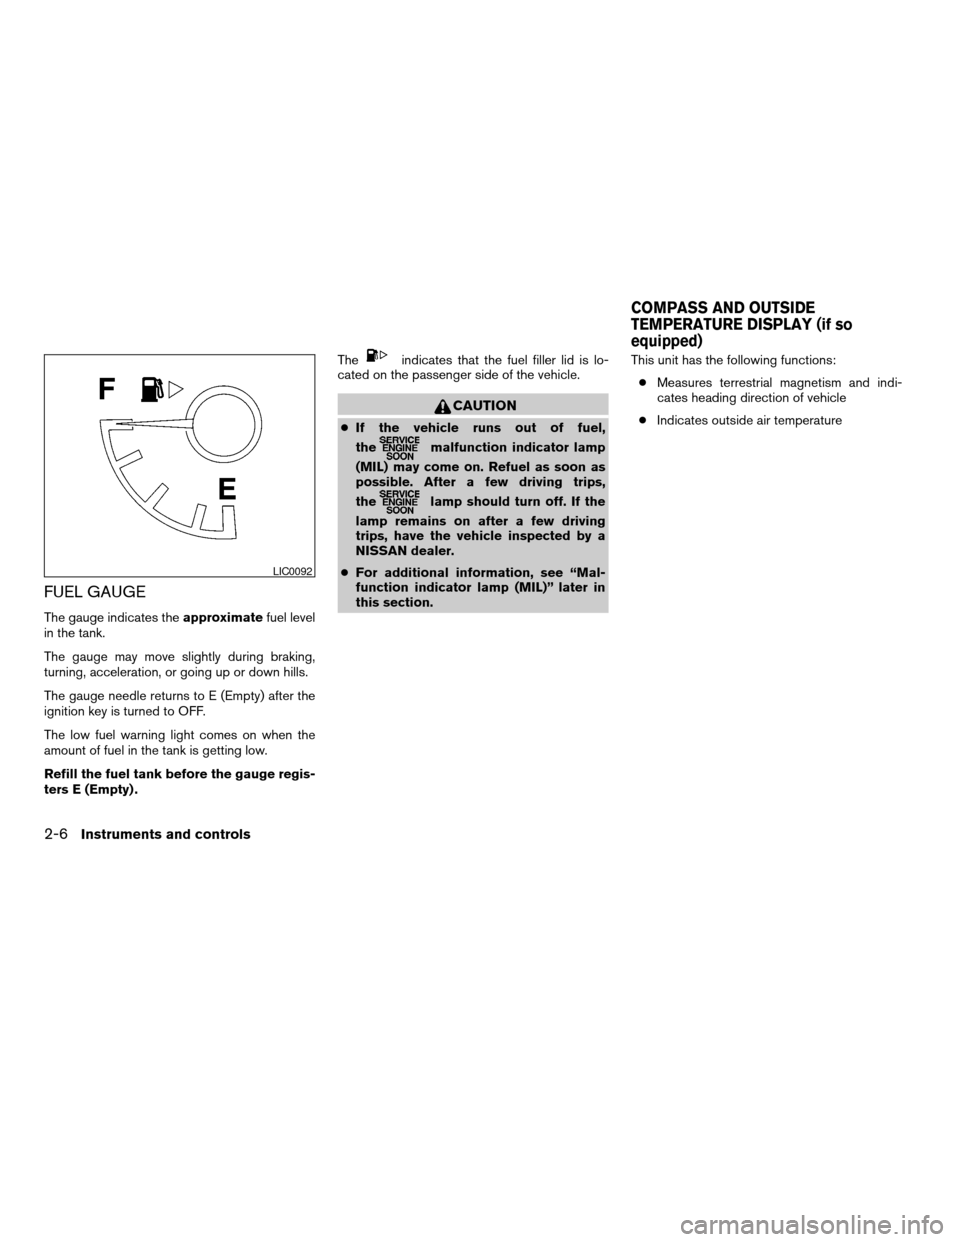
FUEL GAUGE
The gauge indicates theapproximatefuel level
in the tank.
The gauge may move slightly during braking,
turning, acceleration, or going up or down hills.
The gauge needle returns to E (Empty) after the
ignition key is turned to OFF.
The low fuel warning light comes on when the
amount of fuel in the tank is getting low.
Refill the fuel tank before the gauge regis-
ters E (Empty) .The
indicates that the fuel filler lid is lo-
cated on the passenger side of the vehicle.
CAUTION
cIf the vehicle runs out of fuel,
the
malfunction indicator lamp
(MIL) may come on. Refuel as soon as
possible. After a few driving trips,
the
lamp should turn off. If the
lamp remains on after a few driving
trips, have the vehicle inspected by a
NISSAN dealer.
cFor additional information, see “Mal-
function indicator lamp (MIL)” later in
this section.This unit has the following functions:
cMeasures terrestrial magnetism and indi-
cates heading direction of vehicle
cIndicates outside air temperature
LIC0092
COMPASS AND OUTSIDE
TEMPERATURE DISPLAY (if so
equipped)
2-6Instruments and controls
ZREVIEW COPY:Ð2004 Xterra(xtr)
Owners Manual(owners)ÐUSA English(nna)
10/23/03Ðdebbie
X
Page 73 of 296

OUTSIDE TEMPERATURE DISPLAY
Push the MODE buttons1when the ignition key
is in the ON position. The outside temperature
will be displayed
s2in °F.
cPush the MODE button to change from °F to
°C.
cWhen the outside temperature is be-
tween 130°F (55°C) and 158°F (70°C) ,
the display shows 130°F (55°C) .
cWhen the outside temperature is lower
than -40°F (-40°C) or higher than 158°F
(70°C) , the display shows only———though it is operating. This is not a
malfunction.
cThe outside temperature sensor is lo-
cated in front of the radiator. The sen-
sor may be affected by road or engine
heat, wind direction and other driving
conditions. The display may differ from
the actual outside temperature or the
temperature displayed on various
signs or billboards.
cTemperature display will not update
unless the vehicle is moving faster
than 12 mph (20 km/h) , or the ignition
switch has been OFF for 4 hours.
COMPASS DISPLAY
Push the MODE buttons1when the ignition key
is in the ON position. The direction will be dis-
played
s2.
Zone variation change procedure
The difference between magnetic north and geo-
graphical north is known as variance. In some
areas, this difference can sometimes be great
enough to cause false compass readings. Follow
these instructions to set the variance for your
particular location if this happens:1. Establish your location on the zone map.
Refer to the illustration. Record your zone
number.
2. Turn the ignition switch to the ON position.
3. Push the MODE button in for 5 seconds until
the current zone entry number and the
“VAR” icon is displayed.
4. Press the MODE button repeatedly until the
desired zone entry number is displayed.
Once the desired zone number is displayed, stop
pressing the MODE button and the display will
show compass direction within a few seconds.
NOTE:
Use zone number 5 for Hawaii.
WIC0324
Instruments and controls2-7
ZREVIEW COPY:Ð2004 Xterra(xtr)
Owners Manual(owners)ÐUSA English(nna)
10/23/03Ðdebbie
X
Page 74 of 296

cIf a magnet is located near the com-
pass or the vehicle is driven where the
terrestrial magnetism is disturbed, the
compass display may not indicate the
correct direction.
cIn places where the terrestrial magne-
tism is disturbed, the correction of the
direction starts automatically.
Correction functions of the compass
display
The compass display is equipped with automatic
correction function. If the direction is not shown
correctly, carry out the manual correction proce-
dure set out below.
Manual correction procedure
1. Push the MODE button for about 10 sec-
onds. The “CAL” icon will illuminate.
2. Drive the vehicle slowly in an open and safe
area. The initial correction is complete while
turning in 1 or 2 turns.
In places where the earth’s magnetism is dis-
turbed, the initial correction procedure may start
automatically.
WIC0355
2-8Instruments and controls
ZREVIEW COPY:Ð2004 Xterra(xtr)
Owners Manual(owners)ÐUSA English(nna)
10/23/03Ðdebbie
X
Page 240 of 296

EXTERIOR AND INTERIOR LIGHTS
Item Wattage (W) Bulb No.*1
Headlight 65/55 9007 (HB5)
Turn signal light 28/8 3457AK*2
Parking light 5 168*2
Side marker 3.8 194
Rear combination light
Turn signal 27 3157Ak
Stop/Tail 27/7 3057k
Back-up 16 921
License plate light 3.8 194
Fog light 37.5 899
Dome light 8 —
Map light without compass 5 168
Map light with compass 5 168
Cargo light 8 —
High-mounted stop light 12.8 912
*
1: Always check with the Parts Department at a NISSAN dealer for the latest parts information.
*2: The bulb is not serviceable in-vehicle. See a NISSAN dealer for assistance.Replacement procedures
All other lights are either type A, B, C or D. When
replacing a bulb, first remove the lens and/or
cover.
: Indicates bulb removal
: Indicates bulb installation
WDI0295
8-36Maintenance and do-it-yourself
ZREVIEW COPY:Ð2004 Xterra(xtr)
Owners Manual(owners)ÐUSA English(nna)
10/23/03Ðdebbie
X