2004 NISSAN XTERRA lock
[x] Cancel search: lockPage 63 of 296

3. Pull on the shoulder belt until all of the belt is
fully extended. At this time, the seat belt
retractor is in the automatic locking mode
(child restraint mode) . It reverts to emer-
gency locking mode when the seat belt is
fully retracted.4. Allow the seat belt to retract slightly. Pull up
on the shoulder belt to remove any slack in
the belt.
If necessary to ensure the child restraint is
secure, pull the shoulder belt through the
seat belt tongue beyond the stitching in the
belt.
After the seat belt is fully retracted and the child
restraint is removed from the seat, the stitching
on the shoulder belt can be pulled back through
the seat belt tongue. This stitching locates the
seat belt tongue near the top of the seat back for
easy access for passengers.5. Before placing the child in the child restraint,
use force to tilt the child restraint from side
to side, and tug it forward to make sure that
it is securely held in place. It should not move
more than 1 inch.
6. Check that the retractor is in the automatic
locking mode by trying to pull more seat belt
out of the retractor. If you cannot pull any
more belt webbing out of the retractor, the
retractor is in the automatic locking mode.
Front Facing — step 3
WRS0160
Front Facing — step 4
WRS0161
Front Facing — step 5
WRS0380
Safety—Seats, seat belts and supplemental air bags1-45
ZREVIEW COPY:Ð2004 Xterra(xtr)
Owners Manual(owners)ÐUSA English(nna)
10/23/03Ðdebbie
X
Page 64 of 296

7. Check to make sure the child restraint is
properly secured prior to each use. If the
seat belt is not locked, repeat steps 3
through 6.
After the child restraint is removed and the seat
belt is fully retracted, the automatic locking mode
(child restraint mode) is canceled.
1-46Safety—Seats, seat belts and supplemental air bags
ZREVIEW COPY:Ð2004 Xterra(xtr)
Owners Manual(owners)ÐUSA English(nna)
10/23/03Ðdebbie
X
Page 75 of 296

orAnti-lock brake warning lightLow fuel warning light4-wheel drive indicator light (if so equipped)
Automatic transmission oil temperature warn-
ing light (model)Low tire pressure warning light (if so equipped)High beam indicator light (Blue)
Automatic transmission park warning light
(model)Low windshield washer fluid warning light (if so
equipped)Malfunction indicator lamp (MIL)
orBrake warning lightSeat belt warning light and chimeOverdrive off indicator light (automatic trans-
mission only)
Charge warning lightSupplemental air bag warning lightSlip indicator light (if so equipped)
Door open warning lightCRUISE main switch indicator light (if so
equipped)Turn signal/hazard indicator lights
Engine oil pressure warning lightCruise SET switch indicator light (if so
equipped)Vehicle dynamic control off indicator light (if so
equipped)
CHECKING BULBS
With all doors closed, apply the parking brake
and turn the ignition key to the ON position
without starting the engine. The following lights
will come on:
,or,,,
If the driver’s seat belt is fastened before the
ignition key is turned to the ON position,
the
light will not come on.
The following lights come on briefly and then go
off:
or,,,,,,
If any light fails to come on, it may indicate
a burned-out bulb or an open circuit in the
electrical system. Have the system repaired
promptly.
WARNING/INDICATOR LIGHTS AND
AUDIBLE REMINDERS
Instruments and controls2-9
ZREVIEW COPY:Ð2004 Xterra(xtr)
Owners Manual(owners)ÐUSA English(nna)
10/23/03Ðdebbie
X
Page 76 of 296

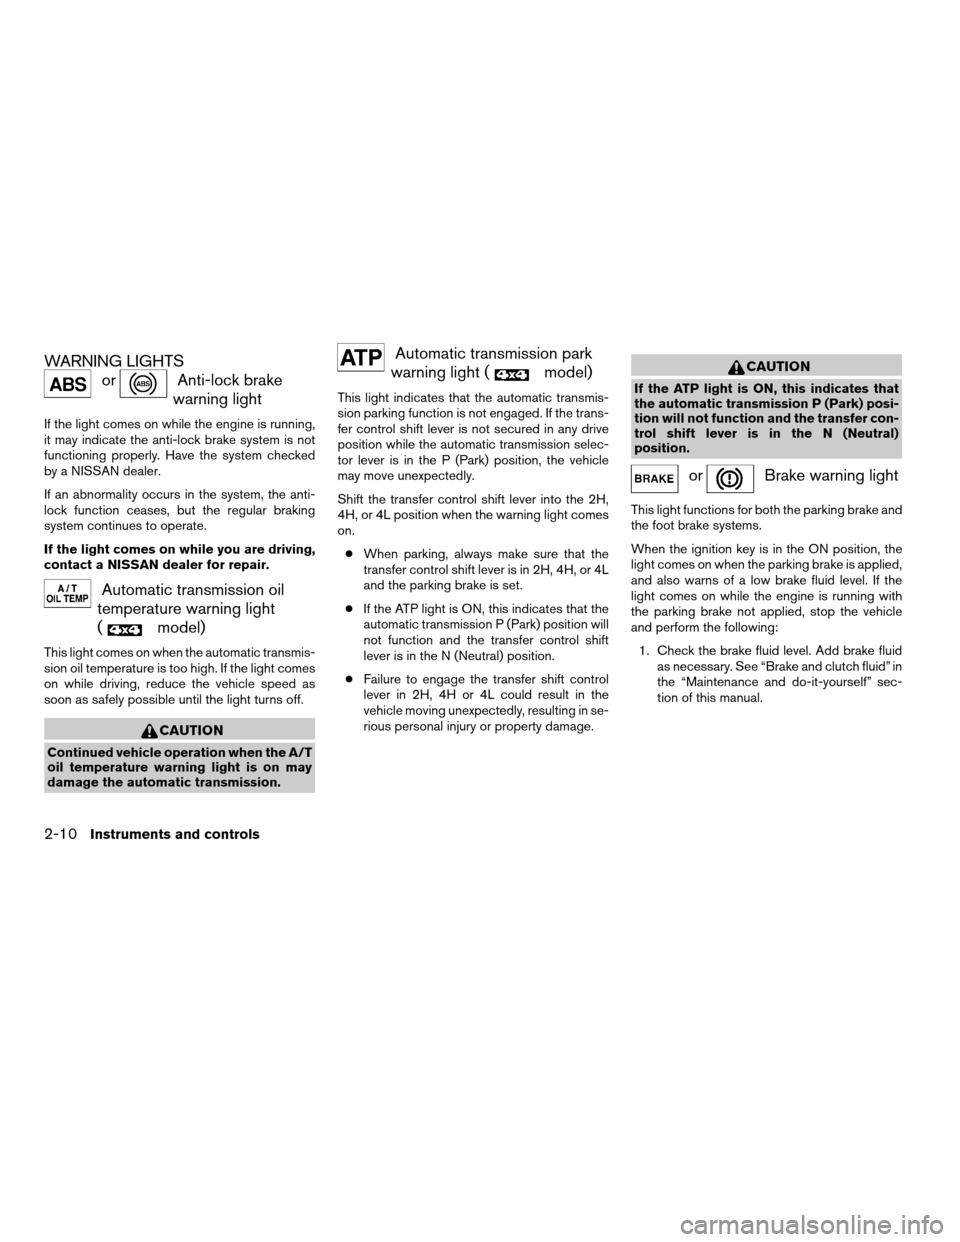
WARNING LIGHTS
orAnti-lock brake
warning light
If the light comes on while the engine is running,
it may indicate the anti-lock brake system is not
functioning properly. Have the system checked
by a NISSAN dealer.
If an abnormality occurs in the system, the anti-
lock function ceases, but the regular braking
system continues to operate.
If the light comes on while you are driving,
contact a NISSAN dealer for repair.
Automatic transmission oil
temperature warning light
(
model)
This light comes on when the automatic transmis-
sion oil temperature is too high. If the light comes
on while driving, reduce the vehicle speed as
soon as safely possible until the light turns off.
CAUTION
Continued vehicle operation when the A/T
oil temperature warning light is on may
damage the automatic transmission.
Automatic transmission park
warning light (
model)
This light indicates that the automatic transmis-
sion parking function is not engaged. If the trans-
fer control shift lever is not secured in any drive
position while the automatic transmission selec-
tor lever is in the P (Park) position, the vehicle
may move unexpectedly.
Shift the transfer control shift lever into the 2H,
4H, or 4L position when the warning light comes
on.
cWhen parking, always make sure that the
transfer control shift lever is in 2H, 4H, or 4L
and the parking brake is set.
cIf the ATP light is ON, this indicates that the
automatic transmission P (Park) position will
not function and the transfer control shift
lever is in the N (Neutral) position.
cFailure to engage the transfer shift control
lever in 2H, 4H or 4L could result in the
vehicle moving unexpectedly, resulting in se-
rious personal injury or property damage.
CAUTION
If the ATP light is ON, this indicates that
the automatic transmission P (Park) posi-
tion will not function and the transfer con-
trol shift lever is in the N (Neutral)
position.
orBrake warning light
This light functions for both the parking brake and
the foot brake systems.
When the ignition key is in the ON position, the
light comes on when the parking brake is applied,
and also warns of a low brake fluid level. If the
light comes on while the engine is running with
the parking brake not applied, stop the vehicle
and perform the following:
1. Check the brake fluid level. Add brake fluid
as necessary. See “Brake and clutch fluid” in
the “Maintenance and do-it-yourself” sec-
tion of this manual.
2-10Instruments and controls
ZREVIEW COPY:Ð2004 Xterra(xtr)
Owners Manual(owners)ÐUSA English(nna)
10/23/03Ðdebbie
X
Page 82 of 296

Security indicator light
The security indicator light shows the status of
the vehicle security system.
The light operates whenever the ignition switch is
in the LOCK, OFF, or ACC position.
The vehicle security system has four phases. For
each phase the operation of the security indicator
light is different.
How to arm the vehicle security sys-
tem
1. Close all windows.(The system can be
armed even if the windows are open.)
2. Remove the key from the ignition switch.3. Close the hood and all doors. Lock all doors.
The doors can be locked with the key, power
door lock switch or with the keyfob.
Keyfob operation:
cPush the
button on the keyfob.
All doors lock. The hazard lights flash
twice and the horn beeps once to indicate
all doors are locked.
cWhen the
button is pushed with
all doors locked, the hazard lights flash
twice and the horn beeps once as a re-
minder that the doors are already locked.
The horn may or may not beep once. Refer to
“Silencing the horn beep feature” later in this
section.
cIf a door is open and you push
the
button the doors lock but the
horn does not chirp and the hazard lights
do not flash.
LIC0093
LIC0053
2-16Instruments and controls
ZREVIEW COPY:Ð2004 Xterra(xtr)
Owners Manual(owners)ÐUSA English(nna)
10/23/03Ðdebbie
X
Page 83 of 296

4. Confirm that the SECURITY indicator light
comes on. The SECURITY light stays on for
about 30 seconds. The vehicle security sys-
tem is now pre-armed. After about 30 sec-
onds the vehicle security system automati-
cally shifts into the armed phase. The
SECURITY light begins to flash once every 3
seconds. If, during the 30-second pre-arm
time period, the door is unlocked by the key
or the keyfob, or the ignition key is turned to
ACC or ON, the system will not arm.
cIf the key is turned slowly when locking
the door, the system may not arm. Fur-
thermore, if the key is turned exces-
sively to the unlock position, the sys-
tem may be disarmed when the key is
removed. If the indicator light fails to
glow for 30 seconds, unlock the door
once and lock it again.
cEven when the driver and/or passen-
gers are in the vehicle, the system will
arm with all doors and the hood closed
and locked and the ignition key in the
OFF position. Turn the ignition key to
the ACC or ON to turn the security
system off.Vehicle security system activation
The vehicle security system will give the following
alarm:
cThe headlights blink and the horn sounds
intermittently. In addition, the starter motor
does not operate.
cThe alarm automatically turns off after about
50 seconds. However, the alarm reactivates
if the vehicle is tampered with again. The
alarm can be shut off by unlocking a door
with the key, or by pressing the
button
on the keyfob.
The alarm is activated by:
copening a door without using the key or
keyfob (even if the door is unlocked by re-
leasing the inside lock knob) .
copening the hood.
How to stop an activated alarm
The alarm stops only by unlocking a door with the
key or by pressing thebutton on the key-
fob.
The alarm does not stop if the ignition
switch is turned to ACC or ON.
Silencing the horn beep feature
If desired, the horn beep feature can be deacti-
vated using the keyfob.
To deactivate:Press and hold both the
andbuttons at the same timefor at least
2 seconds.
The hazard lights will quickly flash 3 times to
confirm that the horn beep feature has been
deactivated.
To activate:Press and hold both the
andbuttons at the same timefor at least
2 seconds once more.
WIC0325
Instruments and controls2-17
ZREVIEW COPY:Ð2004 Xterra(xtr)
Owners Manual(owners)ÐUSA English(nna)
10/23/03Ðdebbie
X
Page 85 of 296

cDo not operate the washer if the reser-
voir tank is empty.
cDo not fill the window washer reservoir
tank with washer fluid concentrates at
full strength. Some methyl alcohol
based washer fluid concentrates may
permanently stain the grille if spilled
while filling the window washer reser-
voir tank.
cPre-mix washer fluid concentrates with
water to the manufacturer’s recom-
mended levels before pouring the fluid
into the window washer reservoir tank.
Do not use the window washer reservoir
tank to mix the washer fluid concen-
trate and water.
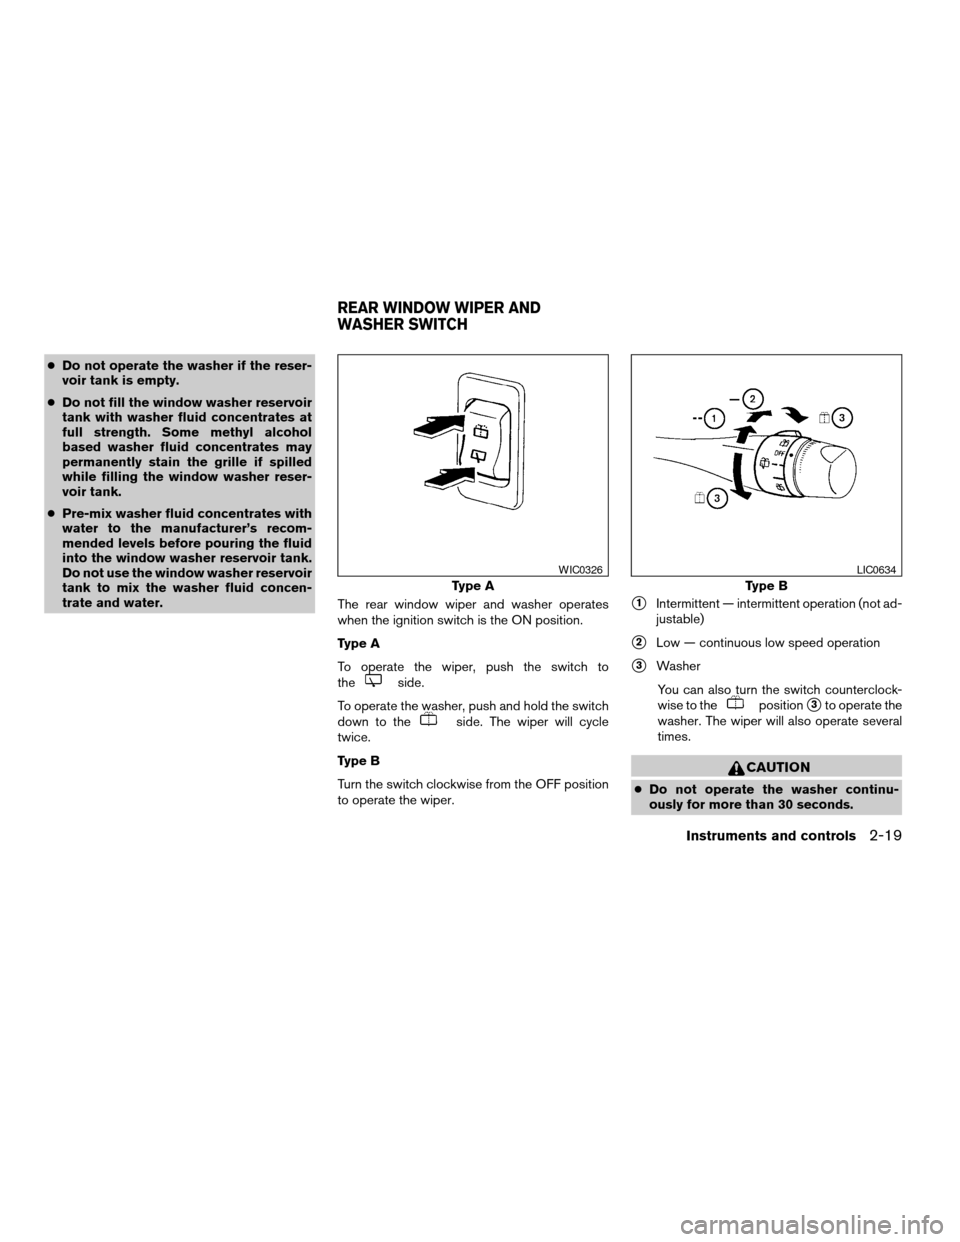
The rear window wiper and washer operates
when the ignition switch is the ON position.
Type A
To operate the wiper, push the switch to
the
side.
To operate the washer, push and hold the switch
down to the
side. The wiper will cycle
twice.
Type B
Turn the switch clockwise from the OFF position
to operate the wiper.
s1Intermittent — intermittent operation (not ad-
justable)
s2Low — continuous low speed operation
s3Washer
You can also turn the switch counterclock-
wise to the
positions3to operate the
washer. The wiper will also operate several
times.
CAUTION
cDo not operate the washer continu-
ously for more than 30 seconds.
Type A
WIC0326
Type B
LIC0634
REAR WINDOW WIPER AND
WASHER SWITCH
Instruments and controls2-19
ZREVIEW COPY:Ð2004 Xterra(xtr)
Owners Manual(owners)ÐUSA English(nna)
10/23/03Ðdebbie
X
Page 96 of 296

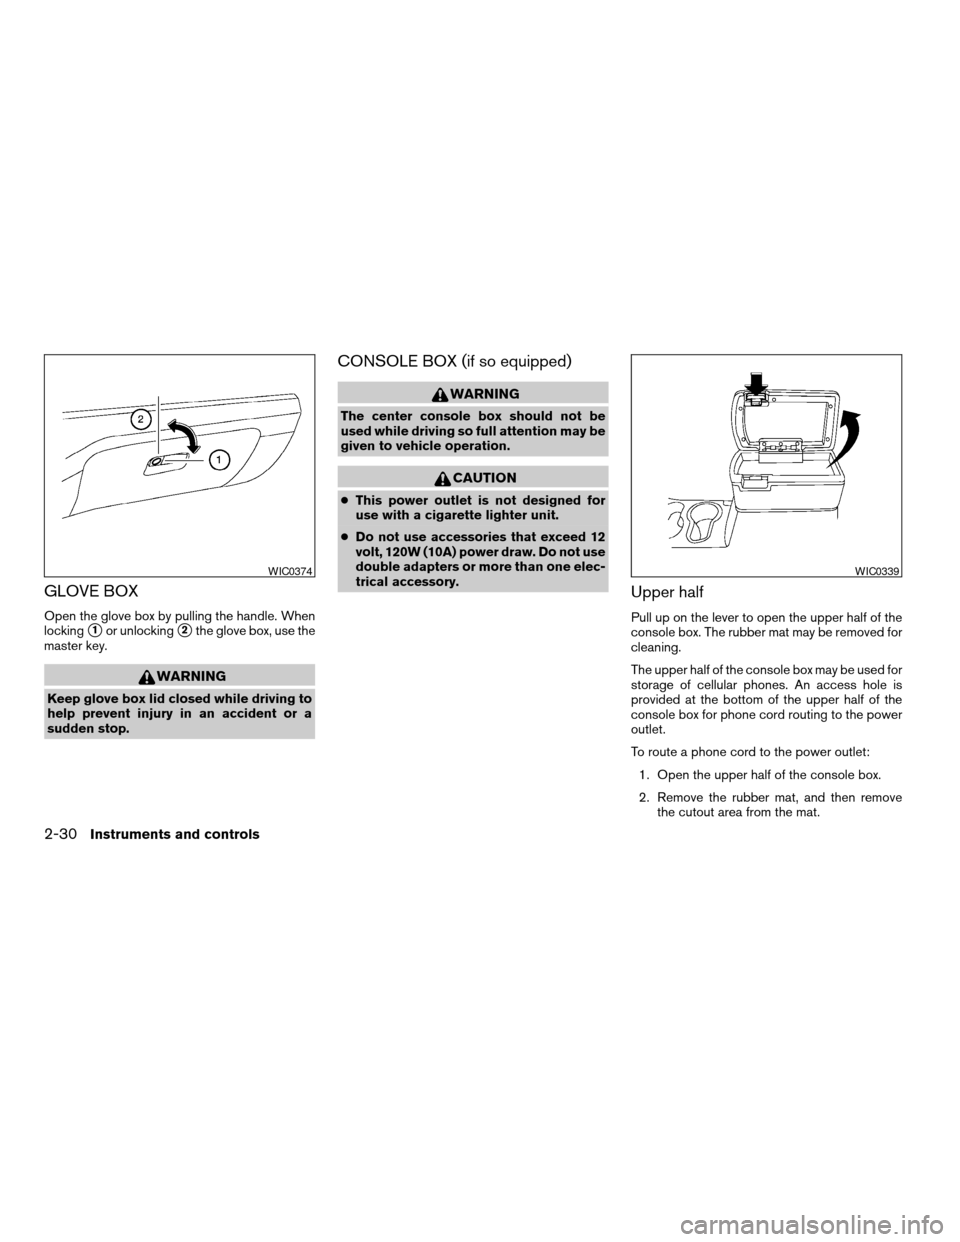
GLOVE BOX
Open the glove box by pulling the handle. When
locking
s1or unlockings2the glove box, use the
master key.
WARNING
Keep glove box lid closed while driving to
help prevent injury in an accident or a
sudden stop.
CONSOLE BOX (if so equipped)
WARNING
The center console box should not be
used while driving so full attention may be
given to vehicle operation.
CAUTION
cThis power outlet is not designed for
use with a cigarette lighter unit.
cDo not use accessories that exceed 12
volt, 120W (10A) power draw. Do not use
double adapters or more than one elec-
trical accessory.
Upper half
Pull up on the lever to open the upper half of the
console box. The rubber mat may be removed for
cleaning.
The upper half of the console box may be used for
storage of cellular phones. An access hole is
provided at the bottom of the upper half of the
console box for phone cord routing to the power
outlet.
To route a phone cord to the power outlet:
1. Open the upper half of the console box.
2. Remove the rubber mat, and then remove
the cutout area from the mat.
WIC0374WIC0339
2-30Instruments and controls
ZREVIEW COPY:Ð2004 Xterra(xtr)
Owners Manual(owners)ÐUSA English(nna)
10/23/03Ðdebbie
X