2004 NISSAN TITAN check engine light
[x] Cancel search: check engine lightPage 216 of 328
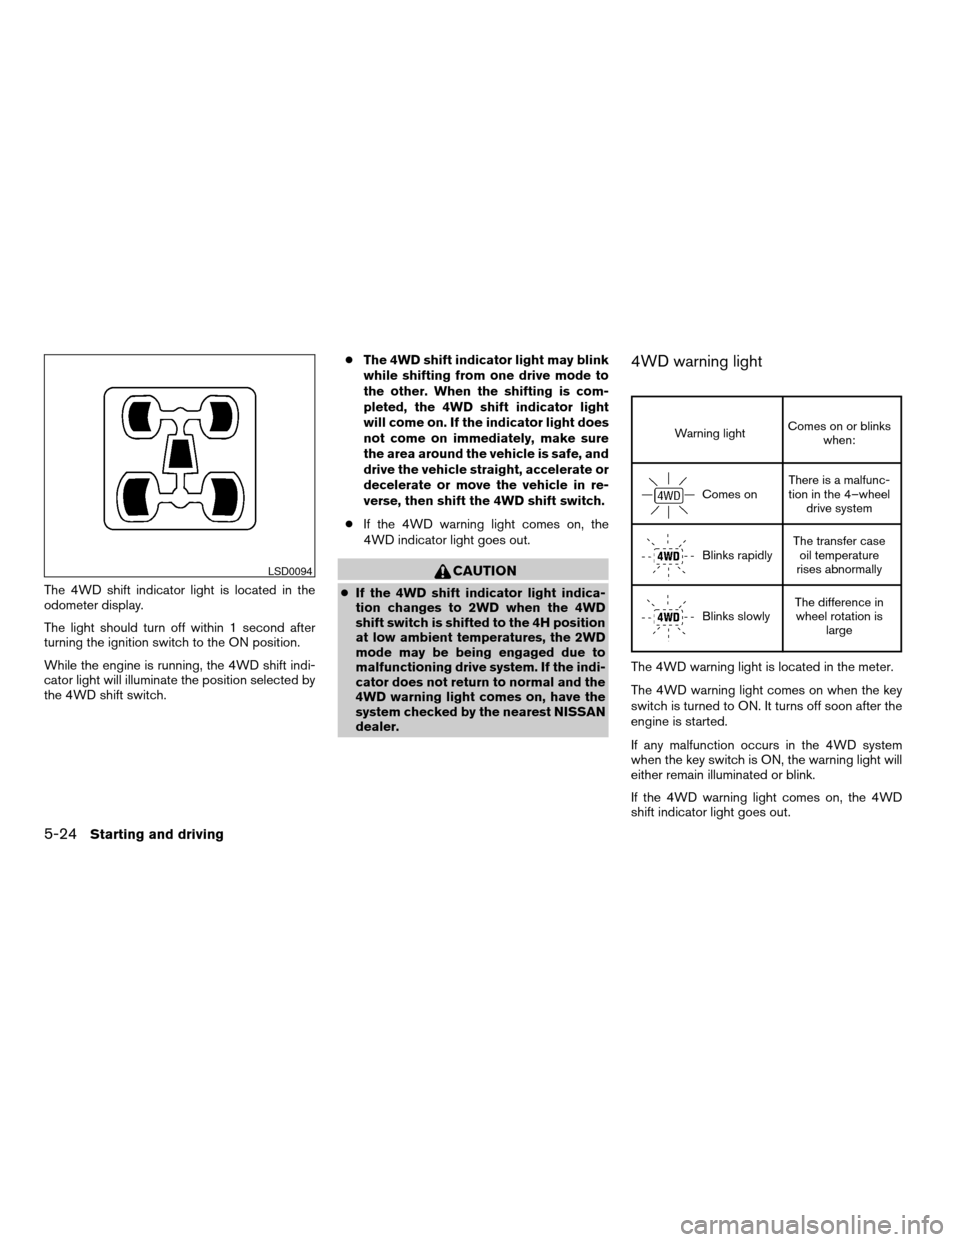
The 4WD shift indicator light is located in the
odometer display.
The light should turn off within 1 second after
turning the ignition switch to the ON position.
While the engine is running, the 4WD shift indi-
cator light will illuminate the position selected by
the 4WD shift switch.cThe 4WD shift indicator light may blink
while shifting from one drive mode to
the other. When the shifting is com-
pleted, the 4WD shift indicator light
will come on. If the indicator light does
not come on immediately, make sure
the area around the vehicle is safe, and
drive the vehicle straight, accelerate or
decelerate or move the vehicle in re-
verse, then shift the 4WD shift switch.
cIf the 4WD warning light comes on, the
4WD indicator light goes out.
CAUTION
cIf the 4WD shift indicator light indica-
tion changes to 2WD when the 4WD
shift switch is shifted to the 4H position
at low ambient temperatures, the 2WD
mode may be being engaged due to
malfunctioning drive system. If the indi-
cator does not return to normal and the
4WD warning light comes on, have the
system checked by the nearest NISSAN
dealer.
4WD warning light
Warning lightComes on or blinks
when:
Comes onThere is a malfunc-
tion in the 4–wheel
drive system
Blinks rapidlyThe transfer case
oil temperature
rises abnormally
Blinks slowlyThe difference in
wheel rotation is
large
The 4WD warning light is located in the meter.
The 4WD warning light comes on when the key
switch is turned to ON. It turns off soon after the
engine is started.
If any malfunction occurs in the 4WD system
when the key switch is ON, the warning light will
either remain illuminated or blink.
If the 4WD warning light comes on, the 4WD
shift indicator light goes out.
LSD0094
5-24Starting and driving
ZREVIEW COPY:Ð2004 Titan(tzw)
Owners Manual(owners)ÐUSA English(nna)
02/23/04Ðdebbie
X
Page 223 of 328
cThe system is designed as an aid to the
driver in detecting large stationary ob-
jects to help avoid damaging the ve-
hicle. The system will not detect small
objects below the bumper, and may not
detect objects close to the bumper or
on the ground.
cIf your vehicle sustains damage to the
rear bumper fascia, leaving it mis-
aligned or bent, the sensing zone may
be altered causing inaccurate measure-
ment of obstacles or false alarms.
The Rear Sonar System (RSS) sounds a tone to
warn the driver of obstacles near the rear bumper
when R (Reverse) is selected. The system may
not detect objects at speeds above 3 mph (5
km/h) and may not detect certain angular or
moving objects.
The RSS detects obstacles up to 6 ft. (1.8
meters) from the rear bumper with a decreased
coverage area at the outer corners of the bumper,
(refer to the illustration for approximate zone cov-
erage areas) . As you move closer to the obstacle,
the rate of the tone increases. When the obstacle
is less than 10 in. (25.0 cm) away, the tone will
sound continuously. If the RSS detects a station-
ary or receding object further than 10 in. (25.0
cm) from the side of the vehicle, the tone willsound for only three seconds. Once the system
detects an object approaching, the tone will
sound again.
The RSS automatically turns on when the gear
selector is placed in R (Reverse) and the ignition
is ON. The RSS OFF switch on the instrument
panel allows the driver to turn the RSS on and off.
To turn the RSS off, the ignition must be ON, and
the gear selector in R (Reverse) . An indicator
light on the switch will illuminate when the system
is turned off. If the indicator light illuminates when
the RSS is not turned off, it may indicate a failure
in the RSS.
Keep the RSS sensors (located on the rear
bumper fascia) free from snow, ice and large
accumulations of dirt (do not clean the sensors
with sharp objects) . If the sensors are covered, it
will affect the accuracy of the RSS.FREEING A FROZEN DOOR LOCK
To prevent a door lock from freezing, apply de-
icer through the key hole. If the lock becomes
frozen, heat the key before inserting it into the key
hole.
ANTI-FREEZE
In the winter when it is anticipated that the tem-
perature will drop below 32°F (0°C) , check the
anti-freeze to assure proper winter protection.
For details, see ‘‘Engine cooling system’’ in the
‘‘Maintenance and do-it-yourself’’ section of this
manual.
BATTERY
If the battery is not fully charged during extremely
cold weather conditions, the battery fluid may
freeze and damage the battery. To maintain maxi-
mum efficiency, the battery should be checked
regularly. For details, see ‘‘Battery’’ in the ‘‘Main-
tenance and do-it-yourself’’ section of this
manual.
DRAINING OF COOLANT WATER
If the vehicle is to be left outside without anti-
freeze, drain the cooling system, including the
engine block. Refill before operating the vehicle.
COLD WEATHER DRIVING
Starting and driving5-31
ZREVIEW COPY:Ð2004 Titan(tzw)
Owners Manual(owners)ÐUSA English(nna)
02/23/04Ðdebbie
X
Page 228 of 328
LOW TIRE PRESSURE WARNING
SYSTEM
This vehicle is equipped with the low tire pres-
sure warning system. It monitors tire pressure of
all tires except the spare. When the tire pressure
monitoring system warning light is lit, one or more
of your tires is significantly underinflated. If
equipped, the system also displays pressure of
all tires (except the spare tire) on the display
screen by sending a signal from a sensor that is
installed in each wheel. If the vehicle is being
driven with low tire pressure (lower than 28 psi,
193 kPa) , the low tire pressure warning system
will activate and warn you of it by the low tire
pressure warning light. This system will activate
only when the vehicle is driven at speeds above
20 MPH (32 km/h) . For more details, please refer
to “Warning/indicator lights and audible remind-
ers” in the “Instruments and controls” section,
“Tire pressure information” in the “Display screen,
heater, air conditioner and audio systems” sec-
tion and “Low tire pressure warning system” in
the “Starting and driving” section.
WARNING
cIf the low tire pressure warning light
flashes while driving, avoid sudden
steering maneuvers or abrupt braking,
reduce vehicle speed, pull off the road
to a safe location and stop the vehicle
as soon as possible. Serious vehicle
damage could occur and may lead to an
accident and could result in serious
personal injury. Check the tire pressure
for all four tires. Adjust the tire pressure
to the recommended COLD tire pres-
sure shown on the Tire and Loading
Information label to turn the low tire
pressure warning light OFF. If you have
a flat tire, replace it with a spare tire as
soon as possible.
cWhen a spare tire is mounted or a wheel
is replaced, tire pressure will not be
indicated and the low tire pressure
warning system will not function. Con-
tact your NISSAN dealer as soon as
possible for tire replacement and/or
system resetting.
cDo not inject any tire liquid or aerosol
tire sealant into the tires, as this may
cause a malfunction of the tire pressure
sensors.
CHANGING A FLAT TIRE
If you have a flat tire, follow the instructions be-
low.
Stopping the vehicle
1. Safely move the vehicle off the road and
away from traffic.
2. Turn on the hazard warning flashers.
3. Park on a level surface and apply the parking
brake. Shift the transmission into P (Park) .
4. Turn off the engine.
5. Raise the hood to warn other traffic and to
signal professional road assistance person-
nel that you need assistance.
6. Have all passengers get out of the vehicle
and stand in a safe place, away from traffic
and clear of the vehicle.
WARNING
cMake sure the parking brake is securely
applied and the automatic transmission
is shifted into P (Park) .
cNever change tires when the vehicle is
on a slope, ice or slippery areas. This is
hazardous.
FLAT TIRE
6-2In case of emergency
ZREVIEW COPY:Ð2004 Titan(tzw)
Owners Manual(owners)ÐUSA English(nna)
02/23/04Ðdebbie
X
Page 236 of 328
WARNING
Automatic transmission models cannot
be push-started or tow-started. Attempt-
ing to do so may cause transmission or
other vehicle damage.
WARNING
cDo not continue to drive if your vehicle
overheats. Doing so could cause engine
damage or a vehicle fire.
cTo avoid the danger of being scalded,
never remove the radiator or coolant
reservoir cap while the engine is still
hot. When the radiator or coolant reser-
voir cap is removed, pressurized hot
water will spurt out, possibly causing
serious injury.
cDo not open the hood if steam is com-
ing out.
If your vehicle is overheating (indicated by an
extremely high temperature gauge reading and
the illumination of the engine oil pressure/engine
coolant temperature high indicator light) , or if you
feel a lack of engine power, detect abnormal
noise, etc. take the following steps.
1. Move the vehicle safely off the road, apply
the parking brake and move the shift lever to
P (Park) .
Do not stop the engine.
2. Turn off the air conditioner. Open all the
windows, move the heater or air conditioner
temperature control to maximum hot and fan
control to high speed.3. Get out of the vehicle. Look and listen for
steam or coolant escaping from the radiator
before opening the hood. (If steam or cool-
ant is escaping, turn off the engine.) Do not
open the hood further until no steam or
coolant can be seen.
4. Open the engine hood.
WARNING
If steam or water is coming from the en-
gine, stand clear to prevent getting
burned.
5. Visually check drive belts for damage or
looseness. Also check if the cooling fan is
running. The radiator hoses and radiator
should not leak water. If coolant is leaking,
the water pump belt is missing or loose, or
the cooling fan does not run, stop the en-
gine.
WARNING
Be careful not to allow your hands, hair,
jewelry or clothing to come into contact
with, or get caught in, engine belts or the
engine cooling fan. The engine cooling
fan can start at any time when the coolant
temperature is high.
PUSH STARTING IF YOUR VEHICLE OVERHEATS
6-10In case of emergency
ZREVIEW COPY:Ð2004 Titan(tzw)
Owners Manual(owners)ÐUSA English(nna)
02/23/04Ðdebbie
X
Page 247 of 328

8 Maintenance and do-it-yourself
Maintenance requirements..........................8-2
General maintenance..............................8-2
Explanation of general maintenance items.........8-2
Maintenance precautions...........................8-5
Engine compartment check locations................8-6
Engine cooling system.............................8-7
Checking engine coolant level...................8-8
Changing engine coolant........................8-8
Engine oil.........................................8-8
Checking engine oil level........................8-8
Changing engine oil............................8-9
Changing engine oil filter.......................8-10
5-speed automatic transmission fluid...............8-11
Power steering fluid...............................8-11
Brake fluid.......................................8-12
Brake fluid....................................8-12
Window washer fluid.............................8-12
Window washer fluid reservoir..................8-12
Battery..........................................8-13
Jump starting.................................8-14
Drive belts.......................................8-15
Spark plugs......................................8-15
Replacing spark plugs.........................8-15Air cleaner.......................................8-16
In-cabin microfilter.............................8-16
Windshield wiper blades..........................8-18
Cleaning.....................................8-18
Replacing....................................8-19
Parking brake and brake pedal.....................8-20
Checking parking brake........................8-20
Checking brake pedal..........................8-20
Brake booster.................................8-21
Fuses...........................................8-21
Engine compartment...........................8-21
Passenger compartment.......................8-22
Keyfob battery replacement........................8-23
Lights...........................................8-24
Headlights....................................8-24
Fog lights (if so equipped)......................8-24
Exterior and interior lights.......................8-26
Wheels and tires.................................8-30
Tire pressure..................................8-30
Tire labeling...................................8-32
Types of tires..................................8-35
Tire chains....................................8-35
Changing wheels and tires.....................8-36
ZREVIEW COPY:Ð2004 Titan(tzw)
Owners Manual(owners)ÐUSA English(nna)
02/23/04Ðdebbie
X
Page 257 of 328
5. Wipe the engine oil filter mounting surface
with a clean rag.
Be sure to remove any old gasket material
remaining on the mounting surface of the
engine.
6. Coat the gasket on the new filter with clean
engine oil.
7. Screw on the oil filter until a slight resistance
is felt, then tighten an additional 2/3 turn.
8. Start the engine and check for leakage
around the oil filter. Correct as required.
9. Turn the engine off and wait more than 10
minutes. Check the oil level. Add engine oil if
necessary.When checking or replacement is required, we
recommend your NISSAN dealer for servicing.
WARNING
cUse only Genuine Nissan Matic J ATF.
Do not mix with other fluids.
cUsing automatic transmission fluid
other than Genuine Nissan Matic J ATF
will cause deterioration in driveability
and automatic transmission durability,
and may damage the automatic trans-
mission, which is not covered by the
NISSAN new vehicle limited warranty.
The specified automatic transmission fluid is also
described on caution labels located in the engine
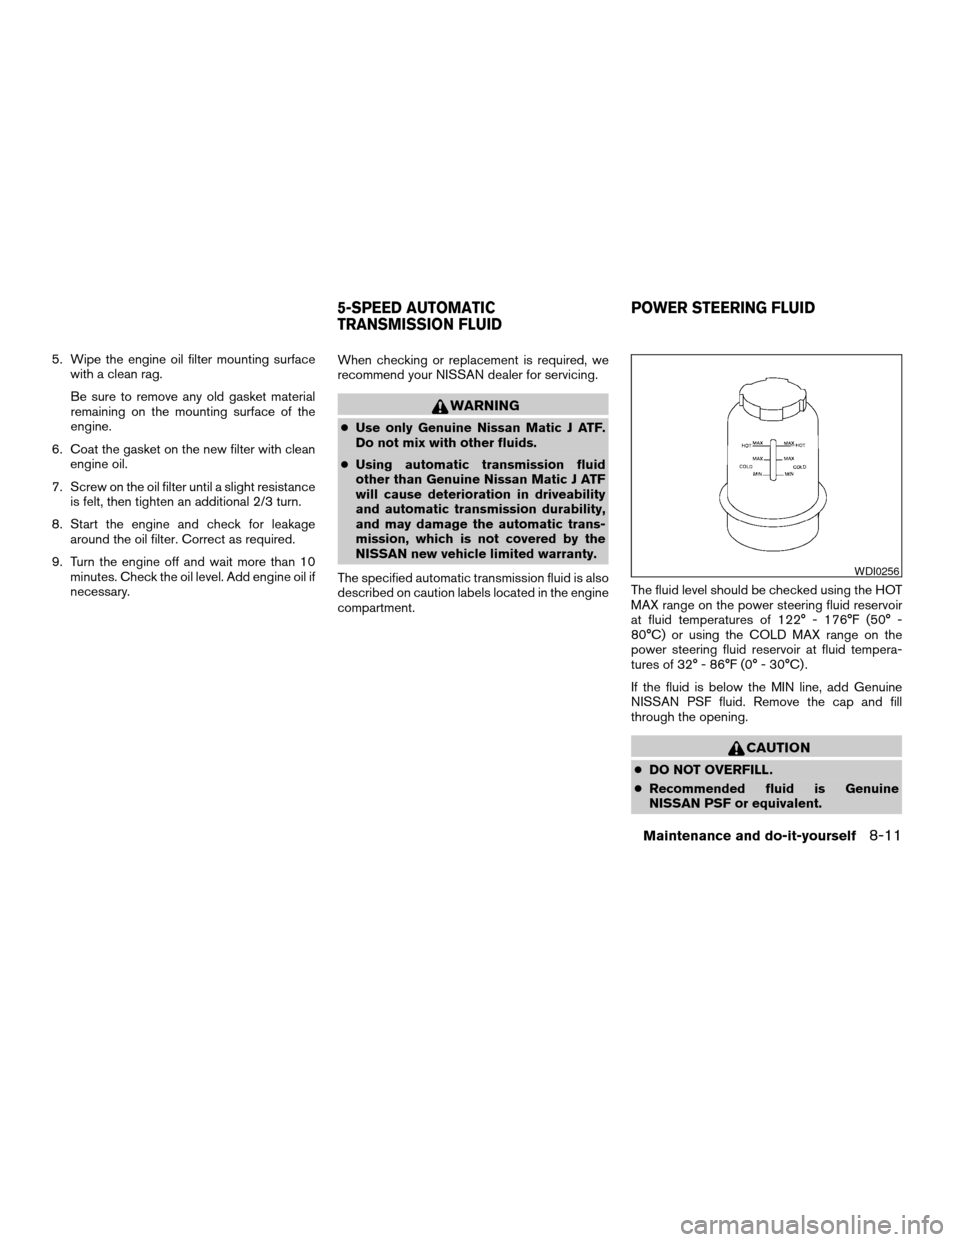
compartment.The fluid level should be checked using the HOT
MAX range on the power steering fluid reservoir
at fluid temperatures of 122° - 176°F (50° -
80°C) or using the COLD MAX range on the
power steering fluid reservoir at fluid tempera-
tures of 32° - 86°F (0° - 30°C) .
If the fluid is below the MIN line, add Genuine
NISSAN PSF fluid. Remove the cap and fill
through the opening.
CAUTION
cDO NOT OVERFILL.
cRecommended fluid is Genuine
NISSAN PSF or equivalent.
WDI0256
5-SPEED AUTOMATIC
TRANSMISSION FLUIDPOWER STEERING FLUID
Maintenance and do-it-yourself8-11
ZREVIEW COPY:Ð2004 Titan(tzw)
Owners Manual(owners)ÐUSA English(nna)
02/23/04Ðdebbie
X
Page 266 of 328
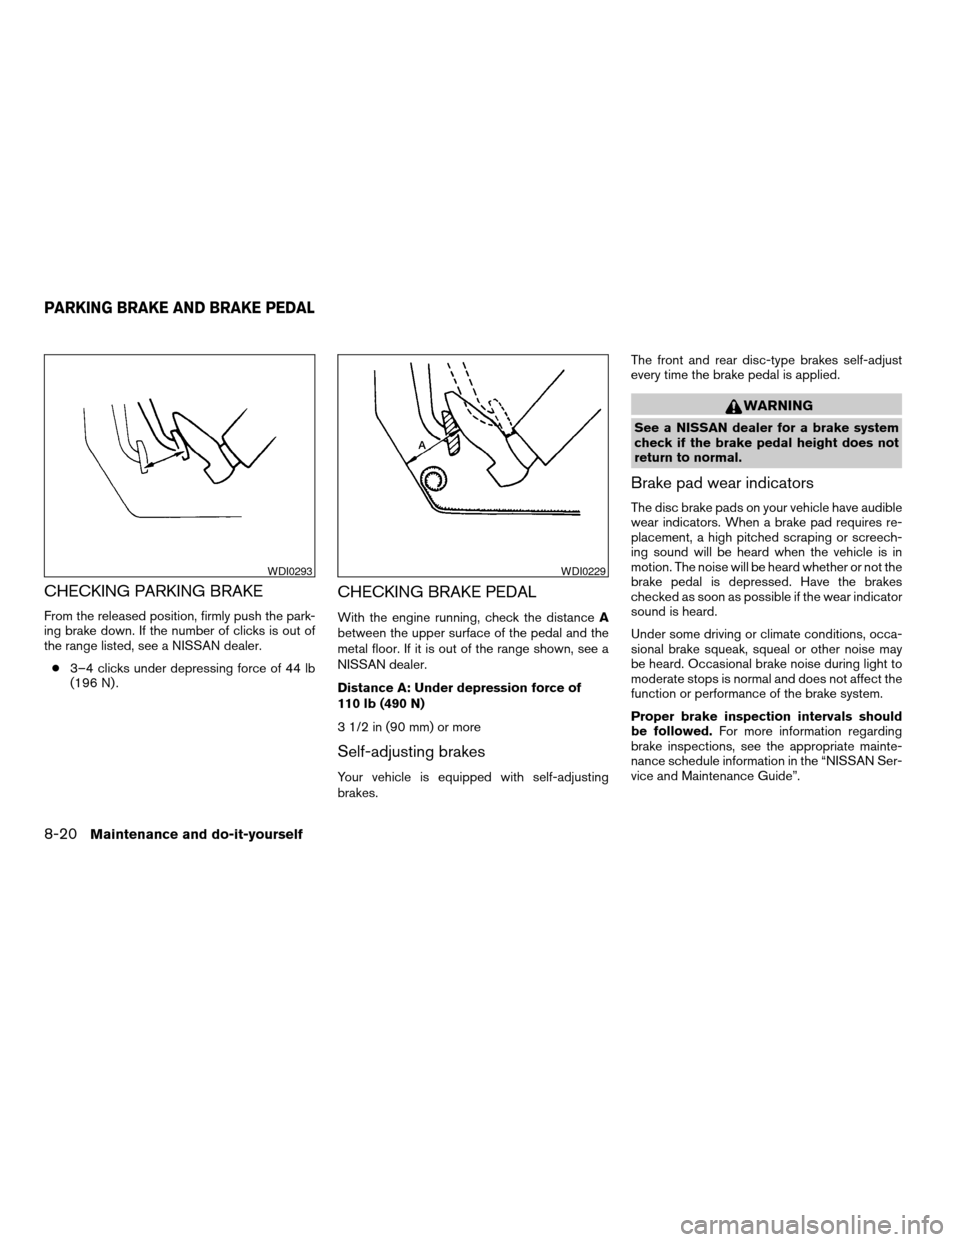
CHECKING PARKING BRAKE
From the released position, firmly push the park-
ing brake down. If the number of clicks is out of
the range listed, see a NISSAN dealer.
c3–4 clicks under depressing force of 44 lb
(196 N) .
CHECKING BRAKE PEDAL
With the engine running, check the distanceA
between the upper surface of the pedal and the
metal floor. If it is out of the range shown, see a
NISSAN dealer.
Distance A: Under depression force of
110 lb (490 N)
3 1/2 in (90 mm) or more
Self-adjusting brakes
Your vehicle is equipped with self-adjusting
brakes.The front and rear disc-type brakes self-adjust
every time the brake pedal is applied.
WARNING
See a NISSAN dealer for a brake system
check if the brake pedal height does not
return to normal.
Brake pad wear indicators
The disc brake pads on your vehicle have audible
wear indicators. When a brake pad requires re-
placement, a high pitched scraping or screech-
ing sound will be heard when the vehicle is in
motion. The noise will be heard whether or not the
brake pedal is depressed. Have the brakes
checked as soon as possible if the wear indicator
sound is heard.
Under some driving or climate conditions, occa-
sional brake squeak, squeal or other noise may
be heard. Occasional brake noise during light to
moderate stops is normal and does not affect the
function or performance of the brake system.
Proper brake inspection intervals should
be followed.For more information regarding
brake inspections, see the appropriate mainte-
nance schedule information in the “NISSAN Ser-
vice and Maintenance Guide”.
WDI0293WDI0229
PARKING BRAKE AND BRAKE PEDAL
8-20Maintenance and do-it-yourself
ZREVIEW COPY:Ð2004 Titan(tzw)
Owners Manual(owners)ÐUSA English(nna)
02/23/04Ðdebbie
X
Page 267 of 328
BRAKE BOOSTER
Check the brake booster function as follows:
1. With the engine off, press and release the
brake pedal several times. When brake
pedal movement (distance of travel) remains
the same from one pedal application to the
next, continue on to the next step.
2. While depressing the brake pedal, start the
engine. The pedal height should drop a little.
3. With the brake pedal depressed, stop the
engine. Keep the pedal depressed for about
30 seconds. The pedal height should not
change.
4. Run the engine for one minute without de-
pressing the brake pedal, then turn it off.
Depress the brake pedal several times. The
pedal travel distance will decrease gradually
with each depression as the vacuum is re-
leased from the booster.
If the brakes do not operate properly, have the
brakes checked by a NISSAN dealer.
ENGINE COMPARTMENT
CAUTION
Never use a fuse of a higher or lower
amperage rating than specified on the
fuse box cover. This could damage the
electrical system or cause a fire.
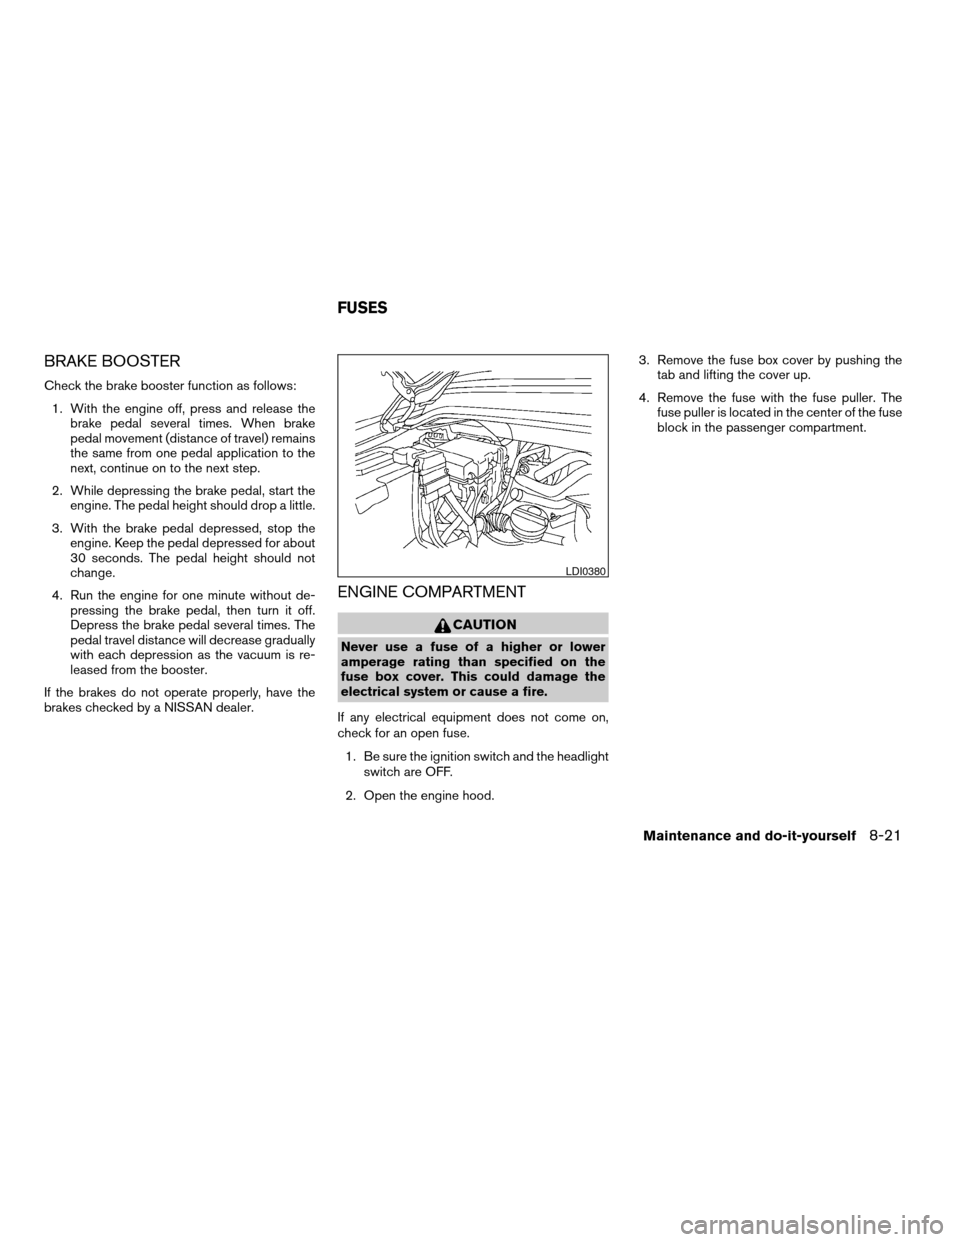
If any electrical equipment does not come on,
check for an open fuse.
1. Be sure the ignition switch and the headlight
switch are OFF.
2. Open the engine hood.3. Remove the fuse box cover by pushing the
tab and lifting the cover up.
4. Remove the fuse with the fuse puller. The
fuse puller is located in the center of the fuse
block in the passenger compartment.
LDI0380
FUSES
Maintenance and do-it-yourself8-21
ZREVIEW COPY:Ð2004 Titan(tzw)
Owners Manual(owners)ÐUSA English(nna)
02/23/04Ðdebbie
X