2004 NISSAN SENTRA reset
[x] Cancel search: resetPage 59 of 248

Resetting the trip odometer:
Pushing the change button for more than 1 sec-
ond resets the trip odometer to zero.
TRIP COMPUTER (if so equipped)
The display of the trip computer is situated in the
speedometer display. When the ignition is turned
to ON, the display scrolls all the modes of the trip
computer and then shows the mode chosen be-
fore the ignition switch is turned OFF.
If the battery terminal is disconnected,
push the trip computer mode switch more
than 1 second to activate the computer.
When the ignition switch is turned to ON, modes
of the trip computer can be selected by pushing
the trip computer change button. The following
modes can be selected:
Outside air temperature (ICY-°F or °C)
The outside air temperature is displayed in °F or
°C.
The outside air temperature mode includes a low
temperature warning feature: below 37°F (3°C) ,
the outside air temperature mode is automatically
selected and ICY will illuminate in order to draw
the driver’s attention. Press the change button if
you wish to return to the mode that was selected
before the warning occurred. The ICY indicatorwill continue blinking as long as the temperature
remains below 39°F (4°C) .
The ambient temperature sensor is located in
front of the radiator. The sensor may be affected
by road or engine heat, wind directions and other
driving conditions. The display may differ from the
actual ambient temperature or the temperature
displayed on various signs or billboards.
Distance to empty (dte—mile or km)
The distance to empty (dte) mode provides you
with an estimation of the distance that can be
driven before refueling. The dte is constantly be-
ing calculated, based on the amount of fuel in the
fuel tank and the actual fuel consumption.
The display is updated every 30 seconds.
The dte mode includes a low range warning
feature: when the fuel level is low, the dte mode is
automatically selected and the digits blink in or-
der to draw the driver’s attention. Press the
change button if you wish to return to the mode
that was selected before the warning occurred.
The dte mark (dte) will remain blinking until the
vehicle is refueled.
When the fuel level drops even lower, the dte
display will change to (----) .NOTE:
cIf the amount of fuel added while the
ignition switch is OFF is small, the dis-
play just before the ignition switch is
turned OFF may continue to be dis-
played.
cWhen driving uphill or rounding curves,
the fuel in the tank shifts, which may
momentarily change the display.Average fuel consumption (Mpg or
l/100km)
The average fuel consumption mode shows the
average fuel consumption since the last reset.
Resetting is done by pressing the change button
for more than approximately 1 second. The dis-
play is updated every 30 seconds. At about the
first 1/3 miles (500 m) after a reset, the display
shows (----) .
Average speed (MPH or km/h)
The average speed mode shows the average
vehicle speed since last reset. Resetting is done
by pressing the change button for more than
approximately 1 second. The display is updated
every 30 seconds. The first 30 seconds after a
reset, the display shows (----) .
Instruments and controls2-5
ZREVIEW COPY:Ð2004 Sentra(b15)
Owners Manual(owners)ÐUSA English(nna)
03/18/04Ðtbrooks
X
Page 60 of 248

Journey time
The journey time mode shows the time since the
last reset. The displayed time can be reset by
pressing the change button for more than ap-
proximately 1 second.
NOTE:
If a low temperature warning and low range
warning occur simultaneously, other dis-
play modes switch automatically to the
outside temperature display.
When the change button is pushed, the
display switches to the mode chosen be-
fore the warning display, and the outside
air temperature indicator marked ICY will
blink.
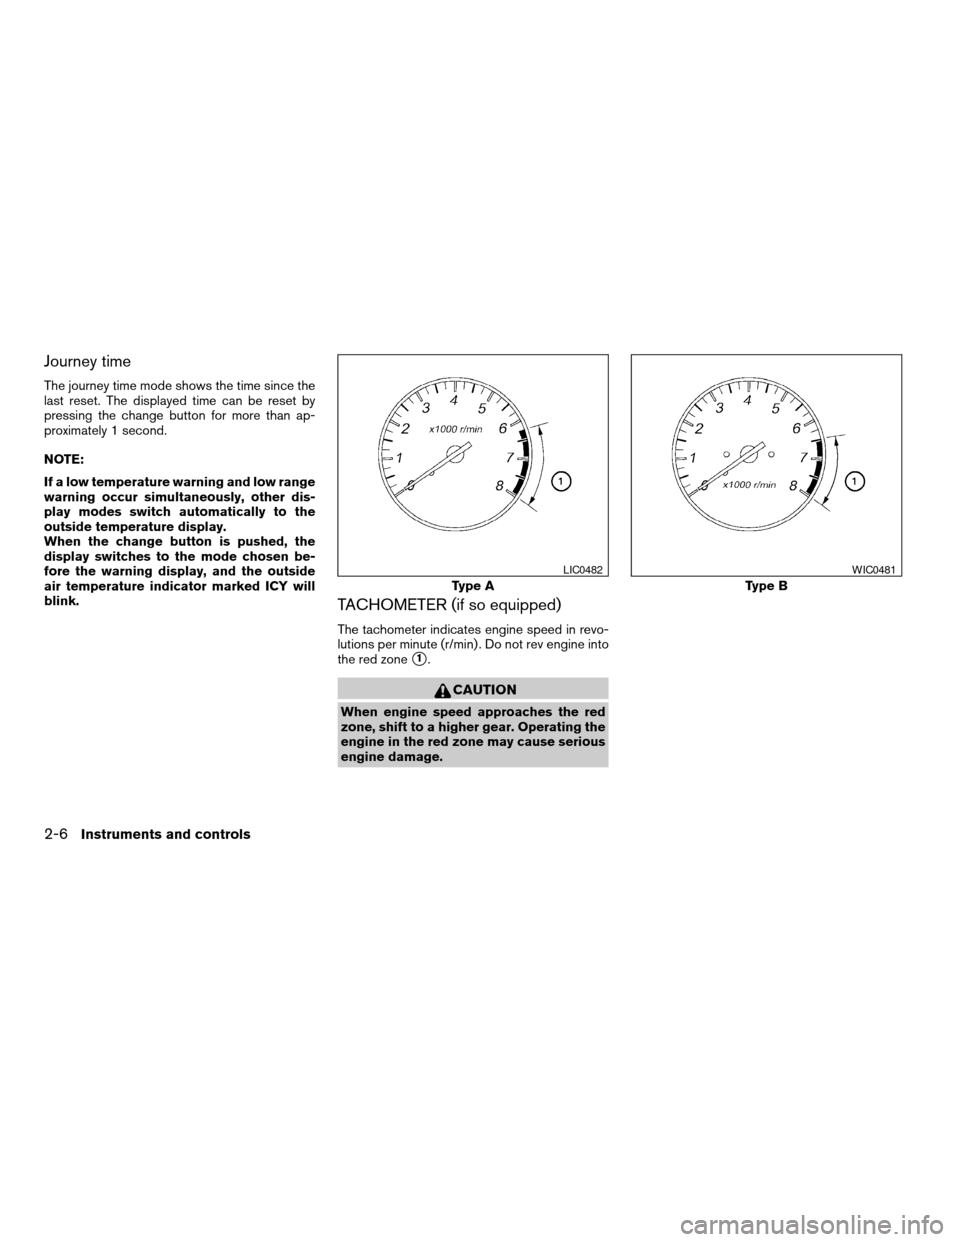
TACHOMETER (if so equipped)
The tachometer indicates engine speed in revo-
lutions per minute (r/min) . Do not rev engine into
the red zone
s1.
CAUTION
When engine speed approaches the red
zone, shift to a higher gear. Operating the
engine in the red zone may cause serious
engine damage.
Type A
LIC0482
Type B
WIC0481
2-6Instruments and controls
ZREVIEW COPY:Ð2004 Sentra(b15)
Owners Manual(owners)ÐUSA English(nna)
03/18/04Ðtbrooks
X
Page 82 of 248

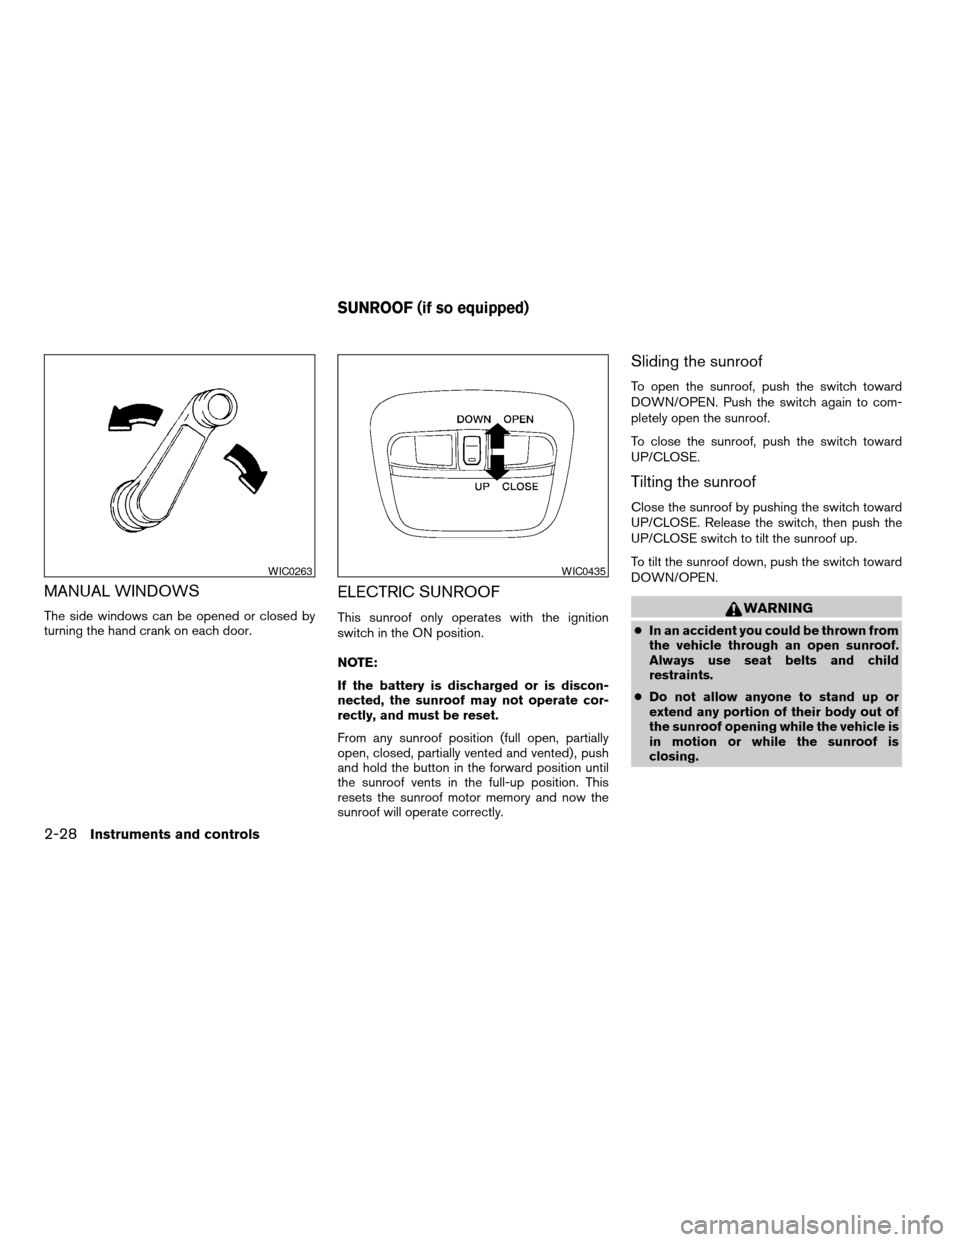
MANUAL WINDOWS
The side windows can be opened or closed by
turning the hand crank on each door.
ELECTRIC SUNROOF
This sunroof only operates with the ignition
switch in the ON position.
NOTE:
If the battery is discharged or is discon-
nected, the sunroof may not operate cor-
rectly, and must be reset.
From any sunroof position (full open, partially
open, closed, partially vented and vented) , push
and hold the button in the forward position until
the sunroof vents in the full-up position. This
resets the sunroof motor memory and now the
sunroof will operate correctly.
Sliding the sunroof
To open the sunroof, push the switch toward
DOWN/OPEN. Push the switch again to com-
pletely open the sunroof.
To close the sunroof, push the switch toward
UP/CLOSE.
Tilting the sunroof
Close the sunroof by pushing the switch toward
UP/CLOSE. Release the switch, then push the
UP/CLOSE switch to tilt the sunroof up.
To tilt the sunroof down, push the switch toward
DOWN/OPEN.
WARNING
cIn an accident you could be thrown from
the vehicle through an open sunroof.
Always use seat belts and child
restraints.
cDo not allow anyone to stand up or
extend any portion of their body out of
the sunroof opening while the vehicle is
in motion or while the sunroof is
closing.
WIC0263WIC0435
SUNROOF (if so equipped)
2-28Instruments and controls
ZREVIEW COPY:Ð2004 Sentra(b15)
Owners Manual(owners)ÐUSA English(nna)
03/18/04Ðtbrooks
X
Page 115 of 248

12. MIX (random play) button
13. REW button
14. FF APS button
15. RPT button
16. REW APS button
17. PRESET A·B·C select button
18. CD·C (CD, CD Changer, AUX) button
FM-AM-SAT RADIO WITH
COMPACT DISC (CD) PLAYER (if so
equipped)
ON·OFF/VOL control knob
Turn the ignition key to the ACC or ON position,
then push the ON·OFF/VOL control knob. If you
listen to the radio with the engine not running,
turn the key to the ACC position. The mode (radio
or CD) that was playing immediately before the
system was turned off resumes playing.
When no CD is loaded, the radio comes on.
Pushing the ON·OFF/VOL control knob again
turns the system off.
Turn the ON·OFF/VOL control knob to the right
to increase volume or to the left to decrease
volume
LHA0330
Heater, air conditioner and audio systems4-13
ZREVIEW COPY:Ð2004 Sentra(b15)
Owners Manual(owners)ÐUSA English(nna)
03/18/04Ðtbrooks
X
Page 117 of 248

Station memory operation
Each preset mode (A, B or C) has 6 presets,
capable of storing any combination of AM, FM
and SAT stations.Press the PRESET ABC button to change be-
tween the presets:
A!B!C
The radio displays icon A, B or C to indicate
which set of presets is active.
To store a radio station in a preset:
1. Select the desired preset by pressing PRE-
SET ABC.
2. Tune to the desired station.
3. Push the desired station select button for
more than 2 seconds. For example, in the
illustrations, ch2 is to be memorized. The
radio mutes when the select button is
pushed.
4. When the indicator illuminates in the display
and the sound resumes, memorizing is com-
plete.
5. Other station select buttons can be set in
the same manner.
If the battery cable is disconnected, or if the radio
fuse opens, the radio memory is canceled. In that
case, reset the desired stations.
Compact disc (CD) player operation
Turn the ignition key to the ACC or ON position,
and carefully insert the compact disc into the slotwith the label side up. The compact disc is auto-
matically pulled into the slot and starts to play.
If the radio is already operating, it automatically
turns off and the compact disc begins to play.
CAUTION
Do not force a compact disc into the CD
insert slot. This could damage the CD
and/or CD changer/player.
CD·C button
When the CD·C button is pushed with a compact
disc loaded and the radio playing, the radio turns
off and the compact disc starts to play.
When this button is pushed while the compact
disc is playing, the compact disc stops playing.
Press the CD·C button to play a compatible
device such as an MP-3 Player when it is plugged
into the AUX in jack.
FF (Fast Forward) , REW
(Rewind) buttons
When the
orbutton is pushed while
the compact disc is playing, the compact disc
plays at an increased speed while fast forwarding
or rewinding. When the button is released, the
compact disc returns to normal play speed.
LHA0478
Heater, air conditioner and audio systems4-15
ZREVIEW COPY:Ð2004 Sentra(b15)
Owners Manual(owners)ÐUSA English(nna)
03/18/04Ðtbrooks
X
Page 130 of 248

If the shift selector lever cannot be moved out of
P (Park) , have a NISSAN dealer check the auto-
matic transmission system as soon as possible.
Accelerator downshift
— in D position —
For passing or hill climbing, depress the accel-
erator pedal to the floor. This shifts the transmis-
sion down into a lower gear, depending on the
vehicle speed.
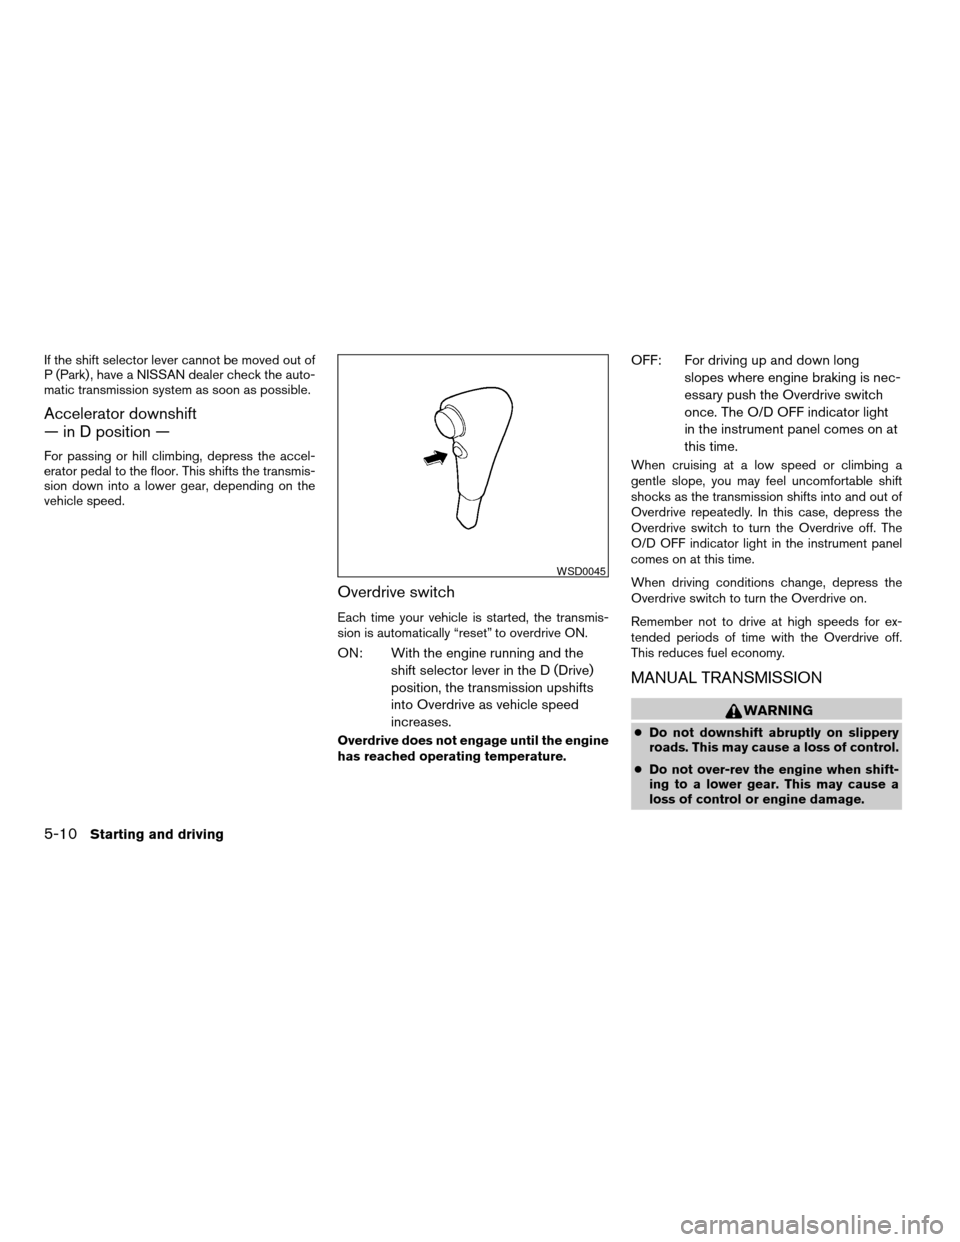
Overdrive switch
Each time your vehicle is started, the transmis-
sion is automatically “reset” to overdrive ON.
ON: With the engine running and the
shift selector lever in the D (Drive)
position, the transmission upshifts
into Overdrive as vehicle speed
increases.
Overdrive does not engage until the engine
has reached operating temperature.
OFF: For driving up and down long
slopes where engine braking is nec-
essary push the Overdrive switch
once. The O/D OFF indicator light
in the instrument panel comes on at
this time.
When cruising at a low speed or climbing a
gentle slope, you may feel uncomfortable shift
shocks as the transmission shifts into and out of
Overdrive repeatedly. In this case, depress the
Overdrive switch to turn the Overdrive off. The
O/D OFF indicator light in the instrument panel
comes on at this time.
When driving conditions change, depress the
Overdrive switch to turn the Overdrive on.
Remember not to drive at high speeds for ex-
tended periods of time with the Overdrive off.
This reduces fuel economy.
MANUAL TRANSMISSION
WARNING
cDo not downshift abruptly on slippery
roads. This may cause a loss of control.
cDo not over-rev the engine when shift-
ing to a lower gear. This may cause a
loss of control or engine damage.
WSD0045
5-10Starting and driving
ZREVIEW COPY:Ð2004 Sentra(b15)
Owners Manual(owners)ÐUSA English(nna)
03/18/04Ðtbrooks
X
Page 135 of 248

To cancel the preset speed,use one of the
following three methods.
cPush the CANCEL button; the SET indicator
light in the instrument panel goes out.
cTap the brake pedal; the SET indicator light
goes out.
cTurn the main switch off. Both the CRUISE
indicator light and SET indicator light in the
instrument panel go out.
The cruise control is automatically canceled and
the SET light in the instrument panel goes out if:
cyou depress the brake pedal while pushing
the ACCEL/RES or SET/COAST switch.
The preset speed is deleted from memory.
cthe vehicle slows down more than 8 MPH
(13 km/h) below the set speed.
cyou depress the clutch pedal (manual trans-
mission) , or move the shift selector lever to N
(Neutral) (automatic transmission) .
To reset at a faster cruising speed,use one
of the following three methods.
cDepress the accelerator pedal. When the
vehicle attains the desired speed, push and
release the SET/COAST switch.cPush and hold the RES/ACCEL switch.
When the vehicle attains the speed you de-
sire, release the switch.
cPush and release the RES/ACCEL switch.
Each time you do this, the set speed in-
creases by about 1 MPH (1.6 km/h) .
To reset at a slower cruising speed,use one
of the following three methods.
cLightly tap the brake pedal. When the ve-
hicle attains the desired speed, push the
COAST/SET switch and release it.
cPush and hold the SET/COAST switch. Re-
lease the switch when the vehicle slows to
the desired speed.
cPush and release the SET/COAST switch.
Each time you do this, the set speed de-
creases by about 1 MPH (1.6 km/h) .
To resume the preset speed,push and re-
lease the RES/ACCEL switch. The vehicle re-
turns to the last set cruising speed when the
vehicle speed is over 25 MPH (40 km/h) .CAUTION
During the first 1,200 miles (2,000 km) ,
follow these recommendations to obtain
maximum engine performance and en-
sure the future reliability and economy of
your new vehicle. Failure to follow these
recommendations may result in short-
ened engine life and reduced engine
performance.
cAvoid driving for long periods at constant
speed, either fast or slow, and do not run the
engine over 4,000 rpm.
cDo not accelerate at full throttle in any gear.
cAvoid quick starts.
cAvoid hard braking as much as possible.
cDo not tow a trailer for the first 500 miles
(800 km) . Your engine, axle or other parts
could be damaged.
BREAK-IN SCHEDULE
Starting and driving5-15
ZREVIEW COPY:Ð2004 Sentra(b15)
Owners Manual(owners)ÐUSA English(nna)
03/18/04Ðtbrooks
X
Page 233 of 248

If you believe that your vehicle has a defect which
could cause a crash or could cause injury or
death, you should immediately inform the Na-
tional Highway Traffic Safety Administration
(NHTSA) in addition to notifying NISSAN.
If NHTSA receives similar complaints, it may
open an investigation, and if it finds that a safety
defect exists in a group of vehicles, it may order a
recall and remedy campaign. However, NHTSA
cannot become involved in individual problems
between you, your dealer, or NISSAN.
To contact NHTSA, you may call the Auto Safety
Hotline toll-free at 1-888-327-4236. You may
also write to: NHTSA, U.S. Department of Trans-
portation, Washington, D.C. 20590. You can also
obtain other information about motor vehicle
safety from the Hotline.
You may notify NISSAN by contacting our Con-
sumer Affairs Department, toll-free, at 1-800-
NISSAN-1.Due to legal requirements in some states and
Canadian Provinces, your vehicle may be re-
quired to be in what is called the “ready condi-
tion” for an Inspection/Maintenance (I/M) test of
the emission control system.
The vehicle is set to the “ready condition” when it
is driven through certain driving patterns. Usually,
the ready condition can be obtained by ordinary
usage of the vehicle.
If a powertrain system component is repaired or
the battery is disconnected, the vehicle may be
reset to a “not ready” condition. Before taking the
I/M test, drive the vehicle through the following
pattern to set the vehicle to the ready condition. If
you cannot or do not want to perform the driving
pattern, a NISSAN dealer can conduct it for you.
WARNING
Always drive the vehicle in a safe and
prudent manner according to traffic con-
ditions and obey all traffic laws.
1. Start the engine when the engine coolant
temperature gauge needle points to C. Al-
low the engine to idle until the gauge needle
points between the C and H (normal oper-
ating temperature) .2. Accelerate the vehicle to 55 MPH (88
km/h) , then quickly release the accelerator
pedal completely and keep it released for at
least 6 seconds.
3. Quickly depress the accelerator pedal for a
moment, then drive the vehicle at a speed of
53 - 60 MPH (86 - 96 km/h) for at least 5
minutes.
4. Stop the vehicle.
5. Accelerate the vehicle to 35 MPH (55 km/h)
and maintain the speed for 20 seconds.
6. Repeat steps 4 through 5 at least three
times.
7. Accelerate the vehicle to 55 MPH (88 km/h)
and maintain the speed for at least 3 min-
utes.
8. Stop the vehicle. Place the transmission se-
lector lever in the P (Park) or N (Neutral)
position.
9. Turn the engine off.
10. Repeat steps1-8atleast one more time.
If steps 1 through 7 are interrupted, repeat the
preceding step. Any safe driving mode is accept-
able between steps. Do not stop the engine until
step 7 is completed.
REPORTING SAFETY DEFECTS (US
only)READINESS FOR INSPECTION/
MAINTENANCE (I/M) TEST
Technical and consumer information9-21
ZREVIEW COPY:Ð2004 Sentra(b15)
Owners Manual(owners)ÐUSA English(nna)
04/02/04Ðrhinson
X