2004 NISSAN SENTRA time
[x] Cancel search: timePage 47 of 248

2. Route the seat belt tongue through the child
restraint and insert it into the buckle until you
hear and feel the latch engage.
Be sure to follow the child restraint manu-
facturer’s instructions for belt routing.3. Pull on the shoulder belt until all of the belt is
fully extended. At this time, the seat belt
retractor is in the automatic locking mode
(child restraint mode) . It reverts to emer-
gency locking mode when the seat belt is
fully retracted.
Rear Facing (center) — step 1
WRS0262
Rear Facing — step 2
WRS0150
Rear Facing — step 3
WRS0260
Safety—Seats, seat belts and supplemental air bags1-31
ZREVIEW COPY:Ð2004 Sentra(b15)
Owners Manual(owners)ÐUSA English(nna)
03/18/04Ðtbrooks
X
Page 53 of 248

2. Route the seat belt tongue through the child
restraint and insert it into the buckle until you
hear and feel the latch engage.
Be sure to follow the child restraint manu-
facturer’s instructions for belt routing.3. Pull on the shoulder belt until all of the belt is
fully extended. At this time, the seat belt
retractor is in the automatic locking mode
(child restraint mode) . It reverts to emer-
gency locking mode when the seat belt is
fully retracted.4. Allow the seat belt to retract slightly. Pull up
on the shoulder belt to remove any slack in
the belt.
Front Facing — step 2
WRS0159
Front Facing — step 3
WRS0160
Front Facing — step 4
WRS0161
Safety—Seats, seat belts and supplemental air bags1-37
ZREVIEW COPY:Ð2004 Sentra(b15)
Owners Manual(owners)ÐUSA English(nna)
03/18/04Ðtbrooks
X
Page 55 of 248

2 Instruments and controls
Instrument panel...................................2-2
Meters and gauges................................2-3
Speedometer and odometer.....................2-4
Trip computer (if so equipped)...................2-5
Tachometer (if so equipped).....................2-6
Engine coolant temperature gauge...............2-7
Fuel gauge....................................2-7
Warning/indicator lights and audible reminders.......2-9
Checking bulbs................................2-9
Warning lights.................................2-9
Indicator lights................................2-11
Audible reminders.............................2-12
Security systems.................................2-13
Nissan vehicle immobilizer system (NVIS) (if
so equipped)..................................2-13
Vehicle security system (if so equipped)..........2-14
Windshield wiper and washer switch...............2-17
Switch operation..............................2-17
Rear window defroster switch......................2-18
Headlight and turn signal switch....................2-18
Headlight control switch........................2-18
Daytime running light system (Canada only)......2-19Instrument brightness control...................2-19
Turn signal switch.............................2-20
Fog light switch (if so equipped)................2-20
Hazard warning flasher switch.....................2-20
Horn............................................2-21
Power outlet.....................................2-21
Cigarette lighter..................................2-22
Storage.........................................2-23
Sunglasses holder (if so equipped)..............2-23
Cup holders..................................2-24
Glove box....................................2-24
Coin box.....................................2-25
Console box (if so equipped)...................2-25
Instrument panel storage (if so equipped)........2-25
Windows........................................2-26
Power windows (if so equipped)................2-26
Manual windows..............................2-28
Sunroof (if so equipped)...........................2-28
Electric sunroof...............................2-28
Interior light......................................2-29
Map lights (if so equipped)........................2-30
Trunk light.......................................2-30
ZREVIEW COPY:Ð2004 Sentra(b15)
Owners Manual(owners)ÐUSA English(nna)
03/18/04Ðtbrooks
X
Page 58 of 248

SPEEDOMETER AND ODOMETER
Speedometer
The speedometers1indicates vehicle speed in
miles per hour (MPH) and kilometers per hour
(km/h) .
Odometer/Twin trip odometer
The odometer/twin trip odometers2is displayed
when the ignition key is in the ON position.
The odometer records the total distance the ve-
hicle has been driven.
The twin trip odometer records the distance of
individual trips.Changing the display:
For vehicles equipped with twin trip odometer,
pushing the change button
s3changes the dis-
play as follows:
ODO (odometer)!Trip
!Trip!
ODO
For vehicles equipped with trip computer, push-
ing the change button
s3changes the display as
follows:
Trip
!Trip!Outside air tempera-
ture!Distance to Empty!Average fuel con-
sumption!Average speed!Journey time!
Trip
Type D
LIC0480
Twin trip odometer
WIC0494
Trip computer
WIC0601
2-4Instruments and controls
ZREVIEW COPY:Ð2004 Sentra(b15)
Owners Manual(owners)ÐUSA English(nna)
03/18/04Ðtbrooks
X
Page 60 of 248

Journey time
The journey time mode shows the time since the
last reset. The displayed time can be reset by
pressing the change button for more than ap-
proximately 1 second.
NOTE:
If a low temperature warning and low range
warning occur simultaneously, other dis-
play modes switch automatically to the
outside temperature display.
When the change button is pushed, the
display switches to the mode chosen be-
fore the warning display, and the outside
air temperature indicator marked ICY will
blink.
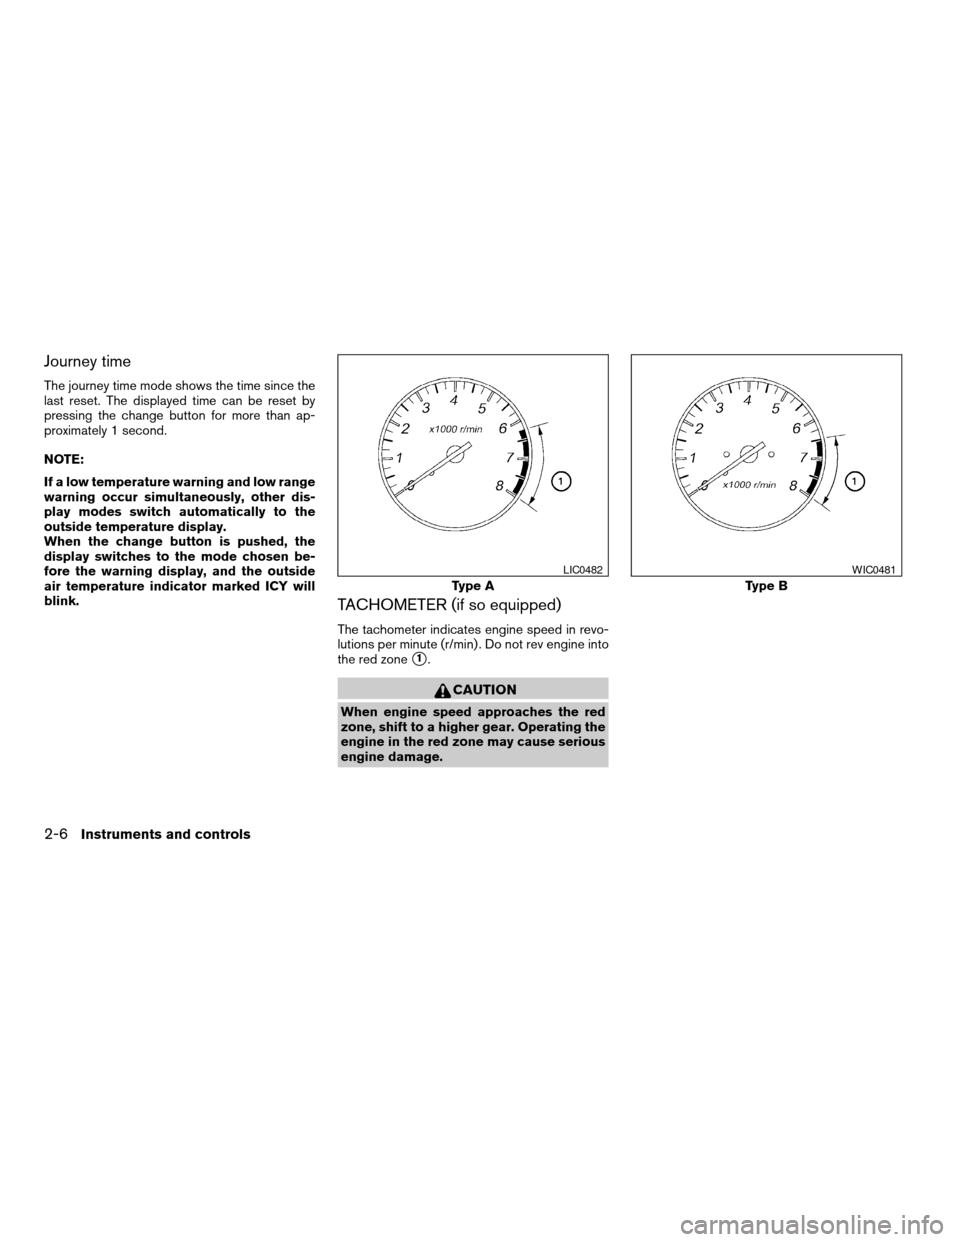
TACHOMETER (if so equipped)
The tachometer indicates engine speed in revo-
lutions per minute (r/min) . Do not rev engine into
the red zone
s1.
CAUTION
When engine speed approaches the red
zone, shift to a higher gear. Operating the
engine in the red zone may cause serious
engine damage.
Type A
LIC0482
Type B
WIC0481
2-6Instruments and controls
ZREVIEW COPY:Ð2004 Sentra(b15)
Owners Manual(owners)ÐUSA English(nna)
03/18/04Ðtbrooks
X
Page 64 of 248

the parking brake not applied, stop the vehicle
and perform the following:
1. Check the brake fluid level. Add brake fluid
as necessary. See “Brake fluid” in the “Main-
tenance and do-it-yourself” section of this
manual.
2. If the brake fluid level is correct, have the
brake system checked by a NISSAN dealer.
WARNING
cYour vehicle is equipped with an auto-
matic engine cooling fan. It may come
on at any time without warning, even if
the ignition key is in the OFF position
and the engine is not running. To avoid
injury, always disconnect the negative
battery cable before working near the
fan.
cPressing the brake pedal with the en-
gine stopped and/or a low brake fluid
level may increase your stopping dis-
tance and braking will require greater
pedal effort as well as pedal travel.
cIf the brake fluid level is below the
MINIMUM or MIN mark on the brake
fluid reservoir, do not drive until the
brake system has been checked at a
NISSAN dealer.
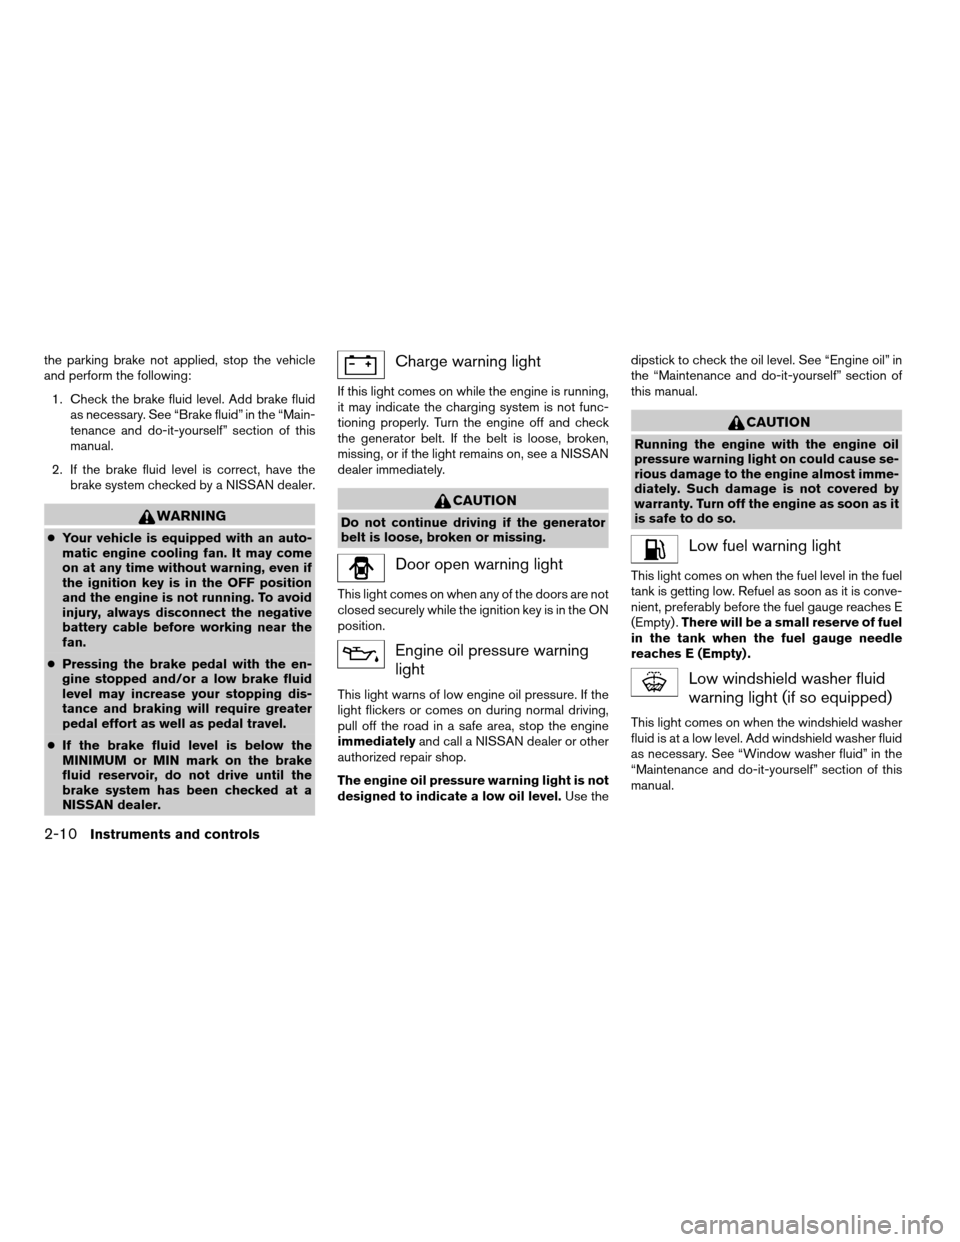
Charge warning light
If this light comes on while the engine is running,
it may indicate the charging system is not func-
tioning properly. Turn the engine off and check
the generator belt. If the belt is loose, broken,
missing, or if the light remains on, see a NISSAN
dealer immediately.
CAUTION
Do not continue driving if the generator
belt is loose, broken or missing.
Door open warning light
This light comes on when any of the doors are not
closed securely while the ignition key is in the ON
position.
Engine oil pressure warning
light
This light warns of low engine oil pressure. If the
light flickers or comes on during normal driving,
pull off the road in a safe area, stop the engine
immediatelyand call a NISSAN dealer or other
authorized repair shop.
The engine oil pressure warning light is not
designed to indicate a low oil level.Use thedipstick to check the oil level. See “Engine oil” in
the “Maintenance and do-it-yourself” section of
this manual.
CAUTION
Running the engine with the engine oil
pressure warning light on could cause se-
rious damage to the engine almost imme-
diately. Such damage is not covered by
warranty. Turn off the engine as soon as it
is safe to do so.
Low fuel warning light
This light comes on when the fuel level in the fuel
tank is getting low. Refuel as soon as it is conve-
nient, preferably before the fuel gauge reaches E
(Empty) .There will be a small reserve of fuel
in the tank when the fuel gauge needle
reaches E (Empty) .
Low windshield washer fluid
warning light (if so equipped)
This light comes on when the windshield washer
fluid is at a low level. Add windshield washer fluid
as necessary. See “Window washer fluid” in the
“Maintenance and do-it-yourself” section of this
manual.
2-10Instruments and controls
ZREVIEW COPY:Ð2004 Sentra(b15)
Owners Manual(owners)ÐUSA English(nna)
03/18/04Ðtbrooks
X
Page 65 of 248

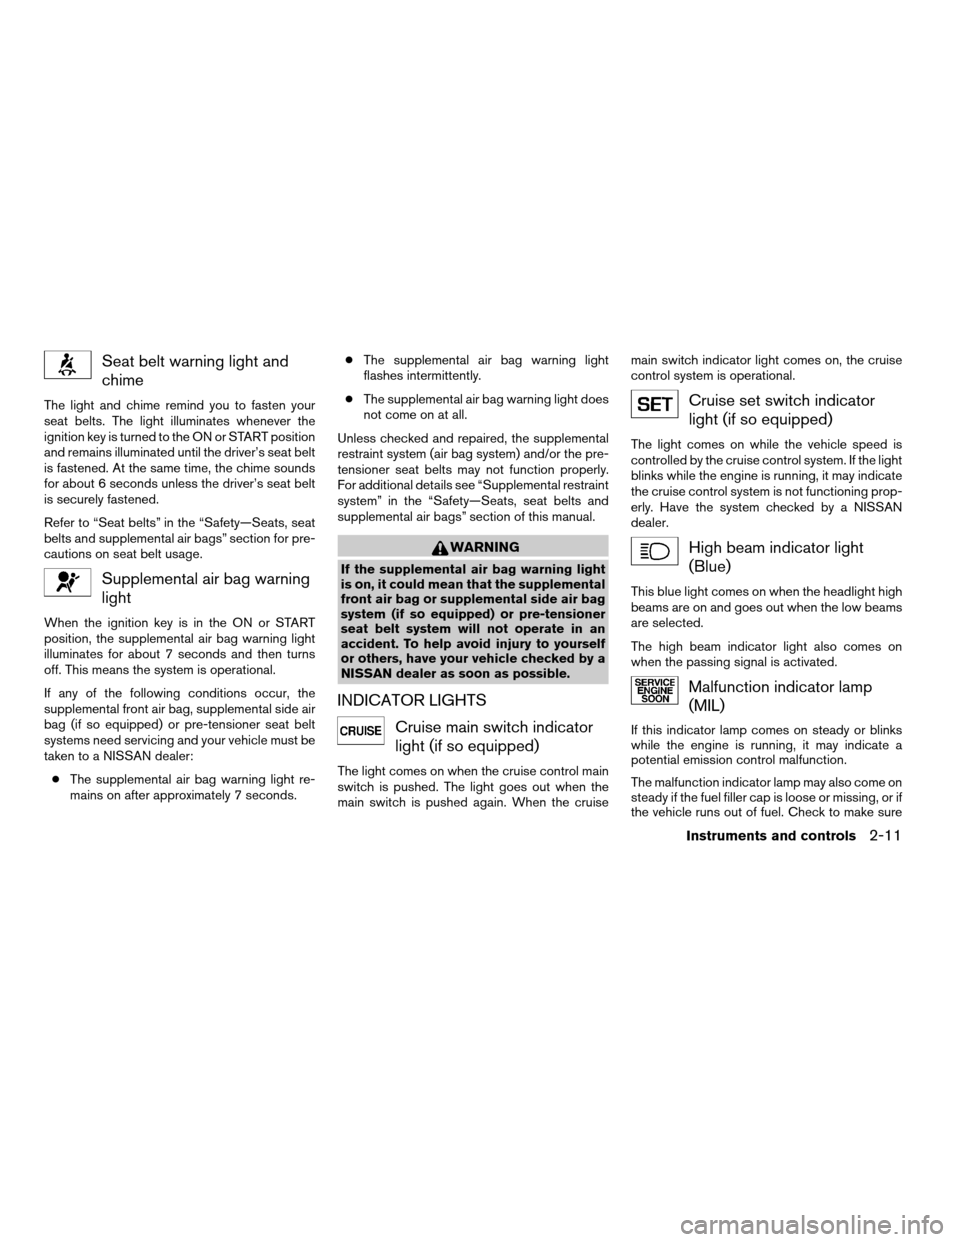
Seat belt warning light and
chime
The light and chime remind you to fasten your
seat belts. The light illuminates whenever the
ignition key is turned to the ON or START position
and remains illuminated until the driver’s seat belt
is fastened. At the same time, the chime sounds
for about 6 seconds unless the driver’s seat belt
is securely fastened.
Refer to “Seat belts” in the “Safety—Seats, seat
belts and supplemental air bags” section for pre-
cautions on seat belt usage.
Supplemental air bag warning
light
When the ignition key is in the ON or START
position, the supplemental air bag warning light
illuminates for about 7 seconds and then turns
off. This means the system is operational.
If any of the following conditions occur, the
supplemental front air bag, supplemental side air
bag (if so equipped) or pre-tensioner seat belt
systems need servicing and your vehicle must be
taken to a NISSAN dealer:
cThe supplemental air bag warning light re-
mains on after approximately 7 seconds.cThe supplemental air bag warning light
flashes intermittently.
cThe supplemental air bag warning light does
not come on at all.
Unless checked and repaired, the supplemental
restraint system (air bag system) and/or the pre-
tensioner seat belts may not function properly.
For additional details see “Supplemental restraint
system” in the “Safety—Seats, seat belts and
supplemental air bags” section of this manual.
WARNING
If the supplemental air bag warning light
is on, it could mean that the supplemental
front air bag or supplemental side air bag
system (if so equipped) or pre-tensioner
seat belt system will not operate in an
accident. To help avoid injury to yourself
or others, have your vehicle checked by a
NISSAN dealer as soon as possible.
INDICATOR LIGHTS
Cruise main switch indicator
light (if so equipped)
The light comes on when the cruise control main
switch is pushed. The light goes out when the
main switch is pushed again. When the cruisemain switch indicator light comes on, the cruise
control system is operational.
Cruise set switch indicator
light (if so equipped)
The light comes on while the vehicle speed is
controlled by the cruise control system. If the light
blinks while the engine is running, it may indicate
the cruise control system is not functioning prop-
erly. Have the system checked by a NISSAN
dealer.
High beam indicator light
(Blue)
This blue light comes on when the headlight high
beams are on and goes out when the low beams
are selected.
The high beam indicator light also comes on
when the passing signal is activated.
Malfunction indicator lamp
(MIL)
If this indicator lamp comes on steady or blinks
while the engine is running, it may indicate a
potential emission control malfunction.
The malfunction indicator lamp may also come on
steady if the fuel filler cap is loose or missing, or if
the vehicle runs out of fuel. Check to make sure
Instruments and controls2-11
ZREVIEW COPY:Ð2004 Sentra(b15)
Owners Manual(owners)ÐUSA English(nna)
03/18/04Ðtbrooks
X
Page 69 of 248

How to arm the vehicle security sys-
tem
1. Close all windows.(The system can be
armed even if the windows are open.)
2. Remove the key from the ignition switch.3. Close the trunk lid and all doors. Lock all
doors. The doors can be locked with the key
or with the keyfob.
Keyfob operation:
cPush the LOCK or
button on the
keyfob. All doors lock. The hazard lights
flash twice and the horn beeps once to
indicate all doors are locked.
cWhen the LOCK or
button is
pushed with all doors locked, the hazard
lights flash twice and the horn beeps
once as a reminder that the doors are
already locked.
The horn may or may not beep once. Refer to
“Silencing the horn beep feature” later in this
section.
4. Confirm that the SECURITY indicator light
comes on. The SECURITY light stays on for
about 30 seconds. The vehicle security sys-
tem is now pre-armed. After about 30 sec-
onds the vehicle security system automati-
cally shifts into the armed phase. The
SECURITY light begins to flash once every 3
seconds. If, during the 30-second pre-arm
time period, the door is unlocked by the key
or the keyfob, or the ignition key is turned to
ACC or ON, the system will not arm.cIf the key is turned slowly when locking
the door, the system may not arm. Fur-
thermore, if the key is turned exces-
sively to the unlock position, the sys-
tem may be disarmed when the key is
removed. If the indicator light fails to
glow for 30 seconds, unlock the door
once and lock it again.
cEven when the driver and/or passen-
gers are in the vehicle, the system will
arm with all doors and trunk lid closed
and locked with the ignition key in the
OFF position.
Vehicle security system activation
The vehicle security system will give the following
alarm:
cThe headlights blink and the horn sounds
intermittently.
cThe alarm automatically turns off after about
50 seconds. However, the alarm reactivates
if the vehicle is tampered with again. The
alarm can be shut off by unlocking a door or
trunk lid with the key, or by pressing the
UNLOCK or
button on the keyfob.
LIC0053
Instruments and controls2-15
ZREVIEW COPY:Ð2004 Sentra(b15)
Owners Manual(owners)ÐUSA English(nna)
03/18/04Ðtbrooks
X