2004 NISSAN FRONTIER clock
[x] Cancel search: clockPage 34 of 296
PASSENGER SUPPLEMENTAL AIR
BAG ON/OFF SWITCH AND LIGHT
(except Crew Cab models)
WARNING
Air bags and seat belts are designed to
work as a unit. Do not switch the air bag
OFF unless you meet federal government
criteria. Switching off the air bag may in-
crease the risk of serious or fatal injuries
in a collision where the air bag would have
inflated.
In rare instances, some passengers are exposed
to serious injury risks from inflating air bags, es-
pecially if not properly restrained. The U.S. and
Canadian federal governments recognize other
limited circumstances in which an air bag could
reduce safety. The passenger air bag ON/OFF
switch is, therefore, allowed in models without full
rear seats. Because the overall benefits of air
bags are great, in most situations air bags should
not be switched off unless special government
criteria exist.
The passenger air bag ON/OFF switch is located
under the climate controls. It can be used to turn
the passenger supplemental air bag OFF.The ON/OFF switch should ONLY be used to
turn the passenger supplemental air bag OFF
when the following government criteria exists:
cInfants (less than 1 year old) in rear facing
child restraints MUST be placed in the front
passenger seat.
cChildren ages 1-12 years MUST be placed
in the front passenger seat.
cThe passenger has a medical condition
which, according to a physician, causes the
air bag to pose a special risk and makes the
potential harm from the air bag greater than
the potential harm from turning off the air
bag.
Seat belts and child restraints should always be
properly used. See “Precautions on seat belt
usage” and “Child restraints” later in this section
for details.
To turn the passenger supplemental air bag OFF,
insert the ignition key in the passenger supple-
mental air bag ON/OFF switch and turn the
switch clockwise to the OFF position. Then re-
move the key. When the ignition is turned to the
ON or START position the passenger air bag
OFF indicator light will illuminate to indicate the
air bag is OFF. To turn the passenger supplemen-
tal air bag ON, insert the ignition key in the
passenger supplemental air bag ON/OFF switchand turn the switch counter clockwise to the ON
position. Then remove the key. When the ignition
is turned to the ON or START position the pas-
senger air bag OFF indicator light will illuminate
for 7 seconds to indicate the system is working
properly and then go out to indicate that the
passenger supplemental air bag is ON.
1. Do not operate the passenger supplemental
air bag ON/OFF switch when the ignition is
ON.
2. Fully turn the passenger supplemental air
bag ON/OFF switch to either the ON or OFF
position.
3. Always remove the ignition key after using
the passenger supplemental air bag
ON/OFF switch.
4. The passenger air bag OFF indicator light
should illuminate for 7 seconds after the
ignition is turned to the ON or START posi-
tion. If not, the vehicle should be taken to a
NISSAN dealer.
Items 2 and 3 above are intended to prevent
improper use of the ignition key.
When the switch is turned to the ON position, the
passenger supplemental air bag is enabled and
could inflate in a frontal collision. When the
switch is turned to the OFF position, the passen-
ger supplemental air bag is disabled and will not
1-16Safety—Seats, seat belts and supplemental air bags
ZREVIEW COPY:Ð2004 Truck/Frontier(d22)
Owners Manual(owners)ÐUSA English(nna)
11/21/03Ðdebbie
X
Page 99 of 296

Tubular roof rack crossbar adjustment
The front and rear crossbars can be adjusted
forward, backward, or be removed. Use the
Torxdriver located in the tool kit to loosen both
crossbar adjusting screws.To adjust:
1. Loosen the adjusting screws with the
Torxdriver by turning counterclockwise.2. When the clamp is loosened, move the
crossbars so the cargo can be positioned on
the crossbars.
3. Tighten the crossbar adjusting screws with
the Torxdriver by turning clockwise.
4. Secure the cargo with rope.
5. Always check the tightness of the crossbar
adjusting screws.
To remove:
1. Loosen the adjusting screws with the
Torxdriver by turning counterclockwise.
2. Rotate the clamps.
3. Remove the crossbars.
4. Reverse to install.
5. Always check the tightness of the crossbar
adjusting screws.
If you hear wind noise coming from the roof rack
while driving, adjust the roof rack crossbars to the
most rearward position.
AIC1147
Instruments and controls2-31
ZREVIEW COPY:Ð2004 Truck/Frontier(d22)
Owners Manual(owners)ÐUSA English(nna)
11/21/03Ðdebbie
X
Page 115 of 296
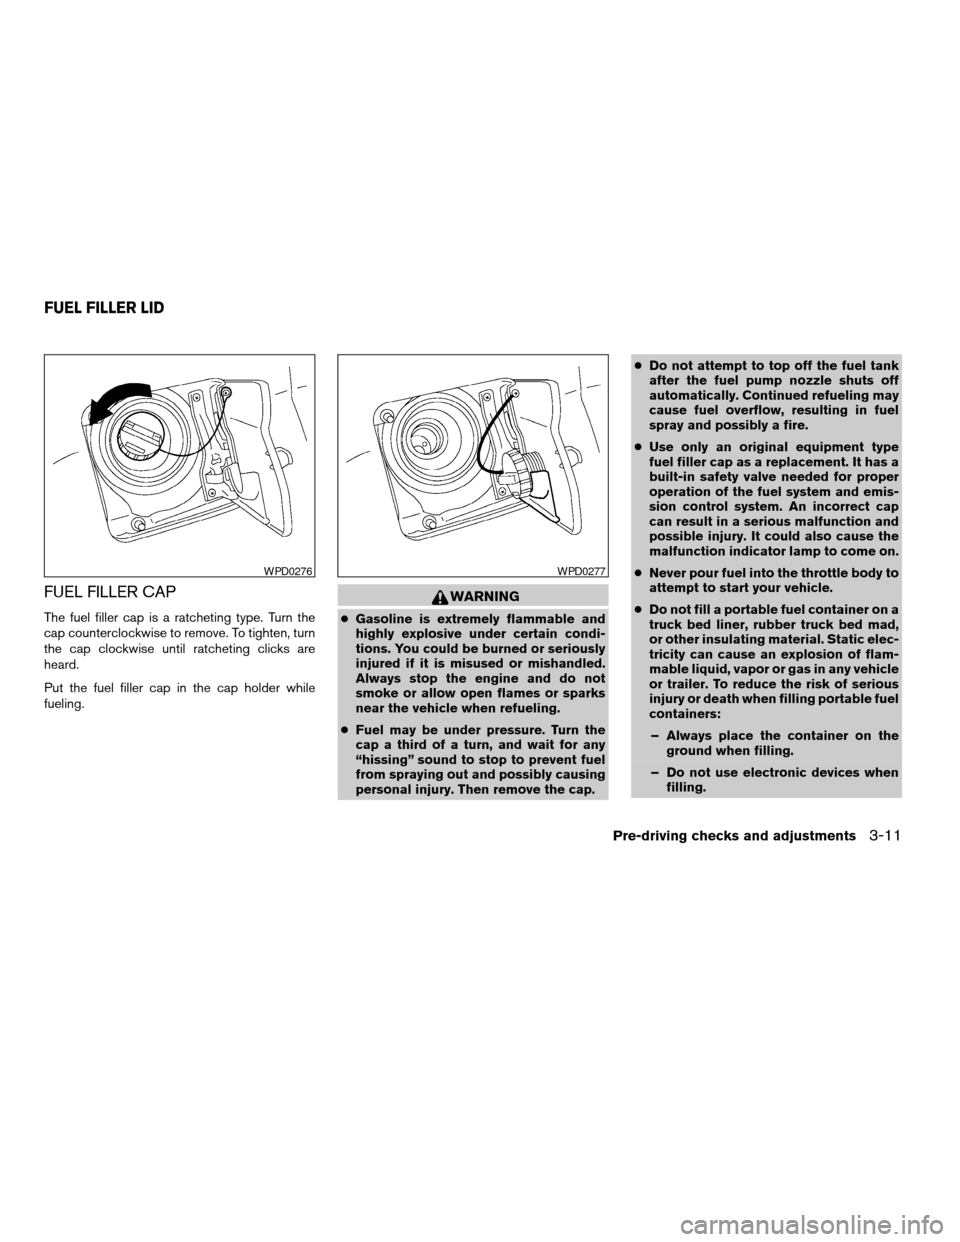
FUEL FILLER CAP
The fuel filler cap is a ratcheting type. Turn the
cap counterclockwise to remove. To tighten, turn
the cap clockwise until ratcheting clicks are
heard.
Put the fuel filler cap in the cap holder while
fueling.
WARNING
cGasoline is extremely flammable and
highly explosive under certain condi-
tions. You could be burned or seriously
injured if it is misused or mishandled.
Always stop the engine and do not
smoke or allow open flames or sparks
near the vehicle when refueling.
cFuel may be under pressure. Turn the
cap a third of a turn, and wait for any
“hissing” sound to stop to prevent fuel
from spraying out and possibly causing
personal injury. Then remove the cap.cDo not attempt to top off the fuel tank
after the fuel pump nozzle shuts off
automatically. Continued refueling may
cause fuel overflow, resulting in fuel
spray and possibly a fire.
cUse only an original equipment type
fuel filler cap as a replacement. It has a
built-in safety valve needed for proper
operation of the fuel system and emis-
sion control system. An incorrect cap
can result in a serious malfunction and
possible injury. It could also cause the
malfunction indicator lamp to come on.
cNever pour fuel into the throttle body to
attempt to start your vehicle.
cDo not fill a portable fuel container on a
truck bed liner, rubber truck bed mad,
or other insulating material. Static elec-
tricity can cause an explosion of flam-
mable liquid, vapor or gas in any vehicle
or trailer. To reduce the risk of serious
injury or death when filling portable fuel
containers:
– Always place the container on the
ground when filling.
– Do not use electronic devices when
filling.
WPD0276WPD0277
FUEL FILLER LID
Pre-driving checks and adjustments3-11
ZREVIEW COPY:Ð2004 Truck/Frontier(d22)
Owners Manual(owners)ÐUSA English(nna)
11/21/03Ðdebbie
X
Page 135 of 296
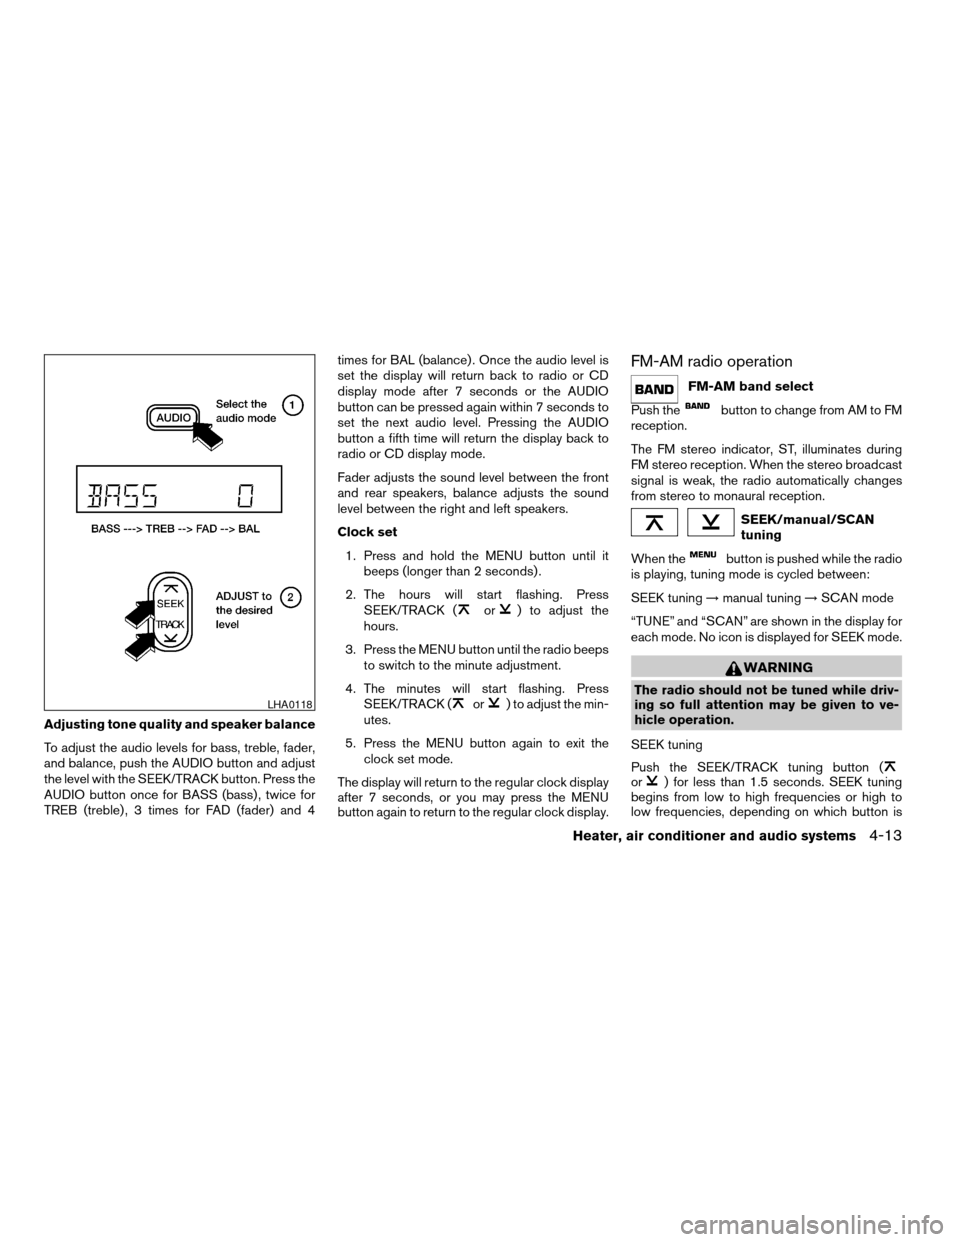
Adjusting tone quality and speaker balance
To adjust the audio levels for bass, treble, fader,
and balance, push the AUDIO button and adjust
the level with the SEEK/TRACK button. Press the
AUDIO button once for BASS (bass) , twice for
TREB (treble) , 3 times for FAD (fader) and 4times for BAL (balance) . Once the audio level is
set the display will return back to radio or CD
display mode after 7 seconds or the AUDIO
button can be pressed again within 7 seconds to
set the next audio level. Pressing the AUDIO
button a fifth time will return the display back to
radio or CD display mode.
Fader adjusts the sound level between the front
and rear speakers, balance adjusts the sound
level between the right and left speakers.
Clock set
1. Press and hold the MENU button until it
beeps (longer than 2 seconds) .
2. The hours will start flashing. Press
SEEK/TRACK (
or) to adjust the
hours.
3. Press the MENU button until the radio beeps
to switch to the minute adjustment.
4. The minutes will start flashing. Press
SEEK/TRACK (
or) to adjust the min-
utes.
5. Press the MENU button again to exit the
clock set mode.
The display will return to the regular clock display
after 7 seconds, or you may press the MENU
button again to return to the regular clock display.
FM-AM radio operation
FM-AM band select
Push the
button to change from AM to FM
reception.
The FM stereo indicator, ST, illuminates during
FM stereo reception. When the stereo broadcast
signal is weak, the radio automatically changes
from stereo to monaural reception.
SEEK/manual/SCAN
tuning
When the
button is pushed while the radio
is playing, tuning mode is cycled between:
SEEK tuning!manual tuning!SCAN mode
“TUNE” and “SCAN” are shown in the display for
each mode. No icon is displayed for SEEK mode.
WARNING
The radio should not be tuned while driv-
ing so full attention may be given to ve-
hicle operation.
SEEK tuning
Push the SEEK/TRACK tuning button (
or) for less than 1.5 seconds. SEEK tuning
begins from low to high frequencies or high to
low frequencies, depending on which button is
LHA0118
Heater, air conditioner and audio systems4-13
ZREVIEW COPY:Ð2004 Truck/Frontier(d22)
Owners Manual(owners)ÐUSA English(nna)
11/21/03Ðdebbie
X
Page 138 of 296

1. Disc loading button
2. SEEK/TRACK button
3. CD select button
4. Band select buttons
5. CD insert slot
6. CD eject button
7. Radio manual tuning buttons
8. RPT MIX/PTY button
9. CLOCK button
10. AUDIO button
11. TRAVEL PRESET button
12. Station select buttons
13. RDS button
14. SCAN button
15. PRESET SCAN button
16. PWR/VOL control knob
17. PRESET ABC button
FM-AM RADIO WITH COMPACT
DISC (CD) CHANGER (if so
equipped)
PWR/VOL control knob
Turn the ignition key to the ACC or ON position,
then push the PWR/VOL control knob. If you
listen to the radio with the engine not running,
turn the key to the ACC position. The mode (radio
or CD) that was playing immediately before the
system was turned off resumes playing.
WHA0134
4-16Heater, air conditioner and audio systems
ZREVIEW COPY:Ð2004 Truck/Frontier(d22)
Owners Manual(owners)ÐUSA English(nna)
11/21/03Ðdebbie
X
Page 140 of 296
Adjusting tone quality and speaker balance
Press the AUDIO button to enter the audio adjust
mode:
Bass!Mid!Treb!Fade!Bal
Press the TUNE/FF-REV (
or)or
SEEK/TRACK (or) to adjust to the de-
sired levels. The display will return to the regular
radio display after 7 seconds, or you may press
the AUDIO button again to return to the regular
radio display.
Clock operation
Pressing the CLOCK button displays the clock
with the radio on or off. Press the CLOCK button
again to turn off the clock display.
Clock set
1. Press and hold the CLOCK button until it
beeps (>2 seconds) .
2. The hours will start flashing. Press
TUNE/FF-REV (
or)or
SEEK/TRACK (or) to adjust the
hours.
3. Press the CLOCK button to switch to the
minute adjustment.
4. Press TUNE/FF-REV (
or)or
SEEK/TRACK (or) to adjust the min-
utes.5. Press the CLOCK button again to exit the
clock set mode.
The display will return to the regular clock display
after 7 seconds, or you may press the CLOCK
button again to return to the regular clock display.
FM-AM radio operation
FM-AM band select
Push the AM or the FM button to change from AM
to FM reception.
The FM stereo indicator, ST, illuminates during
FM stereo reception. When the stereo broadcast
signal is weak, the radio automatically changes
from stereo to monaural reception.
TUNE/FF—REV
WARNING
The radio should not be tuned while driv-
ing so full attention may be given to ve-
hicle operation.
Use the
andbuttons for manual
tuning. To move quickly through the channels,
hold the tuning buttons down.
SEEK tuning
Push SEEK/TRACK tuning button (
or).
SEEK tuning begins from low to high frequencies
or high to low frequencies, depending on which
button is pressed, and stops at the next broad-
casting station. If using the up button, once the
highest broadcasting station is reached, the ra-
dio continues in the SEEK mode at the lowest
broadcasting station. If using the down button,
once the lowest broadcasting station is reached,
the radio continues in the SEEK mode at the
highest broadcasting station.
SCAN tuning
Push the SCAN button. SCAN illuminates in the
display window. SCAN tuning begins from low to
high frequencies. SCAN tuning stops for 5 sec-
onds at each broadcasting station that has suffi-
cient signal strength. When scanning, SCAN
blinks in the display. Pushing the SCAN button
again during this 5 second period stops SCAN
tuning and the radio remains tuned to that station.
4-18Heater, air conditioner and audio systems
ZREVIEW COPY:Ð2004 Truck/Frontier(d22)
Owners Manual(owners)ÐUSA English(nna)
11/21/03Ðdebbie
X
Page 144 of 296

All preset scan
Pressing the PRESET SCAN button (>1.5 sec-
onds) scans all the permanent preset memory
banks (A, B or C) from 1–6 for 5 seconds. If the
Travel Preset is ON, all the travel preset memory
banks (A, B or C) from 1–6 are scanned for 5
seconds.
Canceling preset scan mode
Pressing any button except CLOCK, EJECT and
PTY cancels the Preset Scan mode.
RDS (radio data system)
RDS stands for Radio Data System, and is a data
information service transmitted by some radiostations on the FM band (not AM band) encoded
within a regular radio broadcast. Currently, most
RDS stations are in large cities, but many stations
are now considering broadcasting RDS data.
RDS can display:
cStation call sign, such as “WHFR 98.3”.
cStation name, such as “The Groove”.
cMusic or programming type, such as “Clas-
sical”, “Country”, or “Rock”.
cTraffic reports about delays or construction.
If the station broadcasts RDS information the
RDS icon is displayed. The RDS information will
be displayed according to the option chosen in
the RDS setup mode. (FM & RDS is the default.)
Press the RDS button again to display the fre-
quency for 3 seconds. The radio will then return
to the normal display. If the station does not
broadcast RDS information, the RDS icon will not
be displayed.
Setting RDS mode
Press and RDS button (>3 seconds) until the
display shows“RDS SET MODE”. This display
will last 2 seconds and then change to
“TRAFFIC-OFF”. Press TUNE/FF-REV (or) to toggle the RDS traffic mode from
“OFF” to “ON”. Press the RDS button again to
set your RDS traffic mode selection.The display changes to“SHOW”for the second
part of the RDS mode selection. Press TUNE/FF-
REV (
or) to switch between the
following RDS display modes:
c“FM & RDS”: the radio display will show the
station’s broadcast frequency and the sta-
tion’s name.
c“RDS ONLY”: the radio display will show the
station’s name only.
c
“RDS TEMP”: the radio display will show the
station’s name for 5 seconds and then display
only the radio station’s broadcast frequency.
PTY (program type)
PTY can be used to search for a certain program
type. Certain areas have a limited number of
stations that transmit RDS. Many stations trans-
mit call letters and frequencies only. Searching or
scanning by program type may yield a limited
number of selections.
1. Press the PTY button. The display changes
from“RDS PTY SEARCH”to“SELECT
BY TUNE”.
2. Press TUNE/FF-REV (
or)
up/down button to choose a specific pro-
gram type:
ROCK, CLASSIC ROCK, SOFT ROCK,
TOP 40, COUNTRY, JAZZ, CLASSICAL,
OLDIES, NEWS, SPORTS, TALK, ANY
LHA0086
4-22Heater, air conditioner and audio systems
ZREVIEW COPY:Ð2004 Truck/Frontier(d22)
Owners Manual(owners)ÐUSA English(nna)
11/21/03Ðdebbie
X
Page 151 of 296
A!B!C!CD Mode
The last CD that was loaded starts to play when
in CD Mode. If there is no CD loaded, the CD
changer enters Disc Loading Mode.
If in Radio presets A, B or C:
cPress
or(<1.5 seconds) to
advance to the next preset station or to
return to the previous preset station.
cHold down
or(>1.5 sec-
onds) . The radio will seek up or down to the
next radio station.
If in CD Mode:
cPress
or(<1.5 seconds) to
advance to the next selection on the CD or
return to the previous selection on the CD.
cHold down
or(>1.5 seconds)
to advance to the next CD or return to the
previous CD.
Volume control is located on the side of the audio
control switch. Press the top of the volume con-
trol to increase volume. Press the bottom of the
volume control to decrease volume.
ANTENNA
The antenna cannot be shortened, but can be
removed. When you need to remove the antenna,
turn the antenna rod counterclockwise.
To install the antenna rod, turn the antenna clock-
wise. Tighten the antenna rod to specification
using a suitable tool such as an open-end
wrench. The antenna rod tightening specification
is 3.4 - 3.6 N·m (30 - 32 in-lb) . Do not use pliers
to tighten the antenna as they can leave marks on
the antenna surface. The antenna rod cannot be
hand tightened to the proper specification.
CAUTION
Always properly tighten the antenna rod
during installation or the antenna rod may
break during vehicle operation.When installing a CB, ham radio or car phone in
your NISSAN, be sure to observe the following
cautions, otherwise the new equipment may ad-
versely affect the MFI (Multiport Fuel Injection)
system and other electronic parts.
WARNING
cA cellular telephone should not be used
while driving so full attention may be
given to vehicle operation. Some juris-
dictions prohibit the use of cellular tele-
phones while driving.
cIf you must make a call while your ve-
hicle is in motion, the hands free cellu-
lar phone operational mode (if so
equipped) is highly recommended. Ex-
ercise extreme caution at all times so
full attention may be given to vehicle
operation.
cIf a conversation in a moving vehicle
requires you to take notes, pull off the
road to a safe location and stop your
vehicle before doing so.
CAUTION
cKeep the antenna as far away as pos-
sible from the Engine Control Module
(ECM) .
CAR PHONE OR CB RADIO
Heater, air conditioner and audio systems4-29
ZREVIEW COPY:Ð2004 Truck/Frontier(d22)
Owners Manual(owners)ÐUSA English(nna)
11/21/03Ðdebbie
X