Page 84 of 264

cTurn signals do not work when the haz-
ard warning flasher lights are on.
The flashers will operate with the ignition switch
in any position.
Some state laws may prohibit the use of
the hazard warning flasher switch while
driving.
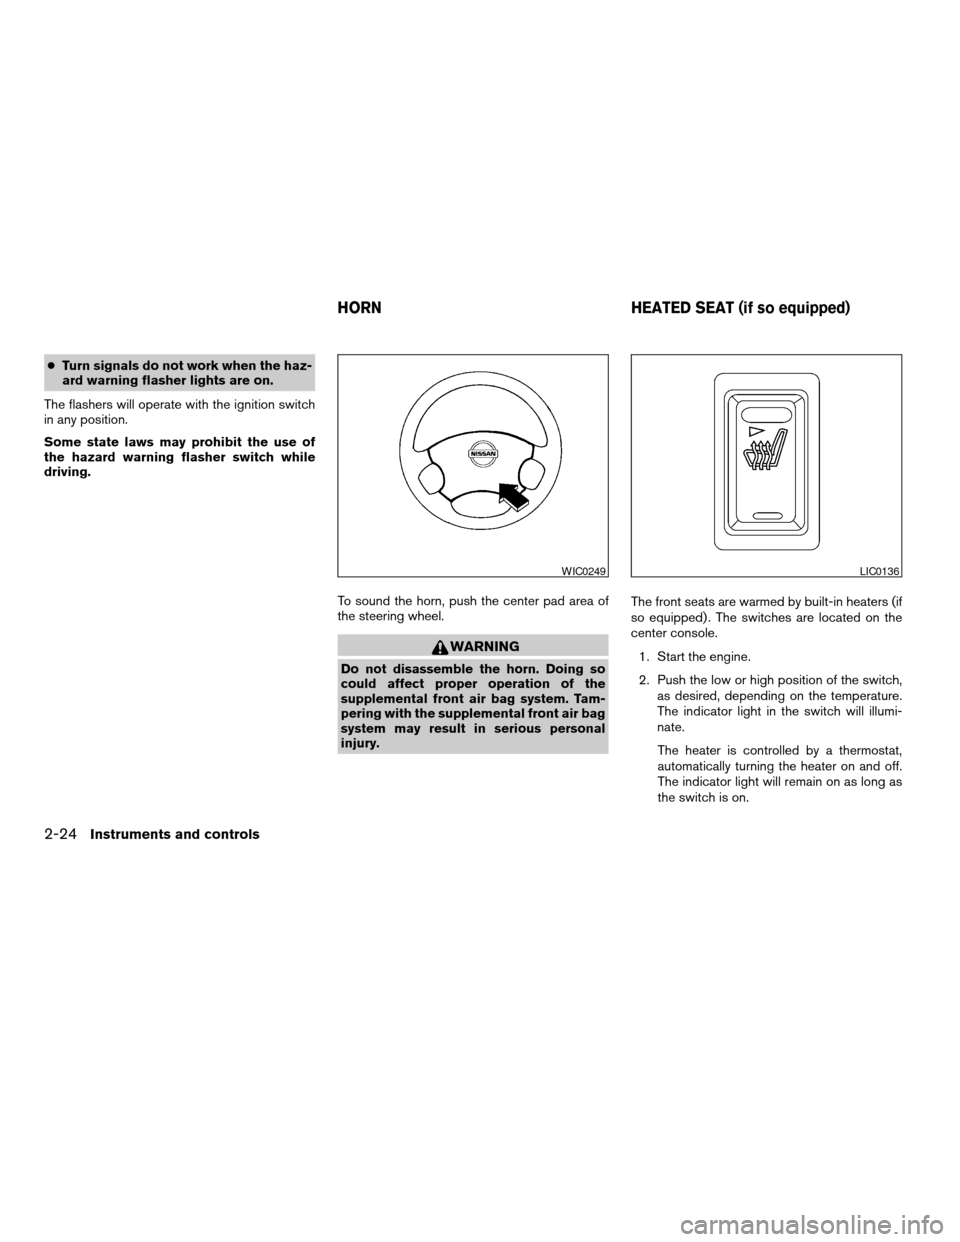
To sound the horn, push the center pad area of
the steering wheel.
WARNING
Do not disassemble the horn. Doing so
could affect proper operation of the
supplemental front air bag system. Tam-
pering with the supplemental front air bag
system may result in serious personal
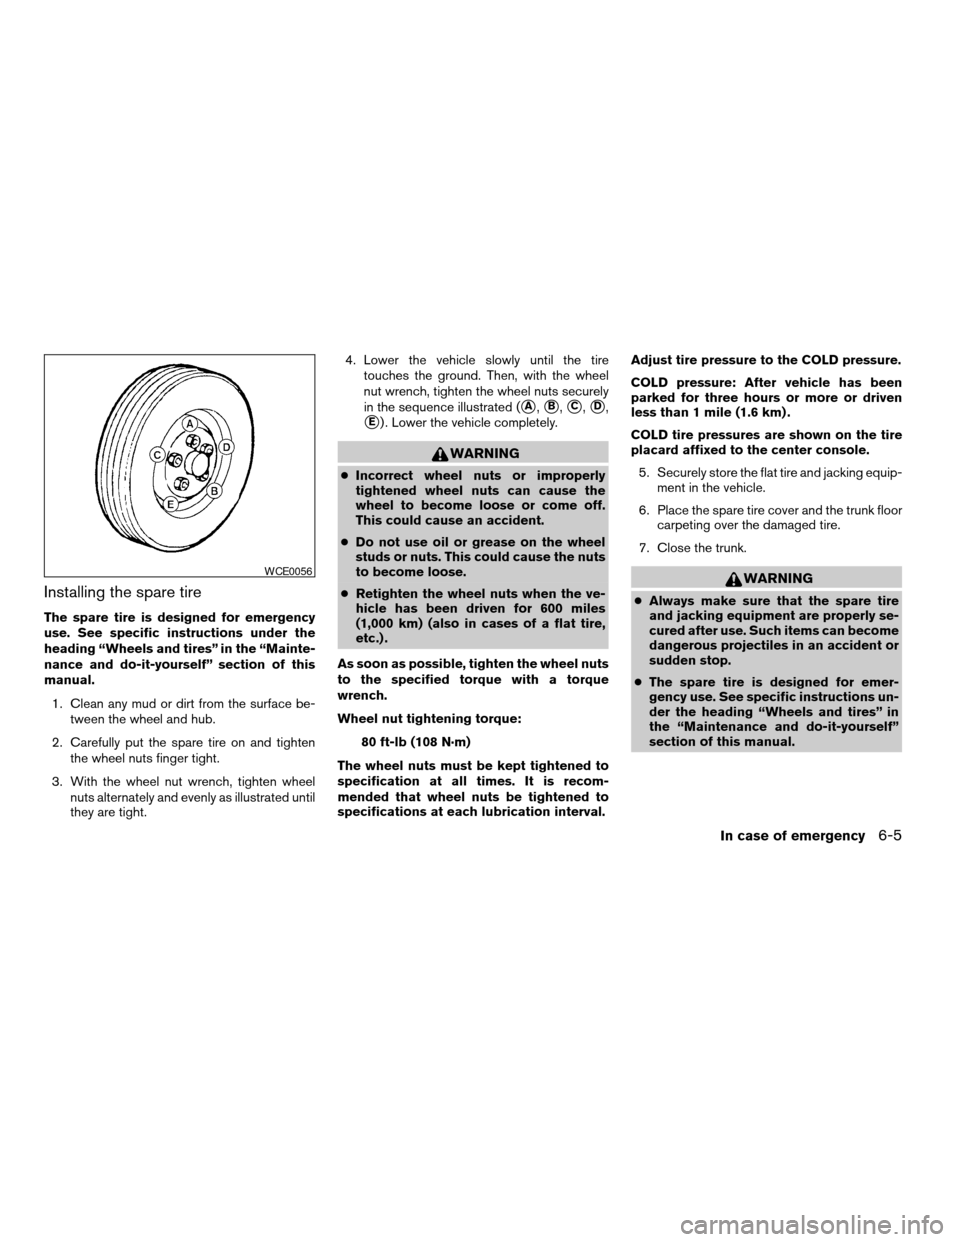
injury.The front seats are warmed by built-in heaters (if
so equipped) . The switches are located on the
center console.
1. Start the engine.
2. Push the low or high position of the switch,
as desired, depending on the temperature.
The indicator light in the switch will illumi-
nate.
The heater is controlled by a thermostat,
automatically turning the heater on and off.
The indicator light will remain on as long as
the switch is on.
WIC0249LIC0136
HORN HEATED SEAT (if so equipped)
2-24Instruments and controls
ZREVIEW COPY:Ð2004 Altima(l30)
Owners Manual(owners)ÐUSA English(nna)
10/10/03Ðtbrooks
X
Page 89 of 264
GLOVE BOX
Open the glove box by pulling the handle. Use the
master key when locking
s1or unlockings2the
glove box. The valet key cannot be used to lock or
unlock the glove box.
WARNING
Keep glove box lid closed while driving to
help prevent injury in an accident or a
sudden stop.
CONSOLE BOX
WARNING
The center console box should not be
used while driving so full attention may be
given to vehicle operation.
CAUTION
cThis power outlet is not designed for
use with a cigarette lighter unit.
cDo not use accessories that exceed 12
volt, 120W (10A) power draw. Do not use
double adapters or more than one elec-
trical accessory.
Armrest
Push the button to elevate the armrest. To return
armrest to regular position, push armrest rear-
ward until locked.
WIC0374WIC0283
Instruments and controls2-29
ZREVIEW COPY:Ð2004 Altima(l30)
Owners Manual(owners)ÐUSA English(nna)
10/10/03Ðtbrooks
X
Page 177 of 264

Installing the spare tire
The spare tire is designed for emergency
use. See specific instructions under the
heading “Wheels and tires” in the “Mainte-
nance and do-it-yourself” section of this
manual.
1. Clean any mud or dirt from the surface be-
tween the wheel and hub.
2. Carefully put the spare tire on and tighten
the wheel nuts finger tight.
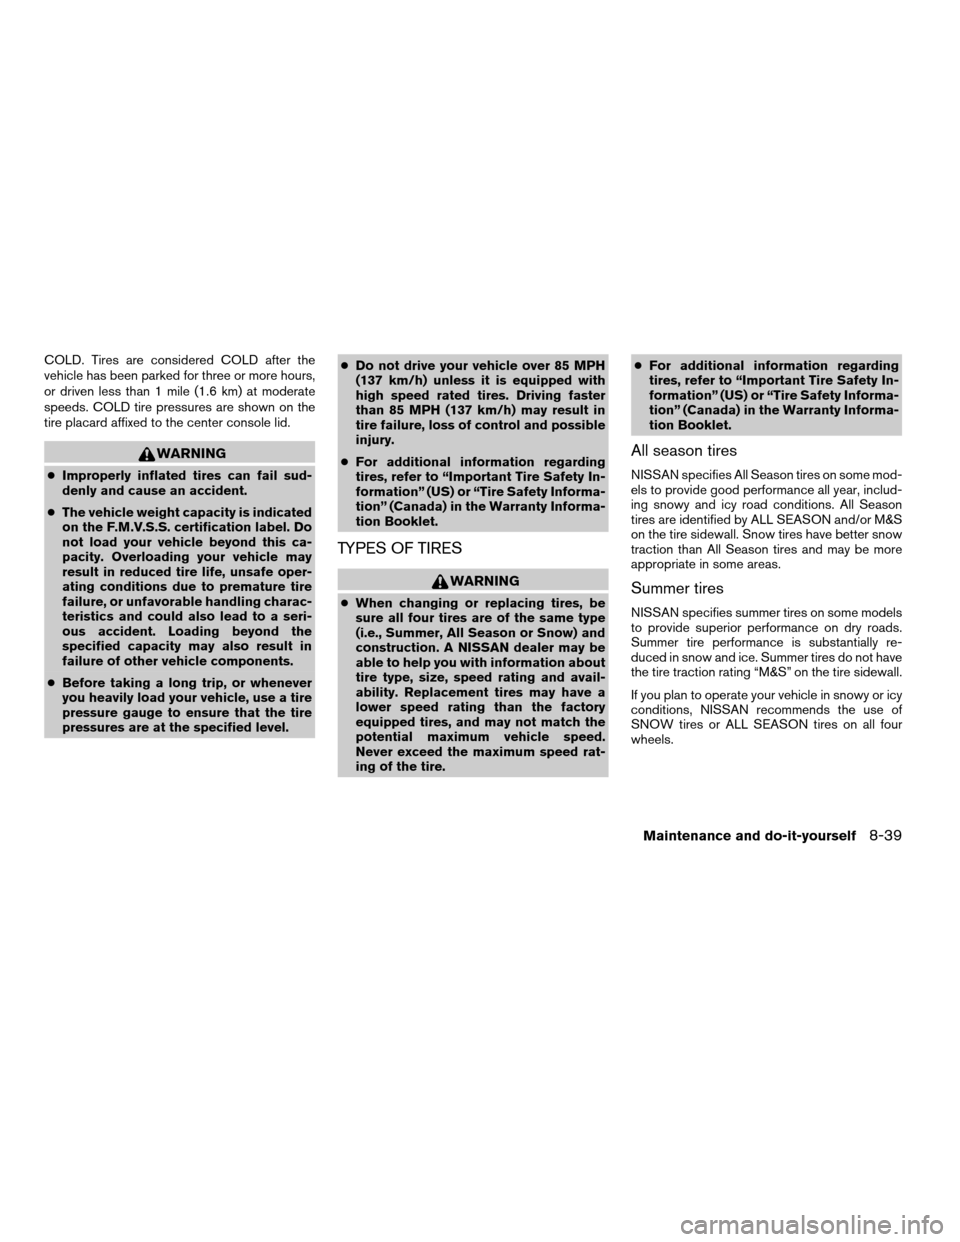
3. With the wheel nut wrench, tighten wheel
nuts alternately and evenly as illustrated until
they are tight.4. Lower the vehicle slowly until the tire
touches the ground. Then, with the wheel
nut wrench, tighten the wheel nuts securely
in the sequence illustrated (
sA,sB,sC,sD,
sE) . Lower the vehicle completely.
WARNING
cIncorrect wheel nuts or improperly
tightened wheel nuts can cause the
wheel to become loose or come off.
This could cause an accident.
cDo not use oil or grease on the wheel
studs or nuts. This could cause the nuts
to become loose.
cRetighten the wheel nuts when the ve-
hicle has been driven for 600 miles
(1,000 km) (also in cases of a flat tire,
etc.) .
As soon as possible, tighten the wheel nuts
to the specified torque with a torque
wrench.
Wheel nut tightening torque:
80 ft-lb (108 N·m)
The wheel nuts must be kept tightened to
specification at all times. It is recom-
mended that wheel nuts be tightened to
specifications at each lubrication interval.Adjust tire pressure to the COLD pressure.
COLD pressure: After vehicle has been
parked for three hours or more or driven
less than 1 mile (1.6 km) .
COLD tire pressures are shown on the tire
placard affixed to the center console.
5. Securely store the flat tire and jacking equip-
ment in the vehicle.
6. Place the spare tire cover and the trunk floor
carpeting over the damaged tire.
7. Close the trunk.
WARNING
cAlways make sure that the spare tire
and jacking equipment are properly se-
cured after use. Such items can become
dangerous projectiles in an accident or
sudden stop.
cThe spare tire is designed for emer-
gency use. See specific instructions un-
der the heading “Wheels and tires” in
the “Maintenance and do-it-yourself”
section of this manual.
WCE0056
In case of emergency6-5
ZREVIEW COPY:Ð2004 Altima(l30)
Owners Manual(owners)ÐUSA English(nna)
10/13/03Ðtbrooks
X
Page 229 of 264

COLD. Tires are considered COLD after the
vehicle has been parked for three or more hours,
or driven less than 1 mile (1.6 km) at moderate
speeds. COLD tire pressures are shown on the
tire placard affixed to the center console lid.
WARNING
cImproperly inflated tires can fail sud-
denly and cause an accident.
cThe vehicle weight capacity is indicated
on the F.M.V.S.S. certification label. Do
not load your vehicle beyond this ca-
pacity. Overloading your vehicle may
result in reduced tire life, unsafe oper-
ating conditions due to premature tire
failure, or unfavorable handling charac-
teristics and could also lead to a seri-
ous accident. Loading beyond the
specified capacity may also result in
failure of other vehicle components.
cBefore taking a long trip, or whenever
you heavily load your vehicle, use a tire
pressure gauge to ensure that the tire
pressures are at the specified level.cDo not drive your vehicle over 85 MPH
(137 km/h) unless it is equipped with
high speed rated tires. Driving faster
than 85 MPH (137 km/h) may result in
tire failure, loss of control and possible
injury.
cFor additional information regarding
tires, refer to “Important Tire Safety In-
formation” (US) or “Tire Safety Informa-
tion” (Canada) in the Warranty Informa-
tion Booklet.
TYPES OF TIRES
WARNING
cWhen changing or replacing tires, be
sure all four tires are of the same type
(i.e., Summer, All Season or Snow) and
construction. A NISSAN dealer may be
able to help you with information about
tire type, size, speed rating and avail-
ability. Replacement tires may have a
lower speed rating than the factory
equipped tires, and may not match the
potential maximum vehicle speed.
Never exceed the maximum speed rat-
ing of the tire.cFor additional information regarding
tires, refer to “Important Tire Safety In-
formation” (US) or “Tire Safety Informa-
tion” (Canada) in the Warranty Informa-
tion Booklet.
All season tires
NISSAN specifies All Season tires on some mod-
els to provide good performance all year, includ-
ing snowy and icy road conditions. All Season
tires are identified by ALL SEASON and/or M&S
on the tire sidewall. Snow tires have better snow
traction than All Season tires and may be more
appropriate in some areas.
Summer tires
NISSAN specifies summer tires on some models
to provide superior performance on dry roads.
Summer tire performance is substantially re-
duced in snow and ice. Summer tires do not have
the tire traction rating “M&S” on the tire sidewall.
If you plan to operate your vehicle in snowy or icy
conditions, NISSAN recommends the use of
SNOW tires or ALL SEASON tires on all four
wheels.
Maintenance and do-it-yourself8-39
ZREVIEW COPY:Ð2004 Altima(l30)
Owners Manual(owners)ÐUSA English(nna)
10/13/03Ðtbrooks
X
Page 245 of 264
EMISSION CONTROL
INFORMATION LABEL
The emission control information label is at-
tached as shown.
TIRE PLACARD
The cold tire pressure is shown on the tire plac-
ard. The tire placard is located under the center
console lid.
AIR CONDITIONER SPECIFICATION
LABEL
The air conditioner specification label is affixed as
shown.
LTI0027WTI0097LTI0028
Technical and consumer information9-11
ZREVIEW COPY:Ð2004 Altima(l30)
Owners Manual(owners)ÐUSA English(nna)
10/13/03Ðtbrooks
X