Page 114 of 314
114 Controls in detailAudio systemAnti-theft system
If the power supply to the radio has been
interrupted,
CODE
will appear on the display
when it is next switched on. The radio will
only work after the five-digit code has been
entered using the buttons on the
right-hand control panel.The code number is shown on the Radio
Code Card, supplied with the radio.Entering the code number
�
Switch on the radio. CODE
will appear on the display.
�
Using the buttons on the alpha-numer-
ic keypad, enter the five digit code.
�
Confirm by pressing the
OK
key.
If an incorrect code has been entered and
confirmed,
CODE
will reappear on the dis-
play. The correct code must be entered
once again.
If an incorrect code is entered three times,
WAIT
will appear on the display and the ra-
dio will be locked out for about ten min-
utes.
!Never leave the Radio Code Card in the
vehicle. Keep it in a safe place.
iThe lock out time will only count down
if the radio is left switched on.
Page 115 of 314

115 Controls in detail
Audio system
Button and soft key operation
In these instructions, the alpha-numeric
keypad (right side of radio face) and the
function buttons (left side of radio face)
are referred to as “buttons” and the four
keys under the display are referred to as
“soft keys”.Operation
Switching on and off�
Press control knob a.
The radio is switched off when you turn the
key in the steering lock to position0 or re-
move it from the steering lock. The radio is
switched on again when you turn the key in
the steering lock to position1 or2.Adjusting the volume
�
Turn the control knob.
Turning the knob clockwise will in-
crease the volume, counterclockwise
will decrease the volume.
Audio functions
The AUD
key is used to select the BASS,
TREBLE and BALANCE functions. Settings
for bass and treble are stored separately
for the cassette and CD modes. Tone level
settings are identified by the vertical bars.
The center (flat) setting is shown by one
longer bar in the center of the display.Bass
�
Press the
AUD
key repeatedly until
BASS
appears in the display.
Treble
�
Press the
AUD
key repeatedly until
TRE-
BLE
appears in the display.
�
Press the + key to increase or the - key
to decrease the level.
iDo not press directly on the radio dis-
play face.
iThe radio can also be switched on even
if the key is not inserted in the steering
lock, but will switch itself off automati-
cally after one hour to conserve vehicle
battery power.
Page 118 of 314

118 Controls in detailAudio systemCassette mode
Playing cassettes�
Press the “TAPE” button.
�
Press the eject (EJ) key.
The display folds down and the cas-
sette slot becomes visible.
�
Push the cassette into the slot until it
engages.
The cassette will be pulled in automati-
cally.
The radio will switch to cassette mode.
Track 1 will be played and
SIDE 1
dis-
played. Track 1 is the side of the cassette
which is facing upwards. The cassette
deck will automatically detect the type of
tape and switch the equalization automati-
cally. A cassette symbol in the display indi-cates that a tape is in the mechanism. This
symbol appears in all modes but not in cas-
sette mode.
The cassette will not be ejected when the
radio is switched off or another mode is se-
lected.
If a cassette is in the mechanism, cassette
mode can be selected by using the “TAPE”
button. If no cassette has been inserted,
the display will show
NO TAPE
.
iDo not press directly on the radio dis-
play face.
Return the display panel to its normal
position by folding it back up and
pressing gently on the display frame to
lock in place.
When playing mono recorded tapes
(e.g. books) through a stereo system,
the sound from one track might bleed
to the other track, despite setting the
balance to the full left or full right
speakers.!If the display is in the down position for
more than 20 seconds, two successive
beeps will be heard. This will continue
at 5 second intervals until the display is
returned to its normal position.
Page 122 of 314

122 Controls in detailAudio systemInstalling and removing the CD
changer*
The CD changer is located in the trunk on
the right side.
1Fastener
2CD changer (with protective cover)Removing
�
Release fasteners 1 by turning them
counterclockwise with a screwdriver.
�
Carefully lift CD changer up and place it
to the side.3Mounting fixture
4Retainer
Installing
�
Insert CD changer from above into
mounting fixture until retainers 4 en-
gage in mounting fixture3.
�
Press fasteners 1 down with a screw-
driver and turn them clockwise to lock.
iIf your CD changer holder does not
have the fasteners1as shown in
above illustration, your vehicle may be
equipped with a non-factory installed
CD changer holder. The CD changer
holder then does not need to be re-
moved as there should be enough room
between the CD changer holder and
the right side trim panel in the trunk to
remove the cover and gain access to
the screw for hydraulic pump
(�page 221) should you need to raise
the retractable hardtop manually.
Page 128 of 314

128 Controls in detailPower windows
�Power windowsOpening and closing the windows
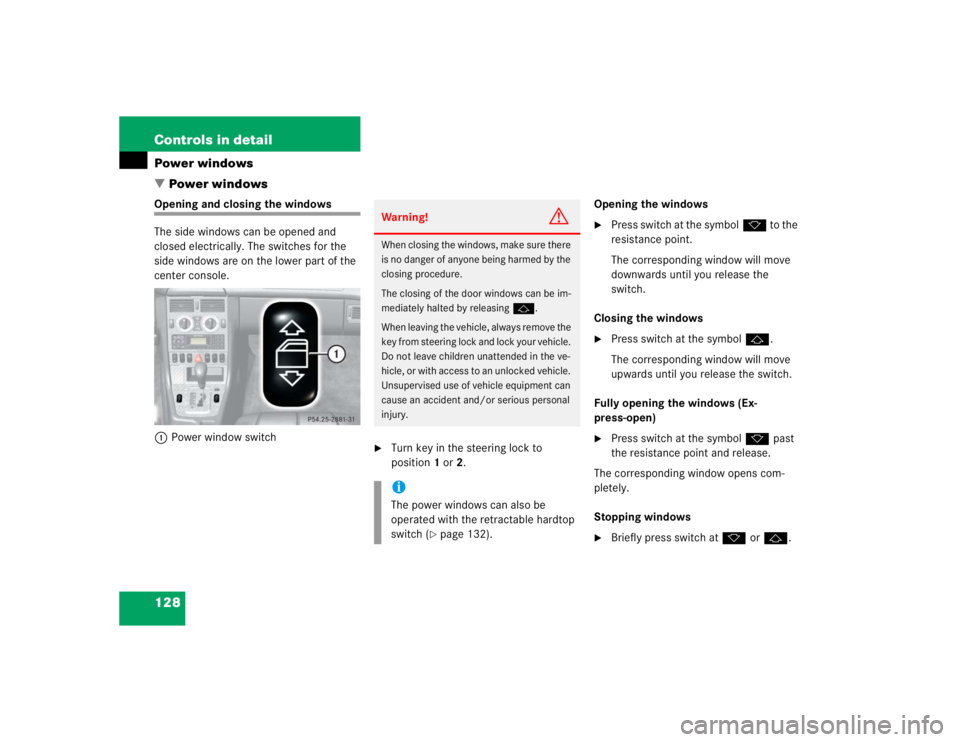
The side windows can be opened and
closed electrically. The switches for the
side windows are on the lower part of the
center console.
1Power window switch
�
Turn key in the steering lock to
position1 or2.Opening the windows
�
Press switch at the symbolk to the
resistance point.
The corresponding window will move
downwards until you release the
switch.
Closing the windows
�
Press switch at the symbolj.
The corresponding window will move
upwards until you release the switch.
Fully opening the windows (Ex-
press-open)
�
Press switch at the symbolk past
the resistance point and release.
The corresponding window opens com-
pletely.
Stopping windows
�
Briefly press switch atk orj.
Warning!
G
When closing the windows, make sure there
is no danger of anyone being harmed by the
closing procedure.
The closing of the door windows can be im-
mediately halted by releasingj.
When leaving the vehicle, always remove the
key from steering lock and lock your vehicle.
Do not leave children unattended in the ve-
hicle, or with access to an unlocked vehicle.
Unsupervised use of vehicle equipment can
cause an accident and/or serious personal
injury.iThe power windows can also be
operated with the retractable hardtop
switch (
�page 132).
Page 130 of 314

130 Controls in detailRetractable hardtop
�Retractable hardtopOpening and closing the retractable hardtop
For safety reasons, the retractable hardtop
can only be opened and closed when the
vehicle is standing still.
Warning!
G
Before operating the switch for the retract-
able hardtop make sure no persons are in-
jured by the moving parts (retractable
hardtop, roof frame, and trunk lid) due to in-
attention.
Hands must never be placed near the roof
frame, upper windshield area, retractable
hardtop, shelf behind roll bars, or trunk lid
while the retractable hardtop is being raised
or lowered. Serious personal injury may oc-
cur.
If potential danger exists, release the re-
tractable hardtop switch. This immediately
interrupts the raising or lowering procedure.
You then can operate the retractable hard-
top switch to raise or lower the retractable
hardtop away from the danger zone.
!Never sit or place heavy objects on the
rear shelf. Doing so could cause dam-
age to the retractable hardtop and the
rear shelf.Warning!
G
When leaving the vehicle, always remove the
key from the steering lock and lock the vehi-
cle. Do not leave children unattended in the
vehicle, or with access to an unlocked vehi-
cle. Unsupervised use of vehicle equipment
may cause an accident and/or serious per-
sonal injury.
Page 132 of 314

132 Controls in detailRetractable hardtopOpening the retractable hardtopRetractable hardtop switchBefore pulling on the retractable hardtop
switch, you must ensure�
the parking brake is engaged
(�page 47)
�
the luggage cover is closed, see lug-
gage cover
�
the trunk lid is closed
�
the ignition is switched on (key in steer-
ing lock position2)
�
Pull the retractable hardtop switch as
indicated by the arrow until the retract-
able hardtop is completely lowered into
its trunk storage compartment and the
indicator lamp in the retractable hard-
top switch goes out.
If you continuously pull on the retract-
able hardtop switch or release and pull
it again within approximately
30 seconds, the door windows will
close.
However, the door windows can also be
closed/opened later on.
�
Pull on the retractable hardtop switch
twice forward/backward. Pull on the
switch only briefly the first time. The
second time, pull on the switch until
the door windows have reached the de-
sired height.
The rear quarter windows cannot be raised
with the retractable hardtop lowered.
iFor safety reasons, the retractable
hardtop cannot be opened while driv-
ing.
Make sure the retractable hardtop is
dry before you open it. Otherwise water
may enter the trunk interior.!If the indicator lamp in the retractable
hardtop switch flashes slowly, a mal-
function has occurred in the system.
If the indicator lamp in the retractable
hardtop switch flashes rapidly, the
trunk lid and/or luggage cover may be
open and need to be closed.Warning!
G
To prevent possible accidents, drive the ve-
hicle only with the retractable hardtop either
completely closed and locked, or fully low-
ered into its storage compartment.
Page 133 of 314

133 Controls in detail
Retractable hardtop
Prior to cleaning the rear window, read and
observe the instructions in the “Operation”
section (
�page 159).Closing the retractable hardtop
Retractable hardtop switchBefore pushing on the retractable hardtop
switch, you must ensure�
the parking brake is engaged
(�page 47)
�
the luggage cover is closed, see lug-
gage cover
�
the trunk lid is closed
�
the ignition is switched on (key in steer-
ing lock position2)
�
Push the retractable hardtop switch as
indicated by the arrow until the retract-
able hardtop is completely closed and
locked and the indicator lamp in the re-
tractable hardtop switch goes out.
If you continuously push on the retract-
able hardtop switch or release and
push it again within approximately
30 seconds, the door windows will
close.
However, the door windows can also be
closed/opened later on.
�
Pull on the retractable hardtop switch
twice forward/backward. Pull on the
switch only briefly the first time. The
second time, pull on the switch until
the door windows have reached the de-
sired height.
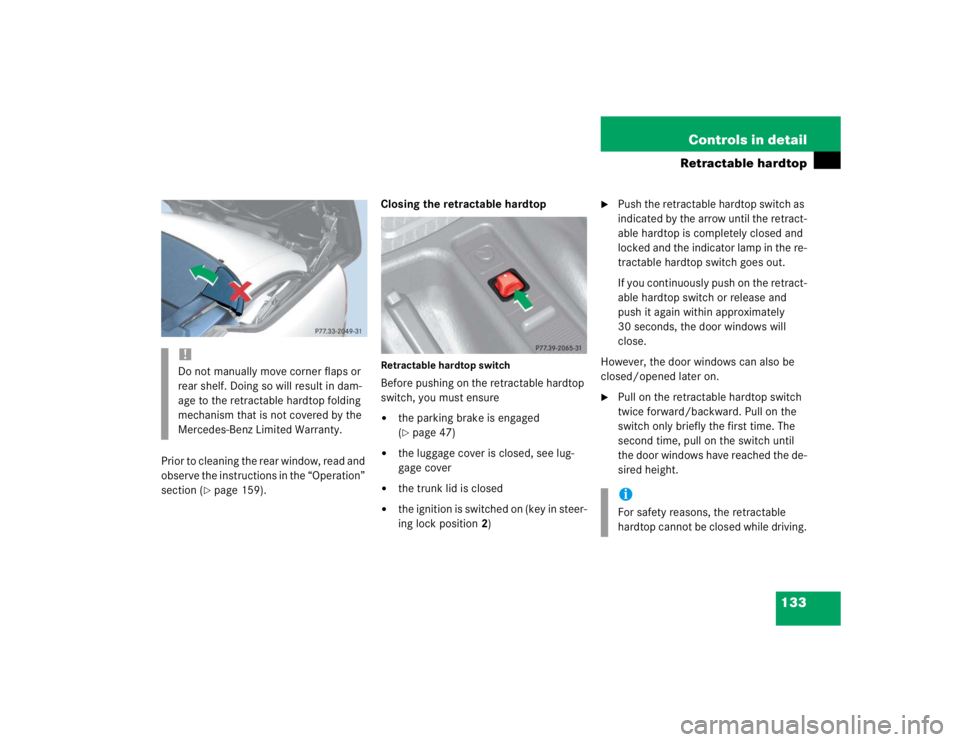
!Do not manually move corner flaps or
rear shelf. Doing so will result in dam-
age to the retractable hardtop folding
mechanism that is not covered by the
Mercedes-Benz Limited Warranty.
iFor safety reasons, the retractable
hardtop cannot be closed while driving.