Page 4 of 435

Contents
Introduction.......................................... 9
Product information ................................ 9
Operator’s Manual ............................... 10
Service and warranty information .. 10
Important notice for California
retail buyers and lessees of
Mercedes-Benz automobiles .......... 11
Maintenance .................................. 12
Roadside Assistance ...................... 12
Change of address or ownership.... 12
Operating your vehicle outside
the USA or Canada......................... 13
Where to find it .................................... 14
Symbols ............................................... 15
Operating safety .................................. 16
Proper use of the vehicle ............... 16
Problems with your vehicle .................. 17
Reporting safety defects...................... 18
Reporting safety defects ................ 18
At a glance.......................................... 19
Cockpit ................................................. 20
Instrument cluster ................................ 22
Multifunction steering wheel ................ 24
Center console ..................................... 25
Upper part ...................................... 25
Lower part ...................................... 26
Overhead control panel ........................ 27
Door control panel................................ 28
Getting started................................... 29
Unlocking ............................................. 30
Unlocking with the SmartKey ......... 30
Unlocking with KEYLESS-GO*......... 32
Adjusting .............................................. 34
Seats .............................................. 34
Steering wheel ................................ 37
Mirrors ............................................ 38
Driving .................................................. 40
Fastening the seat belts ................. 40
Starting the engine ......................... 43
Switching on headlamps ................. 47
Turn signals and high beam ............ 47
Windshield wipers........................... 48
Problems while driving .................... 50
Parking and locking .............................. 51
Parking brake ................................. 52
Switching off headlamps................. 53
Turning off the engine..................... 53
Page 16 of 435

15 Introduction
Symbols
�Symbols
The following symbols are found in this
Operator’s Manual:
* Optional equipment is identified
with an asterisk. Since standard
equipment varies between models,
the descriptions and illustrations in
this manual may differ slightly from
the actual equipment of your vehi-
cle.
�
This symbol points to instructions for
you to follow.
�
A number of these symbols appearing
in succession indicates a multiple-step
procedure.
� Page This symbol tells you where to
look for further information on a
topic.��
This continuation symbol marks
an interrupted procedure which
will be continued on the next
page.
-> In the glossary of technical
terms, this symbol is used to in-
dicate cross-references to term
definitions.
DISPLAY
Words appearing in the multi-
function display are printed in
the type shown here.
Warning!
G
Warning notices draw your attention to haz-
ards that may endanger your health or life,
or the health or life of others.!Highlights hazards that may result in
damage to your vehicle.iHelpful hints or further information you
may find useful.
Page 185 of 435

184 Controls in detailAutomatic climate controlAdjusting the temperature for center
air vents
When outside temperatures are low, you
can manually raise the air temperature for
the center and side air vents. The
thumbwheel4 is located between the
center air vents (
�page 180).
Automatic temperature control
�
Turn thumbwheel 4 to A.
The indicator lamp above the thumb-
wheel comes on. The temperature is
automatically adjusted to the set value.Turning on warm air
�
Turn thumbwheel 4 in the direction of
the white marking.
Warm air will enter from the center air
vent.
Turning on cooler air
�
Turn thumbwheel4 in the direction of
the blue marking.
Cooler air will enter from the center air
vent.
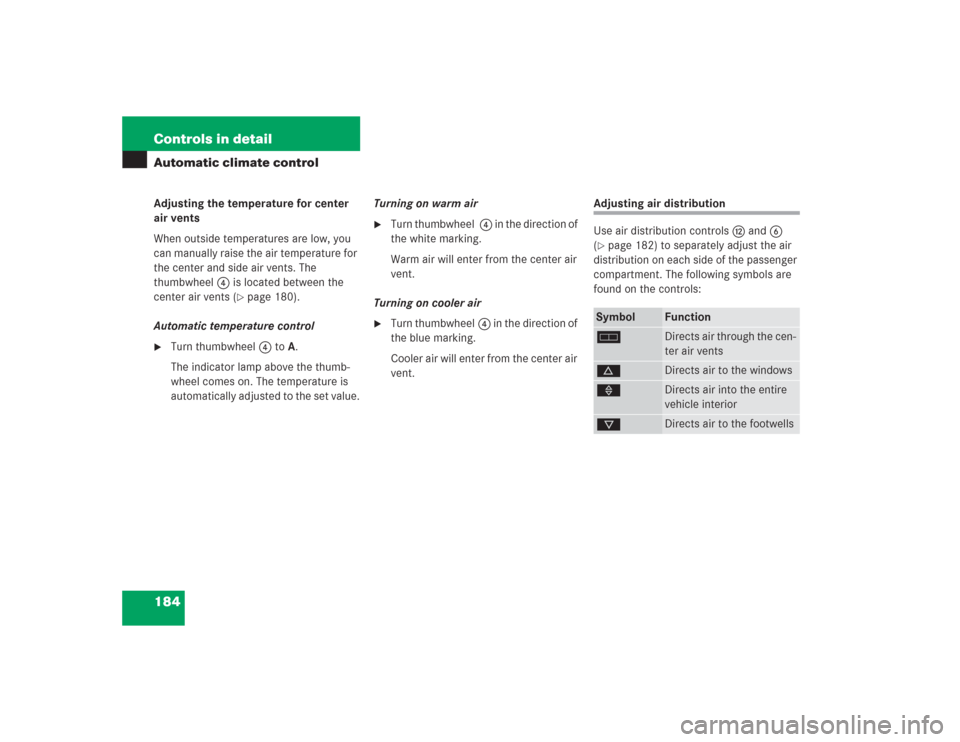
Adjusting air distribution
Use air distribution controlsc and6
(�page 182) to separately adjust the air
distribution on each side of the passenger
compartment. The following symbols are
found on the controls:Symbol
Function
h
Directs air through the cen-
ter air vents
d
Directs air to the windows
»
Directs air into the entire
vehicle interior
c
Directs air to the footwells
Page 186 of 435

185 Controls in detail
Automatic climate control
Adjusting manually�
Press left or right buttonU.
The button emerges and theh,
», d and csymbols become
visible.
�
Turn the marking on the regulator to
the desired symbol.
The air will be directed to the vents cor-
responding to this symbol.
Adjusting automatically
�
Press left or right buttonU until it
clicks in.
Theh, », d and
csymbols are no longer visible.
The air distribution is adjusted auto-
matically.Windows fogged on the inside
�
Press button± to switch on the air
conditioning (
�page 182).
The indicator lamp in the button goes
out.
�
Press button, to switch off the air
recirculation (
�page 182).
The indicator lamp on the button goes
out.
�
Make sure left and right buttonU
emerges.
Theh, », d and
csymbols become visible.
�
Press left and rightd button.
�
Set blower to the maximum speed.
�
Adjust left and right air vents1
and6 upwards (
�page 180).
�
Increase temperature setting.
�
Open side air vents9 and direct them
onto the side windows (
�page 180).
Windshield fogged on the outside
�
Switch the windshield wipers on
(�page 48).
�
Press on both U buttons until they
click in.
Theh, », d and c sym-
bols are no longer visible.