Page 149 of 344

149 Controls in detail
Sliding / pop-up roof*
�
Turn the key in the steering lock to
position1 or2 (
�page 33).
Opening and closing the
sliding / pop-up roof
�
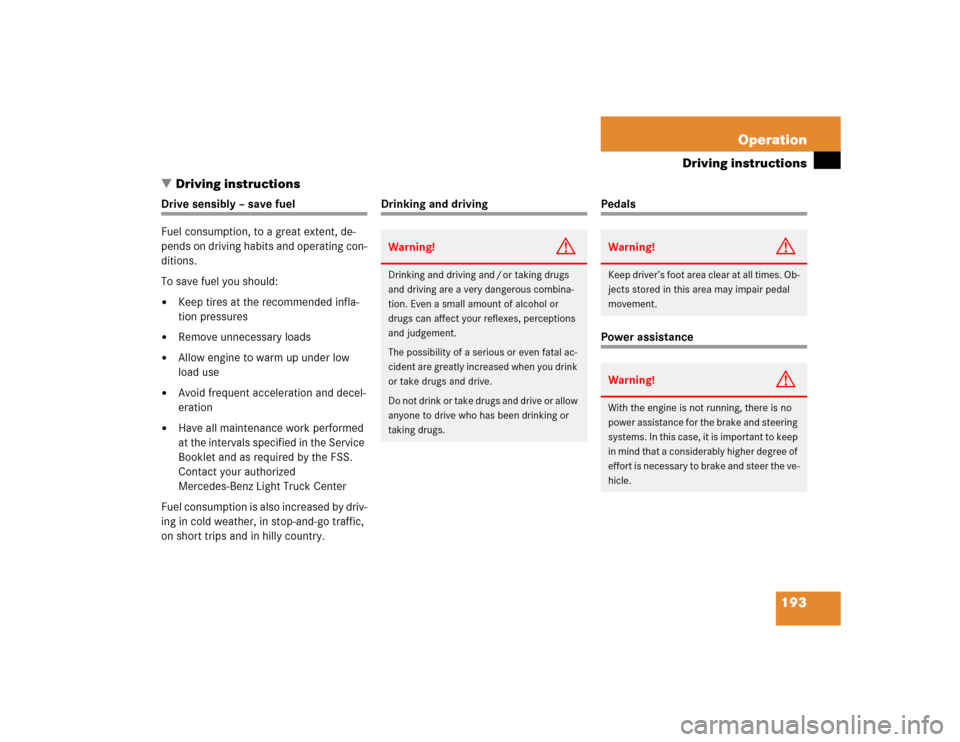
To open, close, raise or lower the
sliding / pop-up roof, move the switch
in the required direction1to4.
Release the switch when the roof has
reached the desired position.
Raising the roof
�
Press and hold the switch in
direction1.
The roof is raised at rear.
Lowering the roof
�
Pull and hold the switch in direction3.
The sliding / pop-up roof is lowered and
closed.Opening the sliding / pop-up roof auto-
matically
�
Briefly press switch in direction2.
The sliding / pop up roof will not open
completely.
�
Press switch again to open the
sliding / pop-up roof completely.
Stopping the roof
�
Briefly press the switch in any direc-
tion.
The movement of the roof will stop.
Synchronizing the sliding / pop-up roof
The power sliding / pop-up roof must be re-
synchronized each time after:�
the battery has been disconnected
�
the sliding / pop-up roof has been
closed manually
�
the sliding / pop-up roof does not open
smoothly
�
a malfunction
Synchronizing
�
Remove the fuse from the fuse box
(�page 287).
�
Replace the fuse in the fuse box.
�
Switch on ignition.
�
Press and hold the switch in
direction1 until the sliding / pop-up
roof is fully raised at the rear.
Hold the switch for approximately one
second.
The sliding / pop-up roof is synchro-
nized.
Page 193 of 344

193 Operation
Driving instructions
�Driving instructions
Drive sensibly – save fuel
Fuel consumption, to a great extent, de-
pends on driving habits and operating con-
ditions.
To save fuel you should:�
Keep tires at the recommended infla-
tion pressures
�
Remove unnecessary loads
�
Allow engine to warm up under low
load use
�
Avoid frequent acceleration and decel-
eration
�
Have all maintenance work performed
at the intervals specified in the Service
Booklet and as required by the FSS.
Contact your authorized
Mercedes-Benz Light Truck Center
Fuel consumption is also increased by driv-
ing in cold weather, in stop-and-go traffic,
on short trips and in hilly country.
Drinking and driving
PedalsPower assistance
Warning!
G
Drinking and driving and / or taking drugs
and driving are a very dangerous combina-
tion. Even a small amount of alcohol or
drugs can affect your reflexes, perceptions
and judgement.
The possibility of a serious or even fatal ac-
cident are greatly increased when you drink
or take drugs and drive.
Do not drink or take drugs and drive or allow
anyone to drive who has been drinking or
taking drugs.
Warning!
G
Keep driver’s foot area clear at all times. Ob-
jects stored in this area may impair pedal
movement.Warning!
G
With the engine is not running, there is no
power assistance for the brake and steering
systems. In this case, it is important to keep
in mind that a considerably higher degree of
effort is necessary to brake and steer the ve-
hicle.
Page 237 of 344

237 Operation
Vehicle care
Cleaning the Parktronic* system
sensors
1Parktronic system sensors�
Use a mild car wash detergent, such as
Mercedes-Benz approved Car Sham-
poo, with plenty of water to clean the
sensors1.
When using a steam cleaner or power
washer, aim nozzle only briefly from a min-
imum distance of 4 in (10 cm) at
sensors1.To prevent scratches, never apply strong
force and use only a soft, non-scratchy
cloth when cleaning the sensor. Do not
attempt to wipe dirty sensors with a dry
cloth or sponge.
Wiper blades
�
Fold wiper arm forward.
�
Clean the wiper blade inserts with a
clean cloth and detergent solution.Window cleaning
�
Fold wiper arms forward.
�
Use a window cleaning solution on all
glass surfaces. An automotive glass
cleaner is recommended.
An automotive glass cleaner is recom-
mended.
Warning!
G
For safety reasons, switch off wipers and re-
move key from steering lock before cleaning
the wiper blades, otherwise the wiper motor
might suddenly turn on and cause injury.
!Fold the windshield wiper arms back
onto the windshield before turning the
key in the steering lock.
Hold on to the wiper when folding the
wiper arm back. If released, the force
of the impact from the tensioning
spring could crack the windshield.Warning!
G
For safety reasons, switch off wipers and re-
move key from steering lock before cleaning
the wiper blades, otherwise the wiper motor
might suddenly turn on and cause injury.
Page 283 of 344

283 Practical hints
Towing the vehicle
�Towing the vehicle
Mercedes-Benz recommends that the vehi-
cle be transported with all wheels off the
ground using flatbed or appropriate wheel
lift / dolly equipment. This method is pref-
erable to other types of towing.When circumstances do not permit the
recommended towing methods, the vehi-
cle may be towed with all wheels on the
ground only so far as necessary to have the
vehicle moved to a safe location where the
recommended towing methods can be em-
ployed.
!Use flatbed or wheel lift / dolly equip-
ment, with key in steering lock turned
to position0.
Do not tow with sling-type equipment.
Towing with sling-type equipment over
bumpy roads will damage radiator and
supports.
To prevent damage during transport,
do not tie down vehicle by its chassis or
suspension parts. Use the towing eyes.
Switch off the ESP (
�page 81),
tow-away alarm (
�page 85) and the
automatic central locking (
�page 93).
!When towing the vehicle with all wheels
on the ground, the gear selector lever
must be in positionN and the key must
be in steering lock position2.
When towing the vehicle with all wheels
on the ground, the vehicle may be
towed only for distances up to 30 miles
(50 km) and at a speed not to exceed
30 mph (50 km / h).
If the vehicle is towed with the front
axle raised (observe instructions re-
garding flexible drive shaft), the engine
must be shut off (key in steering lock
position1). Otherwise, the 4-ETS may
become engaged which may cause loss
of towing control.
!To be certain to avoid additional dam-
age to the vehicle powertrain, however
you should observe the following:�
With damage to the front axle�
raise front axle
�
remove flexible drive shaft be-
tween rear axle and transfer
case
�
With damage to the rear axle�
raise rear axle
�
tow vehicle with wheel lift or
dolly placed under front wheels
�
With damage to the transfer case�
remove flexible drive shaft to
the drive axles
Always install new self-locking nuts
when reinstalling flexible drive shaft.
Page 284 of 344

284 Practical hintsTowing the vehicleWarning!
G
If circumstances require towing the vehicle
with all wheels on the ground, always tow
with a tow bar if:�
the engine will not run
�
there is a malfunction in the power sup-
ply or in the vehicle’s electrical system
Prior to towing the vehicle with all wheels on
the ground, make certain that the key is in
steering lock position2.
If the key is left in steering lock position0
for an extended period of time, it can no
longer be turned in the switch. In this case,
the steering is locked. To unlock, remove
key from steering lock and reinsert.
Warning!
G
With the engine not running, there is no
power assistance for the brake and steering
systems. In this case, it is important to keep
in mind that a considerably higher degree of
effort is necessary to brake and steer the ve-
hicle. Adapt your driving accordingly.iTo signal turns while being towed with
hazard warning flasher in use, turn key
in steering lock to position2 and acti-
vate combination switch for left or right
turn signal in usual manner – only the
selected turn signal will operate.
Upon canceling the turn signal, the haz-
ard warning flasher will operate again.iThe vehicle cannot be started via
tow-start.
!When towing the vehicle with all wheels
on the ground, note the following:
With the automatic central locking acti-
vated and the key in steering lock
position2, the vehicle doors lock if the
left front wheel is turning at vehicle
speeds of approx. 9 mph (15 km / h) or
more.
To prevent the vehicle doors from lock-
ing, deactivate the automatic central
locking (
�page 93).
Towing of the vehicle should only be
done using the towing eye. Never at-
tach tow cable, tow rope or tow rod to
vehicle chassis, frame or suspension
parts.
Page 293 of 344
293 Technical data
Layout of poly-V-belt drive
�Layout of poly-V-belt drive
1Automatic belt tensioner
2Power steering pump
3Air conditioning compressor
4Crankshaft
5Coolant pump
6Generator (alternator)
7Idler pulley
Page 300 of 344
300 Technical dataFuels, coolants, lubricants etc.
�Fuels, coolants, lubricants etc.Capacities
Vehicle components and their respective
lubricants must match.Therefore use only brands tested and
approved by Mercedes-Benz.Please refer to the Factory Approved
Service Products pamphlet, or inquire at
your Mercedes-Benz Light Truck Center.
Model
Capacity
Fuels, coolants, lubricants etc.
Engine with oil filter
ML 350, ML 500
8.5 US qt (8.0 l)
Approved engine oils
Automatic transmis-
sion
9.0 US qt (8.5 l)
MB Automatic Transmission Oil
Transfer case
1.6 US qt (1.5 l)
(Dexron 3 or Dexron 2E)
Rear axle
1.3 US qt (1.25 l)
(Hypoid gear oil SAE 90, 85 W 90)
Front axle
1.2 US qt (1.1 l)
(Hypoid gear oil SAE 90)
Power steering
approx. 0.65 US qt (0.6 l)
MB Power Steering Fluid
Front wheel hubs
approx. 1.5oz (43g) each
High temperature roller bearing grease
Page 317 of 344

317 Index
A
ABS 25, 76, 311
ABS control 76
LOW RANGE mode 77
Malfunction indicator lamp 242
Warning lamp 242
Accelerator position, automatic
transmission 123
Accident
In case of 52
Activating
Air circulation mode 139
Air recirculation mode 139
Anti-theft alarm system 83
Automatic climate control 135
ESP 82
Exterior headlamps 48
Hazard warning flasher 112
Headlamps 48
High beams 110
Ignition 33Immobilizer 54, 83
Rear passenger compartment ventila-
tion and climate control 141
Rear window defroster 133
Rear window wiper 51
Residual heat 140
Seat heater* 98
Tow-away alarm 85
Warning indicators (Parktronic*) 155
Windshield wipers 50
Activating automatic central locking 93
Adding
Coolant 223
Engine oil 221
Additional turn signals 266
Adjustable steering column
Indicator lamp 253
Adjusting 34
Backrest tilt 36, 38
Exterior rear view mirror 40
Head restraint height 36, 38Head restraint tilt 37, 39
Headlamp aim 272
Instrument cluster illumination 116
Manual seat 35
Mirrors 40
Power seats* 37
Seat cushion tilt 38
Seat fore and aft 35
Seat fore and aft adjustment 37
Seat height 36, 38
Seats 34
Steering wheel 39
Adjusting air distribution
Automatic climate control 137
Adjusting air volume
Automatic climate control 137
Air conditioner (cooling)
Turning on 139
Air conditioning
Cooling 139