Page 139 of 344
.
The indicator lamp on the button
comes on.
Deactivating
�
Press buttonÄ (
�page 135).
The indicator lamp on")
139 Controls in detail
Automatic climate control
Activating�
Press buttonÄ (
�page 135).
The indicator lamp on the button
comes on.
Deactivating
�
Press buttonÄ (
�page 135).
The indicator lamp on the button goes
out.
Air conditioning
The air conditioning is operational while
the engine is running and cools the interior
air to the temperature set by the operator.Deactivating
It is possible to deactivate the air condi-
tioning (cooling) function of the automatic
climate control system. The air in the vehi-
cle will then no longer be cooled or dehu-
midified.
�
Press button° (
�page 135).
The indicator lamp on the button°
comes on.
Activating
Moist air can fog up the windows. You can
dehumidify the air with the air condition-
ing.
�
Press button° again.
The indicator lamp on the button°
goes out.
The air conditioning system uses the refrig-
erant R-134a. This refrigerant is free of
CFCs which are harmful to the ozone layer.
iTo achieve the fastest possible cooling
of the interior, the automatic climate
control automatically switches to air
recirculation. The indicator lamp in the
buttonÄ is not illuminated when
the system automatically switches to
air recirculation.
iThe air recirculation mode is
deactivated automatically�
after 30 minutes if the automatic
climate control is switched on
�
after five minutes if the air condi-
tioning is switched off
�
after five minutes if the outside
temperature is above approximate-
ly 45°F (7 °C)
iCondensation may drip out from under-
neath the vehicle. This is normal and
not an indication of a malfunction.
Page 140 of 344

140 Controls in detailAutomatic climate control
Residual heat and ventilation
With the engine switched off, it is possible
to continue to heat or ventilate the interior
for up to 30 minutes. This feature makes
use of the residual heat produced by the
engine.
Activating�
Turn the key in the steering lock to
position0 or1 (
�page 33).
�
Press button° (
�page 135).
The indicator lamp on button°
comes on.Deactivating
�
Press button°.
The indicator lamp on button°
goes out.
!If the °button on the automatic
climate control panel starts to flash,
this indicates that the air conditioning
system is losing refrigerant. The com-
pressor has turned itself off. The air
conditioning cannot be turned on
again.
Have the air conditioning system
checked at the nearest authorized
Mercedes-Benz Light Truck Center.
iHow long the system will provide heat-
ing depends on the coolant tempera-
ture and the temperature set in the
climate control. The blower will run at
lower speed regardless of the air vol-
ume control setting.
iThe residual heat is automatically
turned off:�
when the ignition is switched on
�
after about 30 minutes
�
if the coolant temperature is too
low
�
if the battery voltage drops
Page 141 of 344

141 Controls in detail
Automatic climate control
Rear passenger compartment ventila-tion and rear automatic climate control
Deactivating
For an improved cooling or heating output
in the front passenger compartment, you
can switch off the rear passenger compart-
ment ventilation.�
Press button§ (
�page 135).
The indicator lamp on the button
comes on.
The operation of the rear automatic
climate control and the fresh air supply
to the rear compartment is shut off.
Activating
�
Press button§ again.
The indicator lamp on the button goes
out.
The rear automatic climate control
switches to automatic mode and fresh
air enters the rear compartment.Automatic mode
The automatic climate control panel for the
rear is located on the rear center console.
1Air volume control
2Air distribution control
3Automatic control (air distribution, air
volume)
�
Press buttonU.
The indicator lamp on the button
comes on.
The automatic climate control cools or
heats the interior depending on the
temperature selected on the front
climate control unit.Adjusting air volume and air distribu-
tion manually
Adjusting air volume
�
Press upper part of buttonR.
The blower setting is increased each
time the button is pressed.
�
Press lower part of buttonR.
The blower setting is decreased each
time the button is pressed.iWhen the air volume or air distribution
control is pressed, the automatic mode
is switched off. The indicator lamp in
buttonU is turned off. Temperature
setting remains in automatic mode.
��
Page 142 of 344
142 Controls in detailAutomatic climate control
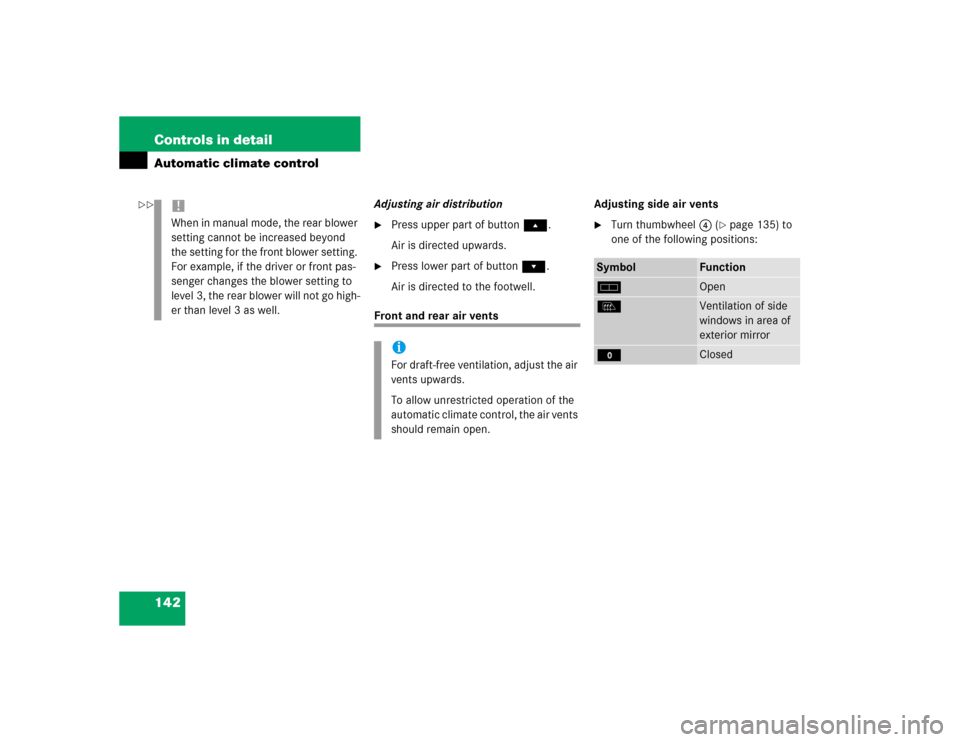
Adjusting air distribution�
Press upper part of buttonÔ.
Air is directed upwards.
�
Press lower part of buttonÓ.
Air is directed to the footwell.
Front and rear air ventsAdjusting side air vents
�
Turn thumbwheel4 (
�page 135) to
one of the following positions:
!When in manual mode, the rear blower
setting cannot be increased beyond
the setting for the front blower setting.
For example, if the driver or front pas-
senger changes the blower setting to
level 3, the rear blower will not go high-
er than level 3 as well.
iFor draft-free ventilation, adjust the air
vents upwards.
To allow unrestricted operation of the
automatic climate control, the air vents
should remain open.
Symbol
Function
h
Open
l
Ventilation of side
windows in area of
exterior mirror
M
Closed
��
Page 143 of 344
143 Controls in detail
Automatic climate control
Center air vents
Opening �
Turn thumbwheel for center air vent1
(�page 135) upward to positionh.
Closing
�
Turn thumbwheel for center air vent1
downward to positionM.
Use the left thumbwheel to adjust the cen-
ter air vents on the left and in the center.
Use the right thumbwheel to adjust the
right center air vent.Rear passenger compartment air vents
1Left center air vent, adjustable
2 Right center air vent, adjustable
iThe temperature at the air vents for the
rear passenger compartment is the
same as at the dashboard center air
vents.
Page 188 of 344
 rep")
188 Controls in detailUseful featuresSetting the compass zone�
Determine the geographical point of
the vehicle with the aid of the zone
maps.
�
Switch on the ignition.
�
Press MODE2 (
�page 186) repeat-
edly until the compass display appears
in the trip computer display3.
�
Press RESET1 (
�page 186) to select
the compass zone mode.
The zone selected last is shown in the
display.
�
Press RESET1 repeatedly until the
correct compass zone, as determined
from the zone map, is shown in the dis-
play.
�
Press MODE2 twice.
The new compass zone is activated and
the compass display will be shown.Calibrating the compass
If the vehicle was exposed to a significant
magnetic zone, such as high voltage power
lines, the compass may have to be calibrat-
ed.
To calibrate the compass correctly, ob-
serve the following:
�
Calibrate the compass in an area free
of steel superstructures and power
lines.
�
Switch off all electrical consumers (e.g.
exterior lamps, climate control, rear
window defroster etc.).
�
Do not open or close the
sliding / pop-up roof.
�
Close doors and liftgate.
�
Start and run the engine.
�
Press MODE2 (
�page 186) repeat-
edly until the compass display appears
in the trip computer display3.
�
Press RESET1 and afterwards press
MODE2.
In the display appears
CAL–
.
�
Press and hold RESET1 for approxi-
mately two seconds.
The calibration mode is activated and
the display shows
CAL
.
�
Drive without interruption two full cir-
cles at a speed between 3 mph
(5 km / h) and 7 mph (10 km / h).
The message
CAL
goes out after a short
time. The calibration is now complete.
iAn open liftgate triggers the
display
---
.
Page 204 of 344
.
�
Enter the water only at a shallow")
204 OperationDriving instructions�
Switch off the exterior lamps as well as
the climate control.
�
Select gear range1 on the automatic
transmission (
�page 121).
�
Enter the water only at a shallow spot,
driving at walking speed.
�
Do not stop vehicle while immersed in
water, and do not shut off the engine.
There is a very high level of driving re-
sistance in water. The surface is slip-
pery and may not be firm, making
pulling away in water difficult and dan-
gerous.
�
Clean mud off the tire tread after driv-
ing through water.
�
To dry the brakes, apply pressure to the
brake pedal several times after leaving
the water.
Crossing obstacles
!Never accelerate before driving into
the water. The bow wave could force
water into the engine and auxiliary
equipment, thus damaging them.
!Obstacles can damage the vehicle
undercarriage or suspension compo-
nents. If possible use the assistance of
a second person outside the vehicle to
scout the path you intend to take and
check for adequate ground clearance
when you cross obstacles with your ve-
hicle. The person assisting you outside
the vehicle should always be a safe dis-
tance away from the vehicle and posi-
tioned so that he or she cannot get hurt
in case of any unexpected vehicle
movement.
After off-road driving or crossing obsta-
cles, inspect vehicle for any damage,
especially vehicle undercarriage and
suspension components. Failure to do
so can adversely affect the vehicle's fu-
ture performance, including increased
chance of an accident.
Page 210 of 344

210 OperationDriving instructions�
The vehicle and trailer combination is
heavier, and therefore is limited in ac-
celeration and climbing ability, and re-
quires longer stopping distances.
I t i s m o r e p r o n e t o r e a c t i n g t o s i d e w i n d
gusts, and requires more sensitive
steering input.
�
If possible, do not brake abruptly, but
rather engage the brake slightly at first
to permit the trailer to activate its
brake. Then increase the braking force.
�
If the transmission hunts between
gears on inclines, manually shift to a
lower gear (select 4, 3, 2 or 1).
A lower gear and reduction of speed re-
duces the chance of engine overload-
ing and / or overheating.
�
On very steep inclines, not manageable
with gear selector lever in position1,
switch transfer case to LOW RANGE
mode (
�page 125).
�
When going down a long hill, shift into
a lower gear and use the engine’s brak-
ing effect.
Avoid riding the brakes, thus overheat-
ing the vehicle and trailer brakes.
�
If the engine coolant rises to an ex-
tremely high temperature (coolant tem-
perature needle approaching the red
zone) when the air conditioning is on,
turn off the air conditioning system.
Engine coolant heat can be additionally
vented by opening the windows,
switching the climate control fan speed
to high and setting the temperature
control to the maximum hot position.
�
Extreme care must be exercised since
your vehicle with a trailer will require
additional passing distance ahead than
when driving without a trailer.
Because your vehicle and trailer is
longer than your vehicle alone, you will
also need to go much farther ahead of
the passed vehicle before you can re-
turn to your lane.
!If the trailer should begin to sway, re-
duce the vehicle’s speed and use the
brake controller by hand to straighten
out the vehicle and trailer.
In no case should you attempt to
straighten out the tow vehicle and trail-
er by increasing the speed or overstee-
ring and stepping on the brakes.