Page 139 of 442
139 Controls in detail
Control system
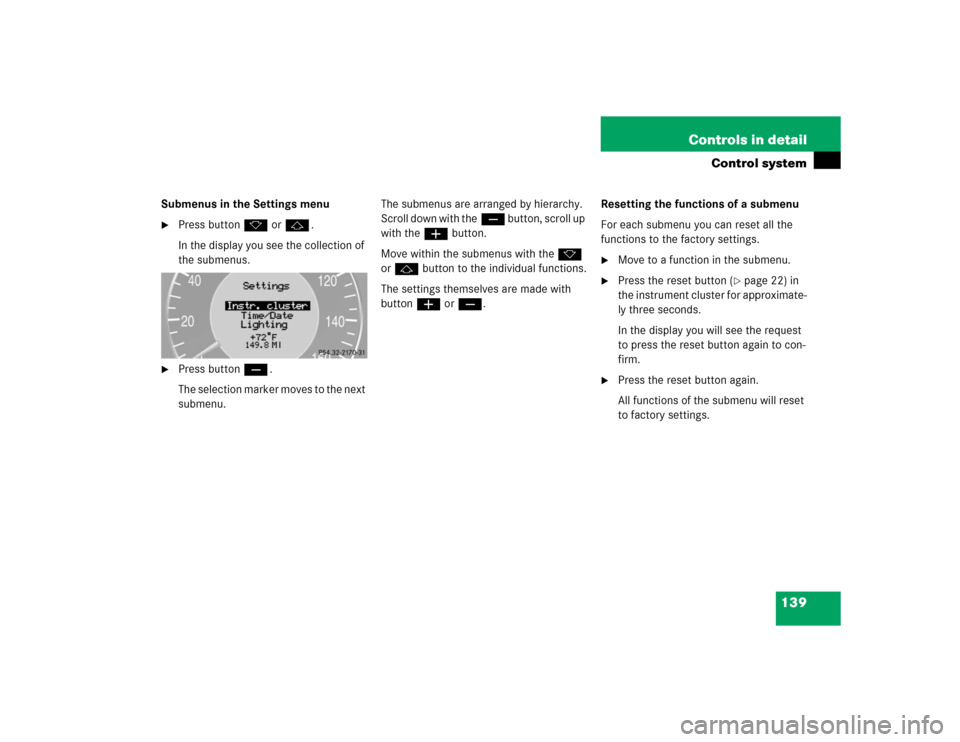
Submenus in the Settings menu�
Press buttonk orj.
In the display you see the collection of
the submenus.
�
Press buttonç.
The selection marker moves to the next
submenu.The submenus are arranged by hierarchy.
Scroll down with theç button, scroll up
with theæ button.
Move within the submenus with thek
orj button to the individual functions.
The settings themselves are made with
buttonæ orç.Resetting the functions of a submenu
For each submenu you can reset all the
functions to the factory settings.
�
Move to a function in the submenu.
�
Press the reset button (
�page 22) in
the instrument cluster for approximate-
ly three seconds.
In the display you will see the request
to press the reset button again to con-
firm.
�
Press the reset button again.
All functions of the submenu will reset
to factory settings.
Page 140 of 442

140 Controls in detailControl systemThe table below shows what settings can
be changed within the various menus. De-
tailed instructions on making individual
settings can be found on the following pag-
es.INSTRUMENT CLUSTER
TIME/DATE
LIGHTING
VEHICLE
CONVENIENCE
DYNAMIC SEAT*
Select temperature dis-
play mode
Synchronizing the
time
Set daytime running
lamp mode
(USA only)
Set automatic lock-
ing
Activate
easy-entry / exit
feature
Set level for dynam-
ic seat, driver
Select speedometer dis-
play mode
Set time (hours)
Set locator lighting
Set SmartKey-de-
pendency
Set level for dynam-
ic seat, passenger
Select language
Set time (minutes)
Ambient lighting
Set parking position
for exterior rear
view mirror
Select display (speed dis-
play or outside tempera-
ture) for status line
Set date (month)
Exterior lamps de-
layed shut-off
Select display (speed dis-
play or outside tempera-
ture) for basic display
Set date (day)
Interior lighting de-
layed shut-off
Tire pressure unit dis-
play*
Set date (year)
Page 141 of 442

141 Controls in detail
Control system
Instrument cluster submenu
Access the
Instr. cluster
submenu via
the
Settings
menu. Use the
Instr. clus-
ter
submenu to change the instrument
cluster display settings. The following
functions are available:Selecting temperature display mode
�
Move the selection marker with
theæ orç button to the
Instr.
cluster
submenu.
�
Press buttonj ork repeatedly
until you see this message in the dis-
play:
Temp. indicator
.
The selection marker is on the current
setting.
�
Pressæ orç to set the temper-
ature unit to degrees Celsius (°C) or
degrees Fahrenheit (°F).Selecting speedometer display mode
�
Move the selection marker with
theæ orç button to the
Instr.
cluster
submenu.
�
Press buttonj ork repeatedly
until you see this message in the dis-
play:
Display unit Speed-/odometer
.
The selection marker is on the current
setting.
�
Press æ or ç to set speedome-
ter unit to
km or
miles
.
Function
Page
Select temperature display
mode
141
Select speedometer display
mode
141
Select language
142
Select display (speed display or
outside temperature) for status
display
142
Select display (speed display or
outside temperature) for basic
display
143
Tire pressure display*
143
Page 142 of 442
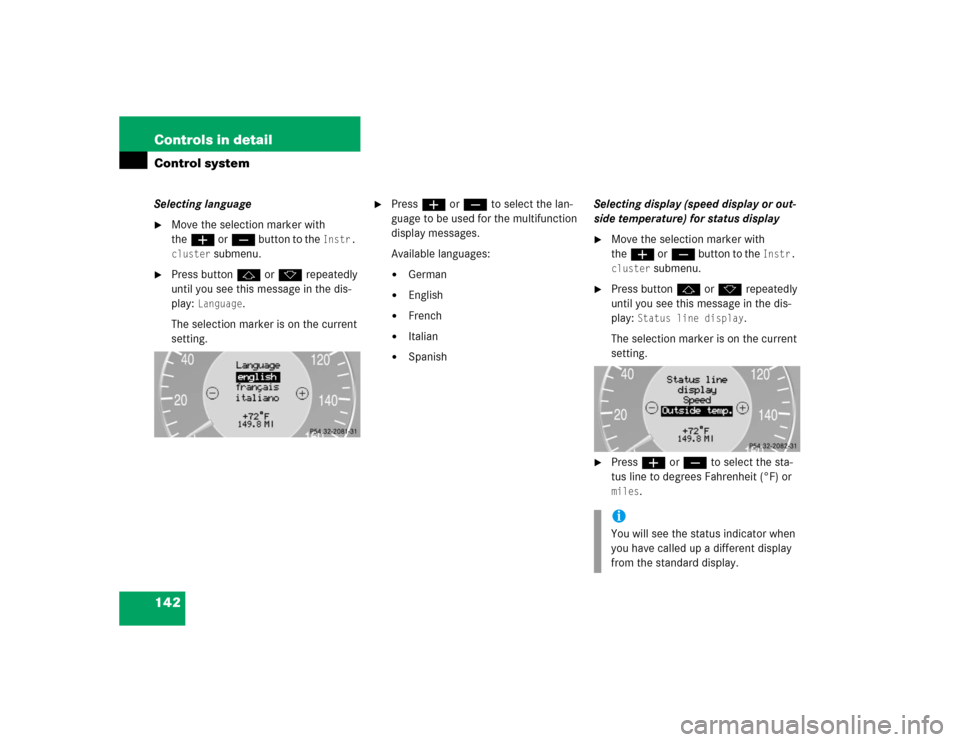
142 Controls in detailControl systemSelecting language�
Move the selection marker with
theæ orç button to the
Instr.
cluster
submenu.
�
Press buttonj ork repeatedly
until you see this message in the dis-
play:
Language
.
The selection marker is on the current
setting.
�
Pressæ orç to select the lan-
guage to be used for the multifunction
display messages.
Available languages:�
German
�
English
�
French
�
Italian
�
SpanishSelecting display (speed display or out-
side temperature) for status display
�
Move the selection marker with
theæ orç button to the
Instr.
cluster
submenu.
�
Press buttonj ork repeatedly
until you see this message in the dis-
play:
Status line display
.
The selection marker is on the current
setting.
�
Pressæ orç to select the sta-
tus line to degrees Fahrenheit (°F) or miles
.
iYou will see the status indicator when
you have called up a different display
from the standard display.
Page 143 of 442
 for basic display�
Move the selection marker with
theæ orç button to the
Instr.
cluster
submenu.")
143 Controls in detail
Control system
Selecting display (speed display or out-
side temperature) for basic display�
Move the selection marker with
theæ orç button to the
Instr.
cluster
submenu.
�
Press buttonj ork repeatedly
until you see this message in the dis-
play:
Basic display
.
The selection marker is on the current
setting.
�
Pressæ orç to select the dis-
play permanently shown in the multi-
function display.Tire pressure display*
Use this function to set the unit for the tire
pressure display.
�
Move the selection marker with the
æ or ç button to the
Instr,
cluster
submenu.
�
Press button j or k repeatedly
until you see this message in the dis-
play:
Display unit Tire pressure
.
The selection marker is on the current
setting.
�
Press æ or ç to select the de-
sired tire pressure unit.Time / Date submenu
Access the
Time/Date
submenu via the
Settings
menu. Use the
Time/Date
sub-
menu to change the time and date display
settings. The following functions are avail-
able:
Function
Page
Synchronizing the time
144
Set time (hours)
144
Set time (minutes)
144
Set date (month)
145
Set date (day)
145
Set date (year)
145
iInformation on setting the time, refer to
separate COMAND instructions.
Page 144 of 442

144 Controls in detailControl systemSynchronizing the time
This function can only be seen on vehicles
with COMAND and navigation module*.�
Move the selection marker with
theæ orç button to the Time/Date
submenu.
�
Press buttonj ork repeatedly
until you see this message in the dis-
play:
Time sync. with head unit
.
The selection marker is on the current
setting.
�
Pressæ orç to select the de-
sired setting.Set time (hours)
This function can only be seen when syn-
chronization is switched off.
�
Move the selection marker with
theæ orç button to the Time/Date
submenu.
�
Press buttonj ork repeatedly
until you see this message in the dis-
play:
Clock, hours
.
The selection marker is on the hour set-
ting.
�
Pressæ orç to set the hour.
�
Confirm by pressing reset button.Set time (minutes)
This function can only be seen when syn-
chronization is switched off.
�
Move the selection marker with
theæ orç button to the Time/Date
submenu.
�
Press buttonj ork repeatedly
until you see this message in the dis-
play:
Clock, minutes
.
The selection marker is on the minute
setting.
�
Pressæ orç to set the minutes.
�
Confirm by pressing reset button.
Page 145 of 442
145 Controls in detail
Control system
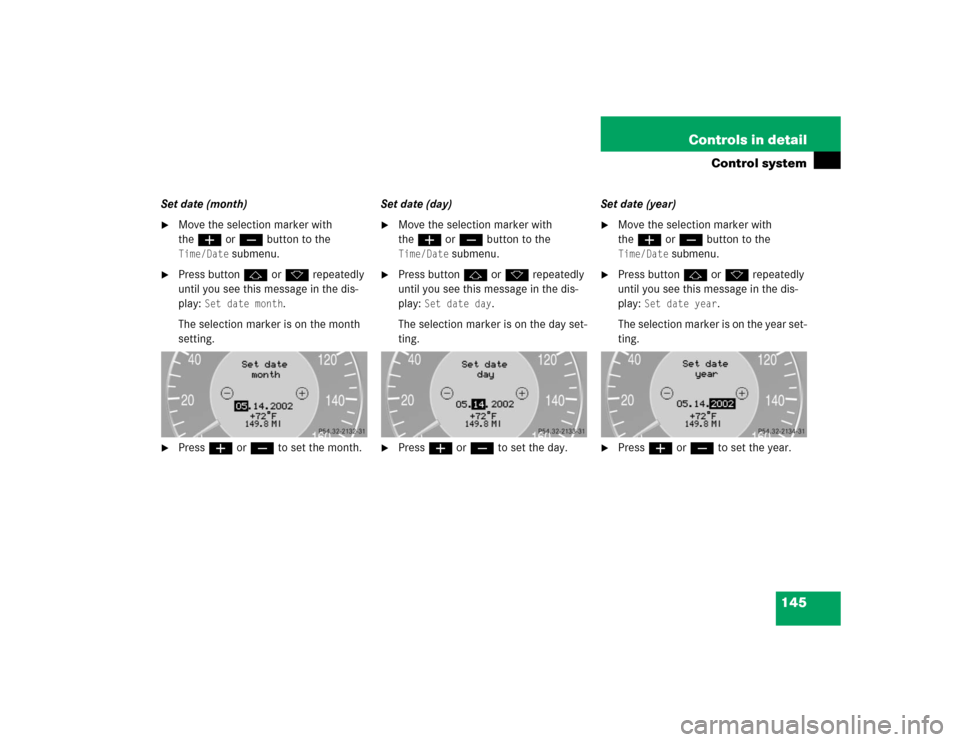
Set date (month)�
Move the selection marker with
theæ orç button to the Time/Date
submenu.
�
Press buttonj ork repeatedly
until you see this message in the dis-
play:
Set date month
.
The selection marker is on the month
setting.
�
Pressæ orç to set the month.Set date (day)
�
Move the selection marker with
theæ orç button to the Time/Date
submenu.
�
Press buttonj ork repeatedly
until you see this message in the dis-
play:
Set date day
.
The selection marker is on the day set-
ting.
�
Pressæ orç to set the day.Set date (year)
�
Move the selection marker with
theæ orç button to the Time/Date
submenu.
�
Press buttonj ork repeatedly
until you see this message in the dis-
play:
Set date year
.
The selection marker is on the year set-
ting.
�
Pressæ orç to set the year.
Page 146 of 442

146 Controls in detailControl systemLighting submenu
Access the
Lighting
submenu via the
Set-
tings
menu. Use the
Lighting
submenu
to change the lamp and lighting settings on
your vehicle. The following functions are
available:Setting daytime running lamp mode
(USA only)
�
Move the selection marker with
theæ orç button to the Lighting
submenu.
�
Press buttonj ork repeatedly
until you see this message in the dis-
play:
Lamp circuit headlamp
.
The selection marker is on the current
setting.
�
Pressæ orç to select
manual
or
daytime running lamp (
constant
)
mode. This function is not available in
countries where daytime running
lamps are mandatory.With daytime running lamp mode se-
lected and the exterior lamp switch at
position 0, the following lamps will
come on automatically when the en-
gine is turned on:
�
Parking lamps and low beam head-
lamps
�
License plate lamps (in low ambient
light conditions)
Function
Page
Set daytime running lamp mode
(USA only)
146
Set locator lighting
147
Ambient light level
147
Exterior lamps delayed shut-off
148
Interior lighting delayed shut-off
149
iIf you turn the exterior lamp switch to
another position, the corresponding
lamp(s) will switch on.
For safety reasons, resetting the Lighting
submenu to factory settings
(
�page 138) while driving will not re-
set the daytime running lamp mode.
In the display you will then see the mes-
sage:
Lighting