Page 340 of 442
340 Practical hintsWhat to do if …Display symbol
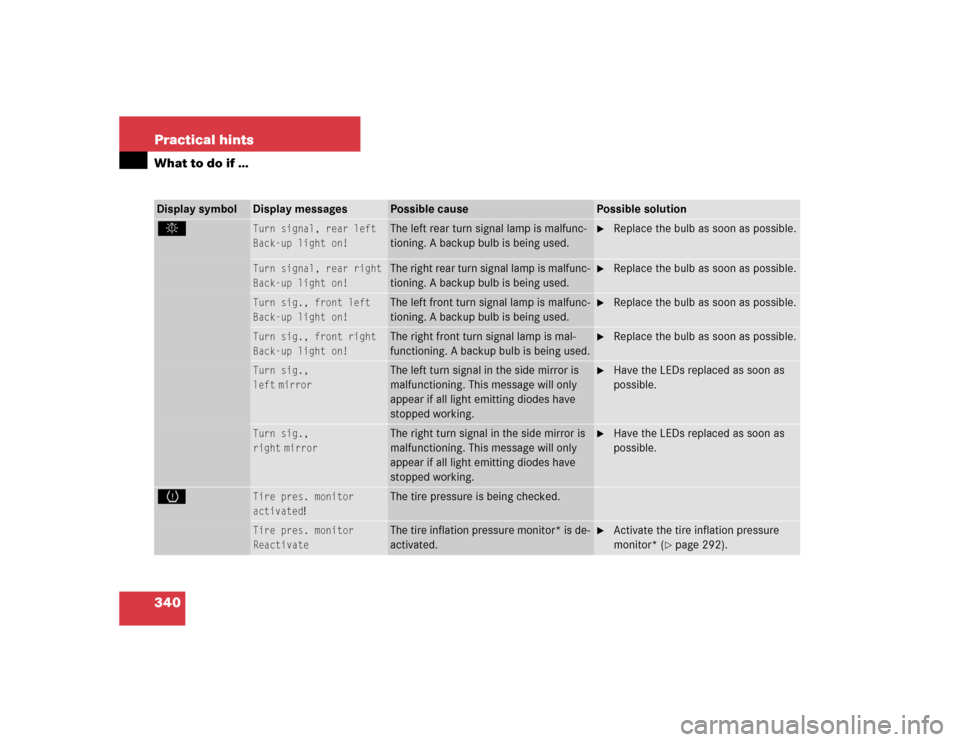
Display messages
Possible cause
Possible solution
.
Turn signal, rear left
Back-up light on!
The left rear turn signal lamp is malfunc-
tioning. A backup bulb is being used.
�
Replace the bulb as soon as possible.
Turn signal, rear right
Back-up light on!
The right rear turn signal lamp is malfunc-
tioning. A backup bulb is being used.
�
Replace the bulb as soon as possible.
Turn sig., front left
Back-up light on!
The left front turn signal lamp is malfunc-
tioning. A backup bulb is being used.
�
Replace the bulb as soon as possible.
Turn sig., front right
Back-up light on!
The right front turn signal lamp is mal-
functioning. A backup bulb is being used.
�
Replace the bulb as soon as possible.
Turn sig.,
left
mirror
The left turn signal in the side mirror is
malfunctioning. This message will only
appear if all light emitting diodes have
stopped working.
�
Have the LEDs replaced as soon as
possible.
Turn sig.,
right
mirror
The right turn signal in the side mirror is
malfunctioning. This message will only
appear if all light emitting diodes have
stopped working.
�
Have the LEDs replaced as soon as
possible.
H
Tire pres. monitor
activated
!
The tire pressure is being checked.
Tire pres. monitor
Reactivate
The tire inflation pressure monitor* is de-
activated.
�
Activate the tire inflation pressure
monitor* (
�page 292).
Page 359 of 442
359 Practical hints
Replacing bulbs
�Replacing bulbs
Safe vehicle operation depends on proper
exterior lighting and signaling. It is there-
fore essential that all bulbs and lamp as-
semblies are in good working order at all
times.
Correct headlamp adjustment is extremely
important. Have headlamps checked and
readjusted at regular intervals and when a
bulb has been replaced. See your autho-
rized Mercedes-Benz Center for headlamp
adjustment.
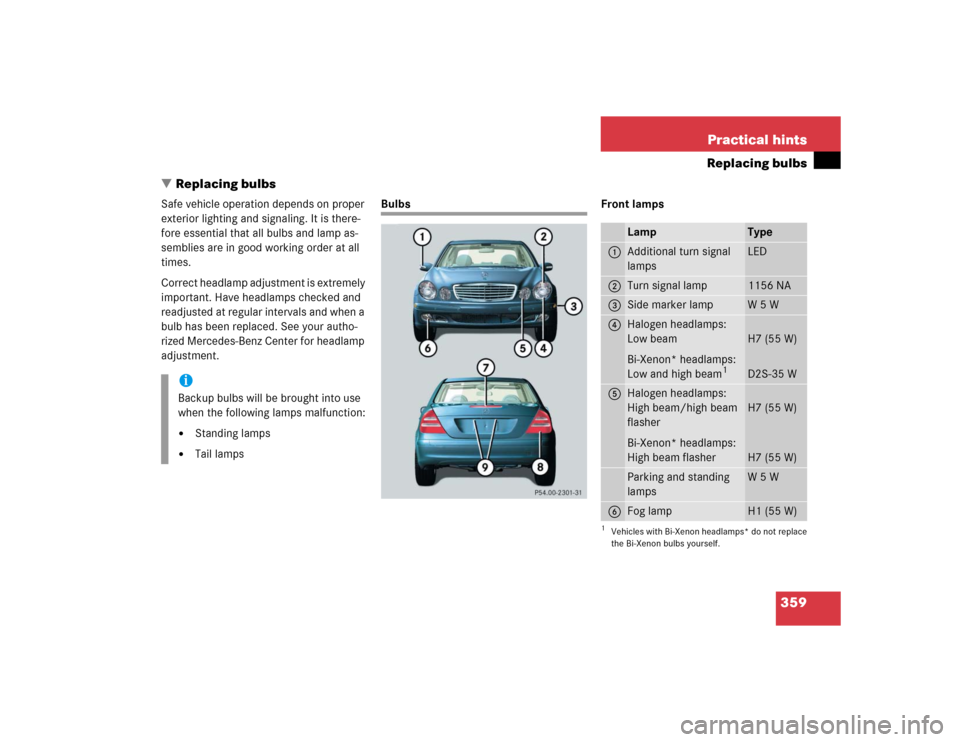
Bulbs Front lamps
iBackup bulbs will be brought into use
when the following lamps malfunction:�
Standing lamps
�
Tail lamps
Lamp
Type
1
Additional turn signal
lamps
LED
2
Turn signal lamp
1156 NA
3
Side marker lamp
W 5 W
4
Halogen headlamps:
Low beam
Bi-Xenon* headlamps:
Low and high beam
1
1Vehicles with Bi-Xenon headlamps* do not replace
the Bi-Xenon bulbs yourself.
H7 (55 W)
D2S-35 W
5
Halogen headlamps:
High beam/high beam
flasher
Bi-Xenon* headlamps:
High beam flasher
H7 (55 W)
H7 (55 W)
Parking and standing
lamps
W 5 W
6
Fog lamp
H1 (55 W)
Page 360 of 442
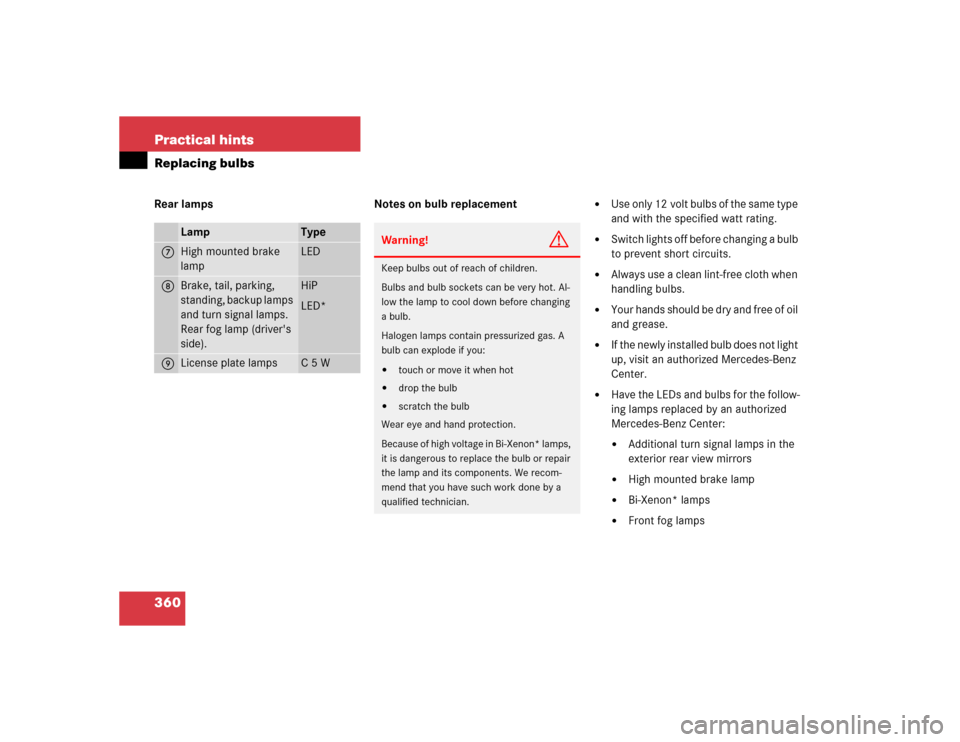
360 Practical hintsReplacing bulbsRear lamps Notes on bulb replacement
�
Use only 12 volt bulbs of the same type
and with the specified watt rating.
�
Switch lights off before changing a bulb
to prevent short circuits.
�
Always use a clean lint-free cloth when
handling bulbs.
�
Your hands should be dry and free of oil
and grease.
�
If the newly installed bulb does not light
up, visit an authorized Mercedes-Benz
Center.
�
Have the LEDs and bulbs for the follow-
ing lamps replaced by an authorized
Mercedes-Benz Center:�
Additional turn signal lamps in the
exterior rear view mirrors
�
High mounted brake lamp
�
Bi-Xenon* lamps
�
Front fog lamps
Lamp
Type
7
High mounted brake
lamp
LED
8
Brake, tail, parking,
standing, backup lamps
and turn signal lamps.
Rear fog lamp (driver's
side).
HiP
LED*
9
License plate lamps
C 5 W
Warning!
G
Keep bulbs out of reach of children.
Bulbs and bulb sockets can be very hot. Al-
low the lamp to cool down before changing
a bulb.
Halogen lamps contain pressurized gas. A
bulb can explode if you:�
touch or move it when hot
�
drop the bulb
�
scratch the bulb
Wear eye and hand protection.
Because of high voltage in Bi-Xenon* lamps,
it is dangerous to replace the bulb or repair
the lamp and its components. We recom-
mend that you have such work done by a
qualified technician.
Page 361 of 442
361 Practical hints
Replacing bulbs
Replacing bulbs for front lamps
1Bulb socket for turn signal lamp
2High beam halogen bulb
3Bulb socket for parking and standing
lamp
4Cover for Bi-Xenon* (low beam and
high beam) or halogen (low beam)
headlampBi-Xenon* headlamps Low beam halogen bulb
�
Switch off the lights.
�
Open the hood (
�page 281).
�
Turn the locking mechanism counter-
clockwise and remove headlamp
cover4.
�
Pull electrical connector off.
�
Release the retaining springs and take
out the bulb.
�
Insert the new bulb in the socket so
that the base is in the recess on the
lower left.
�
Attach the retaining springs.
�
Insert connector into the bulb.
�
Align headlamp cover and click into
place.
Warning!
G
Do not remove the cover4 for the Bi-Xe-
non headlamp. Because of high voltage in
Xenon lamps, it is dangerous to replace the
bulb or repair the lamp and its components.
We recommend that you have such work
done by a qualified technician.
Page 362 of 442
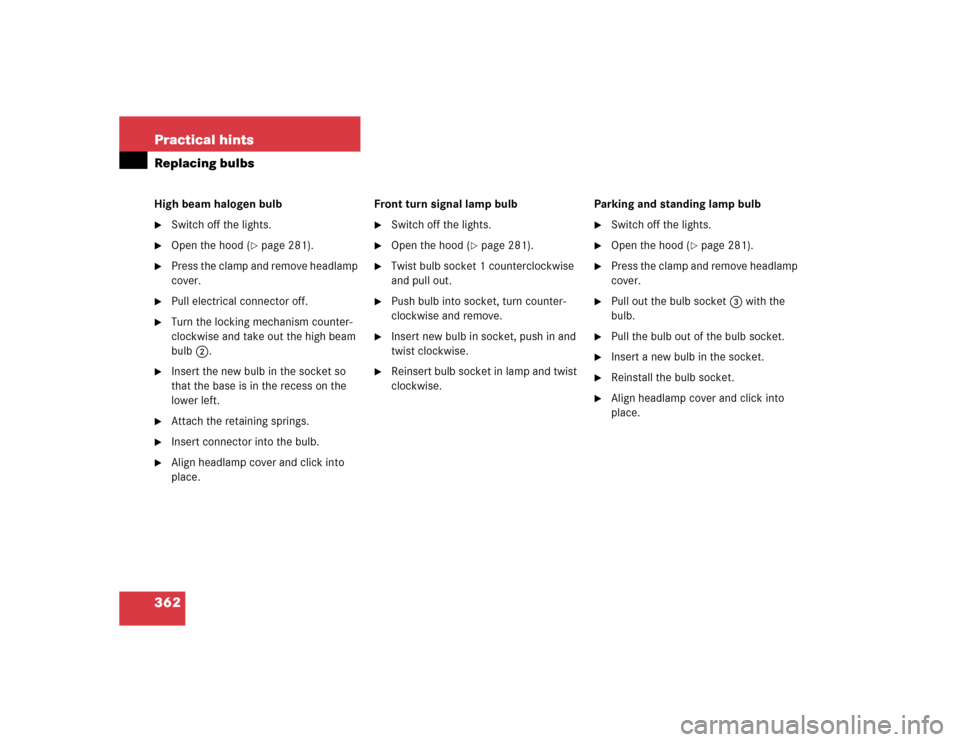
362 Practical hintsReplacing bulbsHigh beam halogen bulb �
Switch off the lights.
�
Open the hood (
�page 281).
�
Press the clamp and remove headlamp
cover.
�
Pull electrical connector off.
�
Turn the locking mechanism counter-
clockwise and take out the high beam
bulb2.
�
Insert the new bulb in the socket so
that the base is in the recess on the
lower left.
�
Attach the retaining springs.
�
Insert connector into the bulb.
�
Align headlamp cover and click into
place.Front turn signal lamp bulb
�
Switch off the lights.
�
Open the hood (
�page 281).
�
Twist bulb socket 1 counterclockwise
and pull out.
�
Push bulb into socket, turn counter-
clockwise and remove.
�
Insert new bulb in socket, push in and
twist clockwise.
�
Reinsert bulb socket in lamp and twist
clockwise.Parking and standing lamp bulb
�
Switch off the lights.
�
Open the hood (
�page 281).
�
Press the clamp and remove headlamp
cover.
�
Pull out the bulb socket3 with the
bulb.
�
Pull the bulb out of the bulb socket.
�
Insert a new bulb in the socket.
�
Reinstall the bulb socket.
�
Align headlamp cover and click into
place.
Page 419 of 442
419 Index
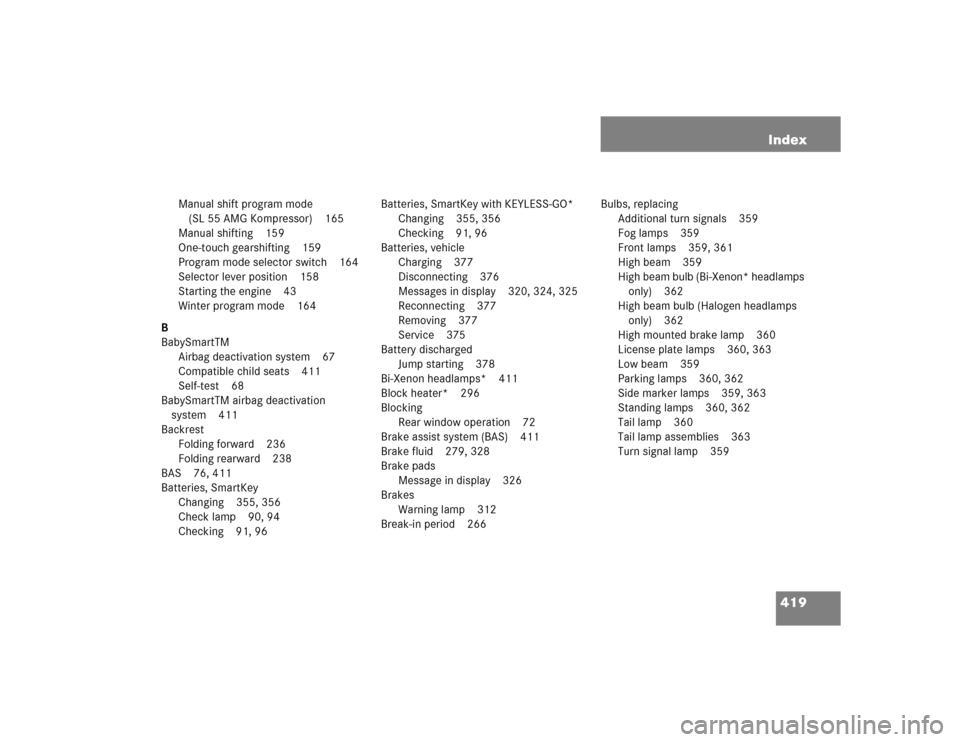
Manual shift program mode
(SL 55 AMG Kompressor) 165
Manual shifting 159
One-touch gearshifting 159
Program mode selector switch 164
Selector lever position 158
Starting the engine 43
Winter program mode 164
B
BabySmartTM
Airbag deactivation system 67
Compatible child seats 411
Self-test 68
BabySmartTM airbag deactivation
system 411
Backrest
Folding forward 236
Folding rearward 238
BAS 76, 411
Batteries, SmartKey
Changing 355, 356
Check lamp 90, 94
Checking 91, 96Batteries, SmartKey with KEYLESS-GO*
Changing 355, 356
Checking 91, 96
Batteries, vehicle
Charging 377
Disconnecting 376
Messages in display 320, 324, 325
Reconnecting 377
Removing 377
Service 375
Battery discharged
Jump starting 378
Bi-Xenon headlamps* 411
Block heater* 296
Blocking
Rear window operation 72
Brake assist system (BAS) 411
Brake fluid 279, 328
Brake pads
Message in display 326
Brakes
Warning lamp 312
Break-in period 266Bulbs, replacing
Additional turn signals 359
Fog lamps 359
Front lamps 359, 361
High beam 359
High beam bulb (Bi-Xenon* headlamps
only) 362
High beam bulb (Halogen headlamps
only) 362
High mounted brake lamp 360
License plate lamps 360, 363
Low beam 359
Parking lamps 360, 362
Side marker lamps 359, 363
Standing lamps 360, 362
Tail lamp 360
Tail lamp assemblies 363
Turn signal lamp 359
Page 426 of 442
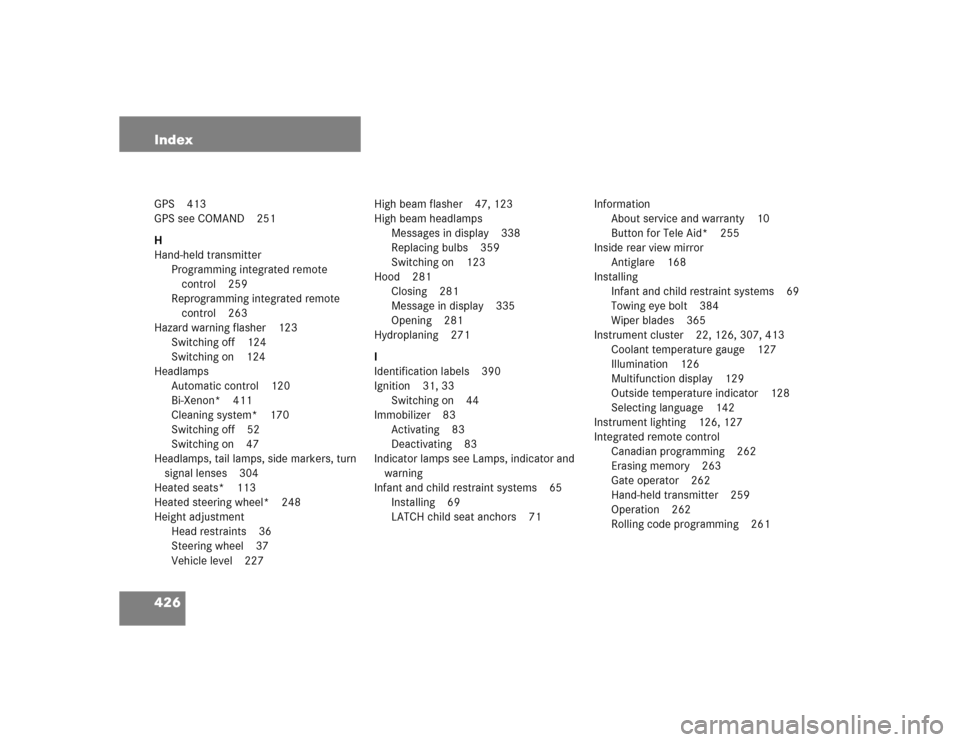
426 IndexGPS 413
GPS see COMAND 251
H
Hand-held transmitter
Programming integrated remote
control 259
Reprogramming integrated remote
control 263
Hazard warning flasher 123
Switching off 124
Switching on 124
Headlamps
Automatic control 120
Bi-Xenon* 411
Cleaning system* 170
Switching off 52
Switching on 47
Headlamps, tail lamps, side markers, turn
signal lenses 304
Heated seats* 113
Heated steering wheel* 248
Height adjustment
Head restraints 36
Steering wheel 37
Vehicle level 227High beam flasher 47, 123
High beam headlamps
Messages in display 338
Replacing bulbs 359
Switching on 123
Hood 281
Closing 281
Message in display 335
Opening 281
Hydroplaning 271
I
Identification labels 390
Ignition 31, 33
Switching on 44
Immobilizer 83
Activating 83
Deactivating 83
Indicator lamps see Lamps, indicator and
warning
Infant and child restraint systems 65
Installing 69
LATCH child seat anchors 71Information
About service and warranty 10
Button for Tele Aid* 255
Inside rear view mirror
Antiglare 168
Installing
Infant and child restraint systems 69
Towing eye bolt 384
Wiper blades 365
Instrument cluster 22, 126, 307, 413
Coolant temperature gauge 127
Illumination 126
Multifunction display 129
Outside temperature indicator 128
Selecting language 142
Instrument lighting 126, 127
Integrated remote control
Canadian programming 262
Erasing memory 263
Gate operator 262
Hand-held transmitter 259
Operation 262
Rolling code programming 261
Page 433 of 442
433 Index
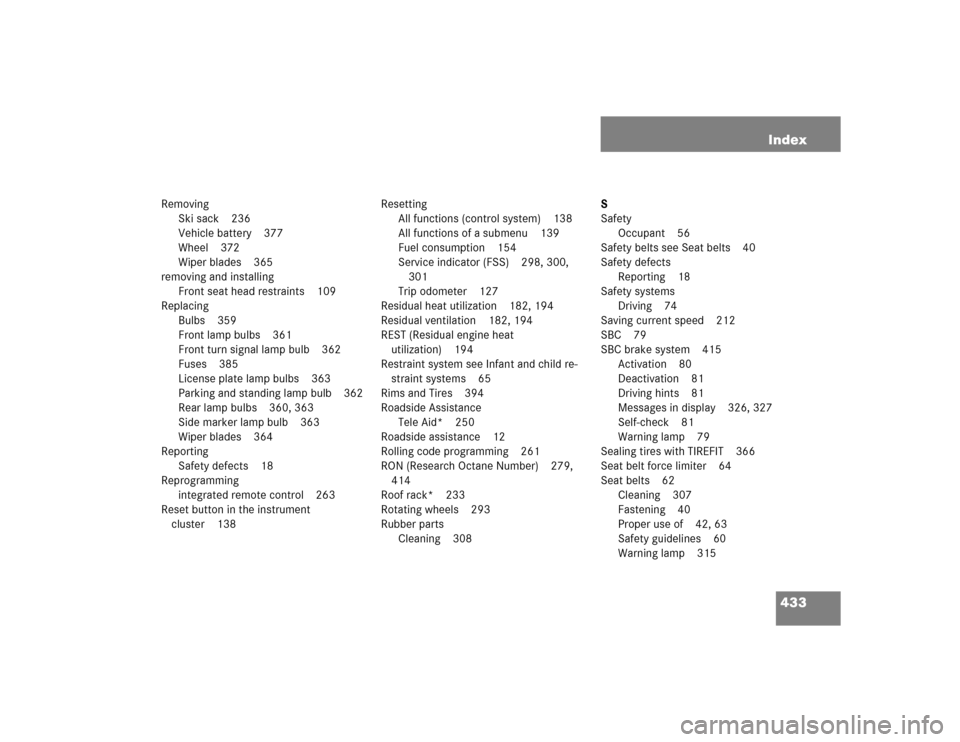
Removing
Ski sack 236
Vehicle battery 377
Wheel 372
Wiper blades 365
removing and installing
Front seat head restraints 109
Replacing
Bulbs 359
Front lamp bulbs 361
Front turn signal lamp bulb 362
Fuses 385
License plate lamp bulbs 363
Parking and standing lamp bulb 362
Rear lamp bulbs 360, 363
Side marker lamp bulb 363
Wiper blades 364
Reporting
Safety defects 18
Reprogramming
integrated remote control 263
Reset button in the instrument
cluster 138Resetting
All functions (control system) 138
All functions of a submenu 139
Fuel consumption 154
Service indicator (FSS) 298, 300,
301
Trip odometer 127
Residual heat utilization 182, 194
Residual ventilation 182, 194
REST (Residual engine heat
utilization) 194
Restraint system see Infant and child re-
straint systems 65
Rims and Tires 394
Roadside Assistance
Tele Aid* 250
Roadside assistance 12
Rolling code programming 261
RON (Research Octane Number) 279,
414
Roof rack* 233
Rotating wheels 293
Rubber parts
Cleaning 308S
Safety
Occupant 56
Safety belts see Seat belts 40
Safety defects
Reporting 18
Safety systems
Driving 74
Saving current speed 212
SBC 79
SBC brake system 415
Activation 80
Deactivation 81
Driving hints 81
Messages in display 326, 327
Self-check 81
Warning lamp 79
Sealing tires with TIREFIT 366
Seat belt force limiter 64
Seat belts 62
Cleaning 307
Fastening 40
Proper use of 42, 63
Safety guidelines 60
Warning lamp 315