Page 24 of 418

23 At a glance
Instrument cluster
Item
Page
1
Coolant temperature gauge
127
2
Fuel gauge with:Fuel reserve warning lamp
296
3
LLeft turn signal
indicator lamp
49
KRight turn signal
indicator lamp
4
Speedometer with:vESP warning lamp
295
lDistance warning
lamp
Vehicles without Distronic*:
Warning lamp without func-
tion. It illuminates when the
ignition is on. It should go
out when the engine is run-
ning.
294
5
Tachometer
128
6
Right display with:
296
Item
Page
-Antilock Brake Sys-
tem (ABS) ndicator
lamp
292
AHigh beam headlamp
indicator
123
7
Reset button
126
8
Display with:�
Program mode
163
�
Gear range indicator
159
�
Digital clock (see
COMAND operating in-
structions)
9
Multifunction display
with:�
Trip odometer
129
�
Main odometer
129
Stored speed for:�
Cruise control
195
�
Distronic*
198
Item
Page
a
Outside temperature indica-
tor
127
b
Left display with:1Supplemental
restraint system
indicator lamp
297
;Brake warning lamp,
USA only
293
3Brake warning lamp,
Canada only
293
?Engine malfunction
indicator lamp, USA
only
294
±Engine malfunction
indicator lamp,
Canada only
294
HTire pressure warning
lamp
275,
296
c
Knob for instrument cluster
illumination
126
Page 134 of 418
133 Controls in detail
Control system
Menus, submenus and functions
Menu1
Standard dis-
play
Menu2
AUDIO
Menu3
Telephone*
Menu4
NAVI
Menu5
Distronic*
Menu6
Trip computer
Menu7
Malfunction
memory
Menu8
Settings
Commands / submenusCall up FSS
Select radio
station
Load phone
book
Activate
route guid-
ance
Call up set-
tings
Fuel consumption
statistics after
start
Call up malfunc-
tion messages
Reset to factory
settings
Check tire
pressure*
Select satel-
lite radio* sta-
tion (USA only)
Search for
name in
phone book
Fuel consumption
statistics since
the last reset
Instrument clus-
ter submenu
Check engine
oil level
Operate CD
player
Select
number last
dialed
Call up range
Lighting sub-
menu
Digital speed-
ometer
Operate
cassette play-
er
Vehicle sub-
menuConvenience
submenu
Page 276 of 418

275 Operation
Tires and wheels
�
Press the reset button on the instru-
ment cluster (
�page 22).
The following message will appear in
the multifunction display:
MONITOR CURRENT TIRE PRESSURE
�
Press æ button.
The following message will appear in
the multifunction display:TIRE PRESS. CONTROL ACTIVATED!The tire inflation pressure monitor will
now monitor the tire inflation pressure
values of all four tires.
The following message will appear in
the multifunction display:TIRE PRES.
DISPLAY AFTER DRIVING
A FEW MINS.
REACTIVATE USING
R-BUTTONThis display appears until the individual
inflation pressure values are matched
with the tires. The individual values are
then displayed (
�page 273).If you wish to cancel activation:
�
Press ç button.
If the following message appears in the
multifunction display:REACTIVATE TIRE
PRES. MONITOR
or
TIRE PRES.
CHECK TIRES!
�
Check the tire inflation pressures and
correct them if necessary.
�
Reactivate the tire inflation pressure
monitor.Checking tire pressure electronically*
(vehicles produced as of approximately
October 2003)
The tire inflation pressure monitor only
functions on wheels that are equipped with
the proper electronic sensors. It monitors
the tire inflation pressure, as selected by
the driver, in all four tires. A warning is is-
sued to alert you to a decrease in pressure
in one or more of the tires.
You can call up the tire pressure using the
control system (
�page 129).
iCheck with an authorized
Mercedes-Benz Center to determine
the equipment installed in your vehicle.
Page 279 of 418

278OperationTires and wheels�
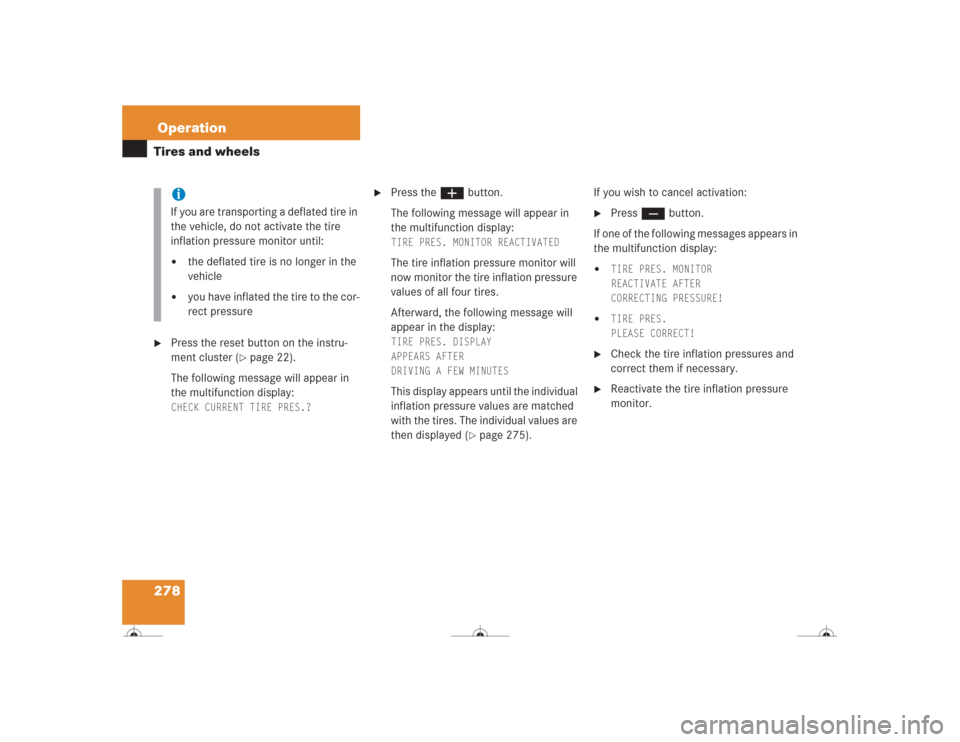
Press the reset button on the instru-
ment cluster (
�page 22).
The following message will appear in
the multifunction display:
CHECK CURRENT TIRE PRES.?
�
Press the æ button.
The following message will appear in
the multifunction display:TIRE PRES. MONITOR REACTIVATED The tire inflation pressure monitor will
now monitor the tire inflation pressure
values of all four tires.
Afterward, the following message will
appear in the display:TIRE PRES. DISPLAY
APPEARS AFTER
DRIVING A FEW MINUTESThis display appears until the individual
inflation pressure values are matched
with the tires. The individual values are
then displayed (
�page 275).If you wish to cancel activation:
�
Press ç button.
If one of the following messages appears in
the multifunction display:
�
TIRE PRES. MONITOR
REACTIVATE AFTER
CORRECTING PRESSURE!
�
TIRE PRES.
PLEASE CORRECT!
�
Check the tire inflation pressures and
correct them if necessary.
�
Reactivate the tire inflation pressure
monitor.
iIf you are transporting a deflated tire in
the vehicle, do not activate the tire
inflation pressure monitor until:�
the deflated tire is no longer in the
vehicle
�
you have inflated the tire to the cor-
rect pressure
Page 411 of 418

410 IndexTar stains 285
Tele Aid 230
Emergency calls 232
Information 235
Initiating an emergency call
manually 233
Messages in display 318
Remote door unlock 237
Roadside Assistance 234
Stolen vehicle tracking services 238
System self-check 231
Upgrade signals 236
Tele Aid System 387
Telematics* 387
Telephone* 24, 229
Answering a call 140
Dialing a number from the phone
book 140
Ending a call 140
Hands-free microphone 27
Loading phone book* 140
Messages in display 319
Operating 139
Redialing 141Temperature
Display mode 148
Setting interior temperature 176
Setting units in display 148
Tires 272
Tie-down hooks (Trunk) 220
Tightening torque 387
Tightening torque (Wheel bolts) 347
Tire inflation pressure
Checking 259, 271
Tire inflation pressure see the placard on
the fuel filler flap
Tire speed rating 251, 387
Tire traction 251
Tires 270, 380
Direction of rotation 271
Driving instructions 250
Messages in display 321, 324
Retreads 270
Service life 271
Temperature 272
Tire pressure monitor indicator
lamp* 296
Tread depth 280Wear pattern 279
Winter 280
Tools 329
Tow-away alarm 25, 84
Arming 84
Disarming 84
Disarming for transport 84
Towing eye bolt (vehicle tool kit) 329
Installing 355
Towing the vehicle 353
Tracking services
For stolen vehicle 238
Traction 163, 387
Transmission see Automatic
transmission 266
Tread depth (tires) 280
Trip computer 143
Trip odometer
Resetting 127
Trunk
Closing 98
Lock button 95
Lock button, KEYLESS-GO* 95
Locking separately 104