Page 344 of 418
343 Practical hints
Flat tire
�Flat tire
Preparing the vehicle�
Park the vehicle as far as possible from
moving traffic on a hard surface.
�
Turn on the hazard warning flashers.
�
Turn the steering wheel so that the
front wheels are in a straight ahead
position.
�
Set the parking brake.
�
Move the gear selector lever toP.
Vehicles with SmartKey:
�
Turn off the engine (
�page 55).
�
Remove the SmartKey from the starter
switch.Vehicles with SmartKey with
KEYLESS-GO*:
�
Turn off the engine by pressing the
KEYLESS-GO* button on the gear se-
lector lever once (
�page 56).
�
Open the driver’s door (this puts the
starter switch in position0, same as
with the SmartKey removed from the
starter switch). The driver’s door then
can be closed again.
�
Have any passenger exit the vehicle at
a safe distance from the roadway.
Mounting the spare wheel
iOpen door only when conditions are
safe to do so.
Warning!
G
Never operate the vehicle with more than
one spare wheel mounted.
The spare wheel rim is for temporary use
only. Use for over a total of 12 000 miles
(20 000 km) (aggregate of all uses) may
cause wheel rim failure leading to an acci-
dent and possible injuries.
The spare wheel should only be used tempo-
rarily and replaced with a regular road wheel
as quickly as possible.
CL 55 AMG and Sport Package* only:
The spare wheel is for temporary use only.
When driving with spare wheel mounted, en-
sure proper tire pressure and do not exceed
vehicle speed of 50 mph (80 km/h).
The dimensions of the spare wheel are dif-
ferent from those of the road wheels. As a
result, the vehicle handling characteristics
change when driving with a mounted spare
wheel. Adapt your driving style accordingly.
Page 345 of 418
344 Practical hintsFlat tirePreparing the vehicle�
Take vehicle tool kit tray and vehicle
jack out of trunk.
�
Take the spare wheel out of wheel well
(�page 330).
Lifting the vehicle
�
Prevent the vehicle from rolling away
by blocking wheels with wheel chocks
(not included) or other sizable objects.
When changing wheel on a level surface:
�
Place one chock in front of and one be-
hind the wheel that is diagonally oppo-
site to the wheel being changed.
When changing wheel on a hill:
�
Place chocks behind the downhill sides
of both wheels of the axle not being
worked on.
�
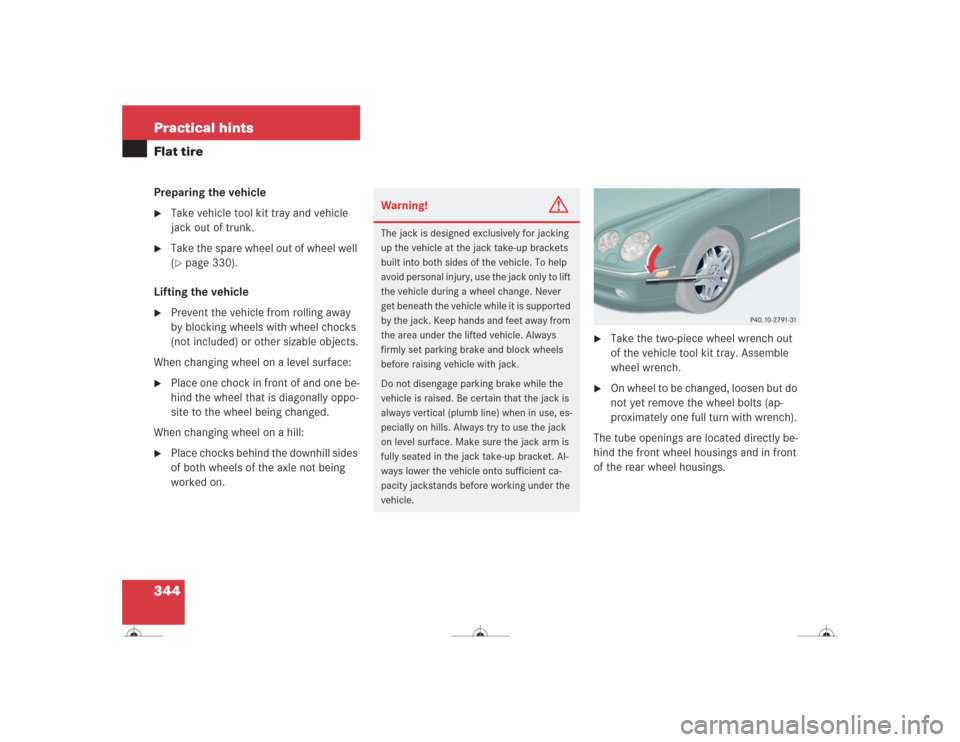
Take the two-piece wheel wrench out
of the vehicle tool kit tray. Assemble
wheel wrench.
�
On wheel to be changed, loosen but do
not yet remove the wheel bolts (ap-
proximately one full turn with wrench).
The tube openings are located directly be-
hind the front wheel housings and in front
of the rear wheel housings.
Warning!
G
The jack is designed exclusively for jacking
up the vehicle at the jack take-up brackets
built into both sides of the vehicle. To help
avoid personal injury, use the jack only to lift
the vehicle during a wheel change. Never
get beneath the vehicle while it is supported
by the jack. Keep hands and feet away from
the area under the lifted vehicle. Always
firmly set parking brake and block wheels
before raising vehicle with jack.
Do not disengage parking brake while the
vehicle is raised. Be certain that the jack is
always vertical (plumb line) when in use, es-
pecially on hills. Always try to use the jack
on level surface. Make sure the jack arm is
fully seated in the jack take-up bracket. Al-
ways lower the vehicle onto sufficient ca-
pacity jackstands before working under the
vehicle.
Page 347 of 418
346 Practical hintsFlat tireRemoving the wheel
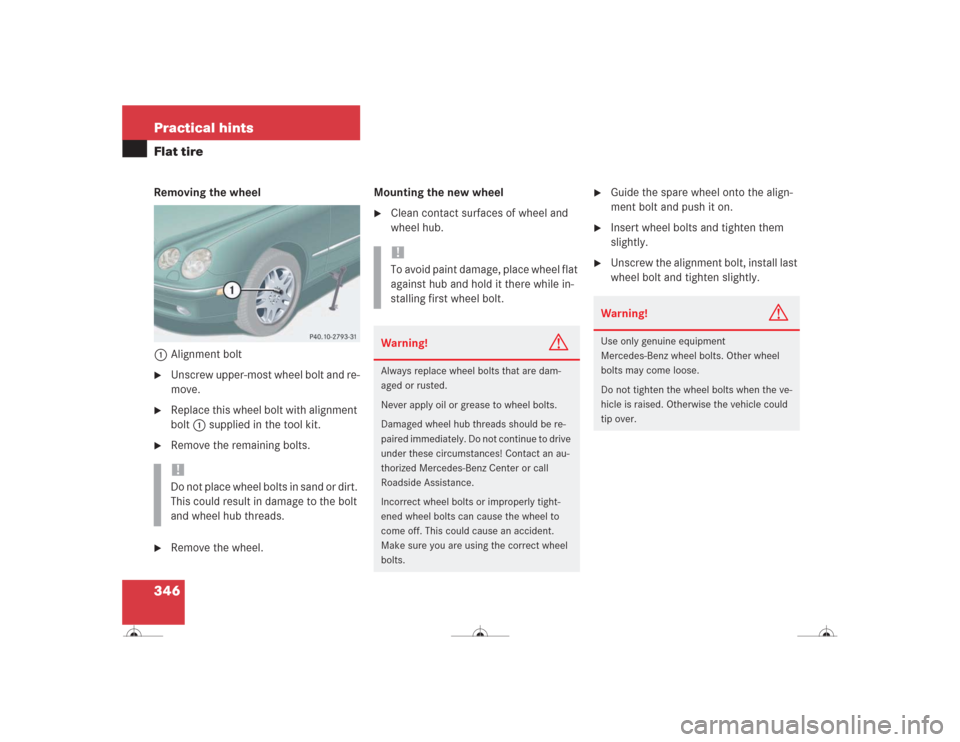
1Alignment bolt�
Unscrew upper-most wheel bolt and re-
move.
�
Replace this wheel bolt with alignment
bolt1 supplied in the tool kit.
�
Remove the remaining bolts.
�
Remove the wheel.Mounting the new wheel
�
Clean contact surfaces of wheel and
wheel hub.
�
Guide the spare wheel onto the align-
ment bolt and push it on.
�
Insert wheel bolts and tighten them
slightly.
�
Unscrew the alignment bolt, install last
wheel bolt and tighten slightly.
!Do not place wheel bolts in sand or dirt.
This could result in damage to the bolt
and wheel hub threads.
!To avoid paint damage, place wheel flat
against hub and hold it there while in-
stalling first wheel bolt.Warning!
G
Always replace wheel bolts that are dam-
aged or rusted.
Never apply oil or grease to wheel bolts.
Damaged wheel hub threads should be re-
paired immediately. Do not continue to drive
under these circumstances! Contact an au-
thorized Mercedes-Benz Center or call
Roadside Assistance.
Incorrect wheel bolts or improperly tight-
ened wheel bolts can cause the wheel to
come off. This could cause an accident.
Make sure you are using the correct wheel
bolts.
Warning!
G
Use only genuine equipment
Mercedes-Benz wheel bolts. Other wheel
bolts may come loose.
Do not tighten the wheel bolts when the ve-
hicle is raised. Otherwise the vehicle could
tip over.
Page 348 of 418
347 Practical hints
Flat tire
Lowering the vehicle�
Lower vehicle by turning crank coun-
terclockwise until vehicle is resting ful-
ly on its own weight.
�
Remove the jack.
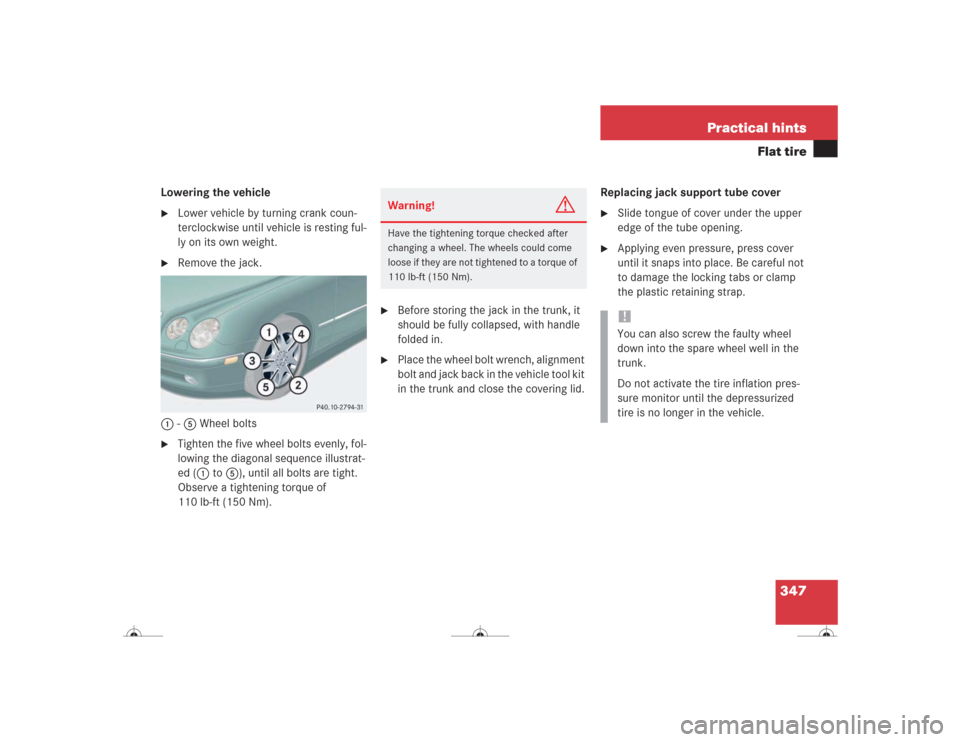
1-5 Wheel bolts
�
Tighten the five wheel bolts evenly, fol-
lowing the diagonal sequence illustrat-
ed (1 to5), until all bolts are tight.
Observe a tightening torque of
110 lb-ft (150 Nm).
�
Before storing the jack in the trunk, it
should be fully collapsed, with handle
folded in.
�
Place the wheel bolt wrench, alignment
bolt and jack back in the vehicle tool kit
in the trunk and close the covering lid.Replacing jack support tube cover
�
Slide tongue of cover under the upper
edge of the tube opening.
�
Applying even pressure, press cover
until it snaps into place. Be careful not
to damage the locking tabs or clamp
the plastic retaining strap.
Warning!
G
Have the tightening torque checked after
changing a wheel. The wheels could come
loose if they are not tightened to a torque of
110 lb-ft (150 Nm).
!You can also screw the faulty wheel
down into the spare wheel well in the
trunk.
Do not activate the tire inflation pres-
sure monitor until the depressurized
tire is no longer in the vehicle.
Page 370 of 418
369 Technical data
Rims and Tires
Spare wheel
CL 500 (except Sport Package and ex-
cept Appearance Package*)
CL 600
CL 500 (Sport Package* and Appearance
Package*)
CL 55 AMG
Rims (light alloy)
7½J x 17 H2
8J x 18 H2
Wheel offset
2.0 in (51 mm)
1.73 in (44 mm)
Summer tires (radial-ply tires)
-
245 / 45 R18 96Y
All season tires (radial-ply tires)
225 / 55 R17 97H M+S
-
Page 398 of 418
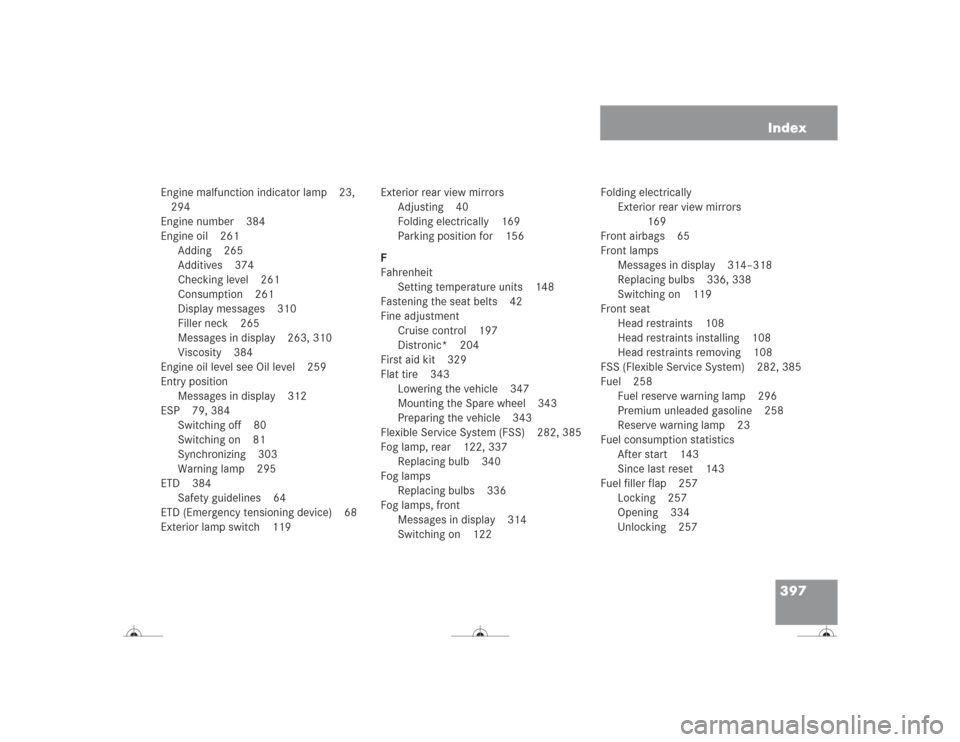
397 Index
Engine malfunction indicator lamp 23,
294
Engine number 384
Engine oil 261
Adding 265
Additives 374
Checking level 261
Consumption 261
Display messages 310
Filler neck 265
Messages in display 263, 310
Viscosity 384
Engine oil level see Oil level 259
Entry position
Messages in display 312
ESP 79, 384
Switching off 80
Switching on 81
Synchronizing 303
Warning lamp 295
ETD 384
Safety guidelines 64
ETD (Emergency tensioning device) 68
Exterior lamp switch 119Exterior rear view mirrors
Adjusting 40
Folding electrically 169
Parking position for 156
F
Fahrenheit
Setting temperature units 148
Fastening the seat belts 42
Fine adjustment
Cruise control 197
Distronic* 204
First aid kit 329
Flat tire 343
Lowering the vehicle 347
Mounting the Spare wheel 343
Preparing the vehicle 343
Flexible Service System (FSS) 282, 385
Fog lamp, rear 122, 337
Replacing bulb 340
Fog lamps
Replacing bulbs 336
Fog lamps, front
Messages in display 314
Switching on 122Folding electrically
Exterior rear view mirrors
169
Front airbags 65
Front lamps
Messages in display 314–318
Replacing bulbs 336, 338
Switching on 119
Front seat
Head restraints 108
Head restraints installing 108
Head restraints removing 108
FSS (Flexible Service System) 282, 385
Fuel 258
Fuel reserve warning lamp 296
Premium unleaded gasoline 258
Reserve warning lamp 23
Fuel consumption statistics
After start 143
Since last reset 143
Fuel filler flap 257
Locking 257
Opening 334
Unlocking 257
Page 399 of 418

398 IndexFuel tank
Filler flap 257
Fuels, coolants, lubricants etc. 372
Functions (control system) 131, 133
Resetting 146
Fuse box 356, 357
Fuse chart 329
Fuses 356
Fuse box in dashboard 356
Fuse box in engine compartment 357
Fuse box in passenger
compartment 356
Fuse box in the rear passenger
compartment 357
Fuse chart 329
Fuse extractor 329
Spare fuses 329
G
Garage door opener 27, 238
Erasing in remote control 243
Integrated remote control 240
Rolling code programming 241
Gasoline see Fuel 258Gear range 385
Automatic transmission 159
Limiting 159
Shifting into optimal 158
Gear range limit
Canceling 158
Gear selector lever
Cleaning 289
Position 160
Gearshift pattern for automatic
transmission 45
Global
Locking 89
Unlocking 89
Global Positioning System (GPS) 385
Glove box 21, 221
Closing 221
Locking 221
Opening 221
Unlocking 221
Gloves (vehicle tool kit) 329
Good visibility 167
GPS 231, 385H
Hand-held transmitter
Programming integrated remote
control 240
Hands-free microphone 27
Hard plastic trim items
Cleaning 289
Hazard warning flasher 123
Switching off 124
Switching on 124
Head restraints 108
Headlamp cleaning system 258
Headlamps
Automatic control 120
Bi-Xenon 383
Cleaning 286
Cleaning system 170, 269, 379
Refilling washer fluid 269
Switching off 55
Switching on 49
Headliner
Cleaning 289
Heated steering wheel* 228
Page 409 of 418
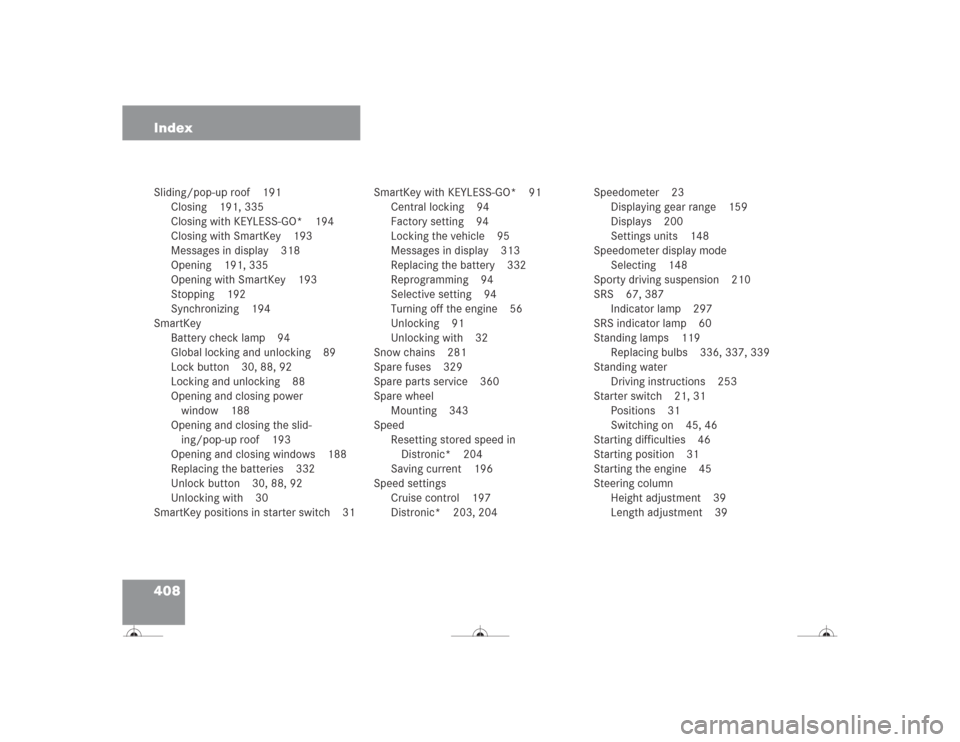
408 IndexSliding/pop-up roof 191
Closing 191, 335
Closing with KEYLESS-GO* 194
Closing with SmartKey 193
Messages in display 318
Opening 191, 335
Opening with SmartKey 193
Stopping 192
Synchronizing 194
SmartKey
Battery check lamp 94
Global locking and unlocking 89
Lock button 30, 88, 92
Locking and unlocking 88
Opening and closing power
window 188
Opening and closing the slid-
ing/pop-up roof 193
Opening and closing windows 188
Replacing the batteries 332
Unlock button 30, 88, 92
Unlocking with 30
SmartKey positions in starter switch 31SmartKey with KEYLESS-GO* 91
Central locking 94
Factory setting 94
Locking the vehicle 95
Messages in display 313
Replacing the battery 332
Reprogramming 94
Selective setting 94
Turning off the engine 56
Unlocking 91
Unlocking with 32
Snow chains 281
Spare fuses 329
Spare parts service 360
Spare wheel
Mounting 343
Speed
Resetting stored speed in
Distronic* 204
Saving current 196
Speed settings
Cruise control 197
Distronic* 203, 204Speedometer 23
Displaying gear range 159
Displays 200
Settings units 148
Speedometer display mode
Selecting 148
Sporty driving suspension 210
SRS 67, 387
Indicator lamp 297
SRS indicator lamp 60
Standing lamps 119
Replacing bulbs 336, 337, 339
Standing water
Driving instructions 253
Starter switch 21, 31
Positions 31
Switching on 45, 46
Starting difficulties 46
Starting position 31
Starting the engine 45
Steering column
Height adjustment 39
Length adjustment 39