Page 126 of 418
125 Controls in detail
Lighting
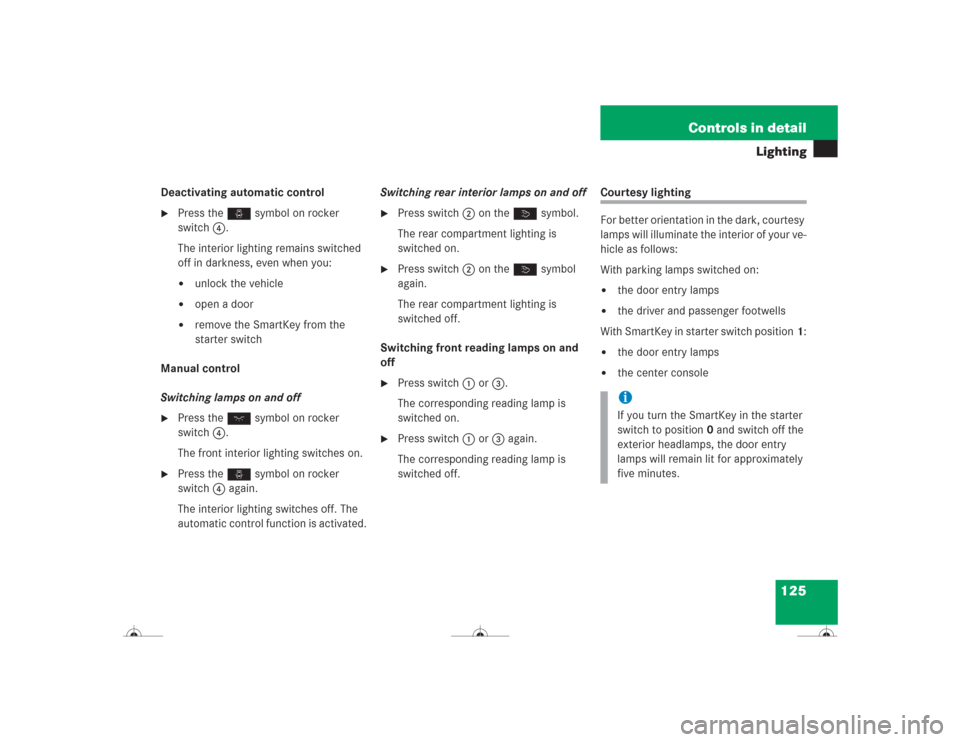
Deactivating automatic control�
Press the ñ symbol on rocker
switch 4.
The interior lighting remains switched
off in darkness, even when you:�
unlock the vehicle
�
open a door
�
remove the SmartKey from the
starter switch
Manual control
Switching lamps on and off
�
Press the ð symbol on rocker
switch 4.
The front interior lighting switches on.
�
Press the ñ symbol on rocker
switch 4 again.
The interior lighting switches off. The
automatic control function is activated.Switching rear interior lamps on and off
�
Press switch2 on theò symbol.
The rear compartment lighting is
switched on.
�
Press switch2 on theò symbol
again.
The rear compartment lighting is
switched off.
Switching front reading lamps on and
off
�
Press switch 1 or 3.
The corresponding reading lamp is
switched on.
�
Press switch 1 or 3 again.
The corresponding reading lamp is
switched off.
Courtesy lighting
For better orientation in the dark, courtesy
lamps will illuminate the interior of your ve-
hicle as follows:
With parking lamps switched on:�
the door entry lamps
�
the driver and passenger footwells
With SmartKey in starter switch position1:
�
the door entry lamps
�
the center consoleiIf you turn the SmartKey in the starter
switch to position0 and switch off the
exterior headlamps, the door entry
lamps will remain lit for approximately
five minutes.
Page 127 of 418
126 Controls in detailInstrument cluster
�Instrument clusterA full view illustration of the instrument
cluster can be found in the “At a glance”
section of this manual (
�page 22).
The instrument cluster is activated when
you:
�
open a door
�
turn on the ignition
�
press the reset button (
�page 22)
�
switch on the exterior lamps
You can change the instrument cluster set-
tings in the Instrument cluster submenu of
the control system (
�page 148).
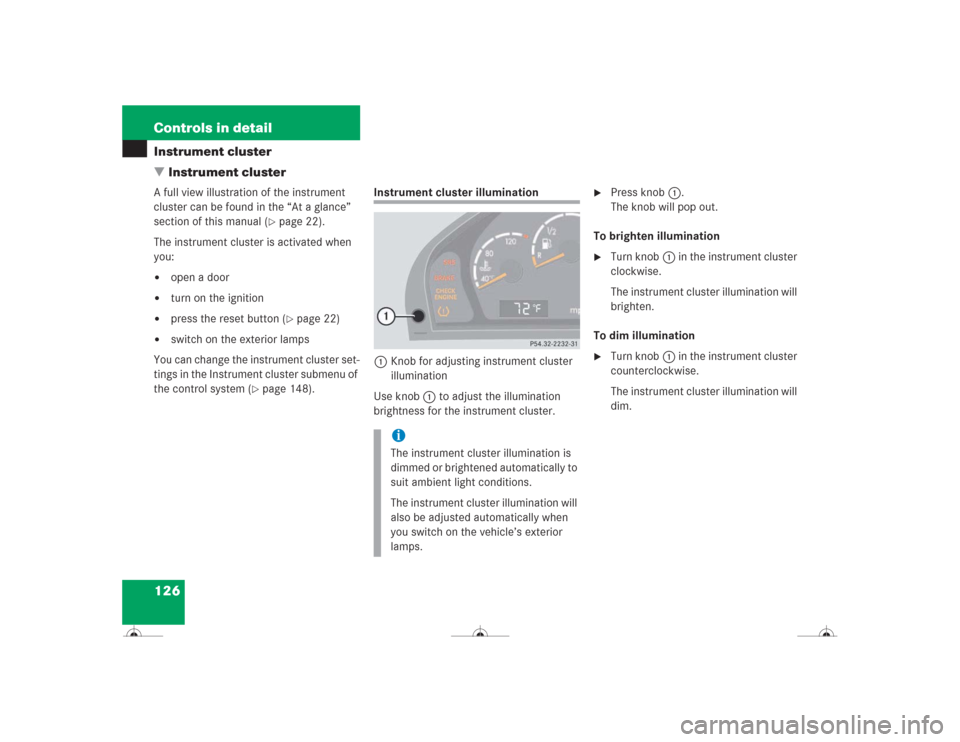
Instrument cluster illumination
1Knob for adjusting instrument cluster
illumination
Use knob1 to adjust the illumination
brightness for the instrument cluster.
�
Press knob1.
The knob will pop out.
To brighten illumination
�
Turn knob1 in the instrument cluster
clockwise.
The instrument cluster illumination will
brighten.
To dim illumination
�
Turn knob1 in the instrument cluster
counterclockwise.
The instrument cluster illumination will
dim.
iThe instrument cluster illumination is
dimmed or brightened automatically to
suit ambient light conditions.
The instrument cluster illumination will
also be adjusted automatically when
you switch on the vehicle’s exterior
lamps.
Page 148 of 418
147 Controls in detail
Control system
The table below shows what settings can
be changed within the various menus. De-
tailed instructions on making individual
settings can be found on the following pag-
es.INSTRUMENT CLUSTER
LIGHTING
VEHICLE
CONVENIENCE
Select temperature display
mode
Set daytime running lamp mode
(USA only)
Set automatic locking
Set key-dependency
Select speedometer display
mode
Set locator lighting
Limiting opening height of trunk
lid*
Activate easy-entry / exit fea-
ture
Select language
Exterior lamps delayed shut-off
Set parking position for exterior
rear view mirrors
Interior lighting delayed shut-off
Set fold-in function for exterior
rear view mirrors
Page 151 of 418
150 Controls in detailControl systemSetting daytime running lamp mode
(USA only)�
Move the selection marker with
theæ orç button to the
LIGHT-
ING
submenu.
�
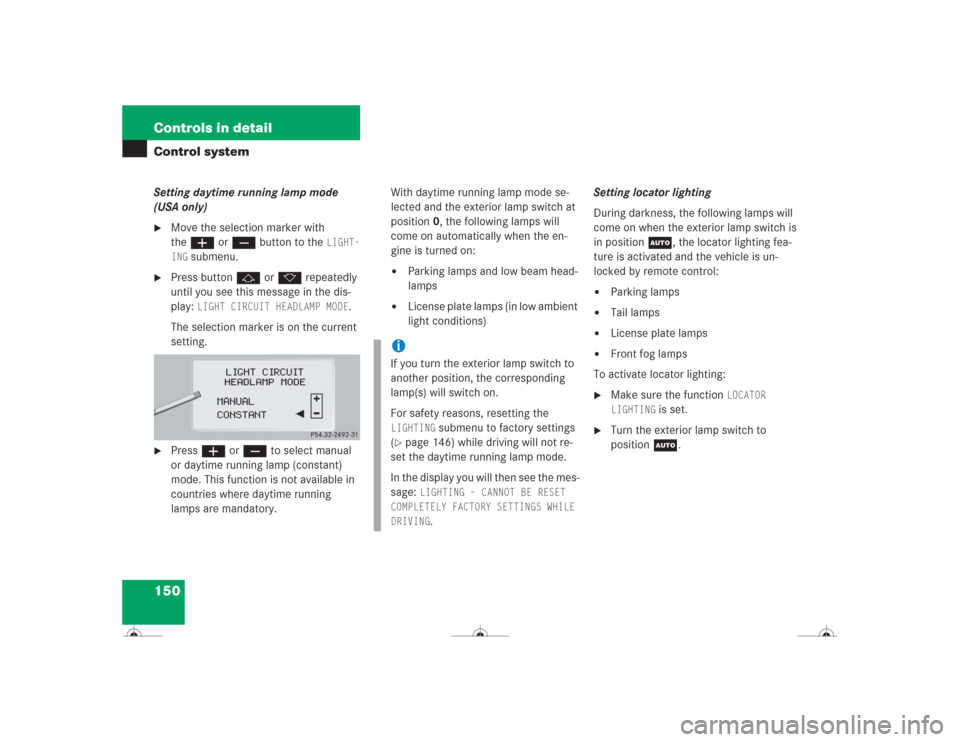
Press buttonj ork repeatedly
until you see this message in the dis-
play:
LIGHT CIRCUIT HEADLAMP MODE
.
The selection marker is on the current
setting.
�
Pressæ orç to select manual
or daytime running lamp (constant)
mode. This function is not available in
countries where daytime running
lamps are mandatory.With daytime running lamp mode se-
lected and the exterior lamp switch at
position0, the following lamps will
come on automatically when the en-
gine is turned on:
�
Parking lamps and low beam head-
lamps
�
License plate lamps (in low ambient
light conditions) Setting locator lighting
During darkness, the following lamps will
come on when the exterior lamp switch is
in position U, the locator lighting fea-
ture is activated and the vehicle is un-
locked by remote control:
�
Parking lamps
�
Tail lamps
�
License plate lamps
�
Front fog lamps
To activate locator lighting:
�
Make sure the function
LOCATOR
LIGHTING
is set.
�
Turn the exterior lamp switch to
positionU.
iIf you turn the exterior lamp switch to
another position, the corresponding
lamp(s) will switch on.
For safety reasons, resetting the LIGHTING
submenu to factory settings
(
�page 146) while driving will not re-
set the daytime running lamp mode.
In the display you will then see the mes-
sage:
LIGHTING – CANNOT BE RESET
COMPLETELY FACTORY SETTINGS WHILE
DRIVING.
Page 154 of 418
153 Controls in detail
Control system
Vehicle submenu
Access the
VEHICLE
submenu via the
SET-
INGS
menu. Use the
VEHICLE
submenu to
make general vehicle settings. The follow-
ing functions are available:Setting automatic locking
Use this function to activate or deactivate
the automatic central locking. With the au-
tomatic central locking system activated,
the vehicle is centrally locked at vehicle
speeds of approximately 9 mph
(15 km/h).
�
Press buttonæ orç to move
the selection marker to the
VEHICLE
submenu.
�
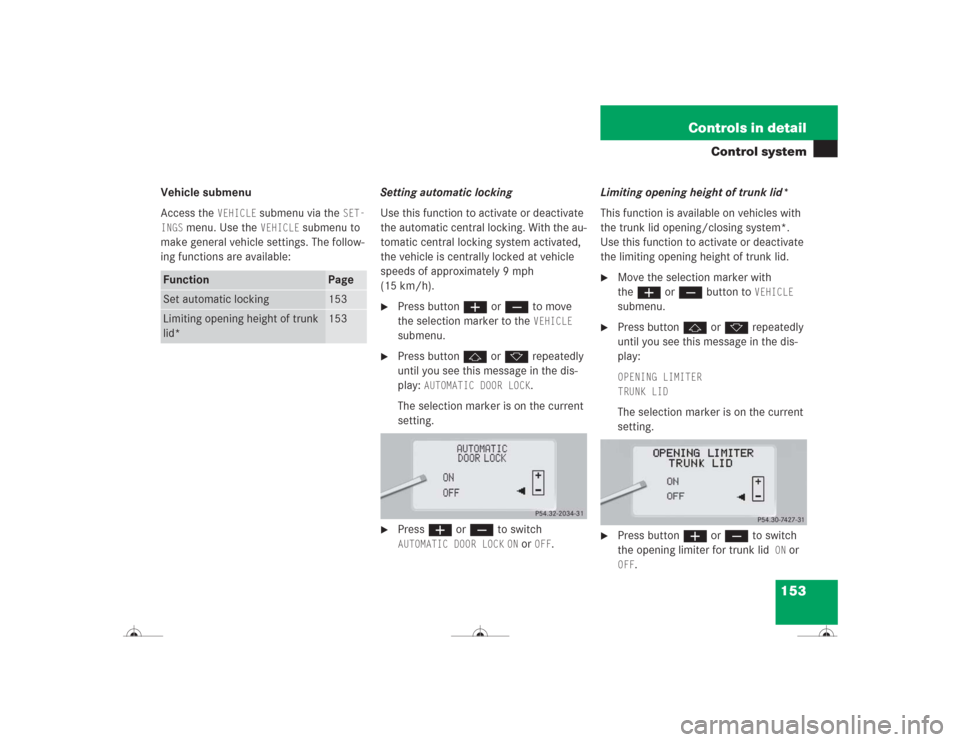
Press buttonj ork repeatedly
until you see this message in the dis-
play:
AUTOMATIC DOOR LOCK
.
The selection marker is on the current
setting.
�
Pressæ orç to switch AUTOMATIC DOOR LOCK
ON or
OFF
.Limiting opening height of trunk lid*
This function is available on vehicles with
the trunk lid opening/closing system*.
Use this function to activate or deactivate
the limiting opening height of trunk lid.
�
Move the selection marker with
theæ orç button to
VEHICLE
submenu.
�
Press buttonj ork repeatedly
until you see this message in the dis-
play:OPENING LIMITER
TRUNK LIDThe selection marker is on the current
setting.
�
Press buttonæ orç to switch
the opening limiter for trunk lid
ON
or
OFF
.
Function
Page
Set automatic locking
153
Limiting opening height of trunk
lid*
153
Page 156 of 418
155 Controls in detail
Control system
After entering the vehicle, the steering
wheel and seat will move into the position
stored in memory when:�
the driver’s door is closed
�
you put the SmartKey in the starter
switch or press the KEYLESS-GO
start/stop button*
�
press and hold the appropriate stored
position button on the memory switch
(�page 116).
�
Move the selection marker with
theæ orç button to
the
CONVENIENCE
submenu.
�
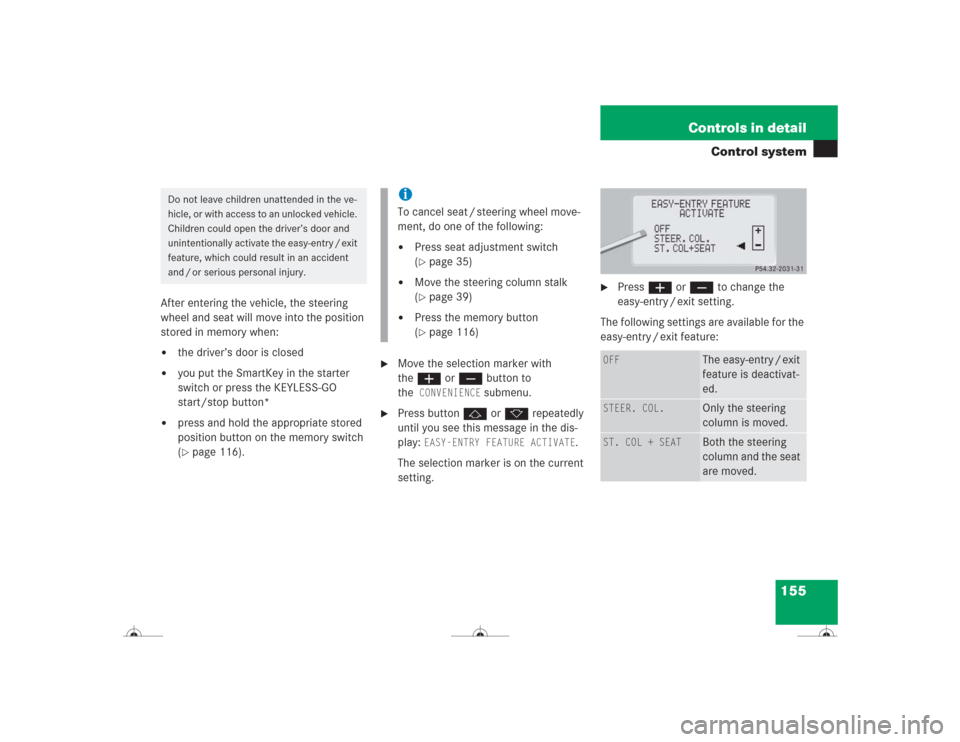
Press buttonj ork repeatedly
until you see this message in the dis-
play:
EASY-ENTRY FEATURE ACTIVATE
.
The selection marker is on the current
setting.
�
Pressæ orç to change the
easy-entry / exit setting.
The following settings are available for the
easy-entry / exit feature:
Do not leave children unattended in the ve-
hicle, or with access to an unlocked vehicle.
Children could open the driver’s door and
unintentionally activate the easy-entry / exit
feature, which could result in an accident
and / or serious personal injury.
iTo cancel seat / steering wheel move-
ment, do one of the following:�
Press seat adjustment switch
(�page 35)
�
Move the steering column stalk
(�page 39)
�
Press the memory button
(�page 116)
OFF
The easy-entry / exit
feature is deactivat-
ed.
STEER. COL.
Only the steering
column is moved.
ST. COL + SEAT
Both the steering
column and the seat
are moved.
Page 157 of 418
156 Controls in detailControl systemSetting parking position for exterior rear
view mirror
Use the
MIRROR SETTING WHEN PARKING
function to select whether the passen-
ger-side exterior rear view mirror should be
turned downward during parking maneu-
vers when reverse gear R is engaged. For
additional information, see “Activating ex-
terior rear view mirror parking position”
(
�page 168).
�
Move the selection marker to
the
CONVENIENCE
submenu using
theæ orç button.
�
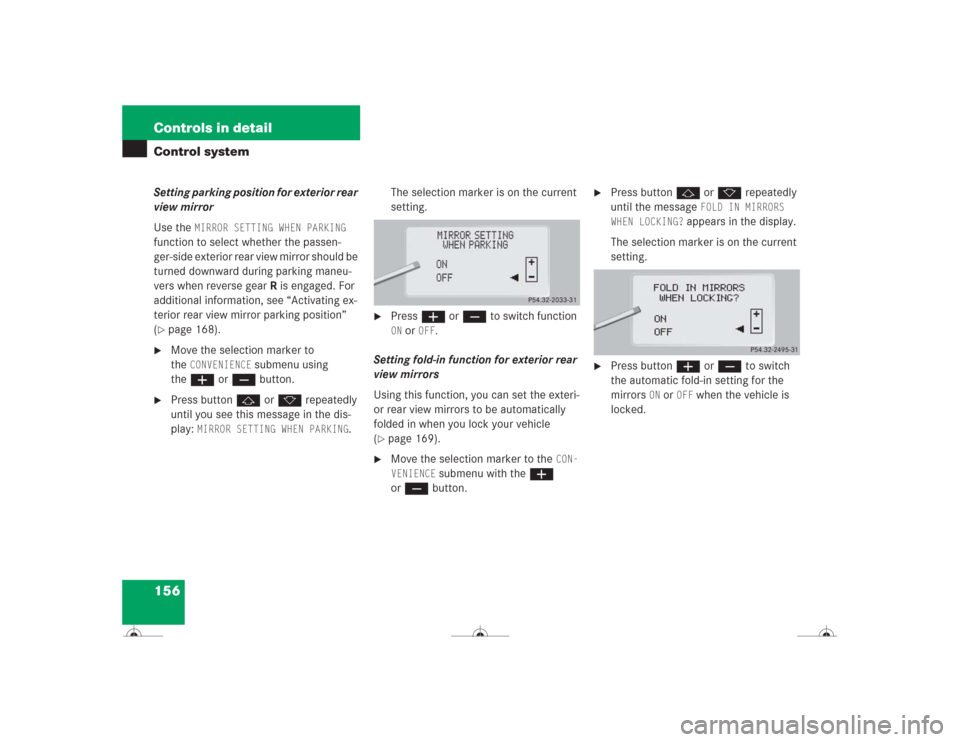
Press buttonj ork repeatedly
until you see this message in the dis-
play:
MIRROR SETTING WHEN PARKING
.The selection marker is on the current
setting.
�
Pressæ orç to switch function ON or
OFF
.
Setting fold-in function for exterior rear
view mirrors
Using this function, you can set the exteri-
or rear view mirrors to be automatically
folded in when you lock your vehicle
(
�page 169).
�
Move the selection marker to the
CON-
VENIENCE
submenu with theæ
orç button.
�
Press buttonj ork repeatedly
until the message
FOLD IN MIRRORS
WHEN LOCKING?
appears in the display.
The selection marker is on the current
setting.
�
Press buttonæ or ç to switch
the automatic fold-in setting for the
mirrors
ON or
OFF
when the vehicle is
locked.
Page 161 of 418
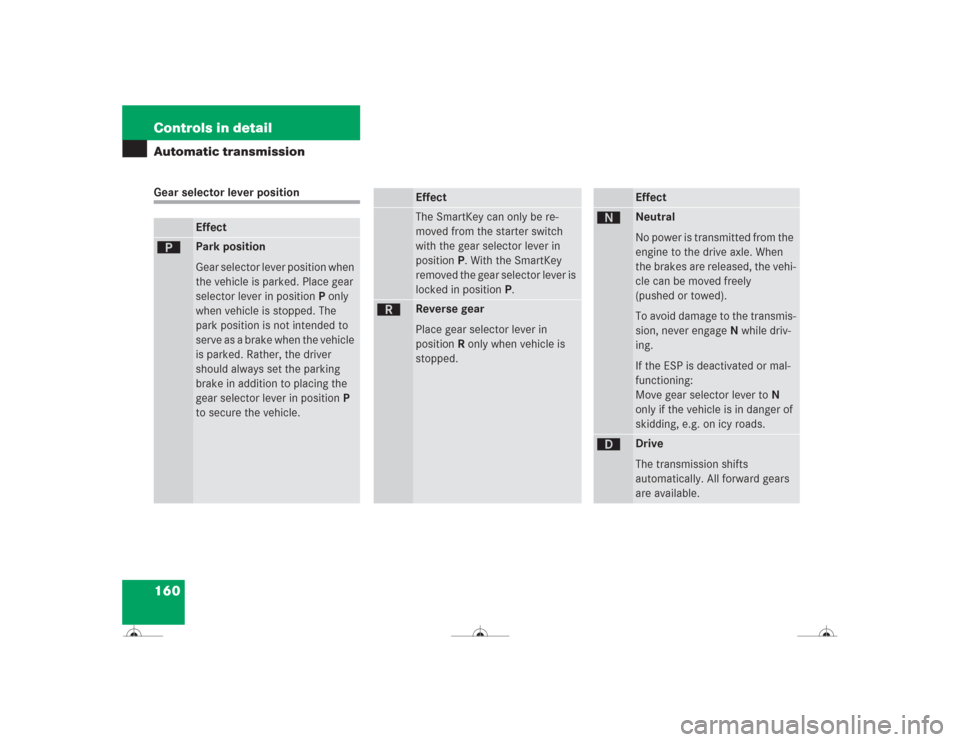
160 Controls in detailAutomatic transmissionGear selector lever position
Effect
ì
Park position
Gear selector lever position when
the vehicle is parked. Place gear
selector lever in positionP only
when vehicle is stopped. The
park position is not intended to
serve as a brake when the vehicle
is parked. Rather, the driver
should always set the parking
brake in addition to placing the
gear selector lever in positionP
to secure the vehicle.
EffectThe SmartKey can only be re-
moved from the starter switch
with the gear selector lever in
positionP. With the SmartKey
removed the gear selector lever is
locked in positionP.
í
Reverse gear
Place gear selector lever in
positionR only when vehicle is
stopped.
Effect
ë
Neutral
No power is transmitted from the
engine to the drive axle. When
the brakes are released, the vehi-
cle can be moved freely
(pushed or towed).
To avoid damage to the transmis-
sion, never engageN while driv-
ing.
If the ESP is deactivated or mal-
functioning:
Move gear selector lever toN
only if the vehicle is in danger of
skidding, e.g. on icy roads.
ê
Drive
The transmission shifts
automatically. All forward gears
are available.