Page 268 of 418
267 Operation
Engine compartment
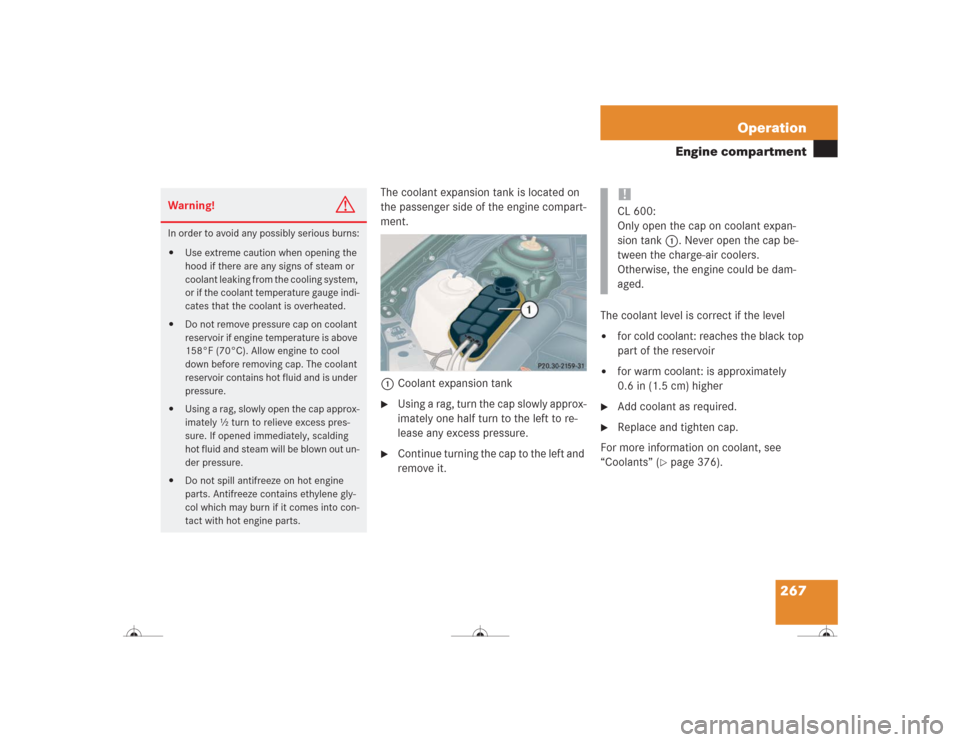
The coolant expansion tank is located on
the passenger side of the engine compart-
ment.
1Coolant expansion tank�
Using a rag, turn the cap slowly approx-
imately one half turn to the left to re-
lease any excess pressure.
�
Continue turning the cap to the left and
remove it.The coolant level is correct if the level
�
for cold coolant: reaches the black top
part of the reservoir
�
for warm coolant: is approximately
0.6 in (1.5 cm) higher
�
Add coolant as required.
�
Replace and tighten cap.
For more information on coolant, see
“Coolants” (
�page 376).
Warning!
G
In order to avoid any possibly serious burns:�
Use extreme caution when opening the
hood if there are any signs of steam or
coolant leaking from the cooling system,
or if the coolant temperature gauge indi-
cates that the coolant is overheated.
�
Do not remove pressure cap on coolant
reservoir if engine temperature is above
158°F (70°C). Allow engine to cool
down before removing cap. The coolant
reservoir contains hot fluid and is under
pressure.
�
Using a rag, slowly open the cap approx-
imately ½ turn to relieve excess pres-
sure. If opened immediately, scalding
hot fluid and steam will be blown out un-
der pressure.
�
Do not spill antifreeze on hot engine
parts. Antifreeze contains ethylene gly-
col which may burn if it comes into con-
tact with hot engine parts.
!CL 600:
Only open the cap on coolant expan-
sion tank1. Never open the cap be-
tween the charge-air coolers.
Otherwise, the engine could be dam-
aged.
Page 308 of 418
307 Practical hints
What to do if …?
During severe operating conditions,
e.g. stop-and-go traffic, the coolant tem-
perature may rise close to 248°F (120°C).
Display symbol
Display messages
Possible cause
Possible solution
Ï
COOLANT
STOP, ENGINE OFF!
The coolant is too hot.
�
Stop the vehicle and turn off the engine.
�
Only start the engine again after the mes-
sage disappears. You could otherwise
damage the engine.
Warning!
G
Driving when your engine is badly overheat-
ed can cause some fluids which may have
leaked into the engine compartment to
catch fire. You could be seriously burned.
Steam from an overheated engine can cause
serious burns and can occur just by opening
the engine hood. Stay away from the engine
if you see or hear steam coming from it.
Turn off the engine, get out of the vehicle
and do not stand near the vehicle until the
engine has cooled down.
!The engine should not be operated with
the coolant temperature above 248°F
(120°C). Doing so may cause serious
engine damage which is not covered by
the Mercedes-Benz Limited Warranty.
Page 313 of 418
312 Practical hintsWhat to do if …?Display symbol
Display messages
Possible cause
Possible solution
_
ENTRY POSITION
DO NOT DRIVE!
Seat, exterior mirrors and steering wheel
have not yet moved to their preset driving
positions.
�
Wait until the seat, exterior mirrors and
steering wheel have moved to their driv-
ing positions.
The message will disappear.
Y
HOOD OPEN!
You are driving with the hood open.
�
Close the hood (
�page 261).
I
REMOVE KEY!
You have forgotten to remove the
SmartKey.
�
Remove the SmartKey from the starter
switch.
REPLACE KEY!
DRIVE TO WORKSHOP!
The batteries in the SmartKey are dead.
�
Change the batteries (
�page 332).
AUTOM. LIGHT ON
REMOVE KEY!
�
Remove the SmartKey from the starter
switch.
SEAT BACKREST, LEFT
LOCK!
The passenger seat backrest is not en-
gaged.
�
Fold back and push the seat backrest un-
til the seat cushion and seat backrest au-
dibly engage into the driving position.
SEAT BACKREST, RIGHT
LOCK!
The driver seat backrest is not engaged.
�
Fold back and push the seat backrest un-
til the seat cushion and seat backrest au-
dibly engage into the driving position.
Page 339 of 418
338 Practical hintsReplacing bulbsReplacing bulbs for front lamps
1Housing cover for high beam flasher
bulb, parking and standing lamp2Electrical connector for high beam
flasher housing bulb
3Parking and standing lamp
4Bulb socket for turn signal lamp
5Bi-Xenon (low and high beam) housing
coverBi-Xenon headlamp
High beam flasher bulb
�
Switch off the lights.
�
Open the hood (
�page 260).
�
Press ends of housing cover1 tab to-
gether and remove cover.
�
Press connector2 downward.
�
Remove connector2 with the bulb.Warning!
G
Do not remove the cover for the Bi-Xenon
headlamp. Because of high voltage in Xenon
lamps, it is dangerous to replace the bulb or
repair the lamp and its components. We rec-
ommend that you have such work done by a
qualified technician.
Page 340 of 418
339 Practical hints
Replacing bulbs
�
Insert the new bulb so that the base lo-
cates in the recess on the holder.
�
From below, press connector2 with
bulb upward onto the reflector.
�
Align housing cover1 and click into
place.
Front turn signal bulb
�
Switch off the lights.
�
Open the hood (
�page 260).
�
Twist bulb socket4 counterclockwise
and pull out.
�
Gently push bulb into socket, turn
counterclockwise and remove.
�
Insert new bulb in socket, push in and
twist clockwise.
�
Reinsert bulb socket in lamp and twist
clockwise.Parking and standing lamp bulb
�
Switch off the lights.
�
Open the hood (
�page 260).
�
Press ends of housing cover1 tab to-
gether and remove cover.
�
Pull out the bulb socket with the bulb.
�
Pull the bulb out of the bulb socket.
�
Insert a new bulb in the socket.
�
Reinstall the bulb socket.
�
Align housing cover and click into
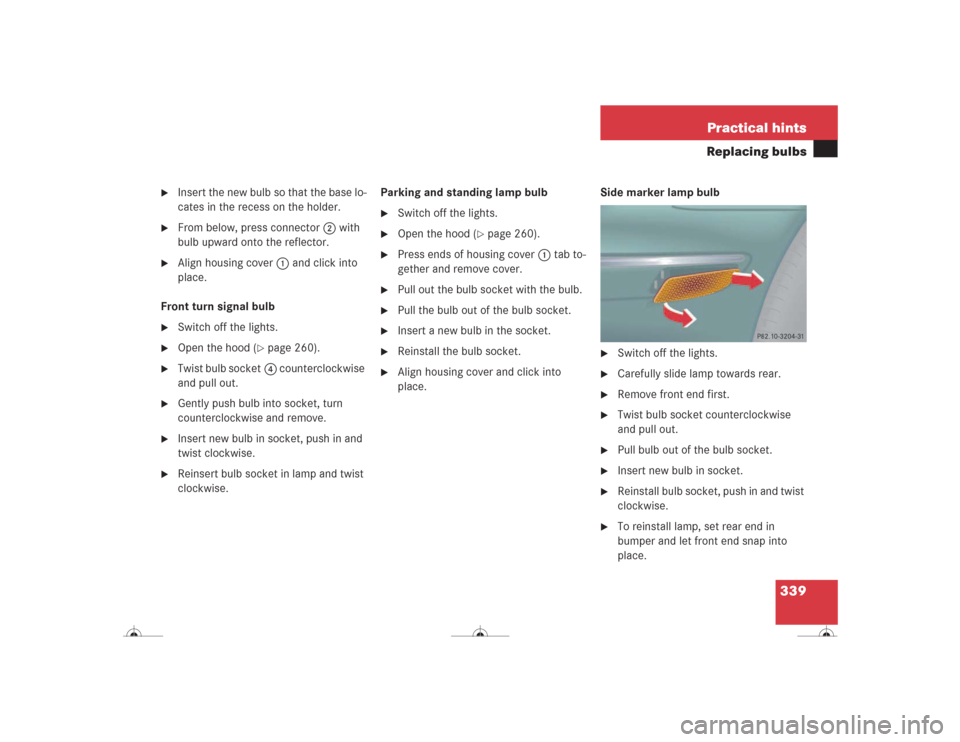
place.Side marker lamp bulb
�
Switch off the lights.
�
Carefully slide lamp towards rear.
�
Remove front end first.
�
Twist bulb socket counterclockwise
and pull out.
�
Pull bulb out of the bulb socket.
�
Insert new bulb in socket.
�
Reinstall bulb socket, push in and twist
clockwise.
�
To reinstall lamp, set rear end in
bumper and let front end snap into
place.
Page 343 of 418
342 Practical hintsReplacing wiper bladesInstalling wiper blades�
Slide the wiper blade onto wiper arm
until it locks in place.
�
Rotate the wiper blade into position
parallel to wiper arm.
�
Fold the wiper arm backward to rest on
the windshield. Make sure you hold
onto the wiper when folding the wiper
arm back.
!Never open the hood when the wiper
arm is folded forward.
Hold on to the wiper when folding the
wiper arm back. If released, the force
of the impact from the tensioning
spring could crack the windshield.
Do not allow the wiper arms to contact
the windshield glass without a wiper
blade inserted.
Make certain that the wiper blades are
properly installed. Improperly installed
wiper blades may cause windshield
damage.
For your convenience, we recommend
that you have this work carried out by
an authorized Mercedes-Benz Center.
Page 397 of 418
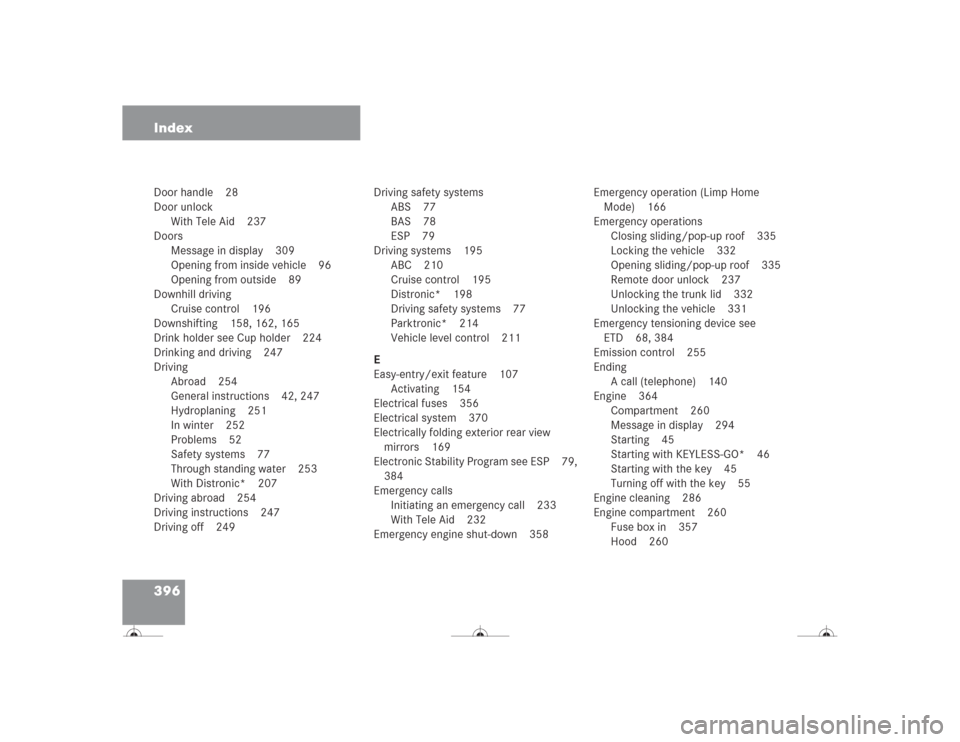
396 IndexDoor handle 28
Door unlock
With Tele Aid 237
Doors
Message in display 309
Opening from inside vehicle 96
Opening from outside 89
Downhill driving
Cruise control 196
Downshifting 158, 162, 165
Drink holder see Cup holder 224
Drinking and driving 247
Driving
Abroad 254
General instructions 42, 247
Hydroplaning 251
In winter 252
Problems 52
Safety systems 77
Through standing water 253
With Distronic* 207
Driving abroad 254
Driving instructions 247
Driving off 249Driving safety systems
ABS 77
BAS 78
ESP 79
Driving systems 195
ABC 210
Cruise control 195
Distronic* 198
Driving safety systems 77
Parktronic* 214
Vehicle level control 211
E
Easy-entry/exit feature 107
Activating 154
Electrical fuses 356
Electrical system 370
Electrically folding exterior rear view
mirrors 169
Electronic Stability Program see ESP 79,
384
Emergency calls
Initiating an emergency call 233
With Tele Aid 232
Emergency engine shut-down 358Emergency operation (Limp Home
Mode) 166
Emergency operations
Closing sliding/pop-up roof 335
Locking the vehicle 332
Opening sliding/pop-up roof 335
Remote door unlock 237
Unlocking the trunk lid 332
Unlocking the vehicle 331
Emergency tensioning device see
ETD 68, 384
Emission control 255
Ending
A call (telephone) 140
Engine 364
Compartment 260
Message in display 294
Starting 45
Starting with KEYLESS-GO* 46
Starting with the key 45
Turning off with the key 55
Engine cleaning 286
Engine compartment 260
Fuse box in 357
Hood 260
Page 400 of 418
399 Index
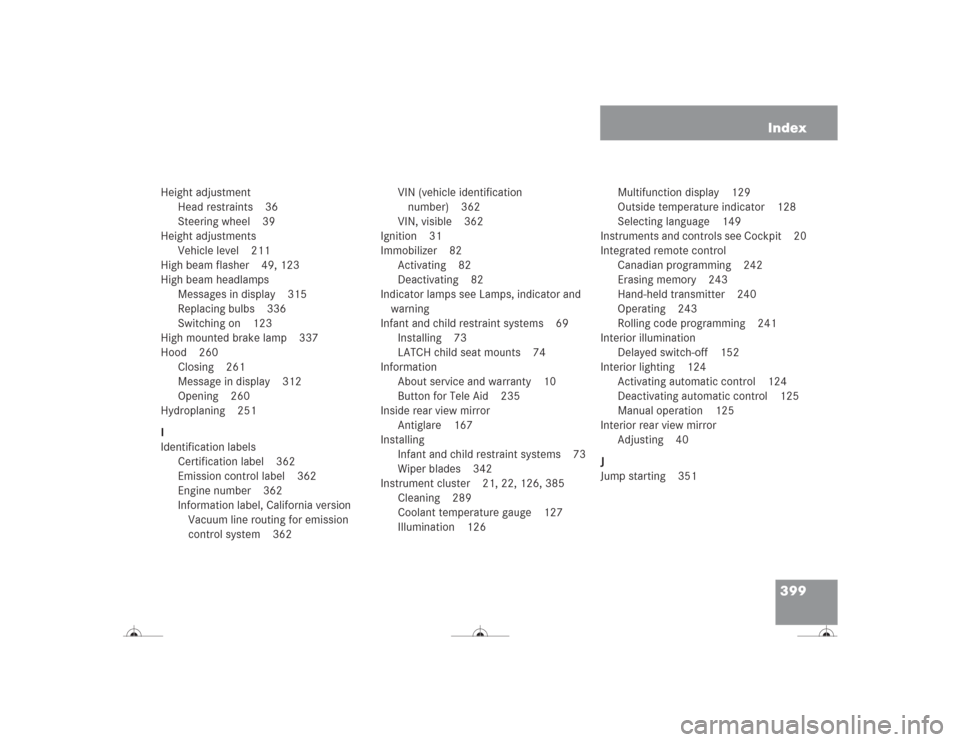
Height adjustment
Head restraints 36
Steering wheel 39
Height adjustments
Vehicle level 211
High beam flasher 49, 123
High beam headlamps
Messages in display 315
Replacing bulbs 336
Switching on 123
High mounted brake lamp 337
Hood 260
Closing 261
Message in display 312
Opening 260
Hydroplaning 251
I
Identification labels
Certification label 362
Emission control label 362
Engine number 362
Information label, California version
Vacuum line routing for emission
control system 362VIN (vehicle identification
number) 362
VIN, visible 362
Ignition 31
Immobilizer 82
Activating 82
Deactivating 82
Indicator lamps see Lamps, indicator and
warning
Infant and child restraint systems 69
Installing 73
LATCH child seat mounts 74
Information
About service and warranty 10
Button for Tele Aid 235
Inside rear view mirror
Antiglare 167
Installing
Infant and child restraint systems 73
Wiper blades 342
Instrument cluster 21, 22, 126, 385
Cleaning 289
Coolant temperature gauge 127
Illumination 126Multifunction display 129
Outside temperature indicator 128
Selecting language 149
Instruments and controls see Cockpit 20
Integrated remote control
Canadian programming 242
Erasing memory 243
Hand-held transmitter 240
Operating 243
Rolling code programming 241
Interior illumination
Delayed switch-off 152
Interior lighting 124
Activating automatic control 124
Deactivating automatic control 125
Manual operation 125
Interior rear view mirror
Adjusting 40
J
Jump starting 351