Page 219 of 418
218 Controls in detailDriving systemsParktronic malfunction
There is a malfunction in the Parktronic
system if the red segments of the Park-
tronic warning indicator come on and a
warning sounds. The Parktronic system
will switch itself off after 30 seconds and
the indicator lamp on the Parktronic switch
comes on.�
Have the Parktronic system checked
by an authorized Mercedes-Benz Cen-
ter as soon as possible.If only the red segments of the Parktronic
warning indicator come on and no warning
sounds, then the sensors of the Parktronic
system are dirty or malfunctioning. Mal-
function may also be caused by interfer-
ence from other radio or ultrasonic signals.
The Parktronic system will switch itself off
after 20 seconds.
�
Clean Parktronic system sensors
(�page 287).
�
Switch on ignition.
or
�
Check Parktronic operation at another
location to rule out interference from
outside radio or ultrasonic signals.
Page 220 of 418
219 Controls in detail
Loading
�Loading
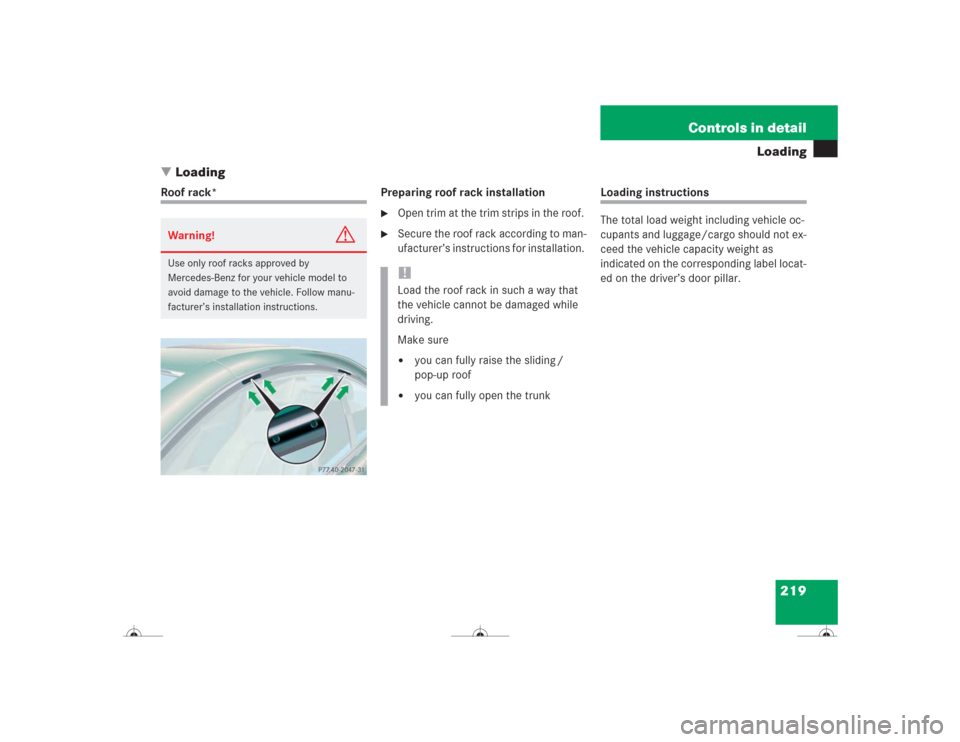
Roof rack* Preparing roof rack installation
�
Open trim at the trim strips in the roof.
�
Secure the roof rack according to man-
ufacturer’s instructions for installation.
Loading instructions
The total load weight including vehicle oc-
cupants and luggage/cargo should not ex-
ceed the vehicle capacity weight as
indicated on the corresponding label locat-
ed on the driver’s door pillar.
Warning!
G
Use only roof racks approved by
Mercedes-Benz for your vehicle model to
avoid damage to the vehicle. Follow manu-
facturer’s installation instructions.
!Load the roof rack in such a way that
the vehicle cannot be damaged while
driving.
Make sure�
you can fully raise the sliding /
pop-up roof
�
you can fully open the trunk
Page 221 of 418
220 Controls in detailLoading
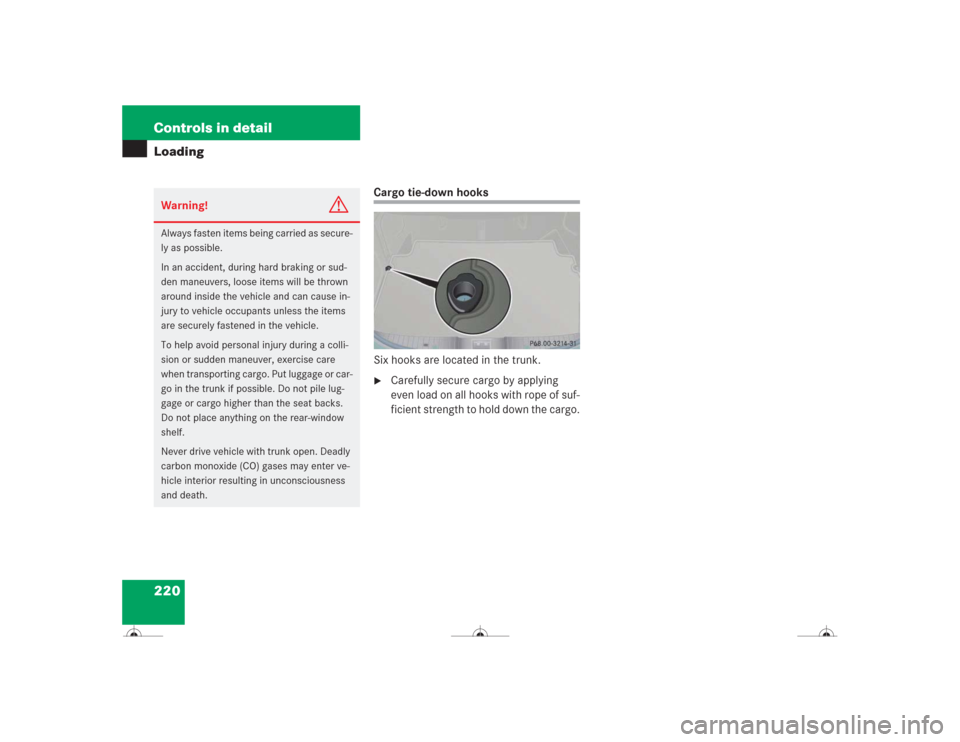
Cargo tie-down hooks
Six hooks are located in the trunk.�
Carefully secure cargo by applying
even load on all hooks with rope of suf-
ficient strength to hold down the cargo.
Warning!
G
Always fasten items being carried as secure-
ly as possible.
In an accident, during hard braking or sud-
den maneuvers, loose items will be thrown
around inside the vehicle and can cause in-
jury to vehicle occupants unless the items
are securely fastened in the vehicle.
To help avoid personal injury during a colli-
sion or sudden maneuver, exercise care
when transporting cargo. Put luggage or car-
go in the trunk if possible. Do not pile lug-
gage or cargo higher than the seat backs.
Do not place anything on the rear-window
shelf.
Never drive vehicle with trunk open. Deadly
carbon monoxide (CO) gases may enter ve-
hicle interior resulting in unconsciousness
and death.
Page 222 of 418
221 Controls in detail
Useful features
�Useful features
Storage compartments Glove box
1Unlocked
2Locked
3Glove box lid release
Locking the glove box
�
Insert the mechanical key
(�page 331) into the glove box lock.
�
Turn the mechanical key to
position2.Unlocking the glove box
�
Insert the mechanical key
(�page 331) into the glove box lock.
�
Turn the mechanical key to
position1.
Opening the glove box
�
Press button3.
The glove box lid opens downward.
Closing the glove box
�
Push lid up to close.
Warning!
G
To help avoid personal injury during a colli-
sion or sudden maneuver, exercise care
when stowing objects in the vehicle. Put lug-
gage or cargo in the trunk if possible. Do not
pile luggage or cargo higher than the seat
backs.
Luggage nets cannot secure hard or heavy
objects.
Keep compartment lids closed. This will help
to prevent stored objects from being thrown
about and injuring vehicle occupants during
an accident.
Page 225 of 418
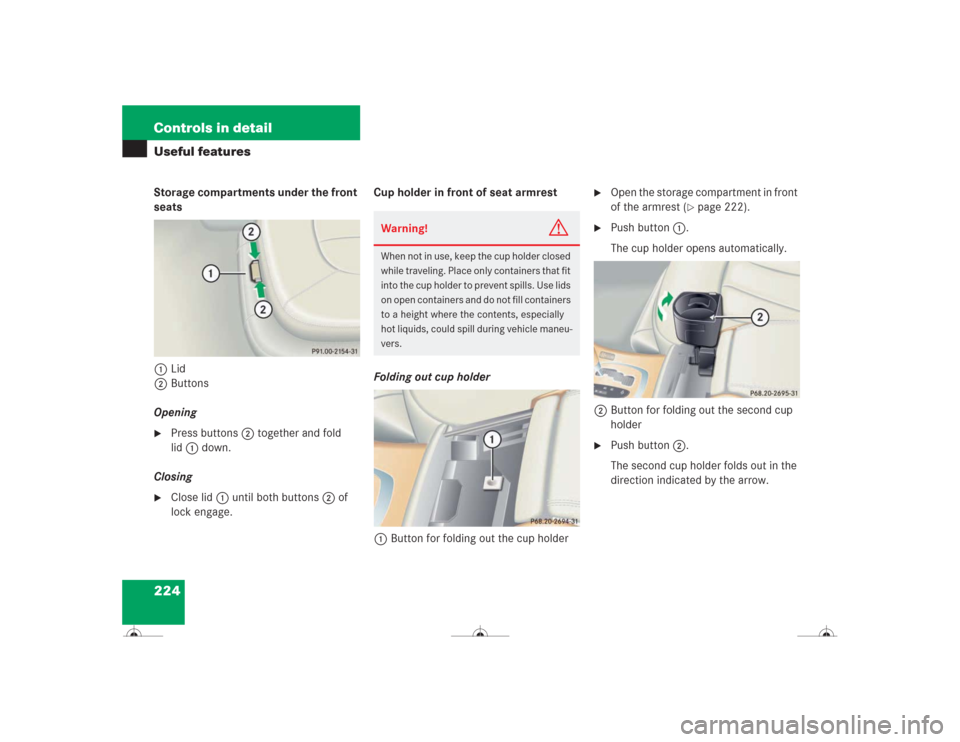
224 Controls in detailUseful featuresStorage compartments under the front
seats
1Lid
2Buttons
Opening�
Press buttons2 together and fold
lid1 down.
Closing
�
Close lid1 until both buttons2 of
lock engage.Cup holder in front of seat armrest
Folding out cup holder
1Button for folding out the cup holder
�
Open the storage compartment in front
of the armrest (
�page 222).
�
Push button1.
The cup holder opens automatically.
2Button for folding out the second cup
holder
�
Push button2.
The second cup holder folds out in the
direction indicated by the arrow.
Warning!
G
When not in use, keep the cup holder closed
while traveling. Place only containers that fit
into the cup holder to prevent spills. Use lids
on open containers and do not fill containers
to a height where the contents, especially
hot liquids, could spill during vehicle maneu-
vers.
Page 226 of 418
225 Controls in detail
Useful features
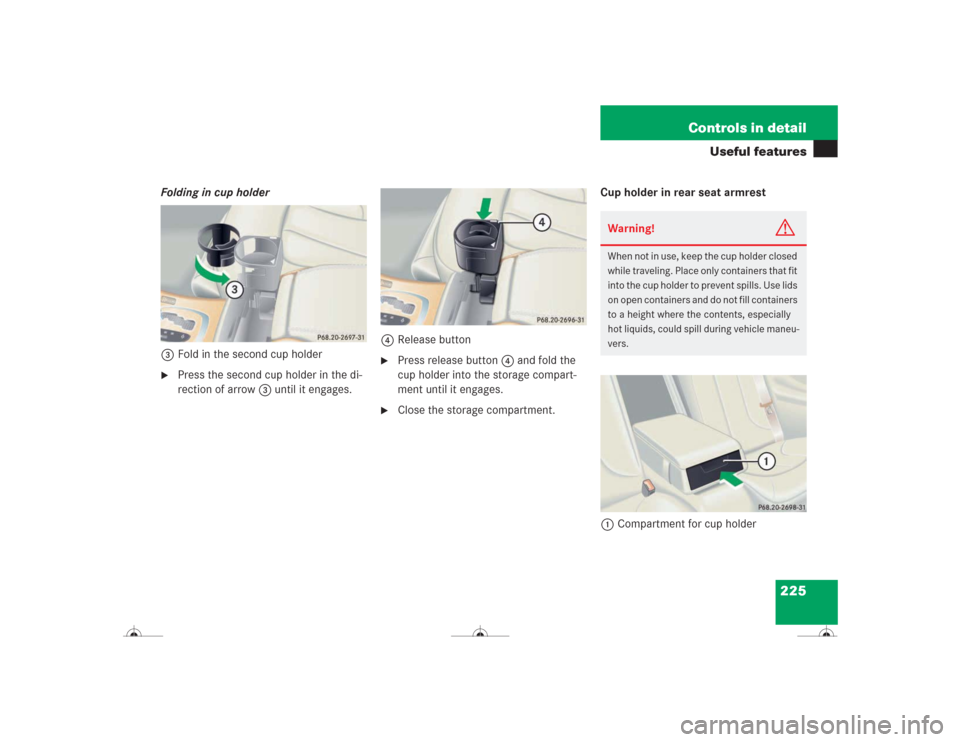
Folding in cup holder
3Fold in the second cup holder�
Press the second cup holder in the di-
rection of arrow3 until it engages.4Release button
�
Press release button4 and fold the
cup holder into the storage compart-
ment until it engages.
�
Close the storage compartment.Cup holder in rear seat armrest
1Compartment for cup holder
Warning!
G
When not in use, keep the cup holder closed
while traveling. Place only containers that fit
into the cup holder to prevent spills. Use lids
on open containers and do not fill containers
to a height where the contents, especially
hot liquids, could spill during vehicle maneu-
vers.
Page 227 of 418
226 Controls in detailUseful featuresOpening cup holder�
Push front of sliding compartment1.
The cup holder slides out.
Closing cup holder
�
Push sliding compartment1 back un-
til it engages.Parcel net in front passenger footwell
A small convenience parcel net is located
in the front passenger footwell. It is for
small and light items, such as road maps,
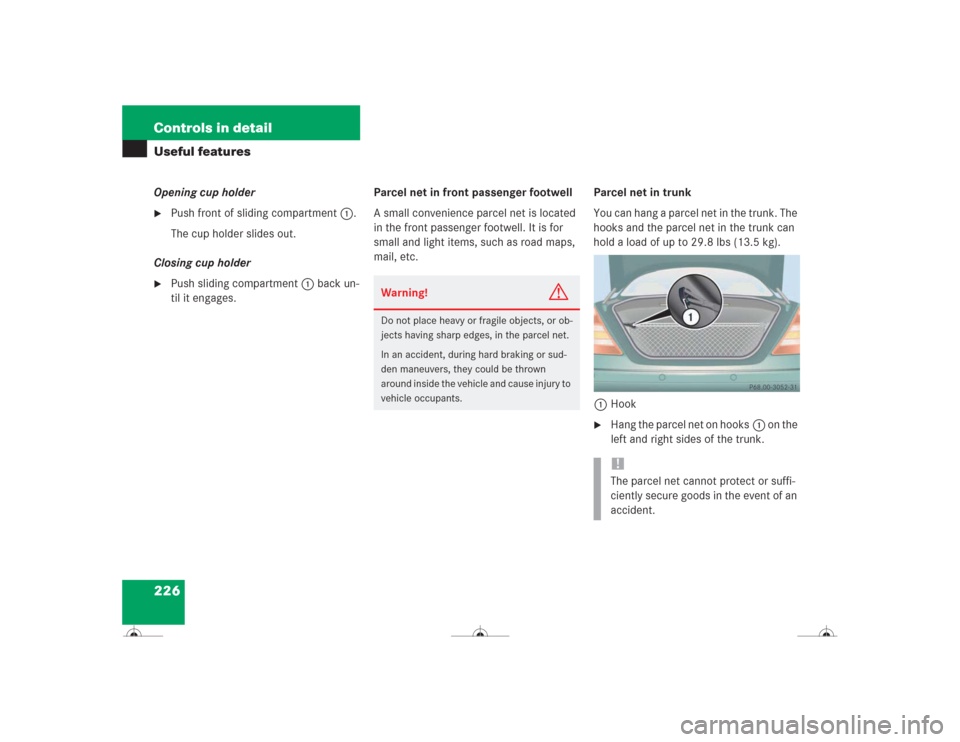
mail, etc.Parcel net in trunk
You can hang a parcel net in the trunk. The
hooks and the parcel net in the trunk can
hold a load of up to 29.8 lbs (13.5 kg).
1Hook
�
Hang the parcel net on hooks1 on the
left and right sides of the trunk.
Warning!
G
Do not place heavy or fragile objects, or ob-
jects having sharp edges, in the parcel net.
In an accident, during hard braking or sud-
den maneuvers, they could be thrown
around inside the vehicle and cause injury to
vehicle occupants.
!The parcel net cannot protect or suffi-
ciently secure goods in the event of an
accident.
Page 228 of 418

227 Controls in detail
Useful features
Ashtrays
Center console ashtray
1Button for disengaging ashtray
Opening ashtray�
Briefly touch cover plate.
The ashtray opens automatically.Removing ashtray insert
�
Secure vehicle from movement by set-
ting the parking brake. Move the gear
selector lever to positionN.
Now you have more room to remove
the insert.
�
Push sliding button1 to the right.
The ashtray is disengaged and slides
out a short way.
�
Remove insert from ashtray frame.
Reinstalling the ashtray insert
�
Install insert by pushing back into the
frame until it engages.Rear seat ashtray
1Latch
Opening ashtray
�
Pull at top of cover to open ashtray.
Removing ashtray insert
�
Pull latch1 to disengage ashtray in-
sert and remove it.
Reinstalling the ashtray insert
�
Install ashtray insert.
�
Close the ashtray.
Warning!
G
Remove front ashtray only with vehicle
standing still. Set the parking brake to se-
cure vehicle from movement. Move gear se-
lector lever to positionN. With gear selector
lever in positionN, turn off the engine.