Page 130 of 400

130 Controls in detailControl system
With daytime running lamp mode
selected and the exterior lamp switch
at position0, the following lamps will
come on automatically when the
engine is turned on:�
Parking lamps and low beam
headlamps
�
License plate lamps (in low ambient
light conditions)Setting locator lighting
During darkness, the following lamps will
come on when the exterior lamp switch is
in positionU, the locator lighting
feature is activated, and the vehicle is
unlocked by SmartKey:
�
Parking lamps
�
Tail lamps
�
License plate lamps
�
Front fog lamps
To activate locator lighting:
�
Make sure the function
LOCATOR
LIGHTING
is set.
�
Turn the exterior lamp switch to
positionU.
The locator lighting switches off when the
driver’s door is opened. It switches off
automatically after a period of approxi-
mately 40 seconds.
�
Move the selection marker with
theæ orç button to the LIGHTING
submenu.
�
Press buttonj ork repeatedly
until you see this message in the
display:
LOCATOR LIGHTING
.
The selection marker is on the current
setting.
�
Pressæ orç to select the
desired setting.
The locator lighting will be switched on
or off.
iIf you turn the exterior lamp switch to
another position, the corresponding
lamp(s) will switch on.
For safety reasons, resetting the LIGHTING
submenu to factory settings
(
�page 124) while driving will not
reset the daytime running lamp mode.
In the display you will then see the
message:
LIGHTING – CANNOT BE
TOTALLY RESET TO FACTORY SETTINGS
WHILE DRIVING
!.
��
Page 136 of 400
136 Controls in detailControl systemSetting parking position* for exterior
rear view mirror
Use the
MIRROR SETTING WHEN PARKING
function to select whether the passen-
ger-side exterior rear view mirror should be
turned downward during parking maneu-
vers when reverse gearR is engaged.
For additional information, see “Activating
exterior rear view mirror parking posi-
tion*” (
�page 150).
�
Move the selection marker to the CONVENIENCE
submenu using theæ
orç button.
�
Press buttonj ork repeatedly
until you see this message in the
display:
MIRROR SETTING WHEN
PARKING.
The selection marker is on the current
setting.
�
Pressæ orç to switch function ON or
OFF
.
Trip computer menu
Use the trip computer menu to call up
statistical data on your vehicle. The
following information is available:Function
Page
Fuel consumption statistics after
start
137
Fuel consumption statistics
since last reset
137
Call up range (distance to empty)
138
Page 137 of 400

137 Controls in detail
Control system
Fuel consumption statistics after start�
Press buttonÿ orè repeatedly
until you see the first function of the
Trip computer menu.
�
Press buttonj ork repeatedly
until you see this message in the
display:
AFTER START
.
1Distance driven since start
2Time elapsed since start
3Average fuel consumption since start
4Average speed since startFuel consumption since last reset
�
Press buttonÿ orè repeatedly
until you see the first function of the
Trip computer menu.
�
Press buttonj ork repeatedly
until you see this message in the
display:
AFTER RESET
.
1Distance driven since last reset
2Time elapsed since last reset
3Average fuel consumption since last
reset
4Average speed since last resetResetting fuel consumption statistics
�
Press buttonÿ orè repeatedly
until you see the first function of the
Trip computer menu.
�
Press buttonj ork repeatedly
until you see the reading that you want
to reset in the display.
�
Press and hold the reset button in the
instrument cluster (
�page 22) until
the value is reset to0.
iAll statistics stored since the last
engine start will be reset approximately
four hours after the SmartKey in the
starter switch is turned to position0 or
removed from the starter switch.
Resetting will not occur if you turn the
SmartKey back to position1 or2
within this time period.
Page 177 of 400
177 Controls in detail
Audio system
Bass�
Regardless of operating mode, press
the
AUD
key repeatedly until
BASS
appears on the display.
�
Press
+ or
- key to increase or de-
crease level.
or
�
Press both
+ and
- keys simultaneously
to reset the Bass to its center (flat) lev-
el.Treble
�
Regardless of operating mode, press
the
AUD
key repeatedly until
TREBLE
appears on the display.
�
Press
+ or
- key to increase or
decrease level.
or
�
Press both
+ and
- keys simultaneously
to reset the Treble to its center (flat)
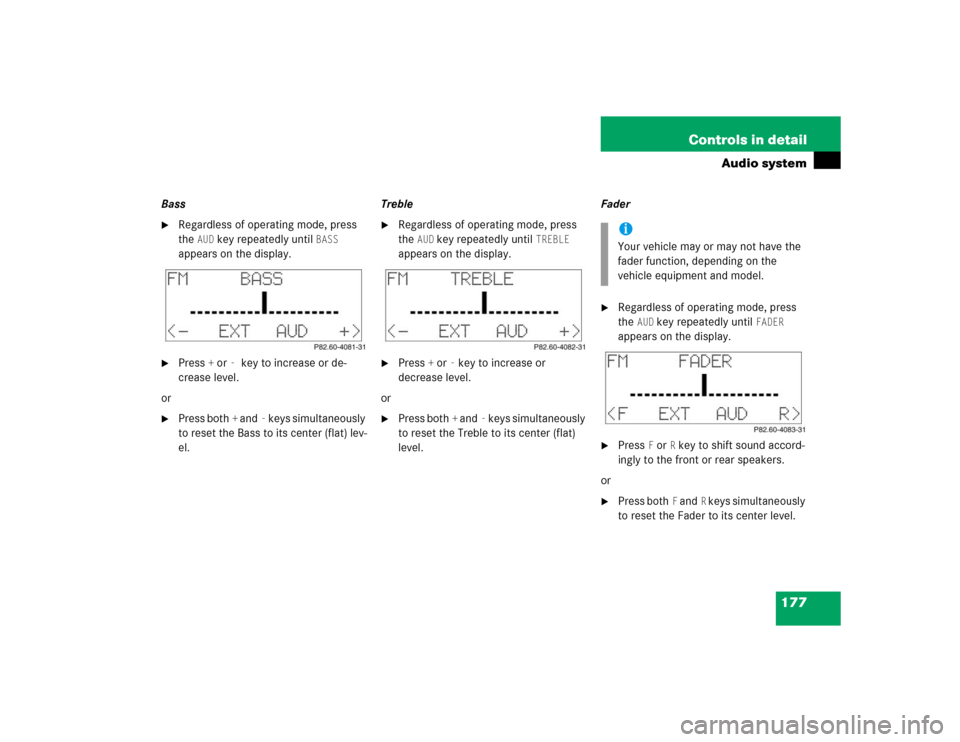
level.Fader
�
Regardless of operating mode, press
the
AUD
key repeatedly until
FADER
appears on the display.
�
Press
F or
R key to shift sound accord-
ingly to the front or rear speakers.
or
�
Press both
F and
R keys simultaneously
to reset the Fader to its center level.
iYour vehicle may or may not have the
fader function, depending on the
vehicle equipment and model.
Page 178 of 400
178 Controls in detailAudio systemBalance�
Regardless of operating mode, press
the
AUD
key repeatedly until
BALANCE
appears on the display.
�
Press
L or
R key to shift sound accord-
ingly to the left or right speakers.
or
�
Press both
L and
R keys simultaneously
to reset the Balance to its center level.Returning audio functions to factory
settings
�
Regardless of operating mode, press
and hold
AUD
key longer than two
seconds.
RESET
will appear on the
display.
All settings for bass, treble and balance
are returned to the center level and the
volume is set to a predefined level.Audio system sound selection (EXT)*
�
Regardless of operating mode, press
the
AUD
key.
The sound settings menu appears on
the display.
�
Press the
EXT
key.
�
Press one of the function keys.
Page 179 of 400

179 Controls in detail
Audio system
You can select from among the
following settings:�
DRV
: The tone level is set to the
Driver position; sound is directed
toward the passengers.
�
SP: The tone level is set for Speech,
optimizing the sound for the spoken
word.
�
AMB
: The tone level is set for
Ambience, producing a
three-dimensional sound.
�
OFF
: The audio system sound
selection is turned off.
Telephone* muting
If a telephone has been installed in the
vehicle, the radio will switch to telephone
mode when a call is incoming. The current
audio source is muted.
Radio operation
Selecting radio mode�
Pressb button.
�
You can now receive radio stations
over the analog FM, AM or WB station
frequencies or you can receive chan-
nels digitally via satellite radio (SAT)*.
Analog station frequencies
Selecting the band
You can select from among FM, AM or WB
frequency bands.
Weather band (
�page 182).
�
Press FM, AM or WB key repeatedly un-
til desired band has been selected.
The FM, AM and WB frequency bands
are called up one after the other.
The frequency band currently selected
appears in the upper left-hand corner
of the display.
Selecting a station
The following options are available for
selecting a station:
�
Direct frequency band input
(�page 180)
�
Manual tuning (
�page 180)
�
Automatic seek tuning (
�page 180)
�
Scan tuning (
�page 181)
�
Preset buttons (
�page 181)
�
Automatic station memory (Autostore)
(�page 181)
iFM frequency band:
FM 87.7......107.9 MHz
AM frequency band:
MW (medium wave) 530......1 710 KHz
Page 181 of 400

181 Controls in detail
Audio system
Scan tuning�
Starting scan tuning�
Select desired frequency band.
�
Press2 button.SC will appear on the display. The
radio briefly tunes in all receivable
stations on the band selected. The
first scan cycle will tune in only the
stations with a strong signal. The
second scan cycle will tune in every
receivable station.
�
Ending scan tuning�
Press2 button ord, c,
f or ebutton.SC disappears from the display.Manual station memory (Presets)
You can store ten AM and ten FM stations.
�
Storing stations�
Tune in the desired station.
�
Press and hold desired station
button4 toM until a brief
signal tone is heard.
The frequency is stored on the
selected station button.
The frequency band and station
button number are shown in the up-
per left-hand corner of the display.
�
Retrieving a station from memory�
Press desired station button4
toM.Automatic station memory (Autostore)
The Autostore memory function provides
an additional memory level. The station
memory for manually stored stations is not
overwritten.
�
Calling up Autostore memory level�
Briefly press the
AS key.
AS is highlighted in the display.
The radio finds the ten stations with
the strongest signals. These
stations are stored on the station
buttons4 toM in order of
signal strength.
�
Retrieving a station from memory�
Press desired station button4
toM.
�
Leaving the Autostore memory level�
Press the
AS key.
The highlighted
AS in the display
disappears.
Page 184 of 400
184 Controls in detailAudio systemChannel selection
The following options are available for se-
lecting a channel:�
Direct channel input (
�page 184)
�
Manual tuning (
�page 184)
�
Preset channels (
�page 184)
Direct channel input
�
Press“key.
�
Enter desired channel number using
buttons4 toM.Manual tuning
�
Press and holdf, d, c or
e button until the desired channel
has been reached.
Preset channels
You can store up to ten channels.
�
Retrieving a channel from memory�
Press the desired channel
button4 toM.
�
Storing channels�
Tune in the desired channel.
�
Press and hold desired channel
button4 toM until a brief
signal tone sounds.
The channel is stored on the selected
channel button.
iOnly inputs for available channels are
possible.
If a button is not pressed within four
seconds, the radio will return to the last
station tuned.