Page 129 of 400

129 Controls in detail
Control system
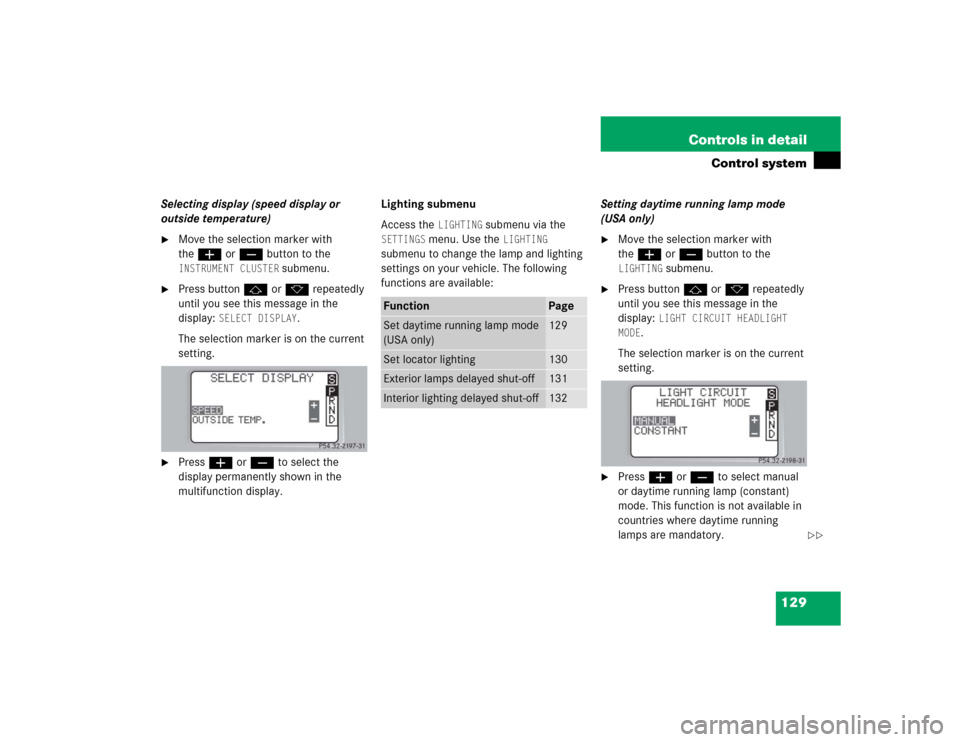
Selecting display (speed display or
outside temperature)�
Move the selection marker with
theæ orç button to the INSTRUMENT CLUSTER
submenu.
�
Press buttonj ork repeatedly
until you see this message in the
display:
SELECT DISPLAY
.
The selection marker is on the current
setting.
�
Pressæ orç to select the
display permanently shown in the
multifunction display.Lighting submenu
Access the
LIGHTING
submenu via the
SETTINGS
menu. Use the
LIGHTING
submenu to change the lamp and lighting
settings on your vehicle. The following
functions are available:Setting daytime running lamp mode
(USA only)
�
Move the selection marker with
theæ orç button to the LIGHTING
submenu.
�
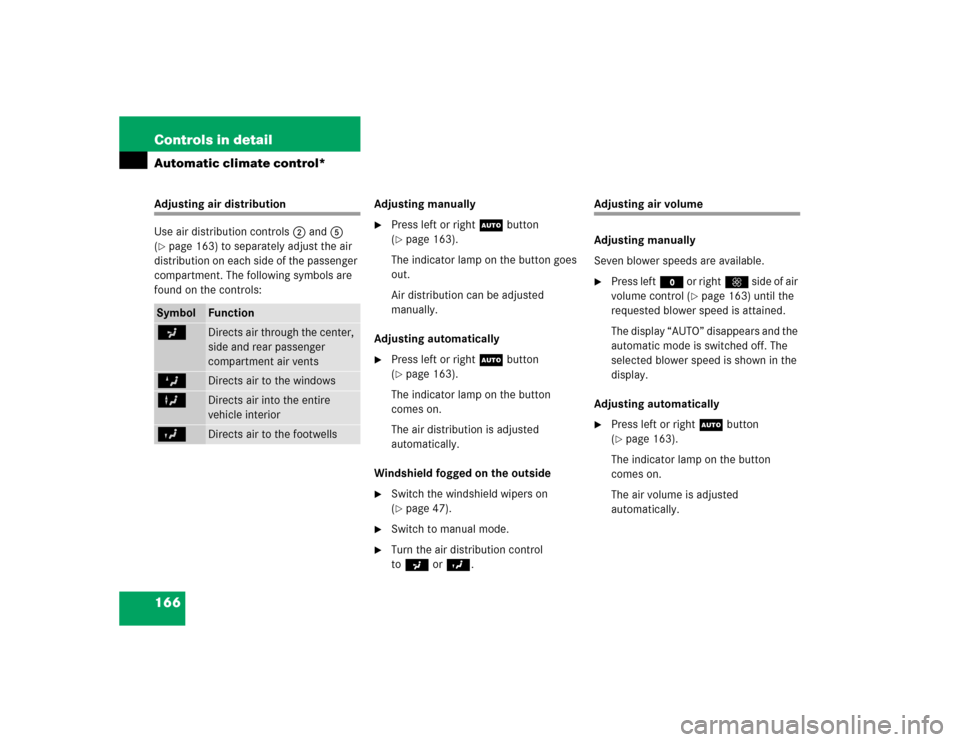
Press buttonj ork repeatedly
until you see this message in the
display:
LIGHT CIRCUIT HEADLIGHT
MODE
.
The selection marker is on the current
setting.
�
Pressæ orç to select manual
or daytime running lamp (constant)
mode. This function is not available in
countries where daytime running
lamps are mandatory.
Function
Page
Set daytime running lamp mode
(USA only)
129
Set locator lighting
130
Exterior lamps delayed shut-off
131
Interior lighting delayed shut-off
132
��
Page 131 of 400

131 Controls in detail
Control system
Setting night security illumination
(Exterior lamps delayed shut-off)
Use the
HEADLIGHTS DELAYED SHUT-OFF
function to set whether and for how long
you would like the exterior lamps to illumi-
nate during darkness after all doors are
closed.
When the delayed shut-off feature is acti-
vated and the exterior lamp switch is in
positionU, the following lamps will re-
main lit after you remove the SmartKey
from the starter switch:
�
Parking lamps
�
Tail lamps
�
License plate lamps
�
Front fog lampsTo activate night security illumination:
�
Select delayed shut-off period
(�page 131).
�
Turn the exterior lamp switch to
positionU.
To select delayed shut-off period:
�
Move the selection marker with
theæ orç button to the LIGHTING
submenu.
�
Press buttonj ork repeatedly
until you see this message in the
display:
HEADLIGHTS DELAYED
SHUT-OFF.The selection marker is on the current
setting.
�
Pressæ orç to select the
desired lamp-on period.
You can select:�
0 s
, the delayed shut-off feature is
deactivated
�
15 s
, 30 s
, 45 s
or
60 s
, the delayed
shut-off feature is activated
You can temporarily deactivate the
delayed shut-off feature:
�
Before leaving the vehicle turn the
SmartKey in the starter switch to
position0.
�
Then turn it to position2 and back
to0.
iYou can reactivate this function within
ten minutes by opening a door.
If you do not open a door after
removing the SmartKey, the lamps will
automatically switch off after
60 seconds.
��
Page 132 of 400

132 Controls in detailControl system
The delayed shut-off feature is
deactivated. It will reactivate as soon
as you reinsert the SmartKey in the
starter switch.
Interior lighting delayed shut-off
Use this function to set whether and for
how long you would like the interior
lighting to remain lit during darkness after
the SmartKey is removed from the starter
switch.
�
Move the selection marker with
theæ orç button to the LIGHTING
submenu.
�
Press buttonj ork repeatedly
until you see this message in the
display:
INT. LIGHTING DELAYED
SHUT-OFF.The selection marker is on the current
setting.
�
Pressæ orç to select the
desired lamp-on time period.
You can select:�
0 s
, the delayed shut-off feature is
deactivated
�
5 s,
10 s
, 15 s
or
20 s
, the delayed
shut-off feature is activatedVehicle submenu
Access the
VEHICLE
submenu via the
SETTINGS
menu. Use the
VEHICLE
submenu
to make general vehicle settings. The
following functions are available:
Setting station selection mode
Use the
PRESS BUTTON IN AUDIO MODE
function to select the manual or memory
station selection mode for the radio
(�page 119).
�
Move the selection marker with
theæ orç button to the VEHICLE
submenu.
Function
Page
Set station selection mode
(radio)
132
Set automatic locking
133
��
Page 134 of 400

134 Controls in detailControl systemActivating easy-entry/exit feature*
Use this function to activate and
deactivate the easy-entry/exit feature.
When the feature is activated, the steering
wheel and driver’s seat will move back to
facilitate exiting when you�
remove the SmartKey from the starter
switch
�
open the driver’s door
However, the engine must be turned off.After entering the vehicle the steering
wheel and seat will move into the position
stored in memory when you
�
close the driver’s door with the
SmartKey in starter switch position2.
�
you put the SmartKey in the starter
switch with the driver’s door closed.
Warning!
G
You must make sure no one can become
trapped or injured by the moving steering
wheel and the driver’s seat when the
easy-entry/exit feature* is activated and
the driver’s door is being opened and the en-
gine is turned off or the SmartKey is re-
moved from the starter switch.
Do not leave children unattended in the ve-
hicle, or with access to an unlocked vehicle.
Children could open the driver’s door and
unintentionally activate the easy-entry/exit
feature*, which could result in an accident
and/or serious personal injury.
iTo cancel seat/steering wheel
movement, do one of the following:�
press the seat adjustment switch*
(�page 35)
�
move the steering column stalk*
(�page 37)
�
press the stored position button*
(�page 100)
Page 148 of 400

148 Controls in detailGood visibility
�Good visibilityWindshield wipers
More information on the windshield wipers
can be found in the “Getting started”
section (
�page 47).
Intermittent wiping
Windshield wipers with rain sensor*
A rain sensor automatically controls the
windshield wipers depending on how wet
the windshield is.
�
Switch on ignition.
�
Set the wiper switch to positionI
(�page 48).
After the initial wipe, pauses between
wipes are automatically controlled by the
rain sensor.
Headlamp cleaning system*
The switch is located on the left side of the
dashboard.
1Headlamp washer switch�
Switch on ignition.
�
Press switch1.
The headlamps are cleaned with a
high-pressure water jet.
For information on filling up the washer
reservoir, see “Windshield washer system
and headlamp cleaning system*”
(
�page 259).
iIntermittent wiping is interrupted when
the vehicle is at a standstill and a front
door is opened.
!Do not leave windshield wipers in
intermittent setting when the vehicle is
taken to an automatic car wash or
during windshield cleaning. Wipers will
operate in the presence of water
sprayed on the windshield, and wipers
may be damaged as a result.
The switch should not be left in
intermittent setting as the wipers will
wipe the windshield once every time
the engine is started. Dust that
accumulates on the windshield might
scratch the glass and/or damage the
wiper blades when wiping occurs on a
dry windshield.
Page 166 of 400

166 Controls in detailAutomatic climate control*Adjusting air distribution
Use air distribution controls2 and5
(�page 163) to separately adjust the air
distribution on each side of the passenger
compartment. The following symbols are
found on the controls:Adjusting manually
�
Press left or rightU button
(�page 163).
The indicator lamp on the button goes
out.
Air distribution can be adjusted
manually.
Adjusting automatically
�
Press left or rightU button
(�page 163).
The indicator lamp on the button
comes on.
The air distribution is adjusted
automatically.
Windshield fogged on the outside
�
Switch the windshield wipers on
(�page 47).
�
Switch to manual mode.
�
Turn the air distribution control
toa orY.
Adjusting air volume
Adjusting manually
Seven blower speeds are available.�
Press leftM or rightQ s i d e o f a i r
volume control (
�page 163) until the
requested blower speed is attained.
The display “AUTO” disappears and the
automatic mode is switched off. The
selected blower speed is shown in the
display.
Adjusting automatically
�
Press left or rightU button
(�page 163).
The indicator lamp on the button
comes on.
The air volume is adjusted
automatically.
Symbol
Function
a
Directs air through the center,
side and rear passenger
compartment air vents
Z
Directs air to the windows
X
Directs air into the entire
vehicle interior
Y
Directs air to the footwells
Page 171 of 400
171 Controls in detail
Automatic climate control*
Residual heat and ventilation
With the engine switched off, it is possible
to continue to heat or ventilate the interior
for up to 30 minutes. This feature makes
use of the residual heat produced by the
engine.
Activating�
Turn the SmartKey in the starter switch
to position1 or0, or remove it from
the starter switch.
�
Press button° (
�page 163).
The indicator lamp on the button
comes on.Deactivating
�
Press button° (
�page 163).
The indicator lamp on the button goes
out.
The residual heat is automatically turned
off:
�
when the ignition is switched on
�
after about 30 minutes
�
if the battery voltage drops
iHow long the system will provide
heating depends on the coolant
temperature and the temperature set
by the operator. The blower will run at
speed setting1 regardless of the air
distribution control setting.
Page 190 of 400

190 Controls in detailAudio systemOnly use original CDs. Using copied CDs
may create problems during playback.
Clean CDs from time to time with a com-
mercially available cleaning cloth. Do not
use solvents, anti-static sprays, etc. for
cleaning. Replace the CD in its case after
use. Protect CDs from heat and direct sun-
light.
Only use CDs, which bear the label shown
and that conform to the compact disc
digital audio standard (IEC 60908). You
can therefore only use CDs with a maxi-
mum thickness of 1.3 mm.Operational readiness of CD changer
If a CD changer has been installed in the
system, it can be operated from the front
control panel of the radio. A loaded maga-
zine must be installed to play CDs.
Loading/unloading the CD magazine
�
Slide changer door to the right and
press eject buttong.
�
The magazine will be ejected.
iUse of CDs which do not meet this
standard may cause damage to the CD
changer. Do not play single-CDs
(80 mm) with an adapter.
Your CD drive has been designed to
play CDs which correspond to the
EN 60908 standard.
If you insert thicker data carriers, e.g.
ones that have data on both sides (one
side with DVD data, the other side with
audio data), they cannot be ejected and
will damage the drive.Warning!
G
The CD changer* is a Class 1 laser product.
There is a danger of invisible laser radiation
if the cover is opened or damaged.
Do not remove the cover. The CD changer*
does not contain any parts which can be ser-
viced by the user. For safety reasons, have
any service work which may be necessary
performed only by qualified personnel.