Page 23 of 400

23 At a glance
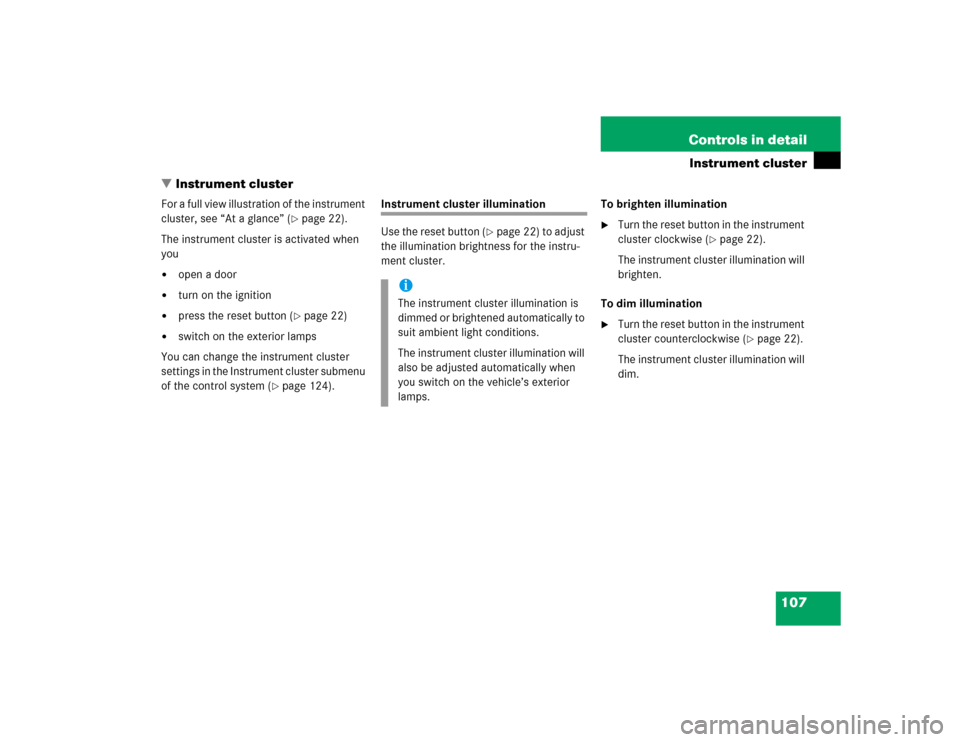
Instrument cluster
Item
Page
1
Left turn signal indicator
lamp
46
2
Speedometer
3
Right turn signal indicator
lamp
46
4
Fuel gauge with:Fuel reserve warning lamp
278
5
warning lamp
62,
278
1Supplemental
restraint system
indicator lamp
56,
278
6
Multifunction display
with:Trip odometer
109
Main odometer
111
Item
Page
Gear selector lever
position
43,
142
Program mode
143
Outside temperature
indicator
109
Digital clock
124
7
?Engine malfunction
indicator lamp
276
vElectronic Stability
Program (ESP)
warning lamp
76,
277
AHigh beam head-
lamp indicator
46,
103
EIndicator lamp
without function
1
DTRIndicator lamp
without function
1
1The indicator lamp illuminates with SmartKey in
starter switch position2. It sh ould go out when the
engine is running.
Item
Page
8
-Antilock Brake
System (ABS)
indicator lamp
74,
274
;Brake warning
lamp, USA only
44,
51,
275
3Brake warning
lamp, Canada only
44,
51,
275
9
Tachometer
109
a
Reset button for:�
Resetting trip
odometer
109
�
Resetting individual
settings
121
�
Instrument cluster
illumination
107
Page 107 of 400

107 Controls in detail
Instrument cluster
�Instrument cluster
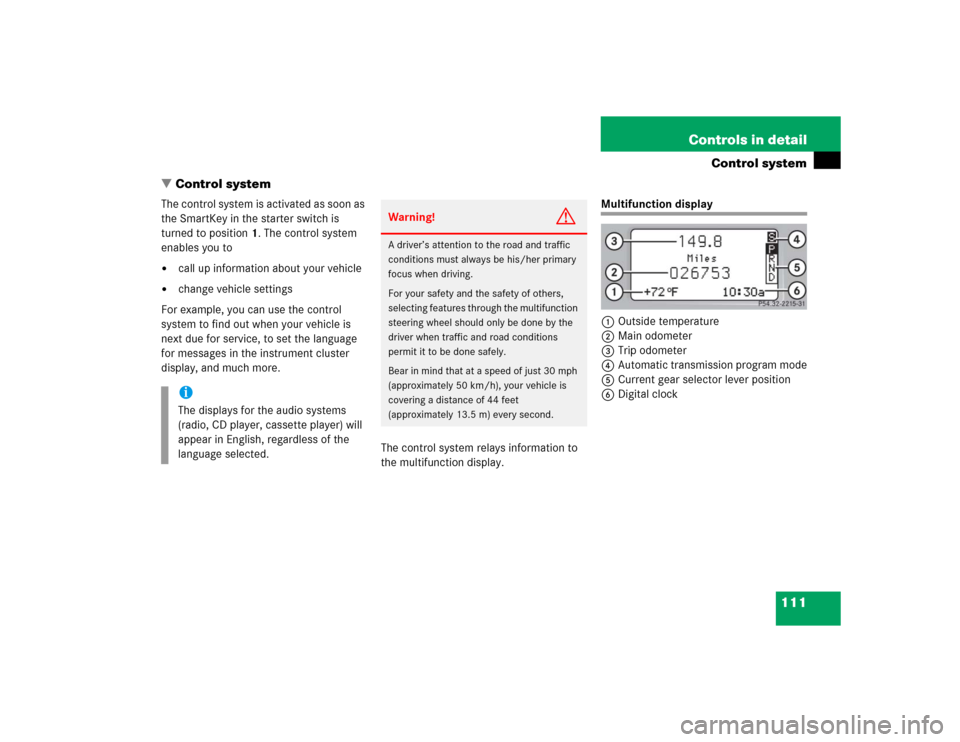
For a full view illustration of the instrument
cluster, see “At a glance” (
�page 22).
The instrument cluster is activated when
you
�
open a door
�
turn on the ignition
�
press the reset button (
�page 22)
�
switch on the exterior lamps
You can change the instrument cluster
settings in the Instrument cluster submenu
of the control system (
�page 124).
Instrument cluster illumination
Use the reset button (
�page 22) to adjust
the illumination brightness for the instru-
ment cluster.To brighten illumination
�
Turn the reset button in the instrument
cluster clockwise (
�page 22).
The instrument cluster illumination will
brighten.
To dim illumination
�
Turn the reset button in the instrument
cluster counterclockwise (
�page 22).
The instrument cluster illumination will
dim.
iThe instrument cluster illumination is
dimmed or brightened automatically to
suit ambient light conditions.
The instrument cluster illumination will
also be adjusted automatically when
you switch on the vehicle’s exterior
lamps.
Page 111 of 400

111 Controls in detail
Control system
�Control system
The control system is activated as soon as
the SmartKey in the starter switch is
turned to position1. The control system
enables you to�
call up information about your vehicle
�
change vehicle settings
For example, you can use the control
system to find out when your vehicle is
next due for service, to set the language
for messages in the instrument cluster
display, and much more.
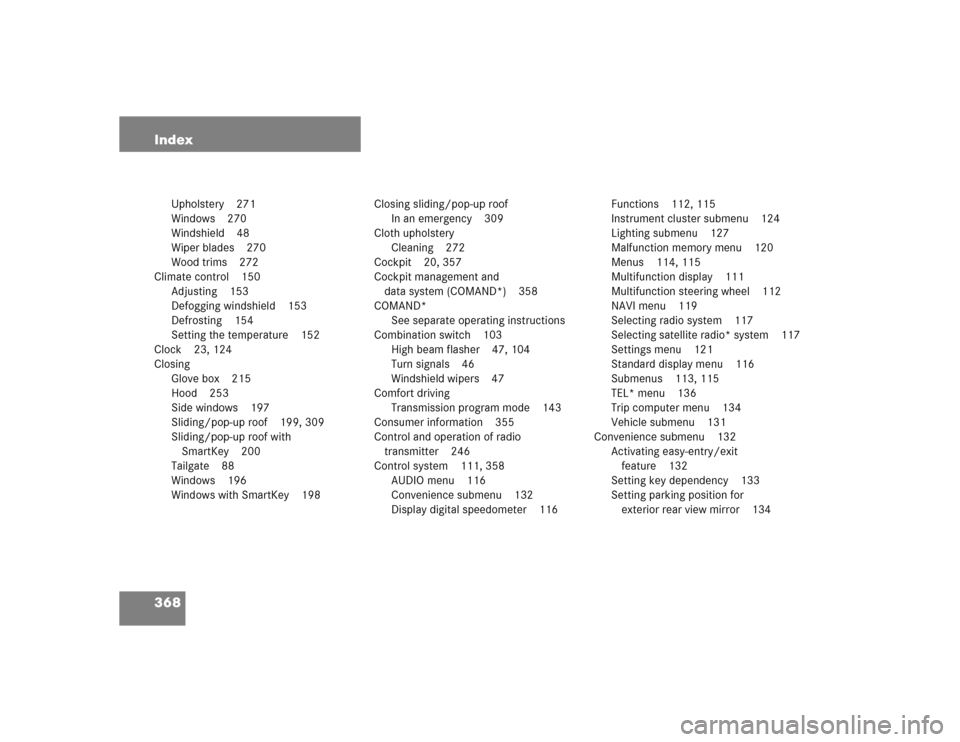
The control system relays information to
the multifunction display.
Multifunction display
1Outside temperature
2Main odometer
3Trip odometer
4Automatic transmission program mode
5Current gear selector lever position
6Digital clock
iThe displays for the audio systems
(radio, CD player, cassette player) will
appear in English, regardless of the
language selected.
Warning!
G
A driver’s attention to the road and traffic
conditions must always be his/her primary
focus when driving.
For your safety and the safety of others,
selecting features through the multifunction
steering wheel should only be done by the
driver when traffic and road conditions
permit it to be done safely.
Bear in mind that at a speed of just 30 mph
(approximately 50 km/h), your vehicle is
covering a distance of 44 feet
(approximately 13.5 m) every second.
Page 315 of 400
315 Practical hints
Replacing bulbs
Side marker lamp bulb�
Switch off the lights.
�
Carefully slide lamp towards rear.
�
Remove front end first.
�
Twist bulb socket counterclockwise
and pull out.
�
Pull bulb out of the bulb socket.
�
Insert new bulb in socket.
�
Reinstall bulb socket, push in and twist
clockwise.
�
To reinstall lamp, set rear end in
bumper and let front end snap into
place.
Replacing bulbs for rear lamps
Tail lamp assemblies�
Open tailgate (
�page 87).
�
Switch off the lights.
�
Press button1 on the corresponding
side.
�
Fold down trim panel2.
�
Squeeze tabs together3.
�
Remove bulb holder.
Page 326 of 400
326 Practical hintsBatteryReconnecting the battery�
Turn off all electrical consumers.
�
Connect the positive lead and fasten its
cover2.
�
Connect negative lead1.
�
Reinstall the filter box (
�page 324).Batteries contain materials that can harm
the environment if disposed of improperly.
Large 12 volt storage batteries contain
lead. Recycling of batteries is the preferred
method of disposal. Many states require
sellers of batteries to accept old batteries
for recycling.
!NEVER invert the terminal connections.!The battery, its filler caps and the vent
tube must always be securely installed
when the vehicle is in operation.
iThe following procedures must be
carried out following any interruption of
battery power (e.g. due to reconnec-
tion):�
Set the clock (
�page 124).
Vehicles with COMAND*:
See COMAND operator’s manual.
�
Resynchronize the ESP
(�page 282).
�
Resynchronize side windows
(�page 198).
�
Resynchronize sliding/pop-up
roof* (
�page 201).
Page 368 of 400

368 Index
Upholstery 271
Windows 270
Windshield 48
Wiper blades 270
Wood trims 272
Climate control 150
Adjusting 153
Defogging windshield 153
Defrosting 154
Setting the temperature 152
Clock 23, 124
Closing
Glove box 215
Hood 253
Side windows 197
Sliding/pop-up roof 199, 309
Sliding/pop-up roof with
SmartKey 200
Tailgate 88
Windows 196
Windows with SmartKey 198Closing sliding/pop-up roof
In an emergency 309
Cloth upholstery
Cleaning 272
Cockpit 20, 357
Cockpit management and
data system (COMAND*) 358
COMAND*
See separate operating instructions
Combination switch 103
High beam flasher 47, 104
Turn signals 46
Windshield wipers 47
Comfort driving
Transmission program mode 143
Consumer information 355
Control and operation of radio
transmitter 246
Control system 111, 358
AUDIO menu 116
Convenience submenu 132
Display digital speedometer 116Functions 112, 115
Instrument cluster submenu 124
Lighting submenu 127
Malfunction memory menu 120
Menus 114, 115
Multifunction display 111
Multifunction steering wheel 112
NAVI menu 119
Selecting radio system 117
Selecting satellite radio* system 117
Settings menu 121
Standard display menu 116
Submenus 113, 115
TEL* menu 136
Trip computer menu 134
Vehicle submenu 131
Convenience submenu 132
Activating easy-entry/exit
feature 132
Setting key dependency 133
Setting parking position for
exterior rear view mirror 134
Page 384 of 400

384 IndexSetting
Convenience functions 123, 132
Cruise control 203
Daytime running
lamp mode 127, 128
Exterior rear view mirror parking
position 99
Higher speed in cruise control 204
Hours (clock) 124
Individual vehicle settings 121
Interior lighting delayed shut-off 130
Key dependent memory 133
Lamps and lighting (control
system) 127
Language, multifunction display 126
Locator lighting 128
Lower speed in cruise control 204
Miles/kilometers in
speedometer 126
Minutes (clock) 124
Night security illumination 129Parking position for exterior rear view
mirrors 134
Slower speed in cruise control 204
Speed in cruise control 204
Speedometer display mode 126
Station selection mode 131
Temperature (Interior) 161
Temperature (interior) 152
Temperature indicator 125
Time display mode (Clock) 125
Units
Speedometer 126
Temperature 125
Settings
Convenience functions 132
Factory, SmartKey 85
Individual (SmartKey) 133
Lighting (control system) 127
Menus and submenus 113
Resetting all (control system) 121
Resetting in the submenu 122
Selective 85Settings menu
Functions in 121
Individual vehicle settings 121
Submenus 122
Shift lock (Automatic transmission) 360
Shifting
Gear selector lever positions 142
Into optimal gear range
(automatic transmission) 140
Shutting off
Delayed (exterior lamps) 129
Side impact airbags 62
Side marker lamps
Replacing bulbs 310, 311, 315
Side markers
Cleaning 269
Side windows
Automatic closing 197
Automatic opening 197
Cleaning 270
Closing 196, 197, 198
Closing fully 197