Page 21 of 400
21 At a glance
Cockpit
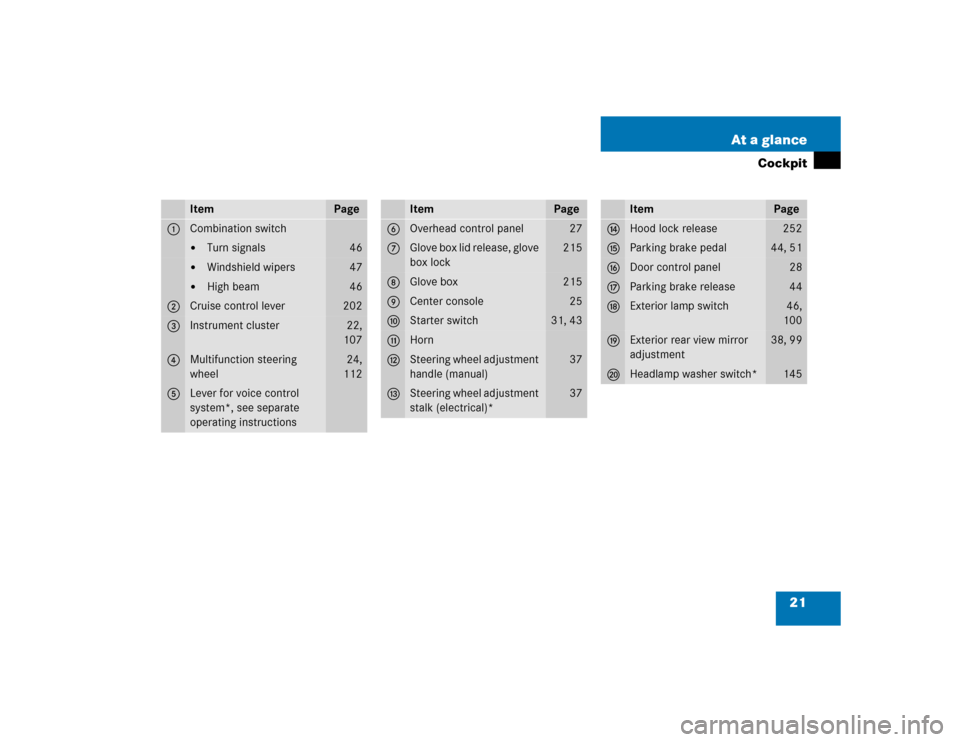
Item
Page
1
Combination switch�
Turn signals
46
�
Windshield wipers
47
�
High beam
46
2
Cruise control lever
202
3
Instrument cluster
22,
107
4
Multifunction steering
wheel
24,
112
5
Lever for voice control
system*, see separate
operating instructions
Item
Page
6
Overhead control panel
27
7
Glove box lid release, glove
box lock
215
8
Glove box
215
9
Center console
25
a
Starter switch
31, 43
b
Horn
c
Steering wheel adjustment
handle (manual)
37
d
Steering wheel adjustment
stalk (electrical)*
37
Item
Page
e
Hood lock release
252
f
Parking brake pedal
44, 51
g
Door control panel
28
h
Parking brake release
44
j
Exterior lamp switch
46,
100
k
Exterior rear view mirror
adjustment
38, 99
l
Headlamp washer switch*
145
Page 252 of 400
252 OperationEngine compartment
�Engine compartmentHood
Opening
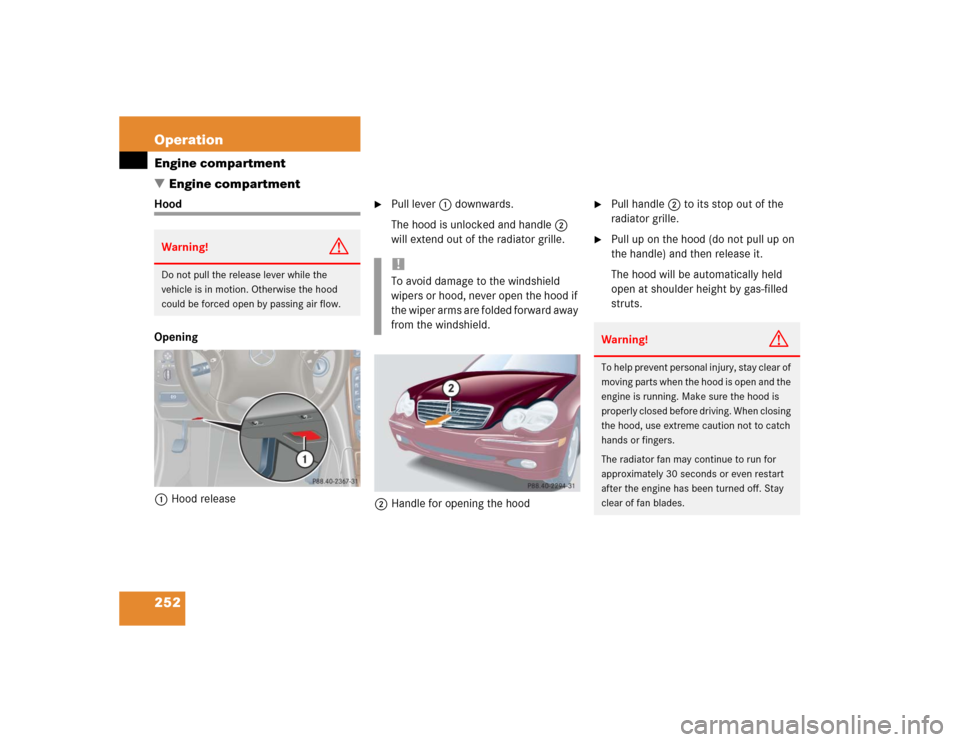
1Hood release
�
Pull lever1 downwards.
The hood is unlocked and handle2
will extend out of the radiator grille.
2Handle for opening the hood
�
Pull handle2 to its stop out of the
radiator grille.
�
Pull up on the hood (do not pull up on
the handle) and then release it.
The hood will be automatically held
open at shoulder height by gas-filled
struts.
Warning!
G
Do not pull the release lever while the
vehicle is in motion. Otherwise the hood
could be forced open by passing air flow.
!To avoid damage to the windshield
wipers or hood, never open the hood if
the wiper arms are folded forward away
from the windshield.
Warning!
G
To help prevent personal injury, stay clear of
moving parts when the hood is open and the
engine is running. Make sure the hood is
properly closed before driving. When closing
the hood, use extreme caution not to catch
hands or fingers.
The radiator fan may continue to run for
approximately 30 seconds or even restart
after the engine has been turned off. Stay
clear of fan blades.
Page 257 of 400
257 Operation
Engine compartment
Coolant level
The engine coolant is a mixture of water
and anticorrosion/antifreeze. To check
the coolant level, the vehicle must be
parked on level ground and the engine
must be cool.
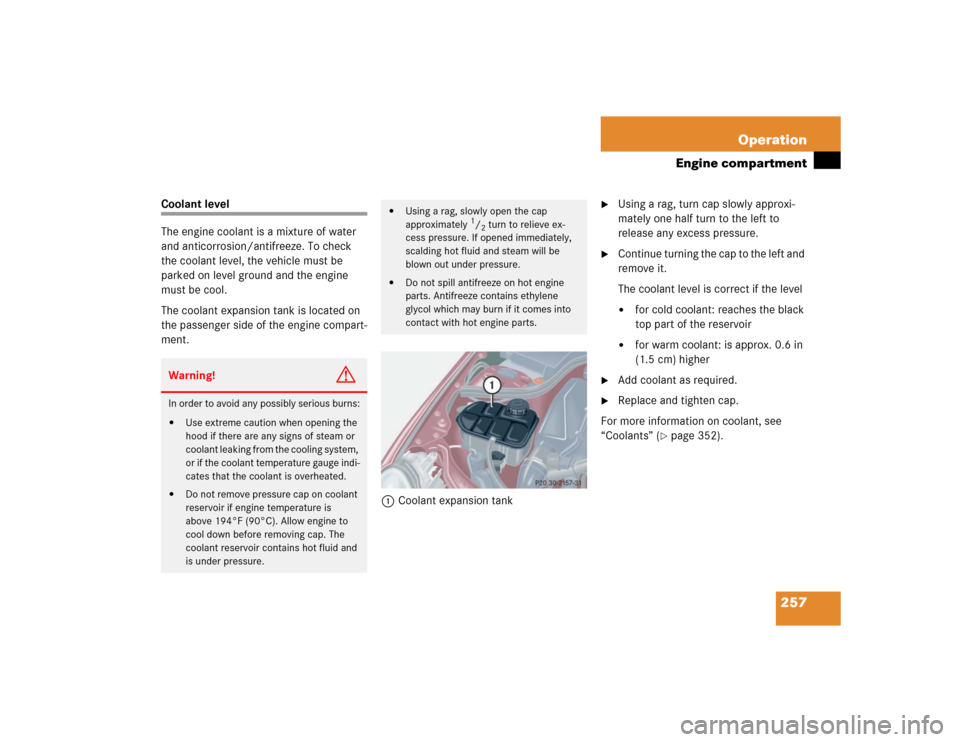
The coolant expansion tank is located on
the passenger side of the engine compart-
ment.
1Coolant expansion tank
�
Using a rag, turn cap slowly approxi-
mately one half turn to the left to
release any excess pressure.
�
Continue turning the cap to the left and
remove it.
The coolant level is correct if the level �
for cold coolant: reaches the black
top part of the reservoir
�
for warm coolant: is approx. 0.6 in
(1.5 cm) higher
�
Add coolant as required.
�
Replace and tighten cap.
For more information on coolant, see
“Coolants” (
�page 352).
Warning!
G
In order to avoid any possibly serious burns:�
Use extreme caution when opening the
hood if there are any signs of steam or
coolant leaking from the cooling system,
or if the coolant temperature gauge indi-
cates that the coolant is overheated.
�
Do not remove pressure cap on coolant
reservoir if engine temperature is
above 194°F (90°C). Allow engine to
cool down before removing cap. The
coolant reservoir contains hot fluid and
is under pressure.
�
Using a rag, slowly open the cap
approximately
1/2turn to relieve ex-
cess pressure. If opened immediately,
scalding hot fluid and steam will be
blown out under pressure.
�
Do not spill antifreeze on hot engine
parts. Antifreeze contains ethylene
glycol which may burn if it comes into
contact with hot engine parts.
Page 317 of 400

317 Practical hints
Replacing wiper blades
�Replacing wiper blades
Removing wiper blades�
Fold the wiper arm forward.
1Lock
2Unlock
�
Pull the tab in direction of arrow2 and
remove windshield wiper.
Installing wiper blades�
Slide the wiper blade into the cutout on
the wiper arm.
�
Slide the tab back in direction of
arrow1 until it audibly engages.
�
Fold the wiper arm backward to rest on
the windshield. Make sure you hold on
to the wiper when folding the wiper arm
back.
Warning!
G
For safety reasons, remove SmartKey from
starter switch before replacing a wiper
blade. Otherwise the motor could suddenly
turn on and cause injury.
!Never open the hood when the wiper
arms are folded forward.
Hold on to the wiper when folding the
wiper arm back. If released, the force
of the impact from the tensioning
spring could crack the windshield.
Do not allow the wiper arms to contact
the windshield glass without a wiper
blade inserted.
Make certain that the wiper blades are
properly installed. Improperly installed
wiper blades may cause windshield
damage.
For your convenience, we recommend
that you have this work carried out by
an authorized Mercedes-Benz Center.