Page 173 of 400
173 Controls in detail
Audio system
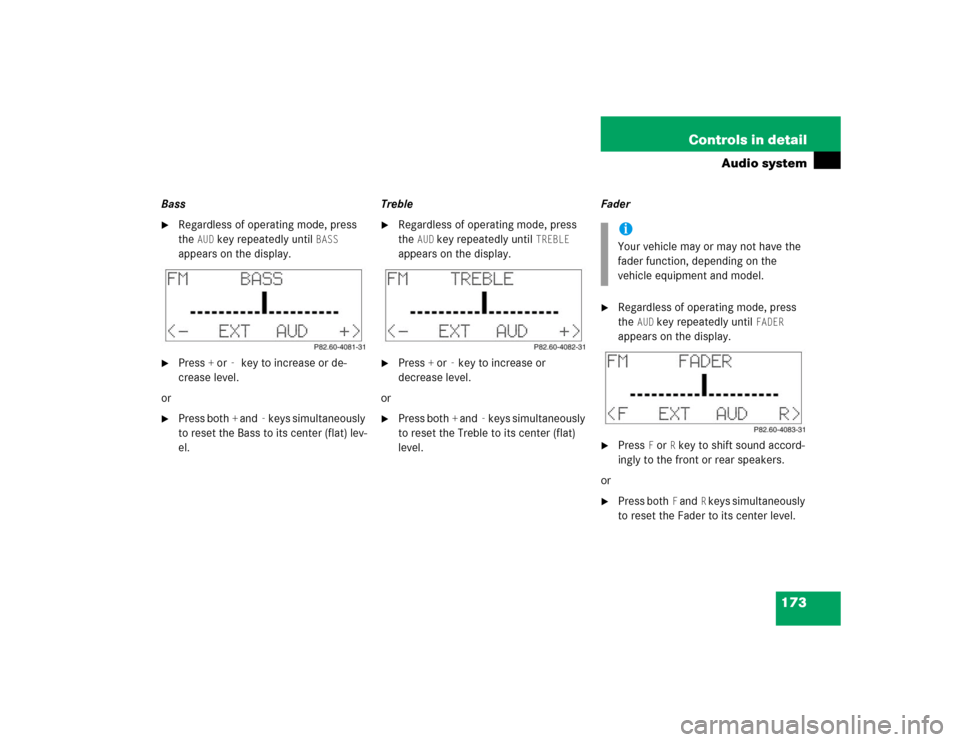
Bass�
Regardless of operating mode, press
the
AUD
key repeatedly until
BASS
appears on the display.
�
Press
+ or
- key to increase or de-
crease level.
or
�
Press both
+ and
- keys simultaneously
to reset the Bass to its center (flat) lev-
el.Treble
�
Regardless of operating mode, press
the
AUD
key repeatedly until
TREBLE
appears on the display.
�
Press
+ or
- key to increase or
decrease level.
or
�
Press both
+ and
- keys simultaneously
to reset the Treble to its center (flat)
level.Fader
�
Regardless of operating mode, press
the
AUD
key repeatedly until
FADER
appears on the display.
�
Press
F or
R key to shift sound accord-
ingly to the front or rear speakers.
or
�
Press both
F and
R keys simultaneously
to reset the Fader to its center level.
iYour vehicle may or may not have the
fader function, depending on the
vehicle equipment and model.
Page 174 of 400
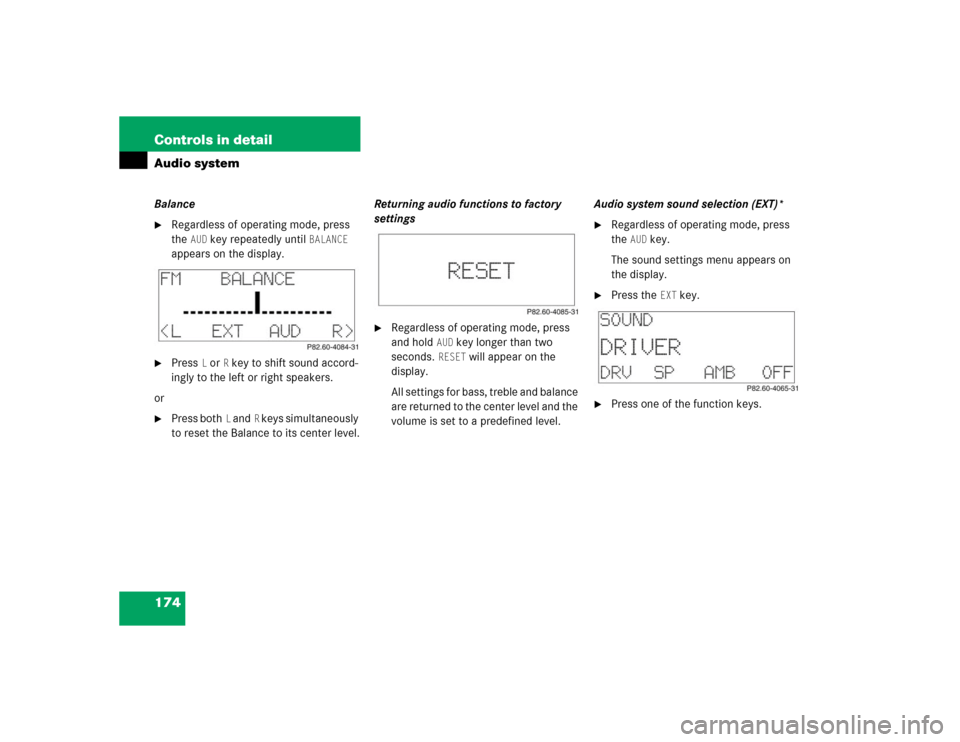
174 Controls in detailAudio systemBalance�
Regardless of operating mode, press
the
AUD
key repeatedly until
BALANCE
appears on the display.
�
Press
L or
R key to shift sound accord-
ingly to the left or right speakers.
or
�
Press both
L and
R keys simultaneously
to reset the Balance to its center level.Returning audio functions to factory
settings
�
Regardless of operating mode, press
and hold
AUD
key longer than two
seconds.
RESET
will appear on the
display.
All settings for bass, treble and balance
are returned to the center level and the
volume is set to a predefined level.Audio system sound selection (EXT)*
�
Regardless of operating mode, press
the
AUD
key.
The sound settings menu appears on
the display.
�
Press the
EXT
key.
�
Press one of the function keys.
Page 175 of 400

175 Controls in detail
Audio system
You can select from among the
following settings:�
DRV
: The tone level is set to the
Driver position; sound is directed
toward the passengers.
�
SP: The tone level is set for Speech,
optimizing the sound for the spoken
word.
�
AMB
: The tone level is set for
Ambience, producing a
three-dimensional sound.
�
OFF
: The audio system sound
selection is turned off.
Telephone* muting
If a telephone has been installed in the
vehicle, the radio will switch to telephone
mode when a call is incoming. The current
audio source is muted.
Radio operation
Selecting radio mode�
Pressb button.
�
You can now receive radio stations
over the analog FM, AM or WB station
frequencies or you can receive chan-
nels digitally via satellite radio (SAT)*.
Analog station frequencies
Selecting the band
You can select from among FM, AM or WB
frequency bands.
Weather band (
�page 178).
�
Press FM, AM or WB key repeatedly un-
til desired band has been selected.
The FM, AM and WB frequency bands
are called up one after the other.
The frequency band currently selected
appears in the upper left-hand corner
of the display.
Selecting a station
The following options are available for
selecting a station:
�
Direct frequency band input
(�page 176)
�
Manual tuning (
�page 176)
�
Automatic seek tuning (
�page 176)
�
Scan tuning (
�page 177)
�
Preset buttons (
�page 177)
�
Automatic station memory (Autostore)
(�page 177)
iFM frequency band:
FM 87.7......107.9 MHz
AM frequency band:
MW (medium wave) 530......1710 KHz
Page 177 of 400

177 Controls in detail
Audio system
Scan tuning�
Starting scan tuning�
Select desired frequency band.
�
Press2 button.SC will appear on the display. The
radio briefly tunes in all receivable
stations on the band selected. The
first scan cycle will tune in only the
stations with a strong signal. The
second scan cycle will tune in every
receivable station.
�
Ending scan tuning�
Press2 button ord, c,
f or ebutton.SC disappears from the display.Manual station memory (Presets)
You can store ten AM and ten FM stations.
�
Storing stations�
Tune in the desired station.
�
Press and hold desired station
button4 toM until a brief
signal tone is heard.
The frequency is stored on the
selected station button.
The frequency band and station
button number are shown in the up-
per left-hand corner of the display.
�
Retrieving a station from memory�
Press desired station button4
toM.Automatic station memory (Autostore)
The Autostore memory function provides
an additional memory level. The station
memory for manually stored stations is not
overwritten.
�
Calling up Autostore memory level�
Briefly press the
AS key.
AS is highlighted in the display.
The radio finds the ten stations with
the strongest signals. These
stations are stored on the station
buttons4 toM in order of
signal strength.
�
Retrieving a station from memory�
Press desired station button4
toM.
�
Leaving the Autostore memory level�
Press the
AS key.
The highlighted
AS in the display
disappears.
Page 179 of 400
�
Start radio mode.
If the radio was in SAT radio mode be-
fore being turned off or changed to an-
other operating mode, the last SAT")
179 Controls in detail
Audio system
Starting satellite radio (SAT)�
Start radio mode.
If the radio was in SAT radio mode be-
fore being turned off or changed to an-
other operating mode, the last SAT
channel selected is called up.
or
�
Press the
SAT
key.
When you call up the SAT radio mode
for the first time,
ACQUIRING
will appear
on the display during the initialization
process.
or
The last channel selected is called up.Entering the Electronic Serial Number
(ESN)
The first time SAT radio is called up, you
must give your SAT radio provider the Elec-
tronic Serial Number (ESN) of your SAT re-
ceiver over the telephone.
�
Press the
SAT
key.
The radio switches to SAT mode.
CALL SIRI
appears on the display.
�
Press the
ESN
key.
The provider’s phone number will ap-
pear first. After pressing the
ESN
key
again, the ESN number will appear.
Make note of the phone number and
ESN number.
�
Press the
ESN
key repeatedly until all
required information has appeared on
the display.
�
Call the telephone number and give
provider your ESN number.iCredit card information is also required
for your application.
The activation process takes approxi-
mately five to ten minutes after calling
the SIRIUS Service Center.
Page 181 of 400
 mode
In PTY mode, you can tune in and select
channels of a specific program type.
Calling up PTY mode�
Start SAT radio mode.
�
Press the
PTY
key")
181 Controls in detail
Audio system
Program type (PTY) mode
In PTY mode, you can tune in and select
channels of a specific program type.
Calling up PTY mode�
Start SAT radio mode.
�
Press the
PTY
key.
The name of the channel currently
being received is shown.
Leaving PTY mode
�
Press the
CH
key.
The number of the channel currently
being received is shown.Selecting channel category
�
Pressd or cbutton.
The individual program types are se-
lected.
Tuning in a PTY channel
Once you have selected a program type,
you can tune in channels broadcasting a
program that corresponds to the selected
program type.
�
Pressf or ebutton.
The radio will tune to the next highest
or lowest channel broadcasting this
type of program.Program Descriptive Text (PDT)
In PDT mode, you can call up additional in-
formation on the channel, the current track
and the performing artist(s).
�
Press the
TXT
key.
The station category appears on the
display.
�
Press the
TXT
key again within four
seconds.
The title of the current track appears.
�
Press the
TXT
key again within four
seconds.
The name of the musician(s) of the cur-
rent track appear on the display.
Page 182 of 400

182 Controls in detailAudio systemCassette operation
Playing cassettes�
Press3 button.
The display panel folds down and the
cassette compartment becomes ac-
cessible.
�
Insert cassette into the cassette com-
partment until it engages and tap it
gently.
The cassette will be pulled in automati-
cally. The system switches to cassette
mode. Side 1 will be played and
SIDE 1
appears in the display. Side 1 is the
side of the cassette which is facing up-
ward. The cassette deck will automati-
cally detect the type of tape.
�
Fold display panel back up and press
gently on the display panel frame to
lock it in place.
or
�
If a cassette is already in the
mechanism, pressj button.Track selection
�
Press the
TRK
key.
The current track will be displayed as
SIDE 1
or
SIDE 2
.
�
You can switch sides at any time.
The side will be changed automatically
at the end of the tape.
!Do not press directly on the display
face. Otherwise the display will be
damaged.
iA warning signal will sound after 20
seconds if the display panel is left in
the down position. Fold display panel
back up. If the display panel is not
closed, a warning signal will sound and
the radio will be muted.
Page 183 of 400

183 Controls in detail
Audio system
Cassette eject�
Press eject button3.
The display folds down and the cas-
sette is ejected. The system will switch
back to radio mode automatically.
�
Fold display panel back up and press
gently on the display panel frame to
lock it.Track search
Track search forward
�
Pressf button.SEEK FWD
will appear in the display.
Track search will run the tape forward
to the start of the next track and switch
to Play.Track search backward
�
Presse button.SEEK RWD
will appear on the display.
Track search will run the tape back-
ward to the start of the track currently
playing and switch to Play.
Stopping track search
�
Pressd, c, f or
ebutton.
The cassette will switch over to Play.
!Do not press directly on the display
face. Otherwise the display will be
damaged.iThe cassette will not be ejected when
the system is switched off or switched
to another operating mode.
iThe beginning of a track can only be
found if there is pause of at least
four seconds between tracks.