Page 115 of 400
115 Controls in detail
Control system
Menus, submenus and functions
Menu1
Menu2
Menu3
Menu4
Menu5
Menu6
Menu7
Standard display
AUDIO
NAVI*
Malfunction
memory
Settings
Trip computer
Telephone*
Commands/submenusCoolant
temperature display
Select radio station
Activate route
guidance
Call up malfunc-
tion messages
Reset to factory
settings
Fuel consumption
statistics after
start
Load phone
book
Digital speedometer
Operate CD
player*
Instrument clus-
ter submenu
Fuel consumption
statistics since
the last reset
Search for
name in
phone book
Call up FSS
Operate cassette
player
Lighting
submenu
Call up range
Check engine oil
level
Vehicle
submenuConvenience
submenu
Page 116 of 400

116 Controls in detailControl system
Standard display menu
You can select the functions in the
standard display menu with buttonk
orj.
The following functions are available:
Display digital speedometer�
Press buttonj twice.
The current vehicle speed is shown in
the multifunction display.
AUDIO menu
The functions in the
AUDIO
menu operate
the audio equipment which you currently
have turned on.
If no audio equipment is currently turned
on, the message
AUDIO OFF
is shown in the
display.
The following functions are available:
iThe headings used in the menus table
are designed to facilitate navigation
within the system and are not neces-
sarily identical to those shown in the
control system displays.
The first function displayed in each
menu will automatically show you
which part of the system you are in.
Function
Page
Call up coolant temperature
display
108
Call up digital speedometer
116
Call up FSS
265
Check engine oil level
254
Function
Page
Select radio station
117
Select satellite radio station*
117
Operate CD player*
118
Operate cassette player
119
Page 128 of 400
128 Controls in detailControl system
With daytime running lamp mode
selected and the exterior lamp switch
at position0, the following lamps will
come on automatically when the
engine is turned on:�
Parking lamps and low beam
headlamps
�
License plate lamps (in low ambient
light conditions)Setting locator lighting
During darkness, the following lamps will
come on when the exterior lamp switch is
in positionU, the locator lighting
feature is activated, and the vehicle is
unlocked by SmartKey:
�
Parking lamps
�
Tail lamps
�
License plate lamps
�
Front fog lamps
To activate locator lighting:
�
Make sure the function
LOCATOR
LIGHTING
is set.
�
Turn the exterior lamp switch to
positionU.
The locator lighting switches off when the
driver’s door is opened. It switches off
automatically after a period of approxi-
mately 40 seconds.
�
Move the selection marker with
theæ orç button to the LIGHTING
submenu.
�
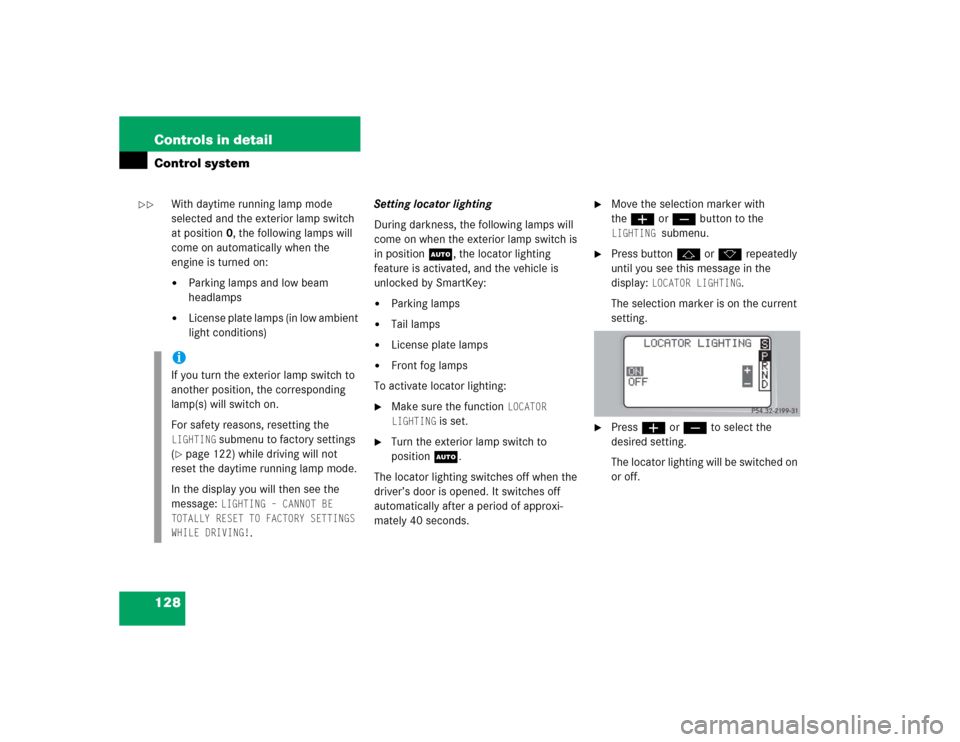
Press buttonj ork repeatedly
until you see this message in the
display:
LOCATOR LIGHTING
.
The selection marker is on the current
setting.
�
Pressæ orç to select the
desired setting.
The locator lighting will be switched on
or off.
iIf you turn the exterior lamp switch to
another position, the corresponding
lamp(s) will switch on.
For safety reasons, resetting the LIGHTING
submenu to factory settings
(
�page 122) while driving will not
reset the daytime running lamp mode.
In the display you will then see the
message:
LIGHTING – CANNOT BE
TOTALLY RESET TO FACTORY SETTINGS
WHILE DRIVING!
.
��
Page 132 of 400

132 Controls in detailControl systemConvenience submenu
Access the
CONVENIENCE
submenu via the
SETTINGS
menu. Use the
CONVENIENCE
submenu to change the settings for a
number of convenience features. The
following functions are available:
Activating easy-entry/exit feature*
Use this function to activate and
deactivate the easy-entry/exit feature.
When the feature is activated, the steering
wheel and driver’s seat will move back to
facilitate exiting when you
�
remove the SmartKey from the starter
switch
�
open the driver’s doorHowever, the engine must be turned off. After entering the vehicle, the steering
wheel and seat will move into the position
stored in memory when you
�
close the driver’s door with the
SmartKey in starter switch position2.
�
you put the SmartKey in the starter
switch with the driver’s door closed.
Function
Page
Activate easy-entry/exit
feature*
132
Set key-dependency
133
Set parking position for exterior
rear view mirror
134
Warning!
G
You must make sure no one can become
trapped or injured by the moving steering
wheel and the driver’s seat when the
easy-entry/exit feature* is activated and
the driver’s door is being opened and the en-
gine is turned off or the SmartKey is re-
moved from the starter switch.
Do not leave children unattended in the ve-
hicle, or with access to an unlocked vehicle.
Children could open the driver’s door and
unintentionally activate the easy-entry/exit
feature*, which could result in an accident
and/or personal injury.
iTo cancel seat/steering wheel
movement, do one of the following:�
press the seat adjustment switch*
(�page 35)
�
move the steering column stalk*
(�page 37)
�
press the stored position button*
(�page 97)
Page 136 of 400
136 Controls in detailControl systemCall up range (distance to empty)�
Press buttonÿ orè repeatedly
until you see the first function of the
Trip computer menu.
�
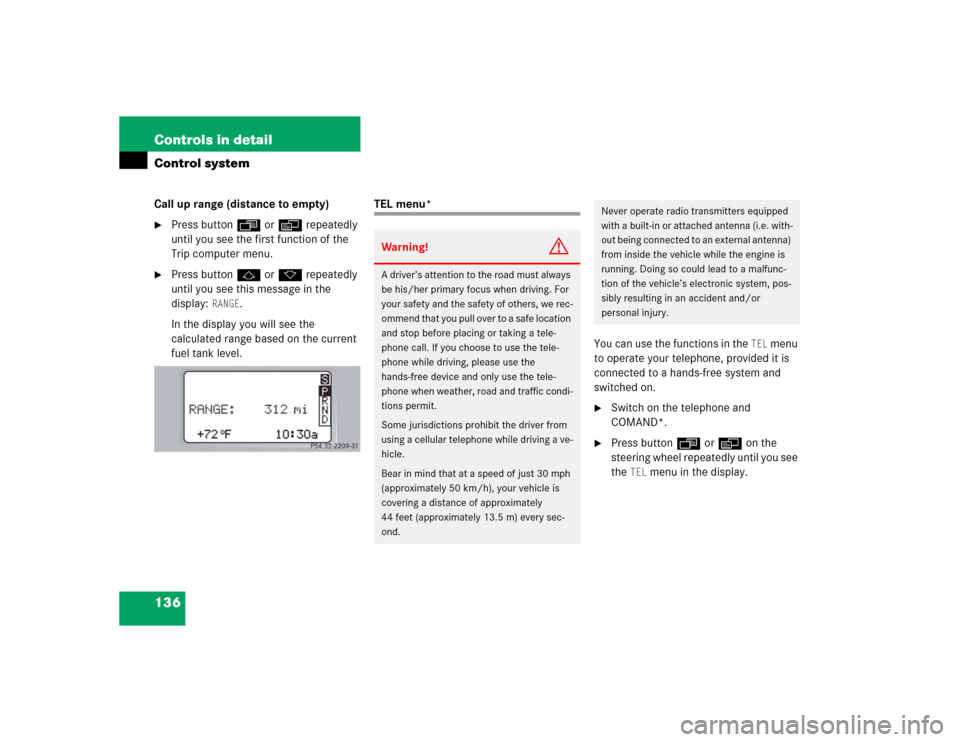
Press buttonj ork repeatedly
until you see this message in the
display:
RANGE
.
In the display you will see the
calculated range based on the current
fuel tank level.
TEL menu*
You can use the functions in the
TEL
menu
to operate your telephone, provided it is
connected to a hands-free system and
switched on.
�
Switch on the telephone and
COMAND*.
�
Press buttonÿ orè on the
steering wheel repeatedly until you see
the
TEL
menu in the display.
Warning!
G
A driver’s attention to the road must always
be his/her primary focus when driving. For
your safety and the safety of others, we rec-
ommend that you pull over to a safe location
and stop before placing or taking a tele-
phone call. If you choose to use the tele-
phone while driving, please use the
hands-free device and only use the tele-
phone when weather, road and traffic condi-
tions permit.
Some jurisdictions prohibit the driver from
using a cellular telephone while driving a ve-
hicle.
Bear in mind that at a speed of just 30 mph
(approximately 50 km/h), your vehicle is
covering a distance of approximately
44 feet (approximately 13.5 m) every sec-
ond.
Never operate radio transmitters equipped
with a built-in or attached antenna (i.e. with-
out being connected to an external antenna)
from inside the vehicle while the engine is
running. Doing so could lead to a malfunc-
tion of the vehicle’s electronic system, pos-
sibly resulting in an accident and/or
personal injury.
Page 139 of 400
139 Controls in detail
Automatic transmission
�Automatic transmission
Information on driving with an automatic
transmission is found in the “Getting
started” section (
�page 43).
Your vehicle’s transmission adapts its gear
shifting process to your individual driving
style by continually adjusting the shift
points up or down. These shift point adjust-
ments are performed based on current
operating and driving conditions.
If the operating conditions change, the
automatic transmission reacts by
adjusting its gear shift program.The automatic transmission selects indi-
vidual gears automatically, depending on:
�
the gear selector lever positionD with
gear ranges4, 3, 2, 1 (
�page 141)
�
the selected shift program (C/S)
(�page 143)
�
the position of the accelerator pedal
(�page 144)
�
the vehicle speed
The current gear selector lever position
and shift program (
C/S) appear in the
multifunction display (�page 111).
An additional indication of the current gear
selector lever position can be found on the
cover of the shifting-gate. The indicators
come on when you activate a switch (e.g.
unlocking the vehicle or opening a door)
and go out after approximately
15 minutes.When the gear selector lever is in
positionD, you can influence transmission
shifting by:
�
limiting the gear range
�
changing gears manually
iDuring the brief warm-up, transmission
upshifting is delayed. This allows the
catalytic converter to heat up more
quickly to operating temperature.
Warning!
G
It is dangerous to shift the gear selector
lever out ofP orN if the engine speed is
higher than idle speed. If your foot is not
firmly on the brake pedal, the vehicle could
accelerate quickly forward or reverse. You
could lose control of the vehicle and hit
someone or something. Only shift into gear
when the engine is idling normally and when
your right foot is firmly on the brake pedal.
Page 140 of 400
140 Controls in detailAutomatic transmissionOne-touch gearshifting
Even with an automatic transmission you
can change the gears manually when the
gear selector lever is in positionD.
Downshifting�
Briefly press the gear selector lever to
the left in theD-direction.
The transmission will shift from the current
gear to the next lower gear. This action
simultaneously limits the gear range of the
transmission (
�page 141).Upshifting
�
Briefly press the gear selector lever to
the right in theD+direction.
The transmission will shift from the current
gear to the next higher gear as permitted
by the shift program. This action simul-
taneously extends the gear range of the
transmission.Canceling gear range limit
�
Press and hold the gear selector lever
in theD+direction until
D reappears in
the multifunction display.
The transmission will shift from the current
gear range directly to gear rangeD.
Shifting into optimal gear range
�
Press and hold the gear selector lever
in theD-direction.
The transmission will automatically select
the gear range suited for optimal
acceleration and deceleration. This will
involve shifting down one or more gears.
Warning!
G
On slippery road surfaces, never downshift
in order to obtain braking action. This could
result in drive wheel slip and reduced
vehicle control. Your vehicle’s ABS will not
prevent this type of loss of control.
iTo avoid overrevving the engine when
the gear selector lever is moved to
theD-direction, the transmission will
not shift to a lower gear if the engine’s
max. speed would be exceeded.
Page 141 of 400
141 Controls in detail
Automatic transmission
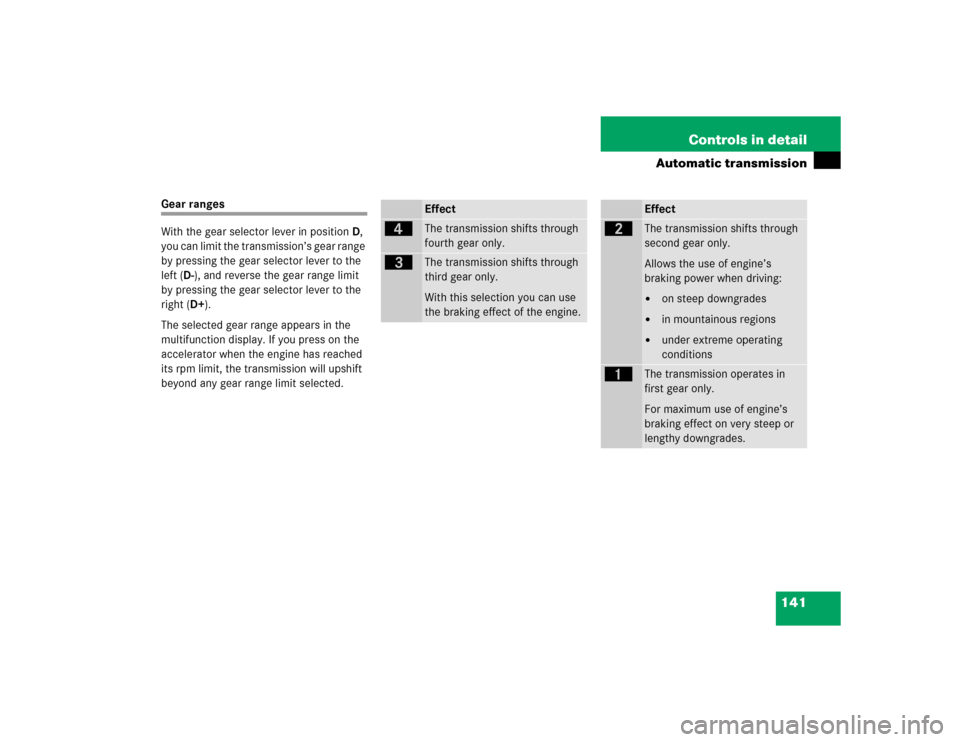
Gear ranges
With the gear selector lever in positionD,
you can limit the transmission’s gear range
by pressing the gear selector lever to the
left (D-), and reverse the gear range limit
by pressing the gear selector lever to the
right (D+).
The selected gear range appears in the
multifunction display. If you press on the
accelerator when the engine has reached
its rpm limit, the transmission will upshift
beyond any gear range limit selected.
Effect
é
The transmission shifts through
fourth gear only.
è
The transmission shifts through
third gear only.
With this selection you can use
the braking effect of the engine.
Effect
ç
The transmission shifts through
second gear only.
Allows the use of engine’s
braking power when driving:�
on steep downgrades
�
in mountainous regions
�
under extreme operating
conditions
æ
The transmission operates in
first gear only.
For maximum use of engine’s
braking effect on very steep or
lengthy downgrades.
