Page 129 of 400

129 Controls in detail
Control system
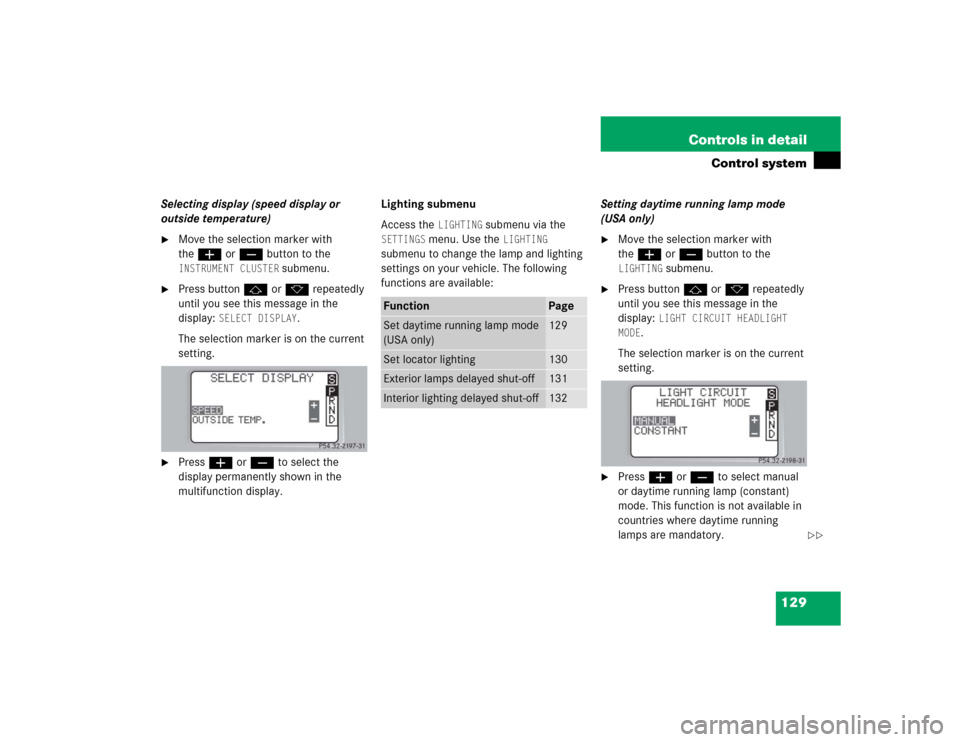
Selecting display (speed display or
outside temperature)�
Move the selection marker with
theæ orç button to the INSTRUMENT CLUSTER
submenu.
�
Press buttonj ork repeatedly
until you see this message in the
display:
SELECT DISPLAY
.
The selection marker is on the current
setting.
�
Pressæ orç to select the
display permanently shown in the
multifunction display.Lighting submenu
Access the
LIGHTING
submenu via the
SETTINGS
menu. Use the
LIGHTING
submenu to change the lamp and lighting
settings on your vehicle. The following
functions are available:Setting daytime running lamp mode
(USA only)
�
Move the selection marker with
theæ orç button to the LIGHTING
submenu.
�
Press buttonj ork repeatedly
until you see this message in the
display:
LIGHT CIRCUIT HEADLIGHT
MODE
.
The selection marker is on the current
setting.
�
Pressæ orç to select manual
or daytime running lamp (constant)
mode. This function is not available in
countries where daytime running
lamps are mandatory.
Function
Page
Set daytime running lamp mode
(USA only)
129
Set locator lighting
130
Exterior lamps delayed shut-off
131
Interior lighting delayed shut-off
132
��
Page 136 of 400
136 Controls in detailControl systemSetting parking position* for exterior
rear view mirror
Use the
MIRROR SETTING WHEN PARKING
function to select whether the passen-
ger-side exterior rear view mirror should be
turned downward during parking maneu-
vers when reverse gearR is engaged.
For additional information, see “Activating
exterior rear view mirror parking posi-
tion*” (
�page 150).
�
Move the selection marker to the CONVENIENCE
submenu using theæ
orç button.
�
Press buttonj ork repeatedly
until you see this message in the
display:
MIRROR SETTING WHEN
PARKING.
The selection marker is on the current
setting.
�
Pressæ orç to switch function ON or
OFF
.
Trip computer menu
Use the trip computer menu to call up
statistical data on your vehicle. The
following information is available:Function
Page
Fuel consumption statistics after
start
137
Fuel consumption statistics
since last reset
137
Call up range (distance to empty)
138
Page 149 of 400

149 Controls in detail
Good visibility
Rear view mirrors
More information for setting the rear view
mirrors can be found in the “Getting
started” section (
�page 38).
Interior rear view mirror, antiglare
position
1Lever
�
Tilt the mirror to the antiglare night
position by moving lever1 towards
the windshield.Automatic antiglare rear view mirrors*
The reflection brightness of the exterior
rear view mirror on the driver’s side and
the interior rear view mirror will respond
automatically to glare when
�
the ignition is switched on
and
�
incoming light from headlamps falls on
the sensor in the interior rear view
mirror.The rear view mirror will not react if
�
reverse gear is engaged
�
the interior lighting is turned onWarning!
G
The automatic antiglare function does not
react if incoming light is not aimed directly
at sensors in the interior rear view mirror.
The interior rear view mirror and the exterior
rear view mirror on the driver’s side do not
react, for example, if the rear window
sunshade* is in raised position.
Glare can endanger you and others.
Page 150 of 400

150 Controls in detailGood visibility
Activating exterior rear view mirror
parking position*
Follow these steps to activate the mirror
parking position so that the
passenger-side exterior rear view mirror
will be turned downward to the stored
position.�
Make sure you have stored a parking
position for the passenger-side exterior
rear view mirror (
�page 101).
�
Make sure the
MIRROR SETTING WHEN
PARKING
function in the
CONVENIENCE
submenu of the control system is
switched to
ON (�page 136).
�
Switch on ignition (if not already on).
�
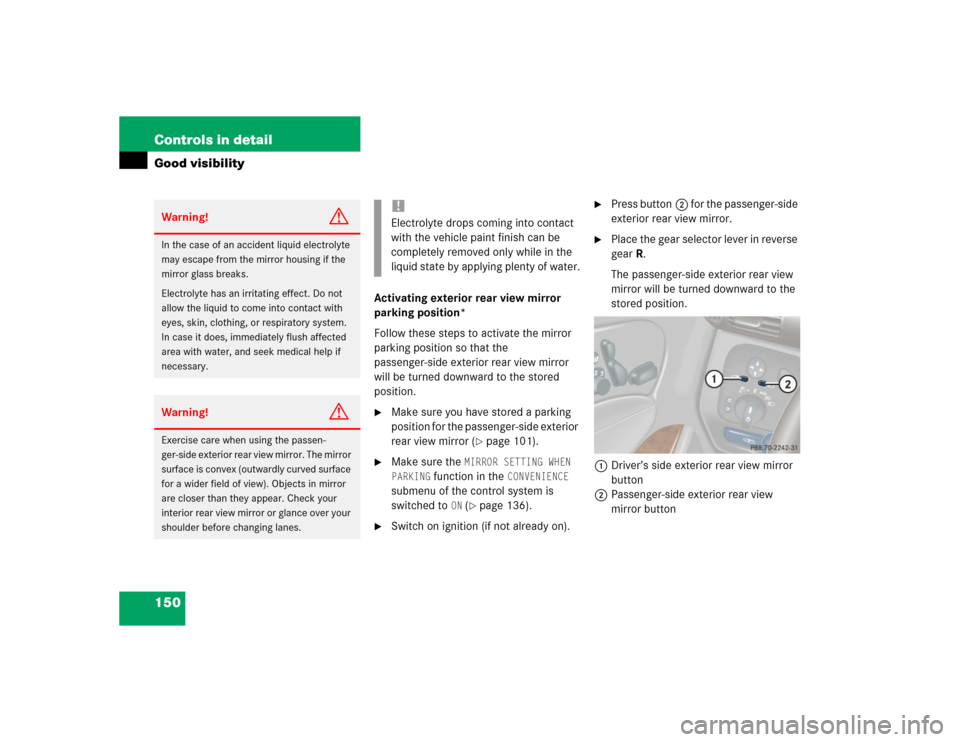
Press button2 for the passenger-side
exterior rear view mirror.
�
Place the gear selector lever in reverse
gearR.
The passenger-side exterior rear view
mirror will be turned downward to the
stored position.
1Driver’s side exterior rear view mirror
button
2Passenger-side exterior rear view
mirror button
Warning!
G
In the case of an accident liquid electrolyte
may escape from the mirror housing if the
mirror glass breaks.
Electrolyte has an irritating effect. Do not
allow the liquid to come into contact with
eyes, skin, clothing, or respiratory system.
In case it does, immediately flush affected
area with water, and seek medical help if
necessary.Warning!
G
Exercise care when using the passen-
ger-side exterior rear view mirror. The mirror
surface is convex (outwardly curved surface
for a wider field of view). Objects in mirror
are closer than they appear. Check your
interior rear view mirror or glance over your
shoulder before changing lanes.
!Electrolyte drops coming into contact
with the vehicle paint finish can be
completely removed only while in the
liquid state by applying plenty of water.
Page 151 of 400
151 Controls in detail
Good visibility
The exterior rear view mirror returns to its
previously stored driving position:�
ten seconds after you put the gear
selector lever out of positionR
�
immediately once your vehicle exceeds
a speed of approximately 6 mph
(10 km/h)
�
immediately when you press button1
for driver’s side mirror
Sun visors
The sun visors protect you from sun glare
while driving.�
Swing sun visors down when you
experience glare.1Mounting
2Mirror cover
3Mirror lamp
4Sun visor
�
To use illuminated mirror, lift up
cover2.
Warning!
G
Do not use the vanity mirror while driving.
Keep the mirrors in the sun visors closed
while vehicle is in motion. Reflected glare
can endanger you and others.
iIf sunlight enters through a side
window, disengage sun visor from
mounting1 and pivot to the side.
The mirror lamp3 will switch off.
Page 310 of 400
310 Practical hintsReplacing bulbs
�Replacing bulbsSafe vehicle operation depends on proper
exterior lighting and signaling. It is there-
fore essential that all bulbs and lamp
assemblies are in good working order at all
times.
Correct headlamp adjustment is extremely
important. Have headlamps checked and
readjusted at regular intervals and when a
bulb has been replaced. See your autho-
rized Mercedes-Benz Center for headlamp
adjustment.
Bulbs Front lamps
iBackup bulbs will be brought into use
when the following lamps malfunction:�
Standing lamps
�
Tail lamps
�
Rear fog lamp
Lamp
Type
1
Additional turn signal
lamps
LED
2
Turn signal lamp
Halogen
Turn signal lamp
Bi-Xenon*
1156 A
2357 A
3
Halogen headlamps:
Low beam
Bi-Xenon* headlamps:
Low and high beam
H7 (55 W)
D2S-35 W
4
Halogen headlamps:
High beam
Bi-Xenon* headlamps:
High beam flasher
H7 (55 W)
H7 (55 W)
Parking and standing
lamps
W5W
5
Fog lamp
HB4/9006
(55 W)
6
Side marker lamp
W5W
Page 311 of 400

311 Practical hints
Replacing bulbs
Rear lamps Notes on bulb replacement
�
12 volt bulbs of the same type and
with the specified watt rating.
�
Switch lights off before changing a bulb
to prevent short circuits.
�
Always use a clean lint-free cloth when
handling bulbs.
�
Your hands should be dry and free of oil
and grease.
�
If the newly installed bulb does not
come on, visit an authorized
Mercedes-Benz Center.
�
Have the LEDs and bulbs for the
following lamps replaced by an
authorized Mercedes-Benz Center:�
Additional turn signals in the
exterior rear view mirrors
�
High mounted brake lamp
�
Xenon lamps
�
Front fog lamps
Lamp
Type
7
High mounted brake
lamp
LED
8
Brake lamp
P21W
9
Turn signal lamp
PY 21 W
a
Backup lamp
P21W
b
Tail, parking,
standing and side
marker lamp
P21/5W
c
License plate lamps
C5W
d
Rear fog lamp,
driver’s side
P21/4W
Warning!
G
Keep bulbs out of reach of children.
Bulbs and bulb sockets can be very hot.
Allow the lamp to cool down before
changing a bulb.
Halogen lamps contain pressurized gas.
A bulb can explode if you�
touch or move it when hot
�
drop the bulb
�
scratch the bulb
Wear eye and hand protection.
Because of high voltage in Xenon lamps, it is
dangerous to replace the bulb or repair the
lamp and its components. We recommend
that you have such work done by a qualified
technician.
Page 367 of 400

367 Index
A
ABS 23, 72, 361
ABS control 72
Malfunction indicator lamp 274
Messages in display 284
Accelerator position,
automatic transmission* 147
Accident
In case of 49
Activating
Air conditioning (cooling)
Automatic climate control* 170
Climate control 160
Air recirculation mode
Automatic climate control* 167
Climate control 158
Anti-theft alarm system* 78
Automatic climate control* 163
Central locking (control system) 133
Charcoal filter 169
Climate control 155Climate control system 159
Defrosting
Automatic climate control* 167
Climate control 158
Easy-entry/exit feature* 134
ESP 76
Exterior headlamps 46
Exterior lamps 103
Exterior rear view mirror
parking position* 150
Hazard warning flasher 106
Headlamps 46
High beams 106
Ignition 31
Immobilizer 52
Rapid seat heating* 98
Rear fog lamp 104, 105
Rear window defroster 153
Residual heat 171
Seat heating* 98
Tow-away alarm* 80
Windshield wipers 48Adding
Coolant 257
Engine oil 255
Additional turn signals 310
Adjustable air vents,
rear passenger compartment
Automatic climate control* 172
Climate control 161
Adjusting 32
Air distribution
Automatic climate control* 166
Climate control 157
Air volume
Automatic climate control* 166
Climate control 157
Backrest contour 97
Backrest side bolsters 97
Backrest tilt
Manual seat 33
Power seat* 35
Exterior rear view mirrors 38