2004 LINCOLN TOWN CAR fuel cap
[x] Cancel search: fuel capPage 3 of 304
Maintenance and Specifications 243
Engine compartment 245
Engine oil 246
Battery 250
Fuel information 258
Air filter(s) 272
Tire Information 274
Refill capacities 287
Lubricant specifications 288
Accessories 296
Index 298
All rights reserved. Reproduction by any means, electronic or mechanical
including photocopying, recording or by any information storage and retrieval
system or translation in whole or part is not permitted without written
authorization from Ford Motor Company. Ford may change the contents without
notice and without incurring obligation.
Copyright © 2004 Ford Motor Company
Table of Contents
3
REVIEW COPY
2004 Town Car(tow), Owners Guide (post-2002-fmt)(own2002),
Market:USA_English(fus)
Page 9 of 304
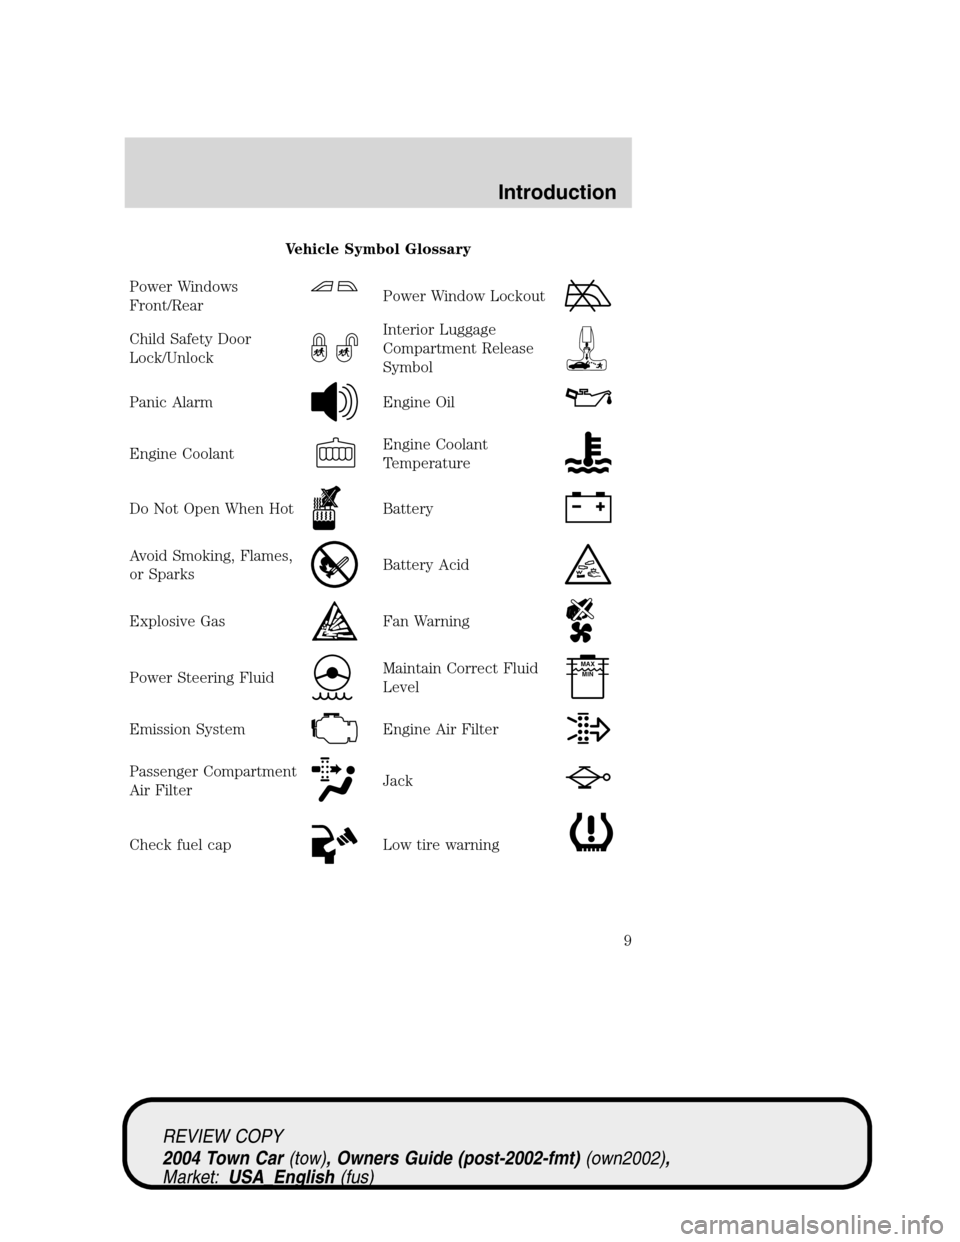
Vehicle Symbol Glossary
Power Windows
Front/Rear
Power Window Lockout
Child Safety Door
Lock/UnlockInterior Luggage
Compartment Release
Symbol
Panic AlarmEngine Oil
Engine CoolantEngine Coolant
Temperature
Do Not Open When HotBattery
Avoid Smoking, Flames,
or SparksBattery Acid
Explosive GasFan Warning
Power Steering FluidMaintain Correct Fluid
LevelMAX
MIN
Emission SystemEngine Air Filter
Passenger Compartment
Air FilterJack
Check fuel capLow tire warning
REVIEW COPY
2004 Town Car(tow), Owners Guide (post-2002-fmt)(own2002),
Market:USA_English(fus)
Introduction
9
Page 11 of 304
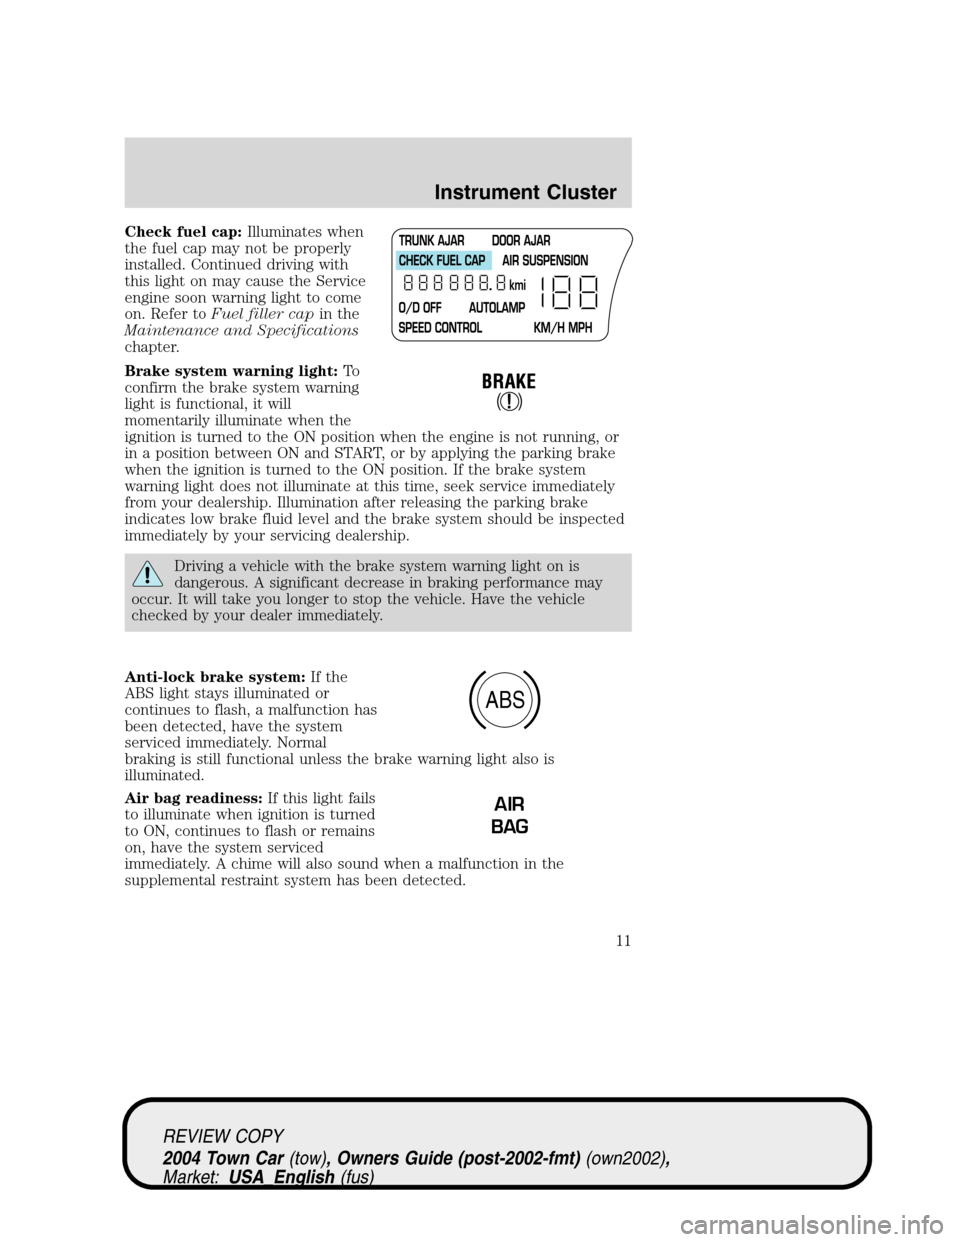
Check fuel cap:Illuminates when
the fuel cap may not be properly
installed. Continued driving with
this light on may cause the Service
engine soon warning light to come
on. Refer toFuel filler capin the
Maintenance and Specifications
chapter.
Brake system warning light:To
confirm the brake system warning
light is functional, it will
momentarily illuminate when the
ignition is turned to the ON position when the engine is not running, or
in a position between ON and START, or by applying the parking brake
when the ignition is turned to the ON position. If the brake system
warning light does not illuminate at this time, seek service immediately
from your dealership. Illumination after releasing the parking brake
indicates low brake fluid level and the brake system should be inspected
immediately by your servicing dealership.
Driving a vehicle with the brake system warning light on is
dangerous. A significant decrease in braking performance may
occur. It will take you longer to stop the vehicle. Have the vehicle
checked by your dealer immediately.
Anti-lock brake system:If the
ABS light stays illuminated or
continues to flash, a malfunction has
been detected, have the system
serviced immediately. Normal
braking is still functional unless the brake warning light also is
illuminated.
Air bag readiness:If this light fails
to illuminate when ignition is turned
to ON, continues to flash or remains
on, have the system serviced
immediately. A chime will also sound when a malfunction in the
supplemental restraint system has been detected.
ABS
AIR
BAG
REVIEW COPY
2004 Town Car(tow), Owners Guide (post-2002-fmt)(own2002),
Market:USA_English(fus)
Instrument Cluster
11
Page 16 of 304
Never remove the coolant reservoir cap while the engine is
running or hot.
Odometer:Registers the total miles
(kilometers) of the vehicle.
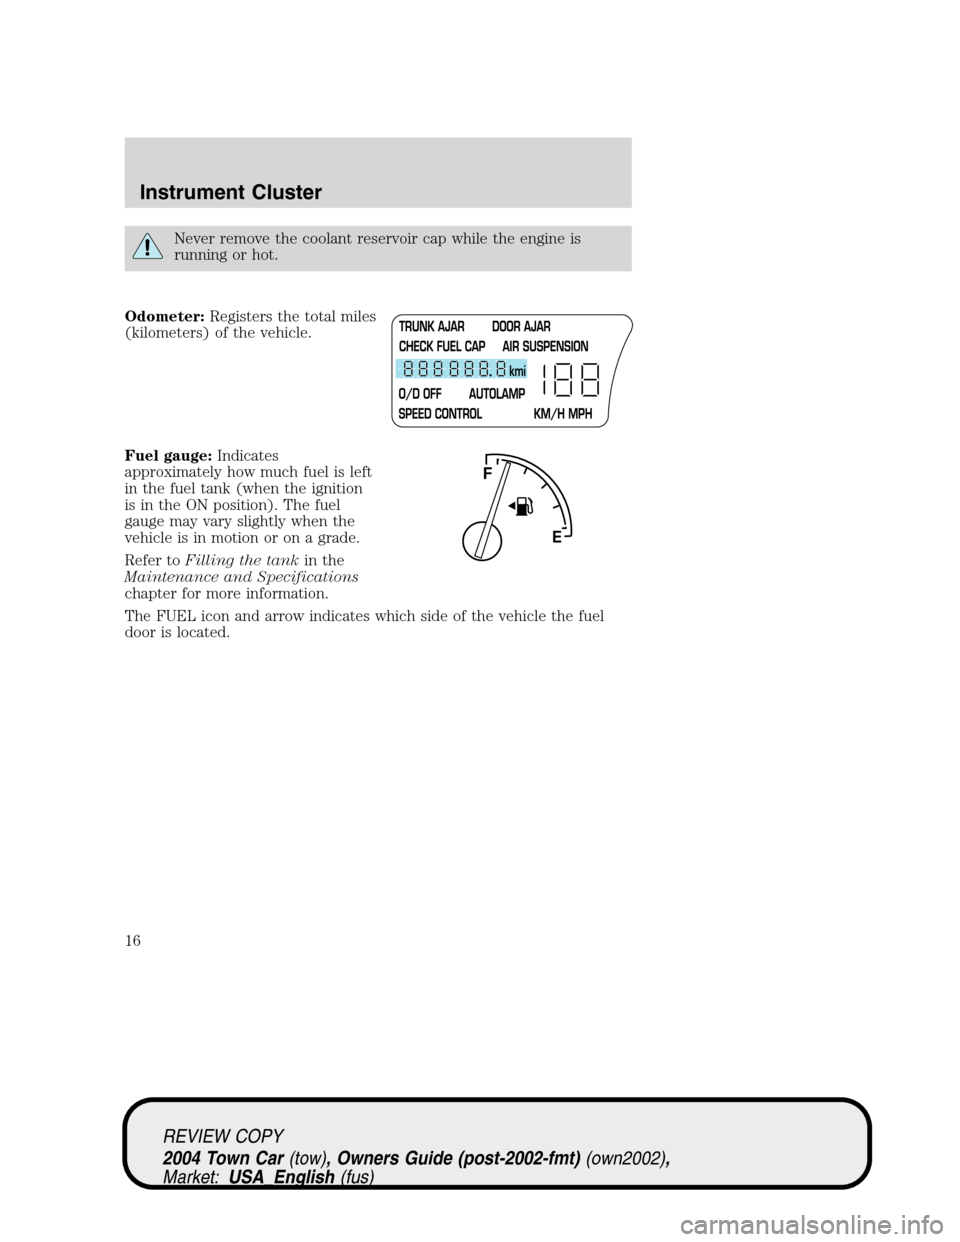
Fuel gauge:Indicates
approximately how much fuel is left
in the fuel tank (when the ignition
is in the ON position). The fuel
gauge may vary slightly when the
vehicle is in motion or on a grade.
Refer toFilling the tankin the
Maintenance and Specifications
chapter for more information.
The FUEL icon and arrow indicates which side of the vehicle the fuel
door is located.
REVIEW COPY
2004 Town Car(tow), Owners Guide (post-2002-fmt)(own2002),
Market:USA_English(fus)
Instrument Cluster
16
Page 199 of 304
VEHICLE LOADING–WITH AND WITHOUT A TRAILER
This section will guide you in the proper loading of your vehicle and/or
trailer, to keep your loaded vehicle weight within its design rating
capability, with or without a trailer. Properly loading your vehicle will
provide maximum return of vehicle design performance. Before loading
your vehicle, familiarize yourself with the following terms for determining
your vehicle’s weight ratings, with or without a trailer, from the vehicle’s
Safety Certification Label and Tire Label:
Base Curb Weight–is the weight of the vehicle including a full tank of
fuel and all standard equipment. It does not include passengers, cargo, or
optional equipment.
Vehicle Curb Weight–is the weight of your new vehicle when you
picked it up from your dealer plus any aftermarket equipment.
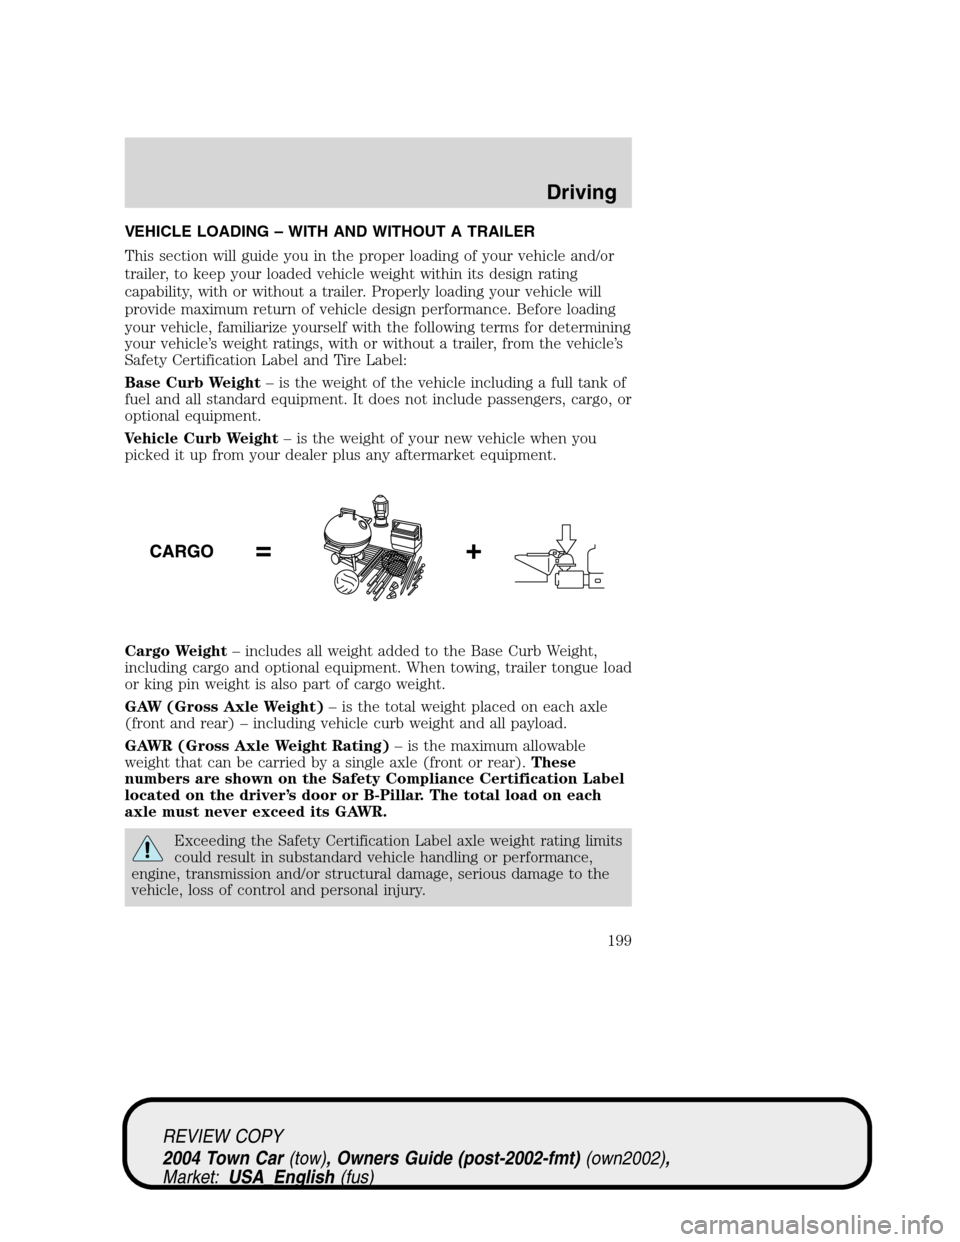
Cargo Weight–includes all weight added to the Base Curb Weight,
including cargo and optional equipment. When towing, trailer tongue load
or king pin weight is also part of cargo weight.
GAW (Gross Axle Weight)–is the total weight placed on each axle
(front and rear)–including vehicle curb weight and all payload.
GAWR (Gross Axle Weight Rating)–is the maximum allowable
weight that can be carried by a single axle (front or rear).These
numbers are shown on the Safety Compliance Certification Label
located on the driver’s door or B-Pillar. The total load on each
axle must never exceed its GAWR.
Exceeding the Safety Certification Label axle weight rating limits
could result in substandard vehicle handling or performance,
engine, transmission and/or structural damage, serious damage to the
vehicle, loss of control and personal injury.
REVIEW COPY
2004 Town Car(tow), Owners Guide (post-2002-fmt)(own2002),
Market:USA_English(fus)
Driving
199
Page 251 of 304
When lifting a plastic-cased battery, excessive pressure on the
end walls could cause acid to flow through the vent caps,
resulting in personal injury and/or damage to the vehicle or battery.
Lift the battery with a battery carrier or with your hands on opposite
corners.
Keep batteries out of reach of children. Batteries contain sulfuric
acid. Avoid contact with skin, eyes or clothing. Shield your eyes
when working near the battery to protect against possible splashing of
acid solution. In case of acid contact with skin or eyes, flush
immediately with water for a minimum of 15 minutes and get prompt
medical attention. If acid is swallowed, call a physician immediately.
Battery posts, terminals and related accessories contain lead and
lead compounds.Wash hands after handling.
Because your vehicle’s engine is electronically controlled by a computer,
some control conditions are maintained by power from the battery. When
the battery is disconnected or a new battery is installed, the engine must
relearn its idle and fuel trim strategy for optimum driveability and
performance. To begin this process:
1. With the vehicle at a complete stop, set the parking brake.
2. Put the gearshift in P (Park), turn off all accessories and start the engine.
3. Run the engine until it reaches normal operating temperature.
4. Allow the engine to idle for at least one minute.
5. Turn the A/C on and allow the engine to idle for at least one minute.
6. Release the parking brake. With your foot on the brake pedal and with
the A/C on, put the vehicle in D (Drive) and allow the engine to idle for
at least one minute.
7. Drive the vehicle to complete the relearning process.
•The vehicle may need to be driven 10 miles (16 km) or more to
relearn the idle and fuel trim strategy.
•If you do not allow the engine to relearn its idle trim, the idle
quality of your vehicle may be adversely affected until the idle
trim is eventually relearned.
If the battery has been disconnected or a new battery has been installed,
the clock and radio settings must be reset once the battery is reconnected.
REVIEW COPY
2004 Town Car(tow), Owners Guide (post-2002-fmt)(own2002),
Market:USA_English(fus)
Maintenance and Specifications
251
Page 258 of 304
2. Arrange for the vehicle to be taken to a service facility.
3. If this is not possible, wait a short period for the engine to cool.
4. Check the coolant level and replenish if low.
Never remove the coolant reservoir cap while the engine is
running or hot.
5. Re-start the engine and take your vehicle to a service facility.
Driving the vehicle without repairing the engine problem
increases the chance of engine damage. Take your vehicle to a
service facility as soon as possible.
WHAT YOU SHOULD KNOW ABOUT AUTOMOTIVE FUELS
Important safety precautions
Do not overfill the fuel tank. The pressure in an overfilled tank
may cause leakage and lead to fuel spray and fire.
The fuel system may be under pressure. If the fuel filler cap is
venting vapor or if you hear a hissing sound, wait until it stops
before completely removing the fuel filler cap. Otherwise, fuel may
spray out and injure you or others.
If you do not use the proper fuel filler cap, excessive pressure or
vacuum in the fuel tank may damage the fuel system or cause
the fuel cap to disengage in a collision, which may result in possible
personal injury.
Automotive fuels can cause serious injury or death if misused or
mishandled.
Gasoline may contain benzene, which is a cancer-causing agent.
REVIEW COPY
2004 Town Car(tow), Owners Guide (post-2002-fmt)(own2002),
Market:USA_English(fus)
Maintenance and Specifications
258
Page 260 of 304
Use the following guidelines to avoid static build-up when filling an
ungrounded fuel container:
•Place approved fuel container on the ground.
•DO NOT fill a fuel container while it is in the vehicle (including the
cargo area).
•Keep the fuel pump nozzle in contact with the fuel container while
filling.
•DO NOT use a device that would hold the fuel pump handle in the fill
position.
Fuel Filler Cap
Your fuel tank filler cap has an indexed design with a 1/8 turn on/off
feature.
When fueling your vehicle:
1. Turn the engine off.
2. Carefully turn the filler cap counterclockwise 1/8 of a turn until it
stops.
3. Pull to remove the cap from the fuel filler pipe.
4. To install the cap, align the tabs on the cap with the notches on the
filler pipe.
5. Turn the filler cap clockwise 1/8 of a turn until it stops.
The“Check Fuel Cap”light illuminates when the ignition is turned to the
ON position. It will also illuminate when the fuel filler cap is not properly
installed. Proper fuel filler cap installation is checked automatically as
the vehicle is driven, but not until after some fuel is used (fuel gauge
drops below full). Once the fuel filler cap is properly secured, the“Check
Fuel Cap”light will turn off after a short period of driving.
If you must replace the fuel filler cap, replace it with a fuel filler
cap that is designed for your vehicle. The customer warranty may
be void for any damage to the fuel tank or fuel system if the
correct genuine Ford or Motorcraft fuel filler cap is not used.
The fuel system may be under pressure. If the fuel filler cap is
venting vapor or if you hear a hissing sound, wait until it stops
before completely removing the fuel filler cap. Otherwise, fuel may
spray out and injure you or others.
REVIEW COPY
2004 Town Car(tow), Owners Guide (post-2002-fmt)(own2002),
Market:USA_English(fus)
Maintenance and Specifications
260