Page 189 of 482
 OCCUPANT RESTRAINT SYSTEM
1645. Fully extend the shoulder belt to put it in the lock mode.
When the belt is then retracted even slightly, it cannot be
extended. To hold the seat securely, make sure t")
OCCUPANT RESTRAINT SYSTEM
1645. Fully extend the shoulder belt to put it in the lock mode.
When the belt is then retracted even slightly, it cannot be
extended. To hold the seat securely, make sure the belt is in
the lock mode before letting the belt retract.
6. While pressing the convertible seat firmly against the seat
cushion and seatback, let the shoulder belt retract as far as it
will go to hold the convertible seat securely.
CAUTION
Push and pull the child restraint system in different
directions to be sure it is secure. Follow all the
installation instructions provided by its manufacturer.
7. Put a child on the child restraint system and secure the child,
complying with the instructions provided by the child restraint
system manufacturer.
The AIRBAG OFFº indicator light should be illuminated when
the ignition key is ONº and the child is in the child restraint
system after following these procedures. The AIRBAG OFFº
indicator light indicates the SRS front passenger airbag and
side airbag on the passenger side will not deploy. If the
AIRBAG ONº indicator light is illuminated, remove the child
restraint system and reinstall it with the ignition key in the
ACCº or LOCKº position. If the AIRBAG OFFº indicator light
still remains illuminated when the ignition key is turned to the
ONº position, then the SRS front passenger airbag and side
airbag on the passenger side may deploy in an accident. Do
not drive the vehicle in this condition. Remove the child
restraint system and contact your Lexus dealer.
CAUTION
�When it is unavoidable to install the forward-facing
child restraint system on the front passenger seat,
install the child restraint system on the front
passenger seat in the proper order. Otherwise, the
front passenger occupant classification system can
not detect the presence of the child restraint system
and the front passenger airbag and side airbag on the
front passenger seat could deploy.
Page 192 of 482
OCCUPANT RESTRAINT SYSTEM
167
�If the driver's seat position does not allow sufficient
space for safe installation, install the child restraint
system on the rear right seat.1. Run the lap and shoulder belt through or around the
convertible seat following the instructions provided by its
manufacturer and insert the tab into the buckle taking care not
to twist the belt. Keep the lap portion of the belt tight.
CAUTION
�After inserting the tab, make sure the tab and buckle
are locked and that the lap and shoulder portions of
the belt are not twisted.
�Do not insert coins, clips, etc. in the buckle as this
may prevent your child from properly latching the tab
and buckle.
�If the seat belt does not function normally, it cannot
protect your child from death or serious injury.
Contact your Lexus dealer immediately. Do not
install the child restraint system on the seat until the
seat belt is fixed.
Page 193 of 482
OCCUPANT RESTRAINT SYSTEM
168
2. Fully extend the shoulder belt to put it in the lock mode.
When the belt is then retracted even slightly, it cannot be
extended.
To hold the convertible seat securely, make sure the belt is in
the lock mode before letting the belt retract.3. While pressing the convertible seat firmly against the seat
cushion and seatback, let the shoulder belt retract as far as it
will go to hold the convertible seat securely.
Page 197 of 482
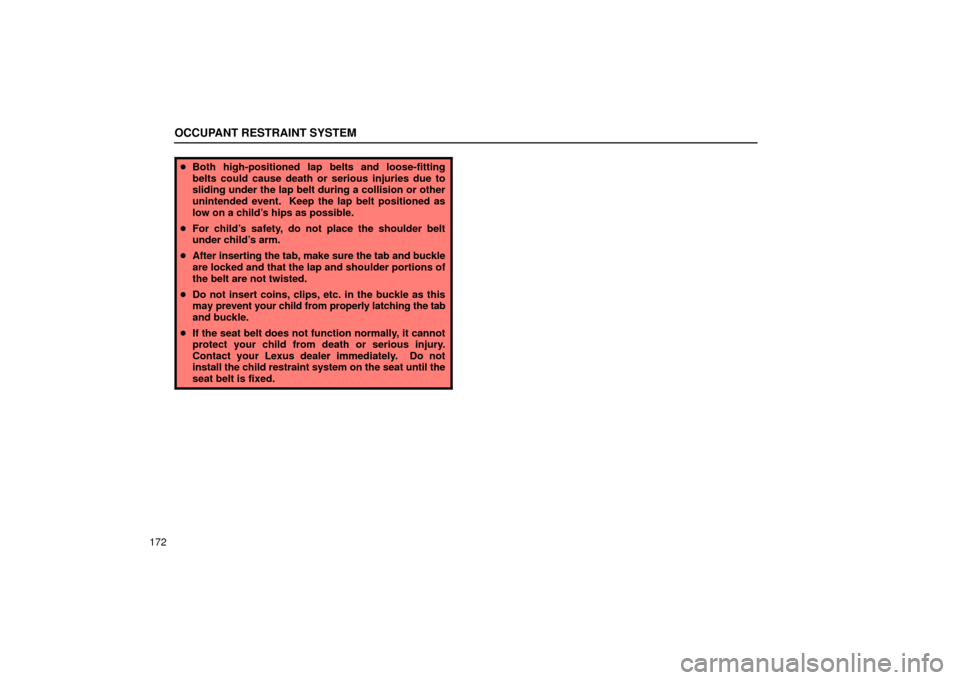
OCCUPANT RESTRAINT SYSTEM
172
�Both high-positioned lap belts and loose-fitting
belts could cause death or serious injuries due to
sliding under the lap belt during a collision or other
unintended event. Keep the lap belt positioned as
low on a child's hips as possible.
�For child's safety, do not place the shoulder belt
under child's arm.
�After inserting the tab, make sure the tab and buckle
are locked and that the lap and shoulder portions of
the belt are not twisted.
�Do not insert coins, clips, etc. in the buckle as this
may prevent your child from properly latching the tab
and buckle.
�If the seat belt does not function normally, it cannot
protect your child from death or serious injury.
Contact your Lexus dealer immediately. Do not
install the child restraint system on the seat until the
seat belt is fixed.
Page 202 of 482
 OCCUPANT RESTRAINT SYSTEM
177 For owners in Canada
The symbol on a child restraint system indicates the presence
of a lower connector system.
CHILD RESTRAINT SYSTEM INSTALLATION
Type A Ð
1. Widen the")
OCCUPANT RESTRAINT SYSTEM
177 For owners in Canada
The symbol on a child restraint system indicates the presence
of a lower connector system.
CHILD RESTRAINT SYSTEM INSTALLATION
Type A Ð
1. Widen the clearance between the seat cushion and
seatback a little and confirm the position of the lower
anchorages below the tag in the seatback.
2. Latch the hooks of lower straps onto the anchorages
and tighten the lower straps.
Type B Ð
1. Widen the clearance between the seat cushion and
seatback a little and confirm the position of the lower
anchorages below the tag in the seatback.
2. Latch the buckles onto the anchorages.
If your child restraint system has a top strap, it should be
anchored. (For the installation of the top strap, see Using a top
strapº on page 173.)
For the installation details, refer to the instruction manual
equipped with each product.
CAUTION
�When using the lower anchorages for the child
restraint system, be sure that there are no irregular
objects around the anchorages or that the seat belt is
not caught.
�Push and pull the child restraint system in different
directions to be sure it is secure. Follow all the
installation instructions provided by its
manufacturer.
�Do not install a child restraint system on the rear seat
if it interferes with the lock mechanism of the front
seats. This can cause death or serious injury to the
child and front passenger in case of sudden braking
or a collision.
Page 206 of 482
 STEERING WHEEL AND MIRRORS
181
TILT STEERING WHEEL
To change the steering wheel angle, hold the steering
wheel, pull up the lock release lever, tilt the steering wheel
to the desired angle and release")
STEERING WHEEL AND MIRRORS
181
TILT STEERING WHEEL
To change the steering wheel angle, hold the steering
wheel, pull up the lock release lever, tilt the steering wheel
to the desired angle and release the lever.
When the steering wheel is in a low position, it will spring up as
you release the lock release lever.
CAUTION
�Do not adjust the steering wheel while the vehicle is
moving. Doing so may cause the driver to mishandle
the vehicle and an accident may occur resulting in
death or serious injuries.
�After adjusting the steering wheel, try moving it up
and down to make sure it is locked in position.
POWER ADJUSTABLE PEDALS
To adjust the position of the accelerator and brake pedals,
push the switch.
The ignition key must be in the ONº position with the automatic
transmission selector lever in the Pº position.
To move the pedals toward the front of the vehicle: Push the
º side of the switch.
To move the pedals back toward you: Push the
º side of the
switch.
The accelerator and brake pedals will move simultaneously.
Page 214 of 482
STEERING WHEEL AND MIRRORS
189
CAUTION
Do not adjust the display while the vehicle is moving.
Be sure to adjust the display only when the vehicle is
stopped.
Calibrating the compass (circling calibration)
To rectify the compass, stop the vehicle and push and hold the
COMPº switch until Cº appears on the display.
There is also a case that Cº appears on the display in case of
the drastic change of the magnetic field.
Drive the vehicle slowly (at 8 km/h [5 mph] or lower) in a circle
until the direction is displayed. If there is not enough space to
drive in a circle, drive around the block until the direction is
displayed.
After driving in 1 to 3 circles in the above method, calibration
is complete with the direction shown on the display.
Page 225 of 482
 AIR CONDITIONING
200This button allows the air intake to select OUTSIDE AIR mode
automatically. This is to clean up the front view more quickly.
If you want to return the setting to RECIRCULATED AIR")
AIR CONDITIONING
200This button allows the air intake to select OUTSIDE AIR mode
automatically. This is to clean up the front view more quickly.
If you want to return the setting to RECIRCULATED AIR mode,
push the air intake control button once again.
Push the A/Cº button for dehumidified heating or cooling. This
setting clears the front view more quickly.
CAUTION
Do not use the windshield air flow button during cooled
air operation in extremely humid weather. The
difference between the temperature of the outside air
and that of the windshield could cause the outer surface
of the windshield to fog up blocking your vision.
(c) Operating tips
�To help cool down the interior after parking in the hot sun,
drive for the first few minutes with the windows open. After
the excess heat has blown away, close the windows.
�Make sure the air inlet grilles in front of the windshield are
not blocked by leaves or other obstructions.
�If air flow control is not satisfactory, check the side vents and
rear vents. (See (d) Side vents and rear ventsº.)
�On humid days, do not blow cold air on the windshield. The
windshield could fog up because of the difference in air
temperature on the inside and outside of the windshield.
�Keep the area under the front seats clear to allow air to
circulate throughout the vehicle.
�On cold days, set the fan speed to high for a minute to help
clear the intake ducts of snow or moisture. This can reduce
the amount of fogging on the windows.
�When driving on dusty roads, close all windows. If dust
thrown up by the vehicle is still drawn into the vehicle after
closing the windows, it is recommended that the air intake
be set to the OUTSIDE AIR mode and the fan speed to any
setting except OFFº.

 OCCUPANT RESTRAINT SYSTEM
168
2. Fully extend the shoulder belt to put it in the lock mode.
When the belt is then retracted even slightly, it cannot be
extended.
To hold the convertible seat securely,")
 STEERING WHEEL AND MIRRORS
189
CAUTION
Do not adjust the display while the vehicle is moving.
Be sure to adjust the display only when the vehicle is
stopped.
Calibrating the compass (circling calibrat")