Page 264 of 315

719
Maintenance
1 23456789
ENGINE COOLING SYSTEM
The high-pressure cooling system
has a reservoir filled with year-round
antifreeze coolant. The reservoir is
filled at the factory.
Check the antifreeze protection and
coolant level at least once a year, atthe beginning of the winter season,
and before traveling to a colder cli-
mate. Checking the coolant level
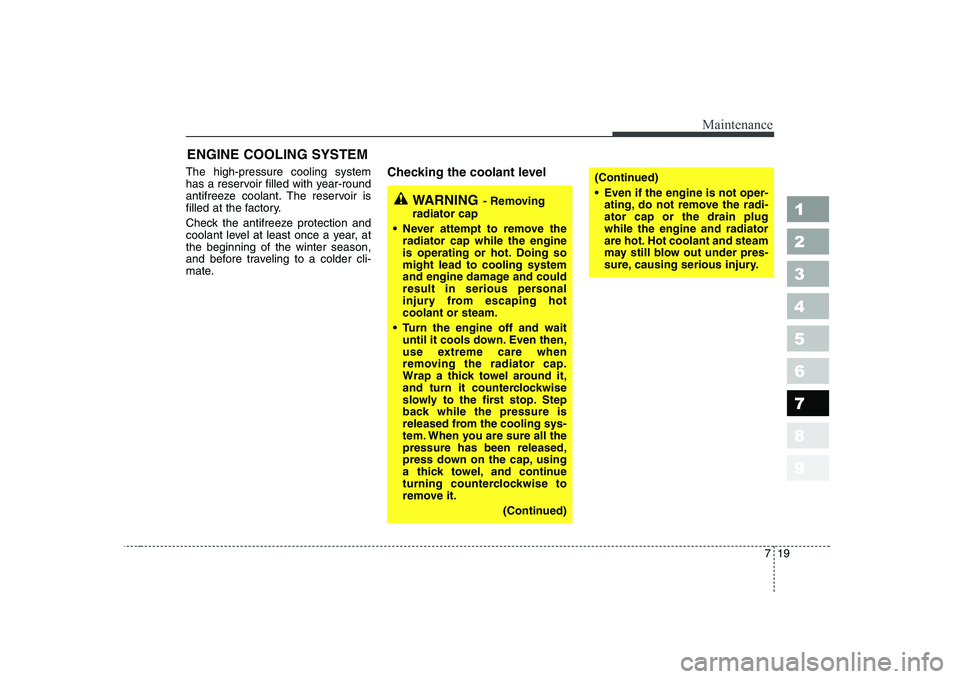
WARNING
- Removing
radiator cap
Never attempt to remove the radiator cap while the engine
is operating or hot. Doing somight lead to cooling system
and engine damage and could
result in serious personal
injury from escaping hotcoolant or steam.
Turn the engine off and wait until it cools down. Even then,
use extreme care when
removing the radiator cap.
Wrap a thick towel around it,
and turn it counterclockwise
slowly to the first stop. Step
back while the pressure is
released from the cooling sys-
tem. When you are sure all thepressure has been released,
press down on the cap, using
a thick towel, and continue
turning counterclockwise to
remove it.
(Continued)
(Continued)
Even if the engine is not oper-ating, do not remove the radi- ator cap or the drain plugwhile the engine and radiator
are hot. Hot coolant and steam
may still blow out under pres-
sure, causing serious injury.
Page 266 of 315

721
Maintenance
1 23456789
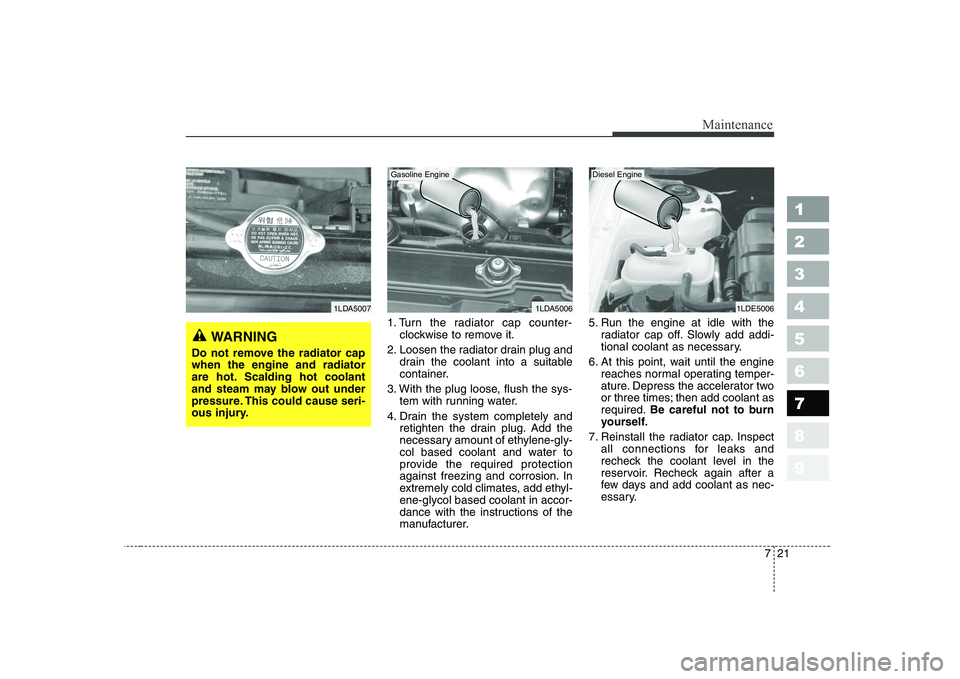
1. Turn the radiator cap counter-clockwise to remove it.
2. Loosen the radiator drain plug and drain the coolant into a suitable
container.
3. With the plug loose, flush the sys- tem with running water.
4. Drain the system completely and retighten the drain plug. Add the
necessary amount of ethylene-gly-
col based coolant and water to
provide the required protection
against freezing and corrosion. In
extremely cold climates, add ethyl-ene-glycol based coolant in accor-
dance with the instructions of the
manufacturer. 5. Run the engine at idle with the
radiator cap off. Slowly add addi-
tional coolant as necessary.
6. At this point, wait until the engine reaches normal operating temper-
ature. Depress the accelerator two
or three times; then add coolant asrequired. Be careful not to burn
yourself.
7. Reinstall the radiator cap. Inspect all connections for leaks and
recheck the coolant level in the
reservoir. Recheck again after a
few days and add coolant as nec-
essary.
1LDA50061LDE50061LDA5007
WARNING
Do not remove the radiator cap when the engine and radiator
are hot. Scalding hot coolant
and steam may blow out under
pressure. This could cause seri-
ous injury.
Gasoline EngineDiesel Engine
Page 285 of 315

Maintenance
40
7
1 23456789
For best battery service :
Keep the battery securely mount-
ed.
Keep the battery top clean and dry.
Keep the terminals and connec- tions clean, tight, and coated with
petroleum jelly or terminal grease.
Rinse any spilled electrolyte from the battery immediately with a
solution of water and baking soda.
If the vehicle is not going to be used for an extended time, discon-
nect the battery cables. Battery recharging
Your vehicle has a maintenance-free,
calcium-based battery.
If the battery becomes discharged
in a short time (because, for exam-
ple, the headlights or interior lights
were left on while the vehicle was
not in use), recharge it by slow
charging (trickle) for 10 hours.
If the battery gradually discharges because of high electric load while
the vehicle is being used, recharge
it at 20-30A for two hours.
Items to be reset after the battery
has been discharged or the bat-tery has been disconnected.
Clock (See page 3-95)
Climate control system (See pages 4-57)
Audio (See the audio manual)
Sunroof (See page 3-96)
1LDE5028
Page 295 of 315
Maintenance
50
7
1 23456789
1. Open the hood.
2. Remove the headlight bulb cover
by turning it counterclockwise.
3. Disconnect the headlight bulb socket-connector.
4. Unsnap the headlight bulb retain- ing wire by depressing the end
and pushing it upward.
5. Remove the bulb from the head- light assembly.
WARNING - Halogen bulbs
Halogen bulbs contain pres-
surized gas that will produce
flying pieces of glass if broken.
Always handle them carefully, and avoid scratches and abra-
sions. If the bulbs are lit, avoid
contact with liquids. Never
touch the glass with bare
hands. Residual oil may cause
the bulb to overheat and burst
when lit. A bulb should be
operated only when installedin a headlight.
(Continued)
(Continued)
If a bulb becomes damaged orcracked, replace it immediate-
ly and carefully dispose of it.
Wear eye protection when changing a bulb. Allow the
bulb to cool down before han-dling it.
1LDA50301LDA7048
Page 296 of 315

751
Maintenance
1 23456789
6. Install a new headlight bulb andsnap the headlight bulb retaining
wire into position by aligning the
wire with the groove on the bulb.
7. Connect the headlight bulb socket- connector.
8. Install the headlight bulb cover by turning it clockwise.
Front turn signal/position light
bulb replacement
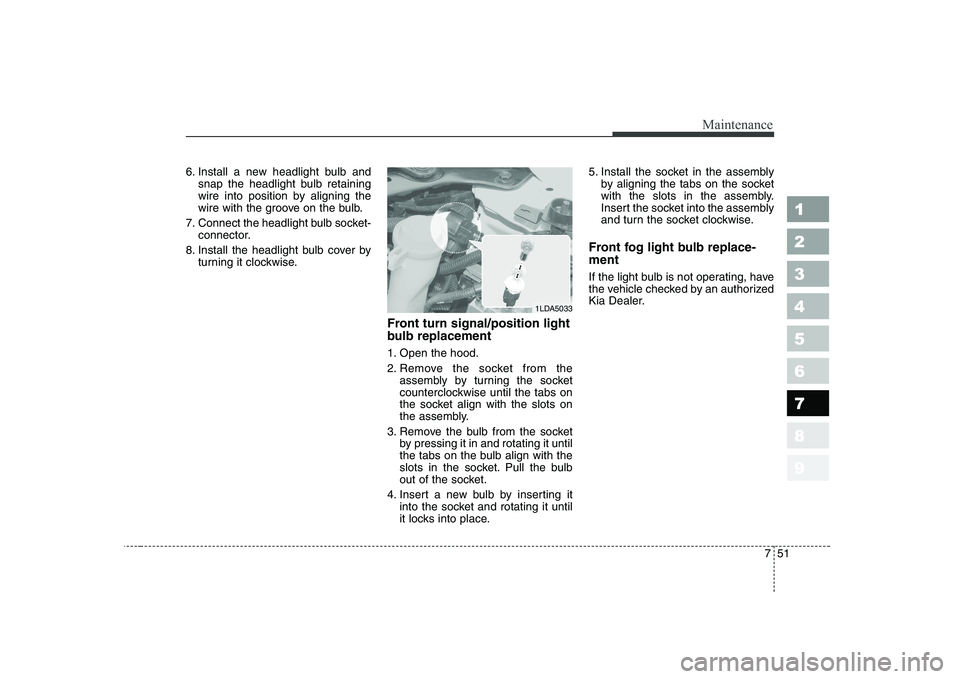
1. Open the hood.
2. Remove the socket from theassembly by turning the socket
counterclockwise until the tabs on
the socket align with the slots on
the assembly.
3. Remove the bulb from the socket by pressing it in and rotating it until
the tabs on the bulb align with the
slots in the socket. Pull the bulb
out of the socket.
4. Insert a new bulb by inserting it into the socket and rotating it until
it locks into place. 5. Install the socket in the assembly
by aligning the tabs on the socket
with the slots in the assembly.
Insert the socket into the assembly
and turn the socket clockwise.
Front fog light bulb replace- ment
If the light bulb is not operating, have
the vehicle checked by an authorized
Kia Dealer.
1LDA5033
Page 298 of 315
753
Maintenance
1 23456789
License plate lights bulb replacement
1. Loosen the lens retaining screwswith a cross-tip screwdriver.
2. Remove the lens.
3. Remove the bulb by pulling it straight out.
4. Install a new bulb.
5. Reinstall the lens securely with the lens retaining screws. Rear combination light bulb replacement
1. Open the trunk lid or rear hatch.
2. Remove the service cover by turn-
ing the plastic screw counterclock-
wise and removing the cover.
1LDA50431LDA5035
➀Rear fog light (if equipped)
➁ Rear turn signal light
➂ Back-up light
④ Stop and tail light
1LDE5034/1LDA5034
Type A Type B
Page 299 of 315
Maintenance
54
7
1 23456789
3. Remove the socket from the
assembly by turning the socket
counterclockwise until the tabs on
the socket align with the slots on
the assembly. 4. Remove the bulb from the socket
by pressing it in and rotating it until
the tabs on the bulb align with the
slots in the socket. Pull the bulb
out of the socket.
5. Insert a new bulb by inserting it into the socket and rotating it until
it locks into place.
6. Install the socket in the assembly by aligning the tabs on the socket
with the slots in the assembly.
Push the socket into the assembly
and turn the socket clockwise.
7. Replace the service cover and tighten the screws. High mounted stop light bulb replacement
Ty p e A
If the light bulb is not operating, have
the vehicle checked by an authorized
Kia Dealer.
Ty p e B
1. Open the trunk lid.
1LDA50371LDE5036
Type A
Page 300 of 315

755
Maintenance
1 23456789
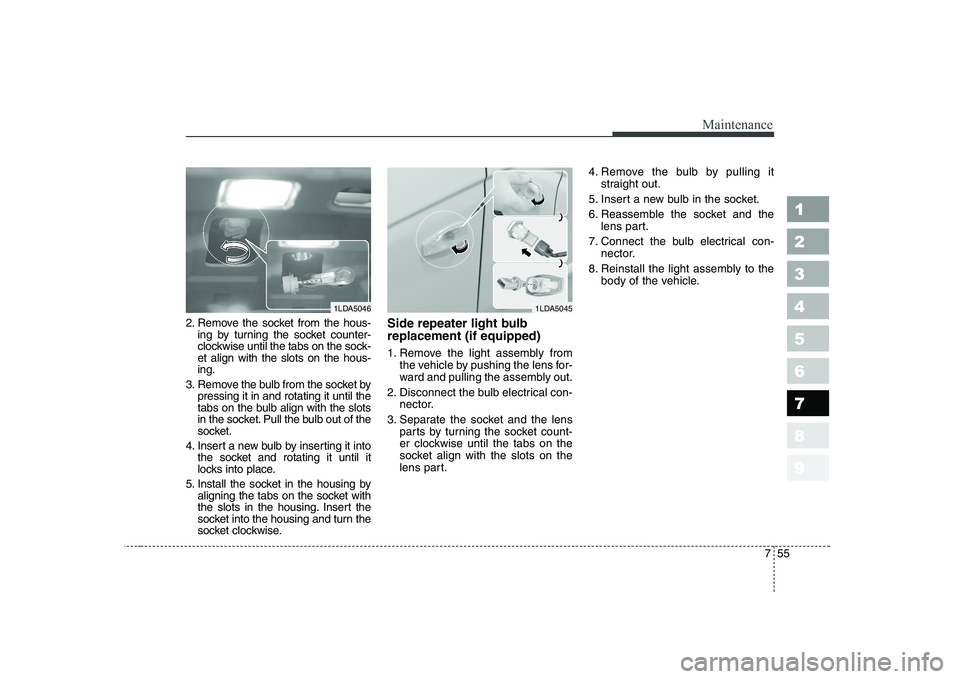
2. Remove the socket from the hous-ing by turning the socket counter-
clockwise until the tabs on the sock-et align with the slots on the hous-ing.
3. Remove the bulb from the socket by pressing it in and rotating it until the
tabs on the bulb align with the slots
in the socket. Pull the bulb out of the
socket.
4. Insert a new bulb by inserting it into the socket and rotating it until it
locks into place.
5. Install the socket in the housing by aligning the tabs on the socket with
the slots in the housing. Insert the
socket into the housing and turn the
socket clockwise. Side repeater light bulb replacement (if equipped)
1. Remove the light assembly from
the vehicle by pushing the lens for-
ward and pulling the assembly out.
2. Disconnect the bulb electrical con- nector.
3. Separate the socket and the lens parts by turning the socket count-
er clockwise until the tabs on the
socket align with the slots on the
lens part. 4. Remove the bulb by pulling it
straight out.
5. Insert a new bulb in the socket.
6. Reassemble the socket and the lens part.
7. Connect the bulb electrical con- nector.
8. Reinstall the light assembly to the body of the vehicle.
1LDA50461LDA5045