2004 KIA Amanti check oil
[x] Cancel search: check oilPage 249 of 296

Maintenance12
7
1
2
3
4
5
6
7
8
9
ENGINE OIL AND OIL FILTERChecking the engine oil level 1. Be sure the vehicle is on level
ground.
2. Start the engine and allow it to reach normal operating tempera-
ture.
3. Turn the engine off and wait for a few minutes (about 5 minutes) for
the oil to return to the oil pan.
4. Pull the dipstick out, wipe it clean, and re-insert it fully.
5. Pull the dipstick out again and check the level. The level should
be between F and L.
If it is near or at L, add enough oil to
bring the level to F. Do not overfill.
Use only the specified engine oil.
(Refer to “Recommended Lubricants”later in this section.)
Changing the engine oil and
filterChange engine oil and filter accord-
ing to the Scheduled Maintenance at
the beginning of this section.
1GHA5001
1GHA5002
Opirus CAN 7-1.qxd 7/8/03 2:25 PM Page 12
Page 250 of 296

713
Maintenance
1
2
3
4
5
6
7
8
9
1. Warm the engine up for a few min-utes and then turn it off. Remove
the oil filler cap.
2. Drain the oil into a suitable con- tainer by removing the oil drain
plug. 3. Remove the engine oil filter with
an oil filter wrench.
✽ ✽NOTICEDo not allow the oil filter gasket to
remain on the oil filter mounting
surface. This will cause oil leakage
and engine damage. Remove the old
gasket completely so that a new gas-
ket may be properly seated. 4. Use a clean rag to clean the oil fil-
ter mounting surface on the
engine.
5. Apply a small amount of engine oil to the new oil filter O-ring seal. 6. Install the oil filter and tighten it.
(Refer to the oil filter caution label
for tightening instructions.)
7. Install a new washer on the drain plug. Don’t use an old washer
repeatedly.
8. Replace the drain plug after the oil has thoroughly drained. Torque the
plug to 3.5~4.5 kgm (26~32 lbft,
35~44 Nm).
9. Refill the engine with new oil to the F mark on the dipstick. Do not
overfill.
10. Reinstall the oil filler cap secure- ly.
11. Start the engine and inspect around the oil filter seal for leaks.
Stop the engine.
12. Check the oil level and fill to the F mark as necessary.
PROPOSITION 65
WARNING
Used engine oil may cause irri-
tation or cancer of the skin if left
in contact with the skin for pro-
longed periods of time. Used
engine oil contains chemicals
that have caused cancer in lab-
oratory animals. Always protect
your skin by washing your
hands thoroughly with soap and
warm water as soon as possible
after handling used oil.
CAUTION
Both the oil and engine arehot. Do not burn yourself.
Keep all engine oil out of the reach of children.
Opirus CAN 7-1.qxd 7/8/03 2:25 PM Page 13
Page 256 of 296

719
Maintenance
1
2
3
4
5
6
7
8
9
Checking the parking brake Check whether the stroke is within
specification when the parking brake
pedal is depressed with 20 kg (44 lb,
196 N) of force. Also, the parking
brake alone should securely hold the
vehicle on a fairly steep grade. If the
stroke is more or less than specified,
have the parking brake adjusted by
an Authorized Kia Dealer.
Stroke : 88~98 mm (3.5~3.8 in)
1GHA3011
PARKING BRAKE
CAUTION
Do not allow brake fluid to con-tact the vehicle's body paint, aspaint damage will result. Brakefluid, which has been exposedto open air for an extended timeshould never be used as itsquality cannot be guaranteed. Itshould be thrown out. Don't putin the wrong kind of fluid. Forexample, just a few drops ofmineral-based oil, such asengine oil, in your brake clutchsystem can damage brakeclutch system parts.
Opirus CAN 7-1.qxd 7/8/03 2:25 PM Page 19
Page 258 of 296

721
Maintenance
1
2
3
4
5
6
7
8
9
POWER STEERING Checking the power steering
fluid level With the vehicle on level ground,
check the fluid level in the power
steering reservoir periodically. The
fluid should be between MAX and
MIN marks on the level gauge
attached to the cap.
Before adding power steering fluid,
thoroughly clean the area around the
reservoir cap to prevent power steer-
ing fluid contamination.
If the level is low, add fluid to the
MAX level.In the event the power steering sys-
tem requires frequent addition of
fluid, the vehicle should be inspected
by an Authorized Kia Dealer.
✽ ✽
NOTICE• To avoid damage to the power
steering pump, do not operate the
vehicle for prolonged periods with
a low power steering fluid level.
• Never start the engine when the reservoir tank is empty.
• When adding fluid, be careful that dirt does not get into the tank.
• Too little fluid can make the steer- ing wheel heavier or strange noise
can be generated.
• The use of the non-specified fluid could reduce the effectiveness of
the power steering wheel and
cause damage to it.Use only the specified power steer-
ing fluid. (Refer to "RecommendedLubricants" later in this section.)
Power steering hoseCheck the connections for oil leaks,
severe damage and the twists in the
power steering hose before driving.
1GHA421
Opirus CAN 7-1.qxd 7/8/03 2:25 PM Page 21
Page 261 of 296
Maintenance24
7
1
2
3
4
5
6
7
8
9
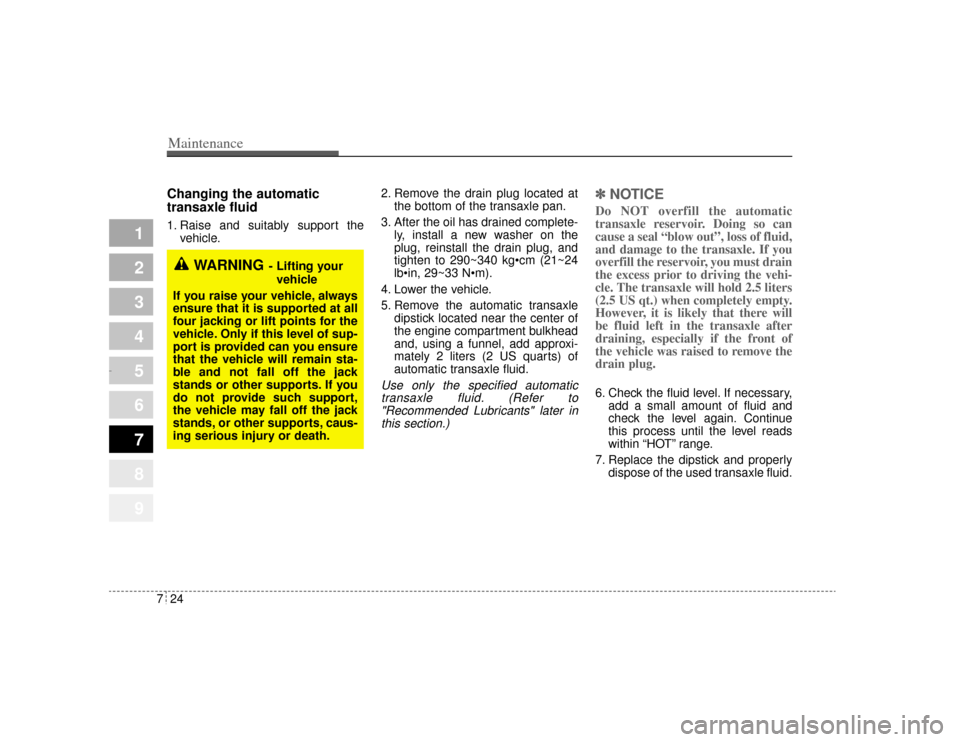
Changing the automatic
transaxle fluid 1. Raise and suitably support the
vehicle. 2. Remove the drain plug located at
the bottom of the transaxle pan.
3. After the oil has drained complete- ly, install a new washer on the
plug, reinstall the drain plug, and
tighten to 290~340 kgcm (21~24
lbin, 29~33 Nm).
4. Lower the vehicle.
5. Remove the automatic transaxle dipstick located near the center of
the engine compartment bulkhead
and, using a funnel, add approxi-
mately 2 liters (2 US quarts) of
automatic transaxle fluid.
Use only the specified automatictransaxle fluid. (Refer to"Recommended Lubricants" later inthis section.)
✽ ✽ NOTICEDo NOT overfill the automatic
transaxle reservoir. Doing so can
cause a seal “blow out”, loss of fluid,
and damage to the transaxle. If you
overfill the reservoir, you must drain
the excess prior to driving the vehi-
cle. The transaxle will hold 2.5 liters
(2.5 US qt.) when completely empty.
However, it is likely that there will
be fluid left in the transaxle after
draining, especially if the front of
the vehicle was raised to remove the
drain plug. 6. Check the fluid level. If necessary,
add a small amount of fluid and
check the level again. Continue
this process until the level reads
within “HOT” range.
7. Replace the dipstick and properly dispose of the used transaxle fluid.
WARNING
- Lifting your
vehicle
If you raise your vehicle, always
ensure that it is supported at all
four jacking or lift points for the
vehicle. Only if this level of sup-
port is provided can you ensure
that the vehicle will remain sta-
ble and not fall off the jack
stands or other supports. If you
do not provide such support,
the vehicle may fall off the jack
stands, or other supports, caus-
ing serious injury or death.
Opirus CAN 7-1.qxd 7/8/03 2:25 PM Page 24
Page 262 of 296

725
Maintenance
1
2
3
4
5
6
7
8
9
LUBRICANTS AND FLUIDS Checking the washer fluid
level The reservoir is translucent so that
you can check the level with a quick
visual inspection.
Check the fluid level in the washer
fluid reservoir and add fluid if neces-
sary. Plain water may be used if
washer fluid is not available.
However, use washer solvent with
antifreeze characteristics in cold cli-
mates to prevent freezing.
Body lubrication All moving points of the body, such
as door hinges, hood hinges, and
locks, should be lubricated each time
the engine oil is changed. Use a non-
freezing lubricant on locks during
cold weather.
Make sure the engine hood second-
ary latch keeps the hood from open-
ing when the primary latch is
released.
1GHA421A
WARNING
Do not use radiator coolant orantifreeze in the washer fluid
reservoir.
Radiator coolant can severely obscure visibility when
sprayed on the windshield
and may cause loss of vehicle
control or damage to paint
and body trim.
Opirus CAN 7-1.qxd 7/8/03 2:25 PM Page 25
Page 270 of 296

733
Maintenance
1
2
3
4
5
6
7
8
9
Items to be reset after the batteryhas been discharged or the bat-tery has been disconnected. Driver seat position memory sys-
tem (See page 3-25)
Power window (See page 3-69)
Clock (See page 3-74)
Climate control system (See pages
4-86 and 4-88)
Audio (See the audio manual)
Sunroof (See page 3-105)
✽ ✽
NOTICE• Before performing maintenance
or recharging the battery, turn off
all accessories and stop the engine.
• The negative battery cable must be removed first and installed last
when the battery is disconnected.
WARNING
- Recharging
battery
When recharging the battery,
observe the following precau-
tions:
The battery must be removed
from the vehicle and placed in
an area with good ventilation.
Do not allow cigarettes,
sparks, or flame near the bat-
tery.
Watch the battery during
charging, and stop or reduce
the charging rate if the battery
cells begin gassing (boiling)
violently or if the temperature
of the electrolyte of any cell
exceeds 49°C (120°F).
Wear eye protection when
checking the battery during
charging.
(Continued)
(Continued)
Disconnect the battery charg-
er in the following order.
1. Turn off the battery charger main switch.
2. Unhook the negative clamp from the negative battery ter-
minal.
3. Unhook the positive clamp from the positive battery ter-
minal.
Opirus CAN 7-1.qxd 7/8/03 2:25 PM Page 33
Page 286 of 296

749
Maintenance
1
2
3
4
5
6
7
8
9
Recommended SAE viscosity
number ✽ ✽NOTICEAlways be sure to clean the area
around any filler plug, drain plug,
or dipstick before checking or
draining any lubricant. This is espe-
cially important in dusty or sandy
areas and when the vehicle is used
on unpaved roads. Cleaning the plug
and dipstick areas will prevent dirt
and grit from entering the engine
and other mechanisms that could be
damaged. Engine oil viscosity (thickness) has
an effect on fuel economy and cold
weather operating (starting and oil
flow). Lower viscosity engine oils can
provide better fuel economy and cold
weather performance, however,
higher viscosity engine oils are
required for satisfactory lubrication in
hot weather. Using oils of any viscos-
ity other than those recommended
could result in engine damage.
Temperature Range for SAE Viscosity Numbers
Temperature
Engine Oil °
C
( ° F)
-30 -20 -10 0 10 20 30 40 50
-20 0 20 40 60 80 100 120
20W-40, 20W-50
10W-30, 10W-40, 10W-50
5W-30, 5W-40
When choosing an oil, consider the range of temperature your vehicle will be
operated in before the next oil change. Proceed to select the recommended
oil viscosity from the chart.
Opirus CAN 7-1.qxd 7/8/03 2:26 PM Page 49