Page 1594 of 4264
6E–222 4JA1/4JH1 ENGINE DRIVEABILITY AND EMISSIONS
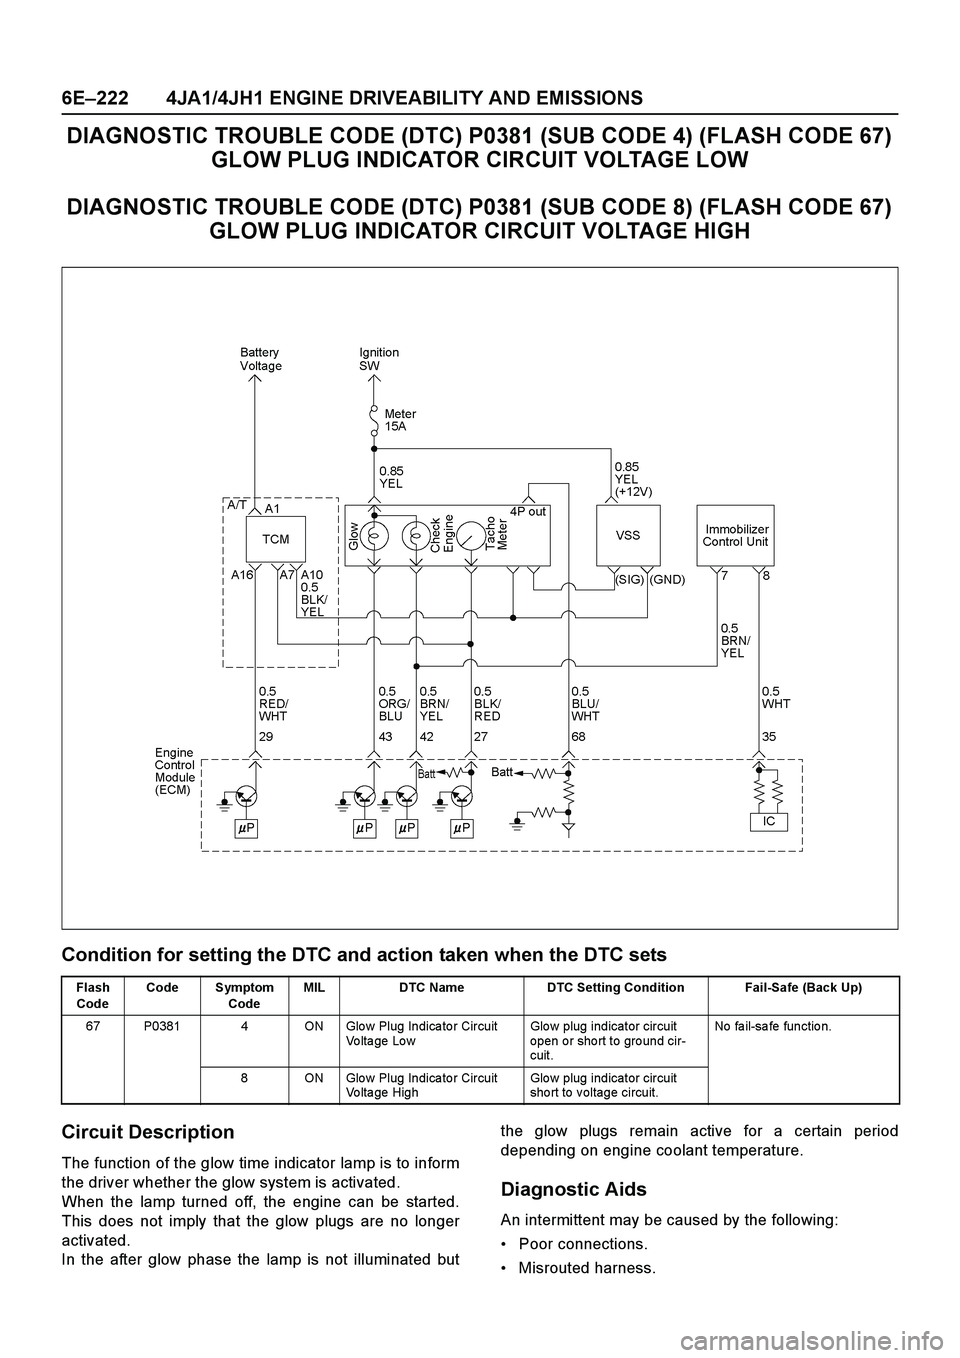
DIAGNOSTIC TROUBLE CODE (DTC) P0381 (SUB CODE 4) (FLASH CODE 67)
GLOW PLUG INDICATOR CIRCUIT VOLTAGE LOW
DIAGNOSTIC TROUBLE CODE (DTC) P0381 (SUB CODE 8) (FLASH CODE 67)
GLOW PLUG INDICATOR CIRCUIT VOLTAGE HIGH
Condition for setting the DTC and action taken when the DTC sets
Circuit Description
The function of the glow time indicator lamp is to inform
the driver whether the glow system is activated.
When the lamp turned off, the engine can be started.
This does not imply that the glow plugs are no longer
activated.
In the after glow phase the lamp is not illuminated butthe glow plugs remain active for a certain period
depending on engine coolant temperature.
Diagnostic Aids
An intermittent may be caused by the following:
Poor connections.
Misrouted harness.
Flash
CodeCode Symptom
CodeMIL DTC Name DTC Setting Condition Fail-Safe (Back Up)
67 P0381 4 ON Glo w Plug Indica to r Circuit
Voltage LowGlo w plug indicator circuit
open or short to ground cir-
cuit.No fa il-sa fe fun ctio n.
8 ON Glo w Plug Indica to r Circuit
Vo lta ge HighGlo w plug indicator circuit
short to voltage circuit.
Page 1595 of 4264
4JA1/4JH1 ENGINE DRIVEABILITY AND EMISSIONS 6E–223
Rubbed through wire insulation.
Broken wire inside the insulation.
Check for the following conditions:
Poor connection at ECM-Inspect harness connectors
for backed out terminals, improper mating, broken
locks, improperly formed or damaged terminals, andpoor terminal to wire connection.
Damaged harness-Inspect the wiring harness for
damage. If the harness appears to be OK, observe
the DTC P0381 display on the Tech2 while moving
connectors and wiring harnesses. A change in the
display will indicate the location of the fault.
Diagnostic Trouble Code (DTC) P0381 (Symptom Code 4) (Flash Code 67)
Glow Plug Indicator Circuit Voltage Low
Step Action Value(s) Yes No
1Was the “On-Board Diagnostic (OBD) System Check”
performed?
—Go to Step 2Go to On Board
Diagnostic
(OBD) System
Check
2 1. Connect the Tech 2.
2. Review and record the failure information.
3. Select “F0: Read DTC Infor As Stored By ECU” in
“F0: Diagnostic Trouble Codes”.
Is the DTC P0381 (Symptom Code 4) stored as
“Present Failure”?—Go to Step 3Refer to
Diagnostic Aids
and Go to Step
3
3 1. Using the Tech 2, ignition “On” and engine “Off”.
2. Select “F1: Clear DTC Information” in “F0:
Diagnostic Trouble Codes” with the Tech 2 and
clear the DTC information.
3. Operate the vehicle and monitor the “F0: Read
DTC Infor As Stored By ECU” in the “F0:
Diagnostic Trouble Codes”.
Was the DTC P0381 (Symptom Code 4) stored in this
ignition cycle?—Go to Step 4Refer to
Diagnostic Aids
and Go to Step
4
4 1. Ignition “On”, engine “Off”.
2. Check the glow plug indicator lamp.
Does the lamp turn “On”?—Go to Step 5Go to Step 6
5 1. Ignition “On”, engine “Off”.
2. Check the glow plug indicator lamp.
Does the lamp turn “Off”?—Go to Step 9Go to Step 7
6 Check the glow plug indicator lamp bulb.
If the bulb is burnt out, repair as necessary.
Was the problem found?—Verify repair Go to Step 7
Page 1598 of 4264
6E–226 4JA1/4JH1 ENGINE DRIVEABILITY AND EMISSIONS
Diagnostic Trouble Code (DTC) P0381 (Symptom Code 8) (Flash Code 67)
Glow Plug Indicator Circuit Voltage High
Step Action Value(s) Yes No
1Was the “On-Board Diagnostic (OBD) System Check”
performed?
—Go to Step 2Go to On Board
Diagnostic
(OBD) System
Check
2 1. Connect the Tech 2.
2. Review and record the failure information.
3. Select “F0: Read DTC Infor As Stored By ECU” in
“F0: Diagnostic Trouble Codes”.
Is the DTC P0381 (Symptom Code 8) stored as
“Present Failure”?—Go to Step 3Refer to
Diagnostic Aids
and Go to Step
3
3 1. Using the Tech 2, ignition “On” and engine “Off”.
2. Select “F1: Clear DTC Information” in “F0:
Diagnostic Trouble Codes” with the Tech 2 and
clear the DTC information.
3. Operate the vehicle and monitor the “F0: Read
DTC Infor As Stored By ECU” in the “F0:
Diagnostic Trouble Codes”.
Was the DTC P0381 (Symptom Code 8) stored in this
ignition cycle?—Go to Step 4Refer to
Diagnostic Aids
4 Is the ECM programmed with the latest software
release?
If not, download the latest software to the ECM using
the “SPS (Service Programming System)”.
Was the problem solved?—Verify repair Go to Step 5
5 Substitute a known good ECM and recheck.
Was the problem solved?
IMPORTANT: The replacement ECM must be
programmed. Refer to section of the Service
Programming System (SPS) in this manual.
Following ECM programming, the immobilizer system
(if equipped) must be linked to the ECM. Refer to
section 11 “Immobilizer System-ECM replacement” for
the ECM/Immobilizer linking procedure. —Go to Step 6—
6 Replace the ECM.
Is the action complete?
IMPORTANT: The replacement ECM must be
programmed. Refer to section of the Service
Programming System (SPS) in this manual.
Following ECM programming, the immobilizer system
(if equipped) must be linked to the ECM. Refer to
section 11 “Immobilizer System-ECM replacement” for
the ECM/Immobilizer linking procedure.—Verify repair—
Page 1739 of 4264
4JA1/4JH1 ENGINE DRIVEABILITY AND EMISSIONS 6E–367
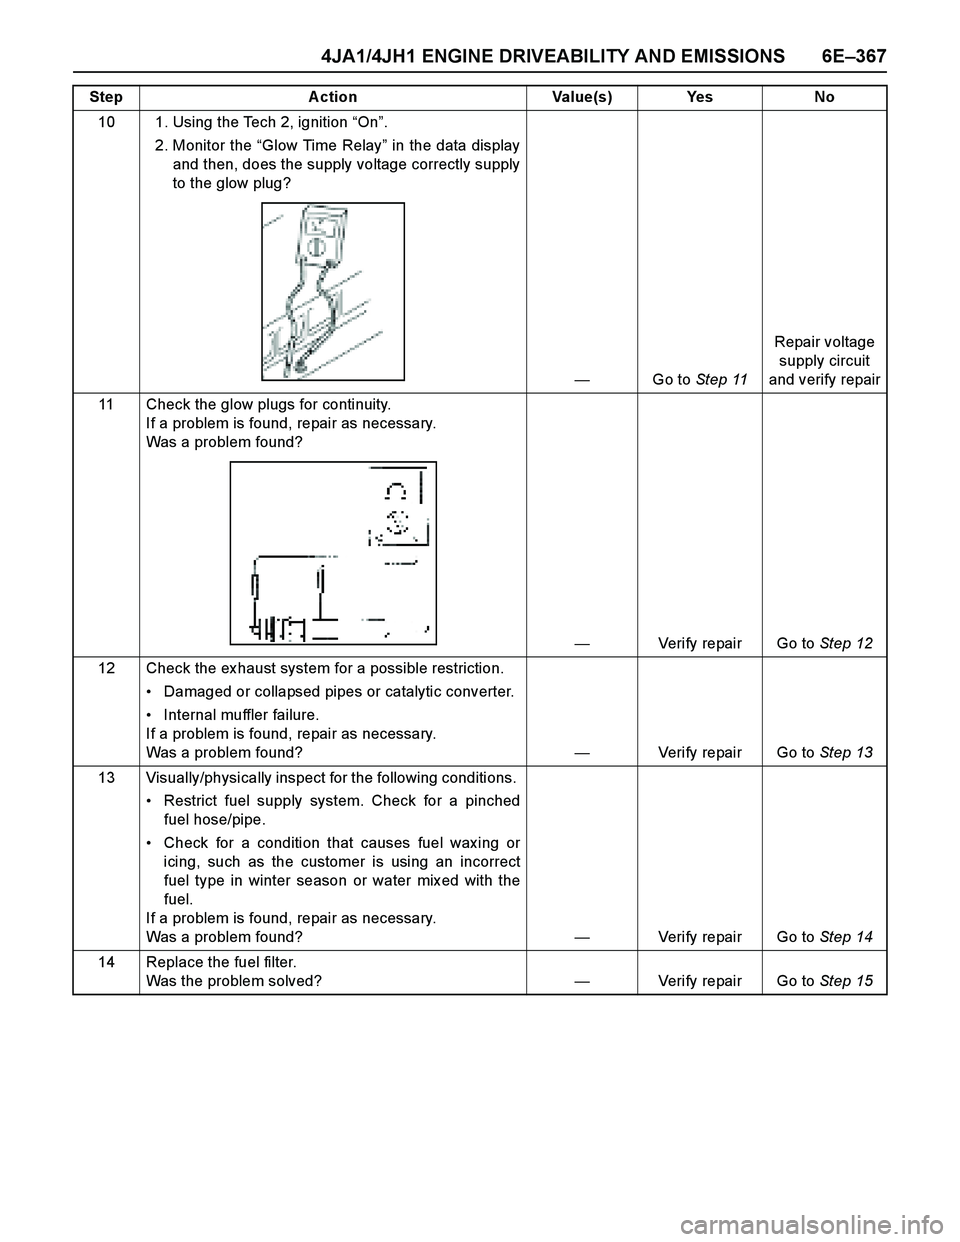
10 1. Using the Tech 2, ignition “On”.
2. Monitor the “Glow Time Relay” in the data display
and then, does the supply voltage correctly supply
to the glow plug?
—Go to Step 11Repair voltage
supply circuit
and verify repair
11 Check the glow plugs for continuity.
If a problem is found, repair as necessary.
Was a problem found?
—Verify repair Go to Step 12
12 Check the ex haust system for a possible restriction.
Damaged or collapsed pipes or catalytic converter.
Internal muffler failure.
If a problem is found, repair as necessary.
Was a problem found?—Verify repair Go to Step 13
13 Visually/physically inspect for the following conditions.
Restrict fuel supply system. Check for a pinched
fuel hose/pipe.
Check for a condition that causes fuel wax ing or
icing, such as the customer is using an incorrect
fuel type in winter season or water mix ed with the
fuel.
If a problem is found, repair as necessary.
Was a problem found?—Verify repair Go to Step 14
14 Replace the fuel filter.
Was the problem solved?—Verify repair Go to Step 15 Step Action Value(s) Yes No
Page 1780 of 4264
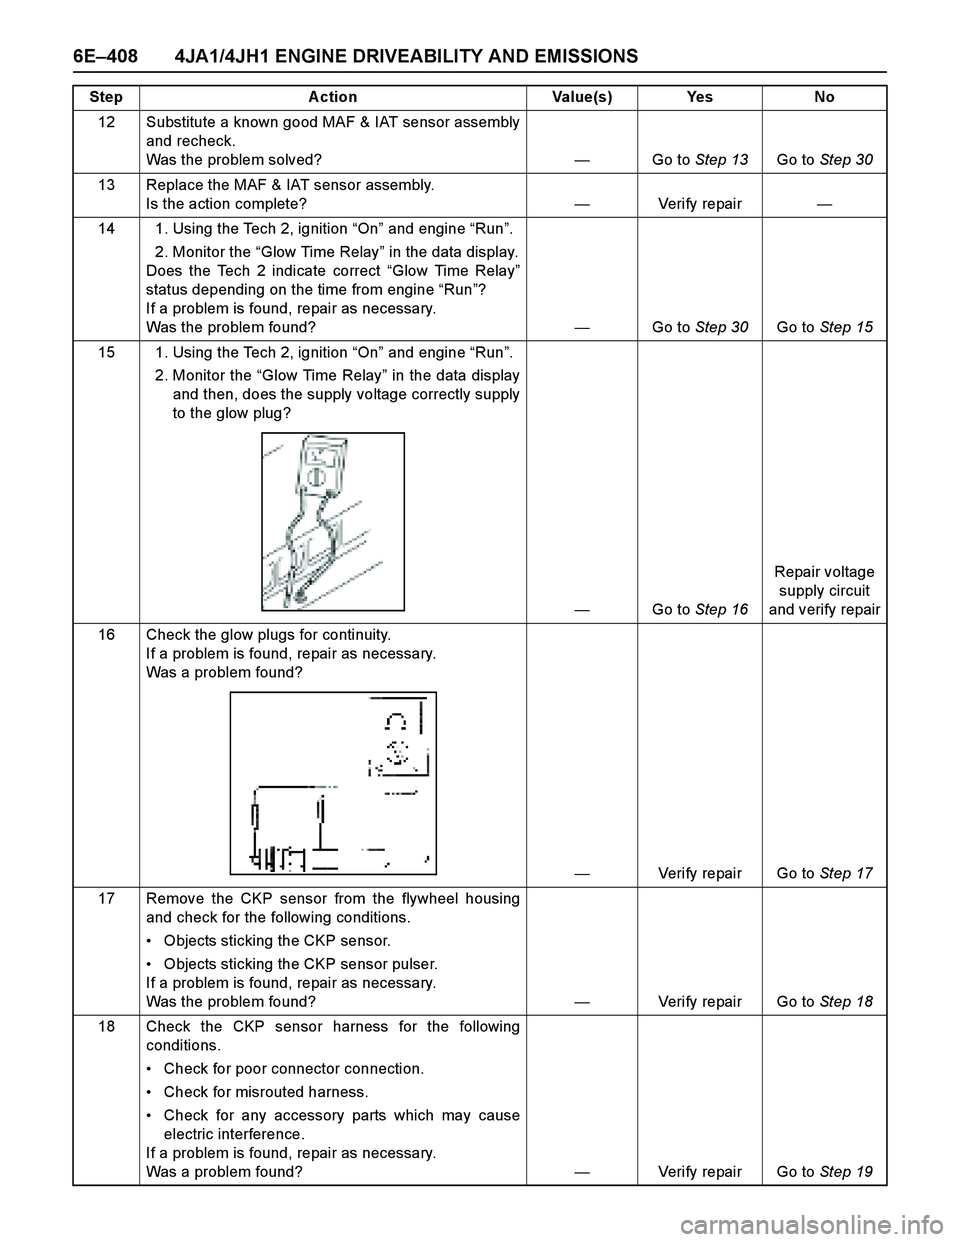
6E–408 4JA1/4JH1 ENGINE DRIVEABILITY AND EMISSIONS
12 Substitute a known good MAF & IAT sensor assembly
and recheck.
Was the problem solved?—Go to Step 13Go to Step 30
13 Replace the MAF & IAT sensor assembly.
Is the action complete?—Veri fy repai r—
14 1. Using the Tech 2, ignition “On” and engine “Run”.
2. Monitor the “Glow Time Relay” in the data display.
Does the Tech 2 indicate correct “Glow Time Relay”
status depending on the time from engine “Run”?
If a problem is found, repair as necessary.
Was the problem found?—Go to Step 30Go to Step 15
15 1. Using the Tech 2, ignition “On” and engine “Run”.
2. Monitor the “Glow Time Relay” in the data display
and then, does the supply voltage correctly supply
to the glow plug?
—Go to Step 16Repair voltage
supply circuit
and verify repair
16 Check the glow plugs for continuity.
If a problem is found, repair as necessary.
Was a problem found?
—Verify repair Go to Step 17
17 Remove the CKP sensor from the flywheel housing
and check for the following conditions.
Objects sticking the CKP sensor.
Objects sticking the CKP sensor pulser.
If a problem is found, repair as necessary.
Was the problem found? —Verify repair Go to Step 18
18 Check the CKP sensor harness for the following
conditions.
Check for poor connector connection.
Check for misrouted harness.
Check for any accessory parts which may cause
electric interference.
If a problem is found, repair as necessary.
Was a problem found? —Verify repair Go to Step 19 Step Action Value(s) Yes No