2004 Hyundai Coupe change time
[x] Cancel search: change timePage 227 of 389
1
CONTROLS AND EQUIPMENT
47TRIP COMPUTER
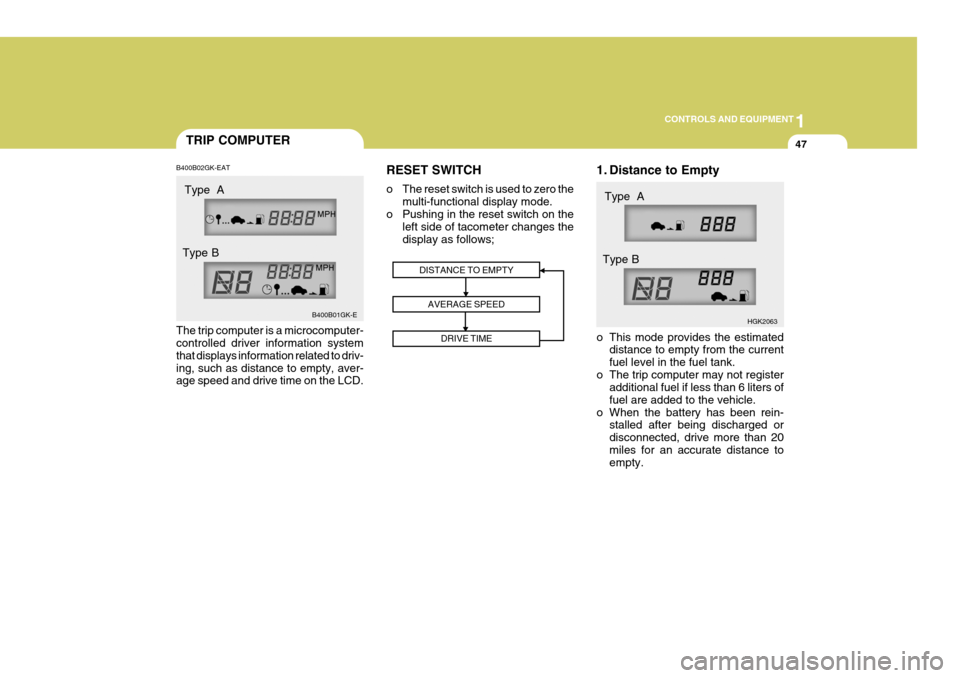
B400B02GK-EAT The trip computer is a microcomputer- controlled driver information system that displays information related to driv-ing, such as distance to empty, aver- age speed and drive time on the LCD. RESET SWITCH
o The reset switch is used to zero the
multi-functional display mode.
o Pushing in the reset switch on the left side of tacometer changes the display as follows; 1. Distance to Empty
o This mode provides the estimated
distance to empty from the current fuel level in the fuel tank.
o The trip computer may not register additional fuel if less than 6 liters offuel are added to the vehicle.
o When the battery has been rein- stalled after being discharged ordisconnected, drive more than 20miles for an accurate distance to empty.
DISTANCE TO EMPTY
AVERAGE SPEED DRIVE TIME
B400B01GK-E HGK2063
Type A
Type B Type A
Type B
Page 236 of 389

1CONTROLS AND EQUIPMENT
56CIGAR LIGHTER
SB290A1-F For the cigar lighter to work, the key must be in the "ACC" or the "ON"position. To use the cigar lighter, push the lighter all the way into its socket. When theelement is heated, the lighter will pop out into the "ready" position. Do not hold the cigar lighter at thedepressed position which may result in damage to the vehicle wiring or an electrical fire.If it is necessary to replace the cigar lighter, use only a genuine Hyundai replacement part. HGK2118-EINSTRUMENT PANEL ILLUMINATION CONTROL
SB280A1-E The level of illumination intensity of the instrument panel may be varied by turning the control shown. The instru- ment panel will be illuminated whenthe side or head lamps are in opera- tion. HGK2150-EDIGITAL CLOCK
ZB190A1-A There are three control buttons for the digital clock. Their functions are: HOUR - Push "H" to advance the hour
indicated. MIN - Push "M" to advance the minute
indicated. RESET - Push "R" to reset minutes to
":00" to facilitate resetting the clock to the correct time. When this is done: Pressing "R" between 10 : 30 and 11 : 29 changes the readout to 11 : 00 Pressing "R" between 11 : 30 and 12 : 29 changes the readout to 12 : 00. Type A
HGK2117
Type B
Page 304 of 389

3 IN CASE OF EMERGENCY
6IN THE EVENT OF A PUNC- TURE
SD070A1-ECHANGING A FLAT TYRE
It is of the utmost importance that care is exercised when changing road wheels. Ensure that the parking brakeis set and that the gear shift lever is in reverse (P, if the vehicle has automatic transaxle).
D060A01GK
! CAUTION:
o Do not use snow chains with your temporary spare tyre.
o Do not use more than one tempo-
rary spare tyre at a time.
5. The temporary spare tyre should
not be used on any other wheels, nor should standard tyre, snow tyre, wheel covers or trim rings be used with the temporary spare wheel. Ifsuch use is attempted, damage to these items or other car compo- nents may occur.
6. The temporary spare tyre pressure should be checked once a monthwhile the tyre is stored. SD060A1-E If a puncture occurs whilst driving the vehicle:
1. Bring the car to rest as soon as it is
safe to do so and with the minimum amount of braking required which will assist in maintaining the maxi- mum amount of control. The vehicleshould be parked wherever pos- sible upon firm level ground to facili- tate wheel changing.
2. If the vehicle is creating a hazard and the road conditions do not per-mit the wheel to be changed safely,assistance should be sought.
3. Passengers must not be allowed to
remain inside the vehicle duringwheel changing. If a puncture oc- curs whilst the vehicle is on a motorway, the passengers shouldtake refuge on the motorway em- bankment to avoid the possibility of injury occurring should the vehiclebe struck by other motorway traffic.
4. Wheel changing should be per-
formed according to the followinginstructions.
Page 334 of 389
6OWNER MAINTENANCE
8ENGINE OIL AND FILTER REPLACEMENT
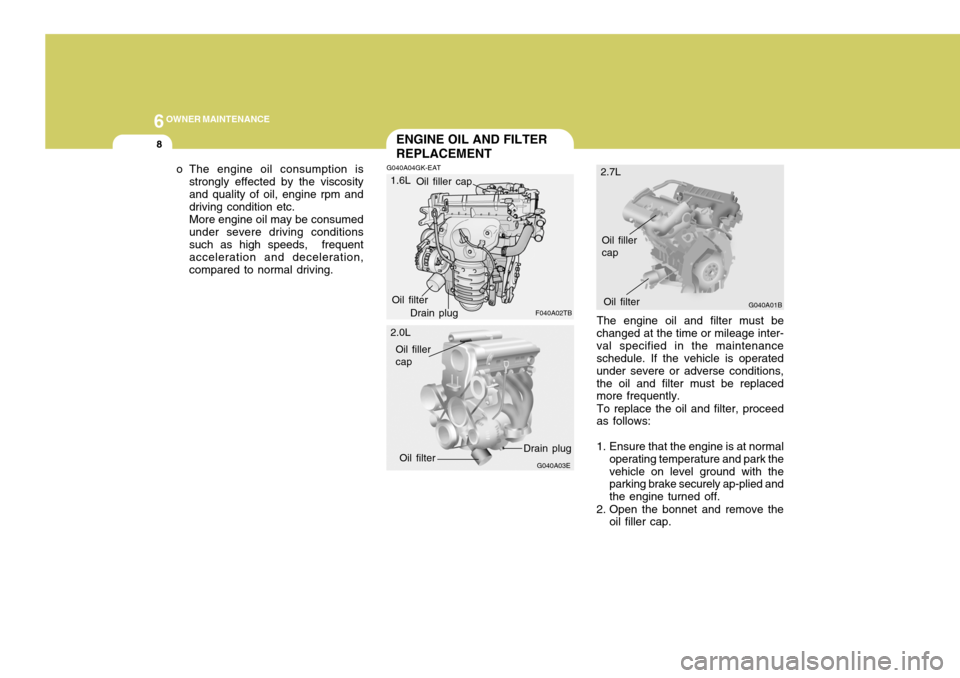
G040A04GK-EAT
o The engine oil consumption is
strongly effected by the viscosity and quality of oil, engine rpm and driving condition etc. More engine oil may be consumed under severe driving conditions such as high speeds, frequent acceleration and deceleration,compared to normal driving.
F040A02TB
G040A03E G040A01B
The engine oil and filter must be
changed at the time or mileage inter-val specified in the maintenance schedule. If the vehicle is operated under severe or adverse conditions,the oil and filter must be replaced more frequently.
To replace the oil and filter, proceed
as follows:
1. Ensure that the engine is at normal
operating temperature and park the vehicle on level ground with the parking brake securely ap-plied and the engine turned off.
2. Open the bonnet and remove the oil filler cap.
Oil filler cap
1.6L 2.0L 2.7L
Oil filter Drain plug
Oil filler cap
Oil filter Drain plug
Oil filler cap
Oil filter
Page 340 of 389
6OWNER MAINTENANCE
14
!
HGK5066 4. When preparing to remove the old
spark plug, guide the socket down over the spark plug, being careful not to damage the ceramic insula-tor.
5. To remove the old spark plug, turn
the wrench handle in a counter-clockwise direction.
6. To install the new spark plug, guide the socket down over the spark plug, being careful not to damage the ceramic insulator.
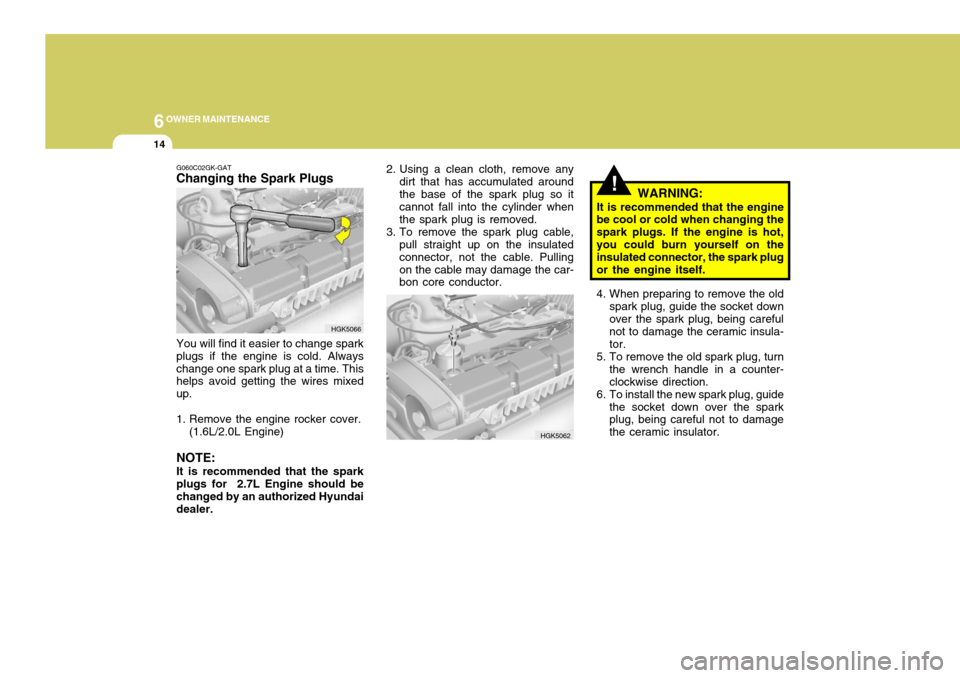
G060C02GK-GAT Changing the Spark Plugs You will find it easier to change spark plugs if the engine is cold. Alwayschange one spark plug at a time. This helps avoid getting the wires mixed up.
1. Remove the engine rocker cover.
(1.6L/2.0L Engine)
NOTE: It is recommended that the spark plugs for 2.7L Engine should be changed by an authorized Hyundaidealer. 2. Using a clean cloth, remove any
dirt that has accumulated aroundthe base of the spark plug so it cannot fall into the cylinder when the spark plug is removed.
3. To remove the spark plug cable, pull straight up on the insulatedconnector, not the cable. Pullingon the cable may damage the car- bon core conductor.
HGK5062 WARNING:
It is recommended that the engine
be cool or cold when changing the spark plugs. If the engine is hot,you could burn yourself on the insulated connector, the spark plug or the engine itself.
Page 345 of 389
6
OWNER MAINTENANCE
19
G100B01L
CAUTION:
The transaxle lubricant level should only be checked when the engine is cold to prelude the possibility ofpersonal injury by contact with hot components.
!
1. To check the transaxle lubricant level, the vehicle should be placed on level ground and the level plug removed with a suitable spanner.
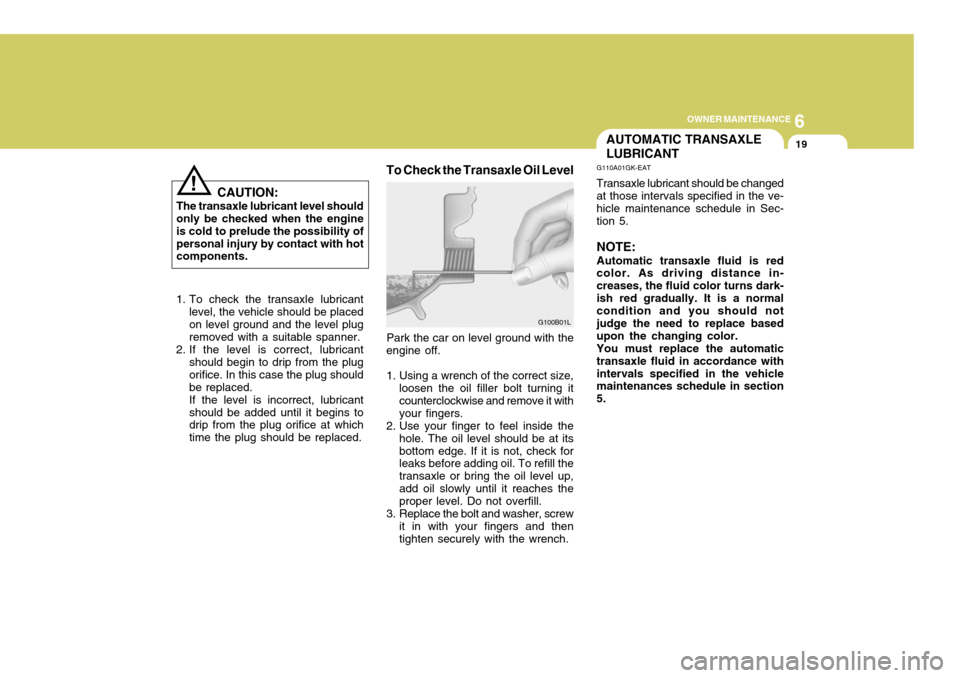
2. If the level is correct, lubricant should begin to drip from the plugorifice. In this case the plug shouldbe replaced.If the level is incorrect, lubricantshould be added until it begins to drip from the plug orifice at which time the plug should be replaced. To Check the Transaxle Oil Level
Park the car on level ground with the
engine off.
1. Using a wrench of the correct size, loosen the oil filler bolt turning it counterclockwise and remove it with your fingers.
2. Use your finger to feel inside the
hole. The oil level should be at itsbottom edge. If it is not, check for leaks before adding oil. To refill the transaxle or bring the oil level up,add oil slowly until it reaches the proper level. Do not overfill.
3. Replace the bolt and washer, screw it in with your fingers and thentighten securely with the wrench.
AUTOMATIC TRANSAXLE LUBRICANT
G110A01GK-EAT Transaxle lubricant should be changed at those intervals specified in the ve- hicle maintenance schedule in Sec-tion 5. NOTE: Automatic transaxle fluid is red color. As driving distance in- creases, the fluid color turns dark-ish red gradually. It is a normal condition and you should not judge the need to replace basedupon the changing color.You must replace the automatictransaxle fluid in accordance withintervals specified in the vehicle maintenances schedule in section 5.
Page 348 of 389
6OWNER MAINTENANCE
22
HGK5013-E
CHECKING THE CLUTCH FLUID
SG130A1-C
(Not all models)To Check the Clutch Fluid
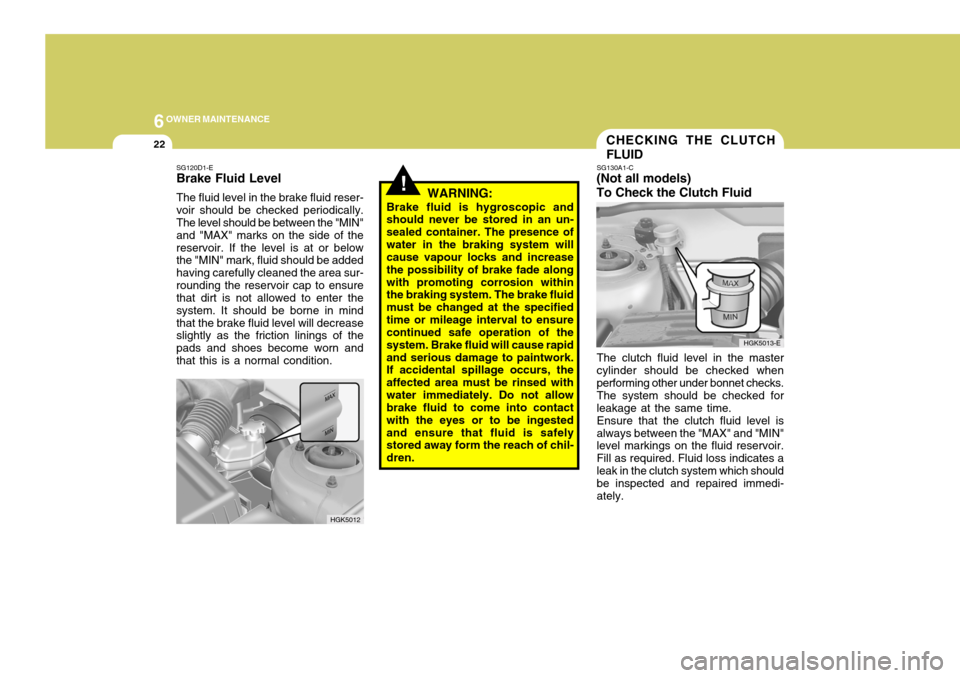
The clutch fluid level in the master cylinder should be checked when performing other under bonnet checks. The system should be checked forleakage at the same time.Ensure that the clutch fluid level isalways between the "MAX" and "MIN" level markings on the fluid reservoir. Fill as required. Fluid loss indicates aleak in the clutch system which should be inspected and repaired immedi- ately.
HGK5012
SG120D1-E Brake Fluid Level The fluid level in the brake fluid reser- voir should be checked periodically. The level should be between the "MIN" and "MAX" marks on the side of thereservoir. If the level is at or below the "MIN" mark, fluid should be added having carefully cleaned the area sur-rounding the reservoir cap to ensure that dirt is not allowed to enter the system. It should be borne in mindthat the brake fluid level will decrease slightly as the friction linings of the pads and shoes become worn andthat this is a normal condition.
WARNING:
Brake fluid is hygroscopic and should never be stored in an un- sealed container. The presence ofwater in the braking system will cause vapour locks and increase the possibility of brake fade alongwith promoting corrosion within the braking system. The brake fluid must be changed at the specifiedtime or mileage interval to ensure continued safe operation of the system. Brake fluid will cause rapidand serious damage to paintwork. If accidental spillage occurs, the affected area must be rinsed withwater immediately. Do not allow brake fluid to come into contact with the eyes or to be ingestedand ensure that fluid is safely stored away form the reach of chil- dren.
!