2004 GMC YUKON XL DENALI warning light
[x] Cancel search: warning lightPage 276 of 468
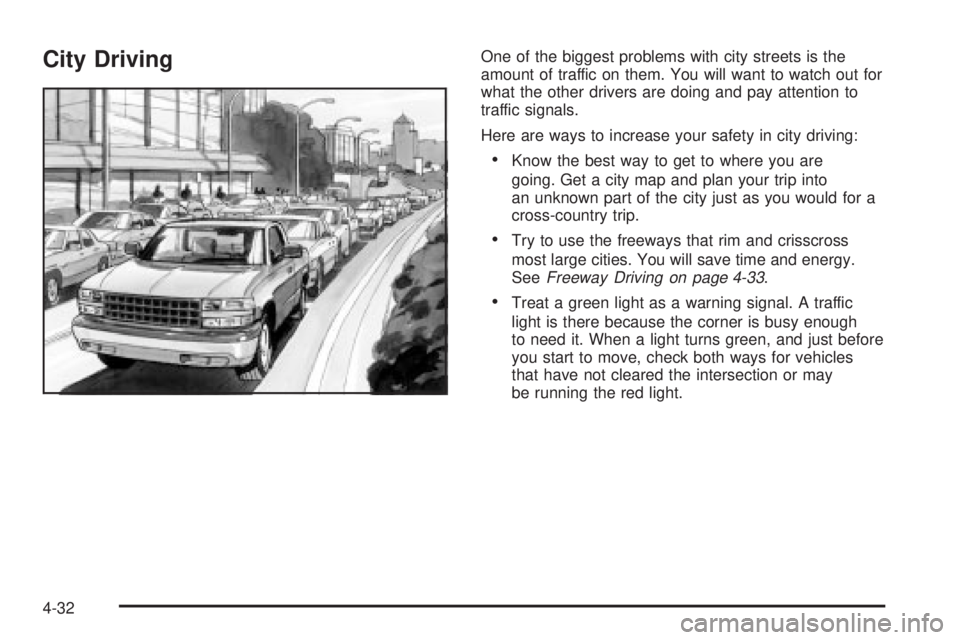
City DrivingOne of the biggest problems with city streets is the
amount of traffic on them. You will want to watch out for
what the other drivers are doing and pay attention to
traffic signals.
Here are ways to increase your safety in city driving:
·Know the best way to get to where you are
going. Get a city map and plan your trip into
an unknown part of the city just as you would for a
cross-country trip.
·Try to use the freeways that rim and crisscross
most large cities. You will save time and energy.
See
Freeway Driving on page 4-33.
·Treat a green light as a warning signal. A traffic
light is there because the corner is busy enough
to need it. When a light turns green, and just before
you start to move, check both ways for vehicles
that have not cleared the intersection or may
be running the red light.
4-32
Page 281 of 468
·You may see highway signs on mountains that
warn of special problems. Examples are long
grades, passing or no-passing zones, a falling rocks
area or winding roads. Be alert to these and take
appropriate action.
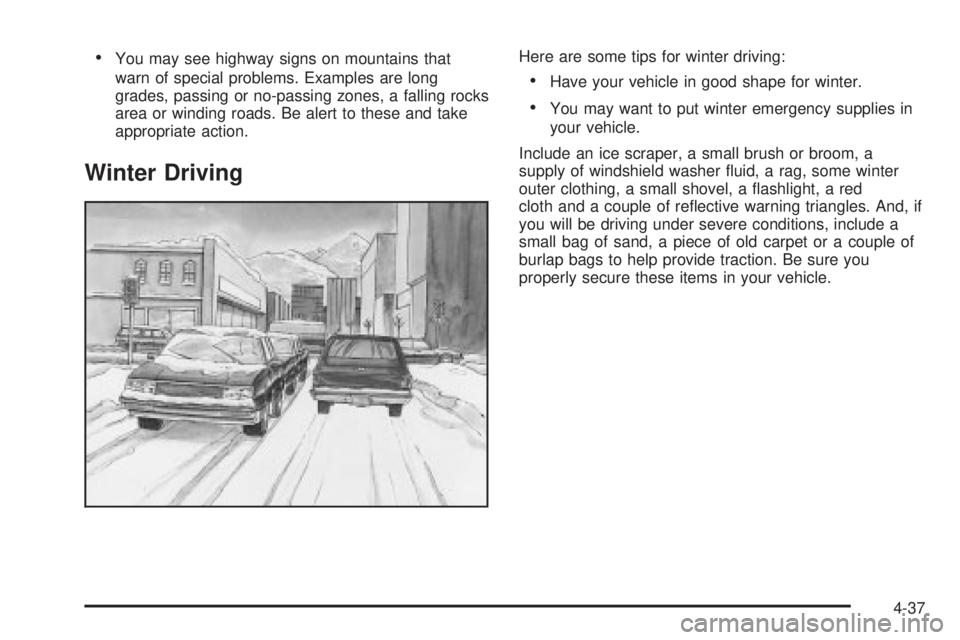
Winter Driving
Here are some tips for winter driving:
·Have your vehicle in good shape for winter.
·You may want to put winter emergency supplies in
your vehicle.
Include an ice scraper, a small brush or broom, a
supply of windshield washer ¯uid, a rag, some winter
outer clothing, a small shovel, a ¯ashlight, a red
cloth and a couple of re¯ective warning triangles. And, if
you will be driving under severe conditions, include a
small bag of sand, a piece of old carpet or a couple of
burlap bags to help provide traction. Be sure you
properly secure these items in your vehicle.
4-37
Page 331 of 468
Engine Coolant
The cooling system in your vehicle is ®lled with
DEX-COOLžengine coolant. This coolant is designed
to remain in your vehicle for 5 years or 150,000 miles
(240 000 km), whichever occurs ®rst, if you add
only DEX-COOL
žextended life coolant.
The following explains your cooling system and how to
add coolant when it is low. If you have a problem
with engine overheating, see
Engine Overheating on
page 5-25.
A 50/50 mixture of clean, drinkable water and
DEX-COOL
žcoolant will:
·Give freezing protection down to-34ÉF (-37ÉC).
·Give boiling protection up to 265ÉF (129ÉC).
·Protect against rust and corrosion.
·Help keep the proper engine temperature.
·Let the warning lights and gages work as they
should.
Notice:Using coolant other than DEX-COOLžmay
cause premature engine, heater core or radiator
corrosion. In addition, the engine coolant may
require changing sooner, at 30,000 miles (50 000 km)
or 24 months, whichever occurs ®rst. Any repairs
would not be covered by your warranty. Always use
DEX-COOL
ž(silicate-free) coolant in your vehicle.
What to Use
Use a mixture of one-halfclean, drinkable waterand
one-half DEX-COOLžcoolant which won't damage
aluminum parts. If you use this coolant mixture,
you don't need to add anything else.
{CAUTION:
Adding only plain water to your cooling
system can be dangerous. Plain water, or
some other liquid such as alcohol, can boil
before the proper coolant mixture will. Your
vehicle's coolant warning system is set for the
proper coolant mixture. With plain water or the
wrong mixture, your engine could get too hot
but you would not get the overheat warning.
Your engine could catch ®re and you or others
could be burned. Use a 50/50 mixture of clean,
drinkable water and DEX-COOL
žcoolant.
Notice:If you use an improper coolant mixture,
your engine could overheat and be badly damaged.
The repair cost would not be covered by your
warranty. Too much water in the mixture can freeze
and crack the engine, radiator, heater core and
other parts.
5-23
Page 346 of 468
Notice:
·Using the wrong ¯uid can badly damage brake
system parts. For example, just a few drops of
mineral-based oil, such as engine oil, in your
brake system can damage brake system
parts so badly that they will have to be replaced.
Do not let someone put in the wrong kind of
¯uid.
·If you spill brake ¯uid on your vehicle's painted
surfaces, the paint ®nish can be damaged. Be
careful not to spill brake ¯uid on your vehicle. If
you do, wash it off immediately. See
Appearance
Care on page 5-92.
Brake Wear
Your vehicle has four-wheel disc brakes.
Disc brake pads have built-in wear indicators that make
a high-pitched warning sound when the brake pads
are worn and new pads are needed. The sound
may come and go or be heard all the time your vehicle
is moving (except when you are pushing on the
brake pedal ®rmly).
{CAUTION:
The brake wear warning sound means that
soon your brakes will not work well. That
could lead to an accident. When you hear the
brake wear warning sound, have your vehicle
serviced.
Notice:Continuing to drive with worn-out brake
pads could result in costly brake repair.
Some driving conditions or climates may cause a brake
squeal when the brakes are ®rst applied or lightly
applied. This does not mean something is wrong with
your brakes.
Properly torqued wheel nuts are necessary to help
prevent brake pulsation. When tires are rotated, inspect
brake pads for wear and evenly tighten wheel nuts in
the proper sequence to GM torque speci®cations.
Brake linings should always be replaced as complete
axle sets.
5-38
Page 372 of 468

Tire Pressure Monitor System
The Tire Pressure Monitor (TPM) system uses radio
and sensor technology to check tire pressure levels.
If your vehicle has this feature, sensors are mounted on
each tire and wheel assembly, except the spare tire.
The TPM sensors transmit tire pressure readings
to a receiver located in the vehicle.
When a low tire pressure condition is detected, the TPM
system will display the CHECK TIRE PRESSURE
warning message on the Driver Information Center
(DIC); and at the same time illuminate the low tire
pressure warning symbol. For additional information and
details about the DIC operation and displays see DIC
Operation and Displays on page 3-46andDIC Warnings
and Messages on page 3-57.
When the tire pressure
monitoring system warning
light is lit, one or more
of your tires is signi®cantly
under-in¯ated.
You should stop and check your tires as soon as
possible, and in¯ate them to the proper pressure as
indicated on the vehicle's tire information placard.Driving on a signi®cantly under-in¯ated tire causes the
tire to overheat and can lead to tire failure.
Under-in¯ation also reduces fuel efficiency and tire tread
life, and may affect the vehicle's handling and stopping
ability. Each tire, including the spare, should be
checked monthly when cold and set to the
recommended in¯ation pressure as speci®ed in the
vehicle placard and owner's manual.
The Certi®cation/Tire label or the Tire and Loading
Information label (tire information placard) shows the
size of your vehicle's original tires and the correct
in¯ation pressure for your vehicle's tires when they are
cold. See
In¯ation - Tire Pressure on page 5-62. For
the location of the tire and loading information label, see
Loading Your Vehicle on page 4-44.
Your vehicle's TPM system can alert you about a low
tire pressure condition but it does not replace normal tire
maintenance. See
Tire Inspection and Rotation on
page 5-66andTires on page 5-54.
Notice:Do not use a tire sealant if your vehicle is
equipped with Tire Pressure Monitors. The liquid
sealant can damage the tire pressure monitor
sensors.
5-64
Page 373 of 468

TPM Sensor Identi®cation Codes
Each TPM sensor has a unique identi®cation code.
Any time you rotate your vehicle's tires or replace one
or more of the TPM sensors, the identi®cation codes will
need to be matched to the new tire/wheel position.
Each tire/wheel position is matched to a sensor,
by increasing or decreasing the tire's air pressure.
The sensors are matched to the tire/wheel positions in
the following order: left front (LF); right front (RF);
right rear (RR) and left rear (LR).
You will have one minute to match the ®rst tire/wheel
position, and ®ve minutes overall to match all four
tire/wheel positions. If it takes longer than one minute,
to match the ®rst tire and wheel, or more than ®ve
minutes to match all four tire and wheel positions the
matching process stops and you will need to start over.
The TPM sensor matching process is outlined below:
1. Set the Parking brake.
2. Turn the ignition switch to RUN with the engine off.
3. Turn the exterior lamp switch from ªOffº to ªOnº
four times within 3 seconds. A double horn chirp
will sound and the TPM low tire warning light
will begin to ¯ash. The double horn chirp and¯ashing TPM warning light indicate that the TPM
matching process has started. The TPM warning
light should continue ¯ashing throughout the
matching procedure. The SERVICE TIRE
MONITOR message will be displayed on the Driver
Information Center (DIC).
4. Start with the left (driver's side) front tire.
5. Remove the valve cap from the valve cap stem.
Activate the TPM sensor by increasing or
decreasing the tire's air pressure for 10 seconds,
then stop and listen for a single horn chirp.
The single horn chirp should sound within 15
seconds, con®rming that the sensor identi®cation
code has been matched to this tire and wheel
position. If you do not hear the con®rming single
horn chirp, you will need to start over with step
number one. To let air-pressure out of a tire you can
use the pointy end of the valve cap, a pencil-style
air pressure gage or a key.
6. Proceed to the right (passenger's side) front tire,
and repeat the procedure in step 5.
7. Proceed to the right (passenger's side) rear tire,
and repeat the procedure in step 5.
8. Proceed to the left (driver's side) rear tire, and
repeat the procedure in step 5.
5-65
Page 374 of 468

9. After hearing the con®rming horn chirp for the left
rear tire, check to see if the TPM warning light is
still ¯ashing. If yes, turn the ignition switch to OFF.
10. Set all four tires to the recommended air pressure
level as indicated on the Certi®cation/Tire label or
the Tire and Loading Information label.
11. Put the valve caps back on the valve stems
The spare tire does not have a TPM sensor. If you
replace one of the road tires with the spare, the CHECK
TIRE PRESSURE message will be displayed on the DIC
screen. This message should go off once you re-install
the road tire containing the TPM sensor. The SERVICE
TIRE MONITOR message is displayed when the TPM
system is malfunctioning. One or more missing or
inoperable TPM sensors will cause the service tire
monitor message to be displayed. See your dealer for
service.
Federal Communications Commission and
Industry and Science Canada
The TPM system operates on a radio frequency subject
to Federal Communications Commission (FCC) Rules
and with Industry and Science Canada.
This device complies with Part 15 of the FCC Rules and
with RSS-210 of Industry and Science Canada.
Operation is subject to the following two conditions:
(1) This device may not cause harmful interference, and(2) this device must accept any interference received
including interference that may cause undesired
operation of the device.
Changes or modi®cations to this system by other than
an authorized service facility could void authorization to
use this equipment.
Tire Inspection and Rotation
Tires should be rotated every 5,000 to 8,000 miles
(8 000 to 13 000 km).
Any time you notice unusual wear, rotate your tires as
soon as possible and check wheel alignment. Also
check for damaged tires or wheels. See
When It Is Time
for New Tires on page 5-68andWheel Replacement
on page 5-71for more information.
Make sure the spare tire is stored securely. Push, pull,
and then try to rotate or turn the tire. If it moves,
use the ratchet/wheel wrench to tighten the cable.
See
Changing a Flat Tire on page 5-74.
The purpose of regular rotation is to achieve more
uniform wear for all tires on the vehicle. The ®rst rotation
is the most important. See
Scheduled Maintenance
on page 6-4.
5-66
Page 378 of 468
While the tires available on General Motors passenger
cars and light trucks may vary with respect to these
grades, they must also conform to federal safety
requirements and additional General Motors Tire
Performance Criteria (TPC) standards.
Treadwear
The treadwear grade is a comparative rating based on
the wear rate of the tire when tested under controlled
conditions on a speci®ed government test course.
For example, a tire graded 150 would wear one and
a half (1.5) times as well on the government course as
a tire graded 100. The relative performance of tires
depends upon the actual conditions of their use,
however, and may depart signi®cantly from the norm
due to variations in driving habits, service practices and
differences in road characteristics and climate.
Traction ± AA, A, B, C
The traction grades, from highest to lowest, are AA, A,
B, and C. Those grades represent the tire's ability
to stop on wet pavement as measured under controlled
conditions on speci®ed government test surfaces of
asphalt and concrete. A tire marked C may have poor
traction performance. Warning: The traction grade
assigned to this tire is based on straight-ahead braking
traction tests, and does not include acceleration,
cornering, hydroplaning, or peak traction characteristics.
Temperature ± A, B, C
The temperature grades are A (the highest), B, and C,
representing the tire's resistance to the generation
of heat and its ability to dissipate heat when tested
under controlled conditions on a speci®ed indoor
laboratory test wheel. Sustained high temperature can
cause the material of the tire to degenerate and
reduce tire life, and excessive temperature can lead to
sudden tire failure. The grade C corresponds to a
level of performance which all passenger car tires must
meet under the Federal Motor Vehicle Safety Standard
No. 109. Grades B and A represent higher levels of
performance on the laboratory test wheel than the
minimum required by law.
Warning: The temperature grade for this tire is
established for a tire that is properly in¯ated and not
overloaded. Excessive speed, underin¯ation, or
excessive loading, either separately or in combination,
can cause heat buildup and possible tire failure.
5-70