2004 GMC YUKON DENALI change wheel
[x] Cancel search: change wheelPage 303 of 468

Following Distance
Stay at least twice as far behind the vehicle ahead as
you would when driving your vehicle without a trailer.
This can help you avoid situations that require
heavy braking and sudden turns.
Passing
You'll need more passing distance up ahead when
you're towing a trailer. And, because you're a good deal
longer, you'll need to go much farther beyond the
passed vehicle before you can return to your lane.
Backing Up
Hold the bottom of the steering wheel with one hand.
Then, to move the trailer to the left, just move that hand
to the left. To move the trailer to the right, move your
hand to the right. Always back up slowly and, if possible,
have someone guide you.
Making Turns
Notice:Making very sharp turns while trailering
could cause the trailer to come in contact with the
vehicle. Your vehicle could be damaged. Avoid
making very sharp turns while trailering.
When you're turning with a trailer, make wider turns
than normal. Do this so your trailer won't strike
soft shoulders, curbs, road signs, trees or other objects.
Avoid jerky or sudden maneuvers. Signal well in
advance.
Turn Signals When Towing a Trailer
The arrows on your instrument panel will ¯ash whenever
you signal a turn or lane change. Properly hooked up,
the trailer lamps will also ¯ash, telling other drivers
you're about to turn, change lanes or stop.
When towing a trailer, the arrows on your instrument
panel will ¯ash for turns even if the bulbs on the trailer
are burned out. Thus, you may think drivers behind
you are seeing your signal when they are not. It's
important to check occasionally to be sure the trailer
bulbs are still working.
4-59
Page 374 of 468

9. After hearing the con®rming horn chirp for the left
rear tire, check to see if the TPM warning light is
still ¯ashing. If yes, turn the ignition switch to OFF.
10. Set all four tires to the recommended air pressure
level as indicated on the Certi®cation/Tire label or
the Tire and Loading Information label.
11. Put the valve caps back on the valve stems
The spare tire does not have a TPM sensor. If you
replace one of the road tires with the spare, the CHECK
TIRE PRESSURE message will be displayed on the DIC
screen. This message should go off once you re-install
the road tire containing the TPM sensor. The SERVICE
TIRE MONITOR message is displayed when the TPM
system is malfunctioning. One or more missing or
inoperable TPM sensors will cause the service tire
monitor message to be displayed. See your dealer for
service.
Federal Communications Commission and
Industry and Science Canada
The TPM system operates on a radio frequency subject
to Federal Communications Commission (FCC) Rules
and with Industry and Science Canada.
This device complies with Part 15 of the FCC Rules and
with RSS-210 of Industry and Science Canada.
Operation is subject to the following two conditions:
(1) This device may not cause harmful interference, and(2) this device must accept any interference received
including interference that may cause undesired
operation of the device.
Changes or modi®cations to this system by other than
an authorized service facility could void authorization to
use this equipment.
Tire Inspection and Rotation
Tires should be rotated every 5,000 to 8,000 miles
(8 000 to 13 000 km).
Any time you notice unusual wear, rotate your tires as
soon as possible and check wheel alignment. Also
check for damaged tires or wheels. See
When It Is Time
for New Tires on page 5-68andWheel Replacement
on page 5-71for more information.
Make sure the spare tire is stored securely. Push, pull,
and then try to rotate or turn the tire. If it moves,
use the ratchet/wheel wrench to tighten the cable.
See
Changing a Flat Tire on page 5-74.
The purpose of regular rotation is to achieve more
uniform wear for all tires on the vehicle. The ®rst rotation
is the most important. See
Scheduled Maintenance
on page 6-4.
5-66
Page 375 of 468

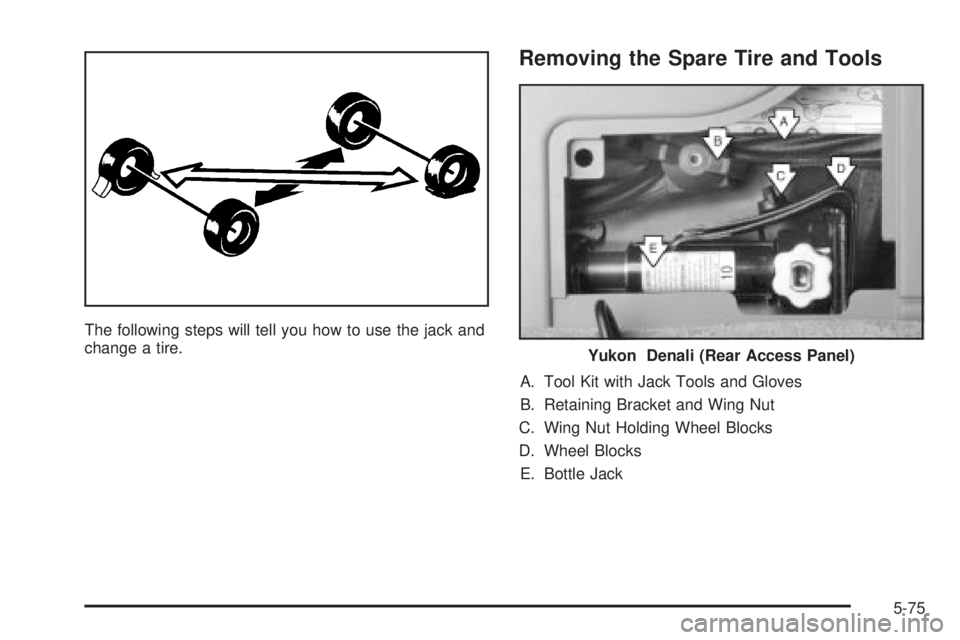
When rotating your tires, always use the correct rotation
pattern shown here.
Do not include the spare tire in your tire rotation.
After the tires have been rotated, adjust the front and
rear in¯ation pressures as shown on the tire and loading
information label. See
Loading Your Vehicle on
page 4-44andIn¯ation - Tire Pressure on page 5-62,
for more information. Make certain that all wheel
nuts are properly tightened. See ªWheel Nut Torqueº
under
Capacities and Speci®cations on page 5-112.
If your vehicle has the Tire Pressure Monitor (TPM)
system, the sensors will need to be reset after a
tire rotation is performed. See ªTPM Sensor
Identi®cation Codesº under
Tire Pressure Monitor
System on page 5-64.
{CAUTION:
Rust or dirt on a wheel, or on the parts to
which it is fastened, can make wheel nuts
become loose after a time. The wheel could
come off and cause an accident. When you
change a wheel, remove any rust or dirt from
places where the wheel attaches to the vehicle.
In an emergency, you can use a cloth or a
paper towel to do this; but be sure to use a
scraper or wire brush later, if you need to, to
get all the rust or dirt off. See ªChanging a Flat
Tireº in the Index.
5-67
Page 381 of 468

If a Tire Goes Flat
It's unusual for a tire to ªblowoutº while you're driving,
especially if you maintain your tires properly. If air goes
out of a tire, it's much more likely to leak out slowly.
But if you should ever have a ªblowout,º here are a few
tips about what to expect and what to do:
If a front tire fails, the ¯at tire will create a drag that
pulls the vehicle toward that side. Take your foot off the
accelerator pedal and grip the steering wheel ®rmly.
Steer to maintain lane position, and then gently brake to
a stop well out of the traffic lane.
A rear blowout, particularly on a curve, acts much like a
skid and may require the same correction you'd use
in a skid. In any rear blowout, remove your foot from the
accelerator pedal. Get the vehicle under control by
steering the way you want the vehicle to go. It may be
very bumpy and noisy, but you can still steer. Gently
brake to a stop, well off the road if possible.{CAUTION:
Lifting a vehicle and getting under it to do
maintenance or repairs is dangerous without
the appropriate safety equipment and training.
The jack provided with your vehicle is
designed only for changing a ¯at tire. If it is
used for anything else, you or others could be
badly injured or killed if the vehicle slips off
the jack. Use the jack provided with your
vehicle only for changing a ¯at tire.
If a tire goes ¯at, the next part shows how to use your
jacking equipment to change a ¯at tire safely.
5-73
Page 382 of 468

Changing a Flat Tire
If a tire goes ¯at, avoid further tire and wheel damage
by driving slowly to a level place. Turn on your
hazard warning ¯ashers.
{CAUTION:
Changing a tire can be dangerous. The vehicle
can slip off the jack and roll over or fall on you
or other people. You and they could be badly
injured or even killed. Find a level place to
change your tire. To help prevent the vehicle
from moving:
1. Set the parking brake ®rmly.
2. Put the shift lever in PARK (P).
CAUTION: (Continued)
CAUTION: (Continued)
3. Turn off the engine and do not restart
while the vehicle is raised.
4. Do not allow passengers to remain in the
vehicle.
5. Put the wheel blocks at the front and rear
of the tire farthest away from the one
being changed. That would be the tire on
the other side, at the opposite end of the
vehicle.
5-74
Page 383 of 468

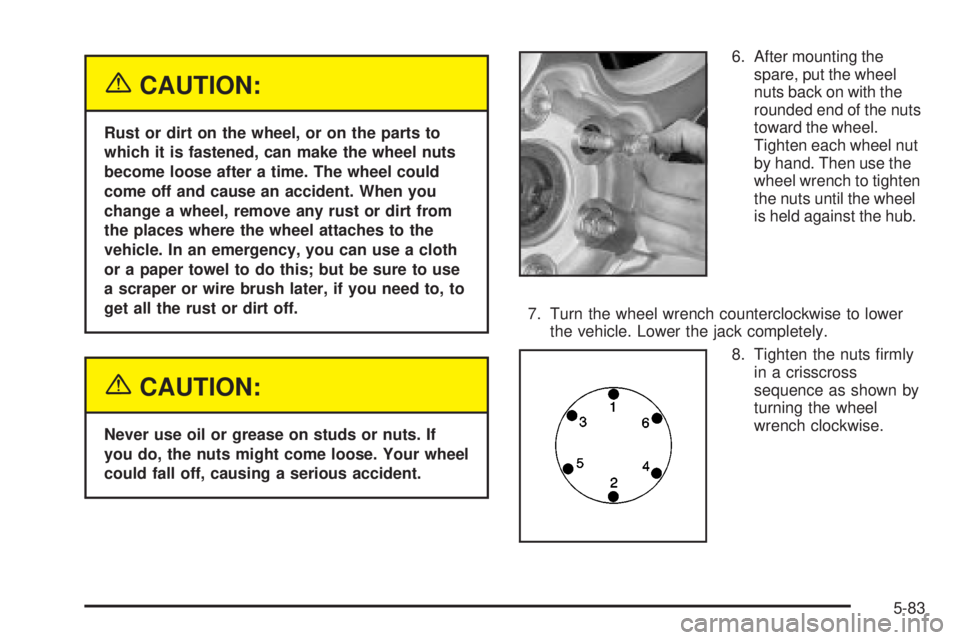
The following steps will tell you how to use the jack and
change a tire.
Removing the Spare Tire and Tools
A. Tool Kit with Jack Tools and Gloves
B. Retaining Bracket and Wing Nut
C. Wing Nut Holding Wheel Blocks
D. Wheel Blocks
E. Bottle Jack
Yukon Denali (Rear Access Panel)
5-75
Page 391 of 468

{CAUTION:
Rust or dirt on the wheel, or on the parts to
which it is fastened, can make the wheel nuts
become loose after a time. The wheel could
come off and cause an accident. When you
change a wheel, remove any rust or dirt from
the places where the wheel attaches to the
vehicle. In an emergency, you can use a cloth
or a paper towel to do this; but be sure to use
a scraper or wire brush later, if you need to, to
get all the rust or dirt off.
{CAUTION:
Never use oil or grease on studs or nuts. If
you do, the nuts might come loose. Your wheel
could fall off, causing a serious accident.6. After mounting the
spare, put the wheel
nuts back on with the
rounded end of the nuts
toward the wheel.
Tighten each wheel nut
by hand. Then use the
wheel wrench to tighten
the nuts until the wheel
is held against the hub.
7. Turn the wheel wrench counterclockwise to lower
the vehicle. Lower the jack completely.
8. Tighten the nuts ®rmly
in a crisscross
sequence as shown by
turning the wheel
wrench clockwise.
5-83
Page 453 of 468

A
Accessory Power Outlets.................................3-18
Adding Washer Fluid.......................................5-35
Additional Program Information........................... 7-8
Additives, Fuel................................................. 5-6
Add-On Electrical Equipment...........................5-103
Adjustable Throttle and Brake Pedal..................2-21
Adjusting the Speakers (Balance/Fade)..............3-69
After Off-Road Driving.....................................4-27
Air Bag
Passenger Status Indicator...........................3-34
Readiness Light..........................................3-32
Air Bag Systems.....................................1-72, 1-77
Adding Equipment to Your Air Bag-Equipped
Vehicle...................................................1-85
How Does an Air Bag Restrain?....................1-78
Passenger Sensing System...........................1-81
Servicing Your Air Bag-Equipped Vehicle.........1-85
What Makes an Air Bag In¯ate?....................1-78
What Will You See After an Air Bag In¯ates?......1-79
When Should an Air Bag In¯ate?...................1-77
Where Are the Air Bags?..............................1-74
Air Cleaner/Filter, Engine.................................5-18
Air Conditioning..............................................3-24
Airbag Sensing and Diagnostic Module (SDM)...... 7-9
All Overseas Locations...................................... 7-4
All-Wheel Drive...............................................5-45
All-Wheel Drive (AWD) System.........................2-25
AM ...............................................................3-97Antenna, Fixed Mast.......................................3-99
Antenna, XMŸ Satellite Radio Antenna System.....3-99
Anti-lock Brake System..................................... 4-7
Anti-Lock Brake, System Warning Light..............3-37
Appearance Care............................................5-92
Care of Safety Belts....................................5-95
Chemical Paint Spotting..............................5-100
Cleaning the Inside of Your Vehicle................5-93
Cleaning the Outside of Your Vehicle..............5-96
Finish Damage............................................5-99
Sheet Metal Damage...................................5-99
Underbody Maintenance...............................5-99
Vehicle Care/Appearance Materials...............5-100
Weatherstrips..............................................5-95
Approaching a Hill..........................................4-20
Ashtrays........................................................3-19
Audio Output..................................................3-88
Audio System(s).............................................3-64
Audio Steering Wheel Controls......................3-96
Care of Your Cassette Tape Player................3-97
Care of Your CD and DVD Player..................3-99
Care of Your CD Changer............................3-98
Care of Your CDs and DVDs........................3-98
CD Changer...............................................3-93
Chime Level Adjustment...............................3-99
Fixed Mast Antenna.....................................3-99
Navigation/Radio System..............................3-80
Radio with Cassette and CD.........................3-65
Rear Seat Audio (RSA)................................3-91
Setting the Time..........................................3-65
1