2004 GMC SIERRA seats
[x] Cancel search: seatsPage 67 of 588
Securing a Child Restraint in the
Right Front Seat Position
(Crew Cab)
If your child restraint is equipped with the LATCH
system, seeLower Anchorages and Top Tethers for
Children (LATCH System) on page 1-48. SeeTop Strap
on page 1-43if your child restraint has one.
Your vehicle has a right front passenger air bag.
Neverput a rear-facing child restraint in the right front
passenger's seat. Here's why:
{CAUTION:
A child in a rear-facing child restraint can be
seriously injured or killed if the right front
passenger's air bag in¯ates. This is because
the back of the rear-facing child restraint
would be very close to the in¯ating air bag.
Always secure a rear-facing child restraint in a
rear seat.A rear seat is a safer place to secure a forward-facing
child restraint. If you need to secure a forward-facing
child restraint in the right front seat position, see
Where
to Put the Restraint on page 1-42.
You'll be using the lap-shoulder belt to secure the
restraint in this position. Be sure to follow the
instructions that came with the child restraint. Secure
the child in the child restraint when and as the
instructions say.
1. Because your vehicle has a right front passenger's
frontal air bag, always move the seat as far back as
it will go before securing a forward-facing child
restraint. See
Manual Seats on page 1-3orPower
Seats on page 1-4.
2. Put the restraint on the seat.
3. Pick up the latch plate, and run the lap and shoulder
portions of the vehicle's safety belt through or
around the restraint. The child restraint instructions
will show you how.
1-61
Page 72 of 588
A rear seat is a safer place to secure a forward facing
child restraint. SeeWhere to Put the Restraint on
page 1-42. If you need to secure a forward-facing child
restraint in the right front seat position, move the
seat as far back as it will go before securing a
forward-facing child restraint. See
Manual Seats on
page 1-3orPower Seats on page 1-4.
{CAUTION:
If the air bag readiness light in the instrument
panel cluster ever comes on when you have
turned off the air bag, it means that something
may be wrong with the air bag system. The
right front passenger's air bag could in¯ate
even though the switch is off. If this ever
happens, have the vehicle serviced promptly.
Until you have the vehicle serviced, do not let
anyone whom the national government has
identi®ed as a member of a passenger air bag
risk group sit in the right front passenger's
position (for example, do not secure a
rear-facing child restraint in the right front
passenger's seat). See²Air Bag Off Switch²in
the Index.If your child restraint is equipped with the LATCH
system, see
Lower Anchorages and Top Tethers for
Children (LATCH System) on page 1-48. SeeTop Strap
on page 1-43if your child restraint has one.
If your child restraint does not have the LATCH system,
you will be using the lap-shoulder belt to secure the
child restraint in this position. Be sure to follow the
instructions that came with the child restraint. Secure
the child in the child restraint when and as the
instructions say.
1. Your vehicle has a right front passenger's frontal air
bag. See
Air Bag Off Switch on page 1-76andPassenger Sensing System on page 1-81. If your
child restraint is forward-facing, move the seat as far
back as it will go before securing the restraint in
this seat. See
Manual Seats on page 1-3orPower
Seats on page 1-4. If you need to use a rear-facing
child restraint in this seat, make sure the air bag
is off once the child restraint has been installed.
When the passenger sensing system or the air bag
off switch has turned off the right front passenger's
frontal air bag, the off indicator in the passenger
air bag status indicator should light and stay lit when
you turn the ignition to RUN or START. See
Passenger Air Bag Status Indicator on page 3-40.
2. Put the child restraint on the seat.
1-66
Page 80 of 588

Dual Stage Air Bags
If your vehicle has frontal air bags with dual stage
deployment, the amount of restraint will adjust according
to crash severity. For moderate frontal impacts, these
air bags in¯ate at a level less than full deployment. For
more severe frontal impacts, full deployment occurs.
If the front of your vehicle goes straight into a wall that
does not move or deform, the threshold level for the
reduced deployment is about 10 to 16 mph
(16 to 25 km/h), and the threshold level for a full
deployment is about 20 to 25 mph (32 to 40 km/h). The
threshold level can vary, however, with speci®c
vehicle design, so that it can be somewhat above or
below this range.
If your vehicle strikes something that will move or
deform, such as a parked car, the threshold level will be
higher. The air bag is not designed to in¯ate in
rollovers, rear impacts, or in many side impacts because
in¯ation would not help the occupant.
Seat Position Sensors
Vehicle's with dual stage air bags are also equipped
with special sensors which enable the sensing system to
monitor the position of both the driver and passenger
front seats. The seat position sensor provides
information which is used to determine if the air bags
should deploy at a reduced level or at full deployment.
Single Stage Air Bags
If your vehicle has frontal air bags with single stage
deployment and your vehicle goes straight into a wall
that does not move or deform, the threshold level
is about 13 to 16 mph (20 to 25 km/h). The threshold
level can vary, however, with speci®c vehicle design, so
that it can be somewhat above or below this range.
If your vehicle strikes something that will move or
deform, such as a parked car, the threshold level will be
higher. The air bag is not designed to in¯ate in
rollovers, rear impacts, or in many side impacts because
in¯ation would not help the occupant.
What Makes an Air Bag In¯ate?
In an impact of sufficient severity, the air bag sensing
system detects that the vehicle is in a crash. The
sensing system triggers a release of gas from the
in¯ator, which in¯ates the air bag. The in¯ator, air bag,
and related hardware are all part of the air bag
modules inside the steering wheel and in the instrument
panel in front of the right front passenger.
1-74
Page 93 of 588
Q:What if I added a snow plow? Will it keep the
air bags from working properly?
A:We've designed our air bag systems to work
properly under a wide range of conditions,
including snow plowing with vehicles equipped
with the optional Snow Plow Prep Package (RPO
VYU). But don't change or defeat the snow
plow's²tripping mechanism.²If you do, it can
damage your snow plow and your vehicle, and it
may cause an air bag in¯ation.
Q:Because I have a disability, I have to get my
vehicle modi®ed. How can I ®nd out whether
this will affect my advanced air bag system?
A:Changing or moving any parts of the front seats,
safety belts, the air bag sensing and diagnostic
module (located under the driver's seat), or
the inside rearview mirror can affect the operation
of the advanced air bag system. If you have
questions, call Customer Assistance. The phone
numbers and addresses for Customer Assistance
are in Step Two of the Customer Satisfaction
Procedure in this manual. See²Customer
Satisfaction Procedure²in the Index.
Restraint System Check
Checking Your Restraint Systems
Now and then, make sure the safety belt reminder light
and all your belts, buckles, latch plates, retractors
and anchorages are working properly. Look for any other
loose or damaged safety belt system parts. If you see
anything that might keep a safety belt system from doing
its job, have it repaired.
Torn or frayed safety belts may not protect you in a
crash. They can rip apart under impact forces. If a belt
is torn or frayed, get a new one right away.
Also look for any opened or broken air bag covers, and
have them repaired or replaced. (The air bag system
does not need regular maintenance.)
1-87
Page 155 of 588
Outside West Coast-Type Mirrors
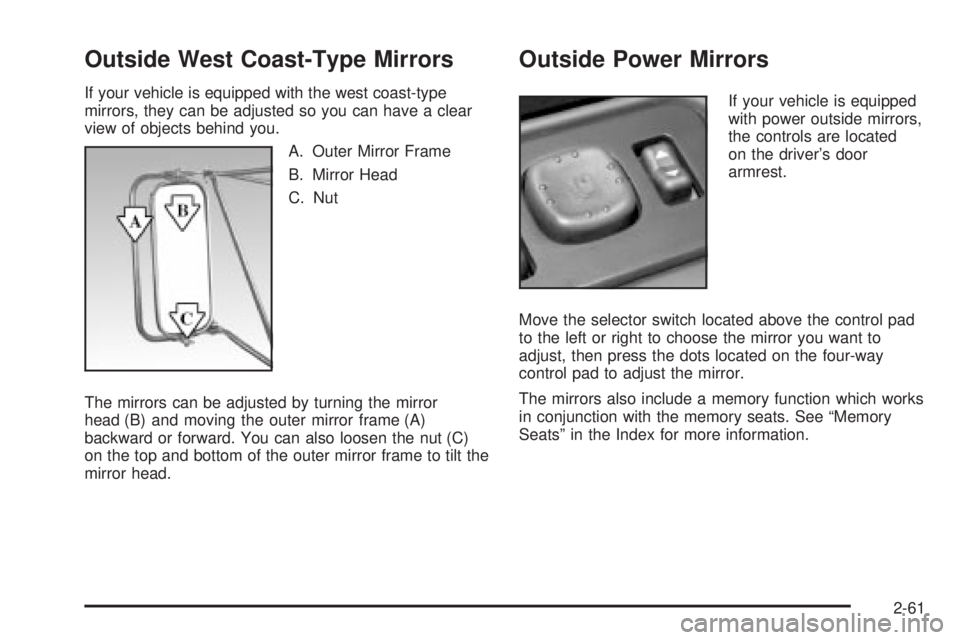
If your vehicle is equipped with the west coast-type
mirrors, they can be adjusted so you can have a clear
view of objects behind you.
A. Outer Mirror Frame
B. Mirror Head
C. Nut
The mirrors can be adjusted by turning the mirror
head (B) and moving the outer mirror frame (A)
backward or forward. You can also loosen the nut (C)
on the top and bottom of the outer mirror frame to tilt the
mirror head.
Outside Power Mirrors
If your vehicle is equipped
with power outside mirrors,
the controls are located
on the driver's door
armrest.
Move the selector switch located above the control pad
to the left or right to choose the mirror you want to
adjust, then press the dots located on the four-way
control pad to adjust the mirror.
The mirrors also include a memory function which works
in conjunction with the memory seats. See ªMemory
Seatsº in the Index for more information.
2-61
Page 156 of 588
Outside Power Camper-Type Mirror
If your vehicle is equipped with outside power
camper-type mirrors, they can be adjusted so you can
have a clear view of objects behind you.
To extend the mirrors move the selector switch, located
above the mirror control, to the middle position. The
mirror control will illuminate. Press the left side of
the mirror control to slide the mirror heads away from
the body of the vehicle. Press the right side of the mirror
control to slide the mirror heads toward the body of
the vehicle.
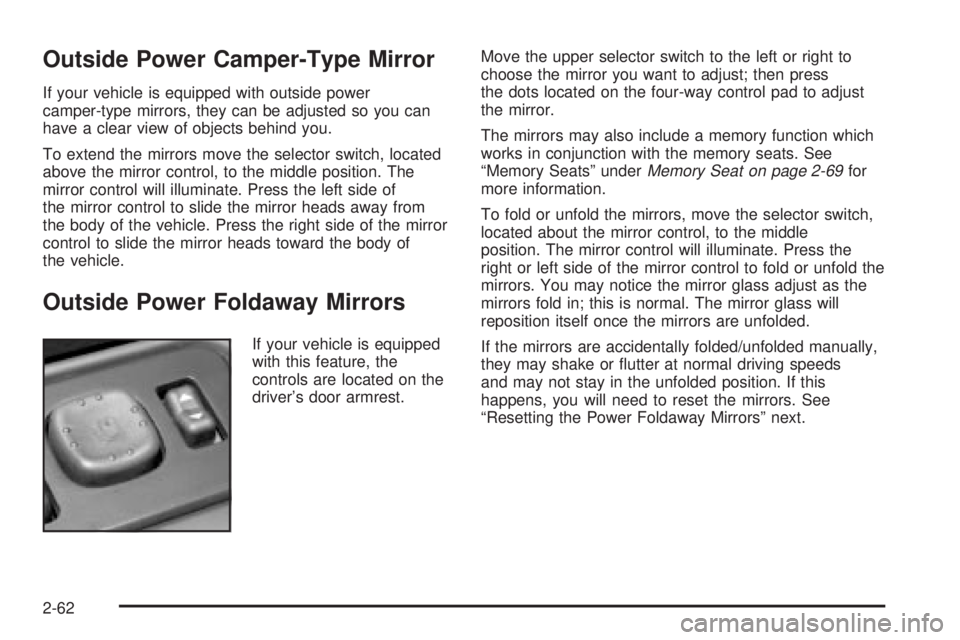
Outside Power Foldaway Mirrors
If your vehicle is equipped
with this feature, the
controls are located on the
driver's door armrest.Move the upper selector switch to the left or right to
choose the mirror you want to adjust; then press
the dots located on the four-way control pad to adjust
the mirror.
The mirrors may also include a memory function which
works in conjunction with the memory seats. See
ªMemory Seatsº under
Memory Seat on page 2-69for
more information.
To fold or unfold the mirrors, move the selector switch,
located about the mirror control, to the middle
position. The mirror control will illuminate. Press the
right or left side of the mirror control to fold or unfold the
mirrors. You may notice the mirror glass adjust as the
mirrors fold in; this is normal. The mirror glass will
reposition itself once the mirrors are unfolded.
If the mirrors are accidentally folded/unfolded manually,
they may shake or ¯utter at normal driving speeds
and may not stay in the unfolded position. If this
happens, you will need to reset the mirrors. See
ªResetting the Power Foldaway Mirrorsº next.
2-62
Page 161 of 588
Front Storage Area
Your vehicle may have a center armrest storage
compartment in the front bench seat.
To open it, fold down the armrest and press the latch
handle located at the front of the armrest. Then, let the
lid pop up and swing open.
The storage compartment may have a cassette/compact
disc holder.
Center Console Storage Area
Your vehicle may be equipped with a console
compartment between the bucket seats.
To open it, press the button and swing the console
lid open.
Your vehicle may have a compact disc holder in the
console.
Your console may have a cupholder that swings down
for the rear seat passengers to use. The front cupholder
pulls out and swivels 180É to provide clearance
between tall beverage containers and the manual
transmission shift lever (if equipped).
Tonneau Cover
If your vehicle is equipped with a tonneau cover, follow
the directions below to remove the cover.
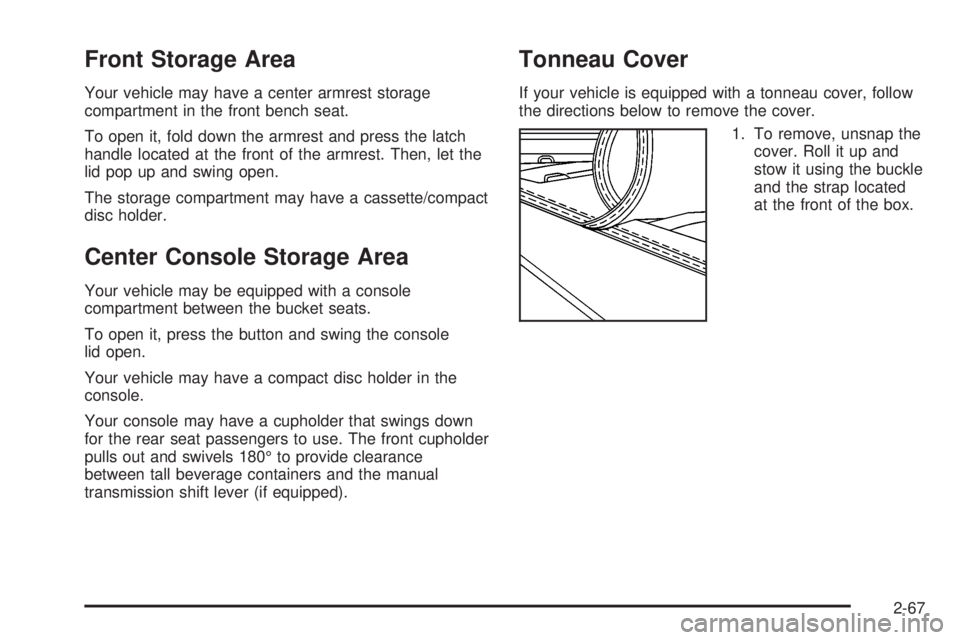
1. To remove, unsnap the
cover. Roll it up and
stow it using the buckle
and the strap located
at the front of the box.
2-67
Page 189 of 588
Outlet Adjustment
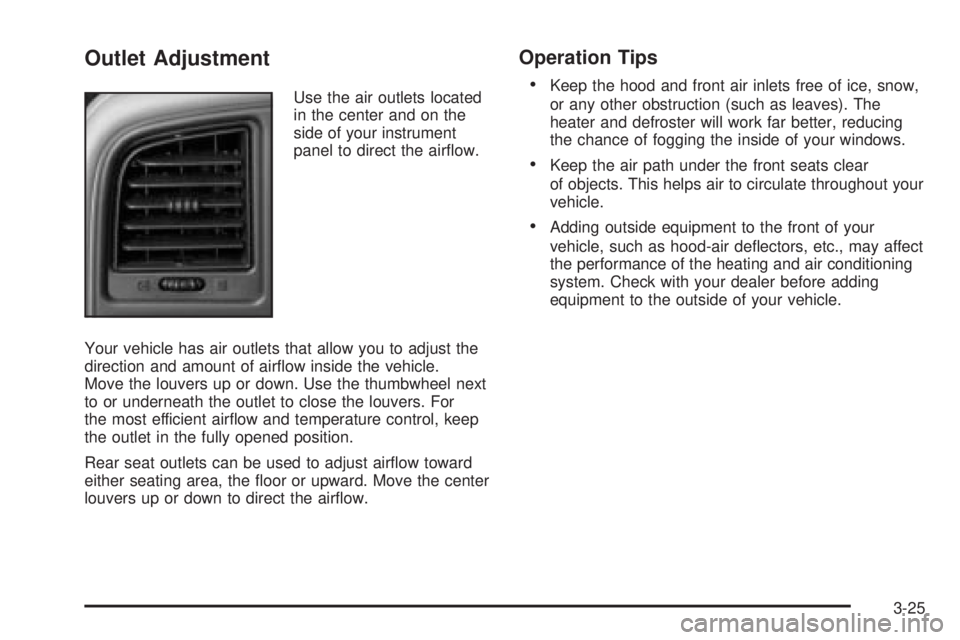
Use the air outlets located
in the center and on the
side of your instrument
panel to direct the air¯ow.
Your vehicle has air outlets that allow you to adjust the
direction and amount of air¯ow inside the vehicle.
Move the louvers up or down. Use the thumbwheel next
to or underneath the outlet to close the louvers. For
the most efficient air¯ow and temperature control, keep
the outlet in the fully opened position.
Rear seat outlets can be used to adjust air¯ow toward
either seating area, the ¯oor or upward. Move the center
louvers up or down to direct the air¯ow.
Operation Tips
·
Keep the hood and front air inlets free of ice, snow,
or any other obstruction (such as leaves). The
heater and defroster will work far better, reducing
the chance of fogging the inside of your windows.
·Keep the air path under the front seats clear
of objects. This helps air to circulate throughout your
vehicle.
·Adding outside equipment to the front of your
vehicle, such as hood-air de¯ectors, etc., may affect
the performance of the heating and air conditioning
system. Check with your dealer before adding
equipment to the outside of your vehicle.
3-25