2004 GMC SIERRA manual transmission
[x] Cancel search: manual transmissionPage 169 of 588

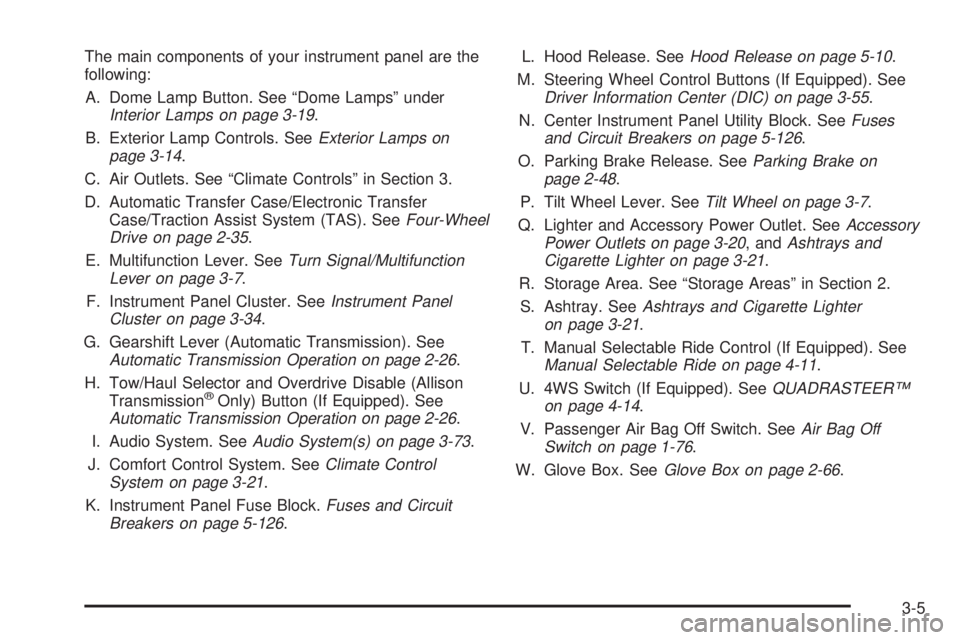
The main components of your instrument panel are the
following:
A. Dome Lamp Button. See ªDome Lampsº under
Interior Lamps on page 3-19.
B. Exterior Lamp Controls. See
Exterior Lamps on
page 3-14.
C. Air Outlets. See ªClimate Controlsº in Section 3.
D. Automatic Transfer Case/Electronic Transfer
Case/Traction Assist System (TAS). See
Four-Wheel
Drive on page 2-35.
E. Multifunction Lever. See
Turn Signal/Multifunction
Lever on page 3-7.
F. Instrument Panel Cluster. See
Instrument Panel
Cluster on page 3-34.
G. Gearshift Lever (Automatic Transmission). See
Automatic Transmission Operation on page 2-26.
H. Tow/Haul Selector and Overdrive Disable (Allison
Transmission
žOnly) Button (If Equipped). SeeAutomatic Transmission Operation on page 2-26.
I. Audio System. See
Audio System(s) on page 3-73.
J. Comfort Control System. See
Climate Control
System on page 3-21.
K. Instrument Panel Fuse Block.
Fuses and Circuit
Breakers on page 5-126.L. Hood Release. See
Hood Release on page 5-10.
M. Steering Wheel Control Buttons (If Equipped). See
Driver Information Center (DIC) on page 3-55.
N. Center Instrument Panel Utility Block. See
Fuses
and Circuit Breakers on page 5-126.
O. Parking Brake Release. See
Parking Brake on
page 2-48.
P. Tilt Wheel Lever. See
Tilt Wheel on page 3-7.
Q. Lighter and Accessory Power Outlet. See
Accessory
Power Outlets on page 3-20, andAshtrays and
Cigarette Lighter on page 3-21.
R. Storage Area. See ªStorage Areasº in Section 2.
S. Ashtray. See
Ashtrays and Cigarette Lighter
on page 3-21.
T. Manual Selectable Ride Control (If Equipped). See
Manual Selectable Ride on page 4-11.
U. 4WS Switch (If Equipped). See
QUADRASTEERŸ
on page 4-14.
V. Passenger Air Bag Off Switch. See
Air Bag Off
Switch on page 1-76.
W. Glove Box. See
Glove Box on page 2-66.
3-5
Page 180 of 588

If you start your vehicle in a dark garage, the automatic
headlamp system will come on immediately. Once
you leave the garage, it will take approximately
one minute for the automatic headlamp system to
change to DRL if it is bright enough outside. During that
delay, your instrument panel cluster may not be as
bright as usual. Make sure your instrument panel
brightness control is in the full bright position. See
ªInstrument Panel Brightness Controlº under
Interior
Lamps on page 3-19.
To idle your vehicle with the automatic headlamp
system off, turn the control to the off position.
You may be able to turn off your Automatic Headlamp
System. See ªDaytime Running Lamps (DRL)º later
in this section for more information.
As with any vehicle, you should turn on the regular
headlamp system when you need them.
Lamps On Reminder
A reminder chime will sound when your headlamps or
parking lamps are manually turned on and your ignition is
off, in LOCK, ACCESSORY, or your door is open. To
disable the chime, turn the light off then back on.
Daytime Running Lamps
Daytime Running Lamps (DRL) can make it easier for
others to see the front of your vehicle during the
day. DRL can be helpful in many different driving
conditions, but they can be especially helpful in the short
periods after dawn and before sunset. Fully functional
daytime running lamps are required on all vehicles
®rst sold in Canada.
The DRL system will come on when the following
conditions are met:
·The ignition is on
·The exterior lamps control is in AUTO
·The automatic transmission is not in PARK (P)
·The light sensor determines it is daytime
When the DRL system is on, only your DRL lamps will
be on. The taillamps, sidemarker and other lamps
won't be on. The instrument panel won't be lit up either.
When it begins to get dark, the automatic headlamp
system will switch from DRL to the headlamps or the last
chosen headlamp setting that was used.
When you turn the headlamp switch off, the headlamps
will go off, and your DRL lamps will illuminate,
provided it is not dark outside.
3-16
Page 181 of 588

To idle an automatic transmission equipped vehicle with
the DRL off, set the parking brake. Shifting the
transmission into PARK (P) will also allow you to idle
the vehicle with the DRL off. The DRL will stay off until
you release the parking brake or shift the transmission
out of PARK (P).
To idle a manual transmission equipped vehicle with the
DRL off, set the parking brake. The DRL will stay off
until you release the parking brake.
Fog Lamps
If your vehicle has fog lamps, use them for better vision
in foggy or misty conditions.
The fog lamp button is
located on the left side of
your instrument panel.Your parking lamps and/or low-beam headlamps must
be on for your fog lamps to work.
Press the button to turn the fog lamps on. Press the
button again to turn them off. An indicator light will glow
in the button when the fog lamps are on.
Remember, fog lamps alone will not give off as much
light as your headlamps. Never use the fog lamps in the
dark without turning on the headlamps.
The fog lamps will go off whenever the high-beam
headlamps come on. When the high beams go off, the
fog lamps will come on again.
The fog lamps will be cancelled after the ignition is
turned off. If you still want to use the fog lamps after you
restart the vehicle, you will need to press the fog
lamp button again.
3-17
Page 198 of 588

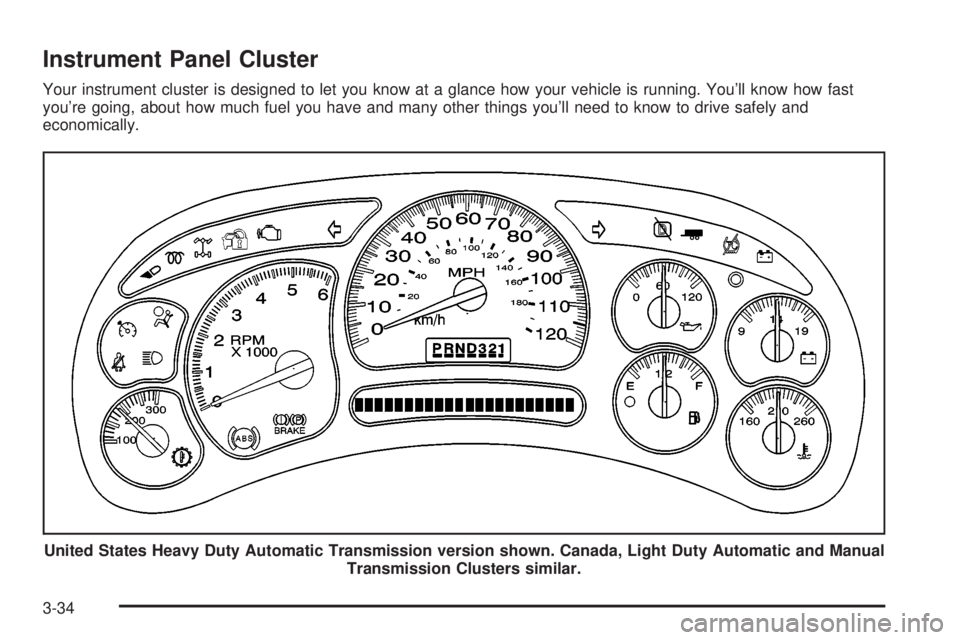
Instrument Panel Cluster
Your instrument cluster is designed to let you know at a glance how your vehicle is running. You'll know how fast
you're going, about how much fuel you have and many other things you'll need to know to drive safely and
economically.
United States Heavy Duty Automatic Transmission version shown. Canada, Light Duty Automatic and Manual
Transmission Clusters similar.
3-34
Page 207 of 588

You can only drive for a short time with the reading in
either warning zone. If you must drive, turn off all
unnecessary accessories.
Readings in either warning zone indicate a possible
problem in the electrical system. Have the vehicle
serviced as soon as possible.
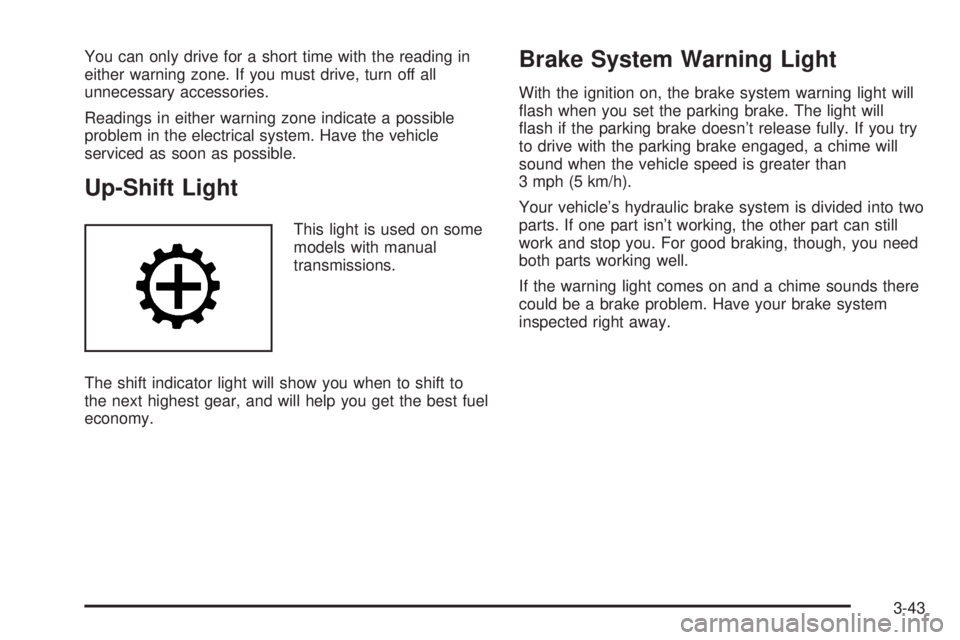
Up-Shift Light
This light is used on some
models with manual
transmissions.
The shift indicator light will show you when to shift to
the next highest gear, and will help you get the best fuel
economy.
Brake System Warning Light
With the ignition on, the brake system warning light will
¯ash when you set the parking brake. The light will
¯ash if the parking brake doesn't release fully. If you try
to drive with the parking brake engaged, a chime will
sound when the vehicle speed is greater than
3 mph (5 km/h).
Your vehicle's hydraulic brake system is divided into two
parts. If one part isn't working, the other part can still
work and stop you. For good braking, though, you need
both parts working well.
If the warning light comes on and a chime sounds there
could be a brake problem. Have your brake system
inspected right away.
3-43
Page 325 of 588

Q:What should I do if my vehicle stalls, or is
about to stall, and I can not make it up
the hill?
A:If this happens, there are some things you should
do, and there are some things you must not do.
First, here is what you
shoulddo:
·Push the brake pedal to stop the vehicle and keep
it from rolling backwards. Also, apply the parking
brake.
·If your engine is still running, shift the transmission
to REVERSE (R), release the parking brake, and
slowly back down the hill in REVERSE (R).
·If your engine has stopped running, you will need to
restart it. With the brake pedal pressed and the
parking brake still applied, shift the transmission to
PARK (P) (or shift to neutral if your vehicle has
a manual transmission) and restart the engine.
Then, shift to REVERSE (R), release the parking
brake, and slowly back down the hill as straight as
possible in REVERSE (R).
·As you are backing down the hill, put your left hand
on the steering wheel at the 12 o'clock position.
This way, you will be able to tell if your wheels are
straight and maneuver as you back down. It is
best that you back down the hill with your wheels
straight rather than in the left or right direction.
Turning the wheel too far to the left or right
will increase the possibility of a rollover.
Here are some things you
must notdo if you stall, or
are about to stall, when going up a hill.
·Never attempt to prevent a stall by shifting into
NEUTRAL (N) (or pressing the clutch, if you have a
manual transmission) to ªrev-upº the engine and
regain forward momentum. This will not work. Your
vehicle will roll backwards very quickly and you
could go out of control.
Instead, apply the regular brake to stop the vehicle.
Then apply the parking brake. Shift to
REVERSE (R), release the parking brake, and
slowly back straight down.
·Never attempt to turn around if you are about to
stall when going up a hill. If the hill is steep
enough to stall your vehicle, it is steep enough to
cause you to roll over if you turn around. If you can
not make it up the hill, you must back straight
down the hill.
4-29
Page 326 of 588

Q:Suppose, after stalling, I try to back down the
hill and decide I just can not do it. What should
I do?
A:Set the parking brake, put your transmission in
PARK (P), or the manual transmission in
FIRST (1), and turn off the engine. Leave the
vehicle and go get some help. Exit on the uphill
side and stay clear of the path the vehicle
would take if it rolled downhill. Do not shift the
transfer case to NEUTRAL when you leave
the vehicle. Leave it in some gear.
{CAUTION:
Shifting the transfer case to NEUTRAL can
cause your vehicle to roll even if the
transmission is in PARK (P) (or, if you have the
manual transmission, even if you are in gear).
This is because the NEUTRAL position on the
transfer case overrides the transmission. You or
someone else could be injured. If you are going
to leave your vehicle, set the parking brake and
shift the transmission to PARK (P) (or, put your
manual transmission in FIRST (1)). But do not
shift the transfer case to NEUTRAL. Leave the
transfer case in the 2 Wheel High, 4 High or
4 Low position.
4-30
Page 328 of 588

·Never go downhill with the transmission in
NEUTRAL (N), or with the clutch pedal pressed
down in a manual shift. This is called
ªfree-wheeling.º Your brakes will have to do all the
work and could overheat and fade.
Q:Am I likely to stall when going downhill?
A:It is much more likely to happen going uphill. But if
it happens going downhill, here is what to do.
·Stop your vehicle by applying the regular brakes.
Apply the parking brake.
·Shift to PARK (P) (or to neutral with the manual
transmission) and, while still braking, restart the
engine.
·Shift back to a low gear, release the parking brake,
and drive straight down.
·If the engine will not start, get out and get help.
Driving Across an Incline
Sooner or later, an off-road trail will probably go across
the incline of a hill. If this happens, you have to
decide whether to try to drive across the incline. Here
are some things to consider:
·A hill that can be driven straight up or down may be
too steep to drive across. When you go straight up
or down a hill, the length of the wheel base (the
distance from the front wheels to the rear wheels)
reduces the likelihood the vehicle will tumble
end over end. But when you drive across an incline,
the much more narrow track width (the distance
between the left and right wheels) may not prevent
the vehicle from tilting and rolling over. Also,
driving across an incline puts more weight on the
downhill wheels. This could cause a downhill
slide or a rollover.
·Surface conditions can be a problem when you
drive across a hill. Loose gravel, muddy spots,
or even wet grass can cause your tires to slip
sideways, downhill. If the vehicle slips sideways,
it can hit something that will trip it (a rock, a rut, etc.)
and roll over.
·Hidden obstacles can make the steepness of the
incline even worse. If you drive across a rock with the
uphill wheels, or if the downhill wheels drop into a rut
or depression, your vehicle can tilt even more.
4-32