2004 GMC SIERRA maintenance
[x] Cancel search: maintenancePage 236 of 588

TIGHTEN FUEL CAP
If the vehicle's fuel cap is not tightened properly thsi
message may appear along with the check engine light
on the instrument panel. See
Malfunction Indicator
Lamp on page 3-49. Fully reinstall the fuel cap.
SeeFilling Your Tank on page 5-7. The diagnostic
system can determine if the fuel cap has been left off or
improperly installed. A loose or missing fuel cap will
allow fuel to evaporate into the atmosphere. A few
driving trips with the cap properly installed should turn
the light and message off.
TRACTION ACTIVE
When the traction control system had detected that any
of the vehicle's wheels are slipping, the traction
control system will activate and this message will appear
on the DIC. For more information see ªTraction Assistº
in the Index.
TRANSMISSION HOT
If the transmission ¯uid temperature becomes high, the
message center will display this message.
When the transmission enters the protection mode, you
may notice a change in the transmission shifting
patterns. When the transmission ¯uid temperature
returns to normal, the display will turn off and the
transmission shifting patterns will return to normal.
Notice:If you drive your vehicle while the
transmission ¯uid is overheating and the
transmission temperature warning is displayed on
the instrument panel cluster and/or DIC, you
can damage the transmission. This could lead to
costly repairs that would not be covered by
your warranty. Do not drive your vehicle with
overheated transmission ¯uid or while transmission
temperature warning is displayed.
The following situations can cause the transmission to
operate at higher temperatures:
·Towing a trailer
·Hot outside air temperatures
·Hauling a large or heavy load
·Low transmission ¯uid level
·High transmission ¯uid level
·Restricted air ¯ow to the radiator and the auxiliary
transmission oil cooler.
A temporary solution to hotter transmission operating
temperatures may be to let the transmission cool down.
If the transmission is operated at higher temperatures
on a frequent basis, see
Scheduled Maintenance
on page 6-4for the proper transmission maintenance
intervals.
3-72
Page 318 of 588

When you are back on roads, though, be sure to
replace the air dam.
Notice:Operating your vehicle for extended
periods without the front bumper lower air dam
installed can cause improper air ¯ow to the engine
and may allow things like fog lamps or tow hooks
on the front of your vehicle to be damaged. Always
be sure to replace the front bumper air dam when
you are ®nished off-road driving.
To reinstall the lower air dam, do the following:
1. Line up each push-pin
with its intended
retainer and push the
washer portion of
the push-pin toward
the retainer until it locks
into place.2. Push the ¯at end of the
push-pin toward the
retainer until it
locks into place,
making sure each is
secure.
Before You Go Off-Roading
There are some things to do before you go out. For
example, be sure to have all necessary maintenance
and service work done. Check to make sure all
underbody shields (if so equipped) are properly
attached. Be sure you read all the information about
your four-wheel-drive vehicle in this manual. Is
there enough fuel? Is the spare tire fully in¯ated? Are
the ¯uid levels up where they should be? What are the
local laws that apply to off-roading where you will be
driving? If you do not know, you should check with law
enforcement people in the area. Will you be on
someone's private land? If so, be sure to get the
necessary permission.
4-22
Page 333 of 588

After Off-Road Driving
Remove any brush or debris that has collected on the
underbody, chassis or under the hood. These
accumulations can be a ®re hazard.
After operation in mud or sand, have the brake linings
cleaned and checked. These substances can cause
glazing and uneven braking. Check the body structure,
steering, suspension, wheels, tires and exhaust
system for damage. Also, check the fuel lines and
cooling system for any leakage.
Your vehicle will require more frequent service due to
off-road use. Refer to the Maintenance Schedule
for additional information.
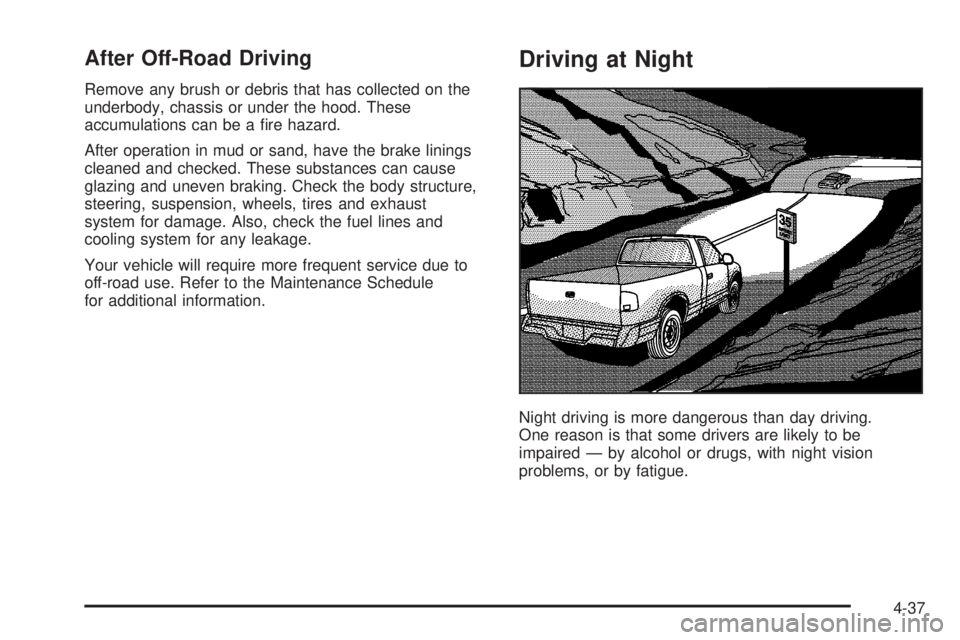
Driving at Night
Night driving is more dangerous than day driving.
One reason is that some drivers are likely to be
impaired Ð by alcohol or drugs, with night vision
problems, or by fatigue.
4-37
Page 391 of 588

When You Are Ready to Leave After
Parking on a Hill
1. Apply your regular brakes and hold the pedal down
while you:
·Start your engine
·Shift into a gear
·Release the parking brake
2. Let up on the brake pedal.
3. Drive slowly until the trailer is clear of the chocks.
4. Stop and have someone pick up and store the
chocks.
Maintenance When Trailer Towing
Your vehicle will need service more often when you're
pulling a trailer. SeeScheduled Maintenance on
page 6-4for more information. Things that are especially
important in trailer operation are automatic transmission
¯uid (don't over®ll), engine oil, axle lubricant, belt,
cooling system and brake system. Each of these is
covered in this manual, and the Index will help you ®nd
them quickly. If you're trailering, it's a good idea to
review these sections before you start your trip.
Check periodically to see that all hitch nuts and bolts
are tight.
Trailer Wiring Harness
Your vehicle is equipped with one of the following wiring
harnesses for towing a trailer or hauling a slide-in
camper.
Basic Trailer Wiring
All regular, extended cab crew cab pickups have a
six-wire trailer towing harness.
The six-wire harness is located at the rear of the vehicle
and is tied to the vehicle's frame. The harness requires
the installation of a trailer-wiring harness connector,
which is available through your dealer.
4-95
Page 402 of 588

Windshield Wiper Blade Replacement..............5-74
Tires..............................................................5-76
In¯ation - Tire Pressure.................................5-84
Dual Tire Operation.......................................5-85
Tire Inspection and Rotation...........................5-86
When It Is Time for New Tires.......................5-88
Buying New Tires.........................................5-89
Uniform Tire Quality Grading..........................5-90
Wheel Alignment and Tire Balance..................5-91
Wheel Replacement......................................5-92
Tire Chains..................................................5-94
If a Tire Goes Flat........................................5-95
Changing a Flat Tire.....................................5-96
Spare Tire.................................................5-116
Appearance Care..........................................5-116
Cleaning the Inside of Your Vehicle...............5-117
Care of Safety Belts....................................5-119Weatherstrips.............................................5-119
Cleaning the Outside of Your Vehicle.............5-120
Sheet Metal Damage...................................5-122
Finish Damage...........................................5-122
Underbody Maintenance...............................5-123
Chemical Paint Spotting...............................5-123
Vehicle Care/Appearance Materials................5-123
Vehicle Identi®cation.....................................5-125
Vehicle Identi®cation Number (VIN)................5-125
Service Parts Identi®cation Label...................5-125
Electrical System..........................................5-125
Add-On Electrical Equipment.........................5-125
Windshield Wiper Fuses...............................5-126
Power Windows and Other Power Options......5-126
Fuses and Circuit Breakers..........................5-126
Capacities and Speci®cations........................5-134
Section 5 Service and Appearance Care
5-2
Page 403 of 588

Service
Your dealer knows your vehicle best and wants you to
be happy with it. We hope you will go to your dealer
for all your service needs. You will get genuine GM parts
and GM-trained and supported service people.
We hope you will want to keep your GM vehicle all GM.
Genuine GM parts have one of these marks:
Doing Your Own Service Work
If you want to do some of your own service work, you
will want to use the proper service manual. It tells
you much more about how to service your vehicle than
this manual can. To order the proper service manual,
see
Service Publications Ordering Information on
page 7-12.
Your vehicle has an air bag system. Before attempting
to do your own service work, see
Servicing Your Air
Bag-Equipped Vehicle on page 1-86.
You should keep a record with all parts receipts and list
the mileage and the date of any service work you
perform. See
Maintenance Record on page 6-19.
{CAUTION:
You can be injured and your vehicle could be
damaged if you try to do service work on a
vehicle without knowing enough about it.
·Be sure you have sufficient knowledge,
experience, the proper replacement parts
and tools before you attempt any vehicle
maintenance task.
CAUTION: (Continued)
5-3
Page 425 of 588

Automatic Transmission Fluid
(Except Allison Transmission
ž)
When to Check and Change
A good time to check your automatic transmission ¯uid
level is when the engine oil is changed.
Change both the ¯uid and ®lter every 50,000 miles
(83 000 km) if the vehicle's GVWR is over 8,600 or if
the vehicle is mainly driven under one or more of these
conditions:
·In heavy city traffic where the outside temperature
regularly reaches 90ÉF (32ÉC) or higher.
·In hilly or mountainous terrain.
·When doing frequent trailer towing.
·Uses such as found in taxi, police or delivery
service.
If your vehicle's GVWR is not over 8,600 and you do
not use your vehicle under any of these conditions,
change the ¯uid and ®lter every 100,000 miles
(166 000 km).
See
Scheduled Maintenance on page 6-4.
How to Check
Because this operation can be a little difficult, you may
choose to have this done at the dealership service
department.
If you do it yourself, be sure to follow all the instructions
here, or you could get a false reading on the dipstick.
Notice:Too much or too little ¯uid can damage
your transmission. Too much can mean that some
of the ¯uid could come out and fall on hot engine
part or exhaust system parts, starting a ®re.
Too little ¯uid could cause the transmission to
overheat. Be sure to get an accurate reading if you
check your transmission ¯uid.
Wait at least 30 minutes before checking the
transmission ¯uid level if you have been driving:
·When outside temperatures are above 90ÉF (32ÉC).
·At high speed for quite a while.
·In heavy traffic ± especially in hot weather.
·While pulling a trailer.
To get the right reading, the ¯uid should be at normal
operating temperature, which is 180ÉF to 200ÉF
(82ÉC to 93ÉC).
5-25
Page 427 of 588

SeeEngine Compartment Overview on page 5-12for
more information on location.
1. Flip the handle up and then pull out the dipstick
and wipe it with a clean rag or paper towel.
2. Push it back in all the way, wait three seconds and
then pull it back out again.
3. Check both sides of the dipstick, and read the lower
level. The ¯uid level must be in the COLD area,
below the cross-hatched area, for a cold check or in
the HOT area or cross-hatched area for a hot
check. Be sure to keep the dipstick pointed down to
get an accurate reading.
4. If the ¯uid level is in the acceptable range, push the
dipstick back in all the way; then ¯ip the handle
down to lock the dipstick in place.How to Add Fluid
Refer to the Maintenance Schedule to determine what
kind of transmission ¯uid to use. SeeRecommended
Fluids and Lubricants on page 6-14.
Add ¯uid only after checking the transmission ¯uid while
it is hot. (A cold check is used only as a reference.) If
the ¯uid level is low, add only enough of the proper ¯uid
to bring the level up to the HOT area for a hot check.
It doesn't take much ¯uid, generally less than one
pint (0.5 L).
Don't over®ll.
Notice:
We recommend you use only ¯uid labeled
DEXRONž-III, because ¯uid with that label is
made especially for your automatic transmission.
Damage caused by ¯uid other than DEXRON
ž-III is
not covered by your new vehicle warranty.
·After adding ¯uid, recheck the ¯uid level as
described under
How to Check.
·When the correct ¯uid level is obtained, push the
dipstick back in all the way; then ¯ip the handle
down to lock the dipstick in place.
5-27