2004 GMC SAFARI washer fluid
[x] Cancel search: washer fluidPage 128 of 394

Windshield Wipers
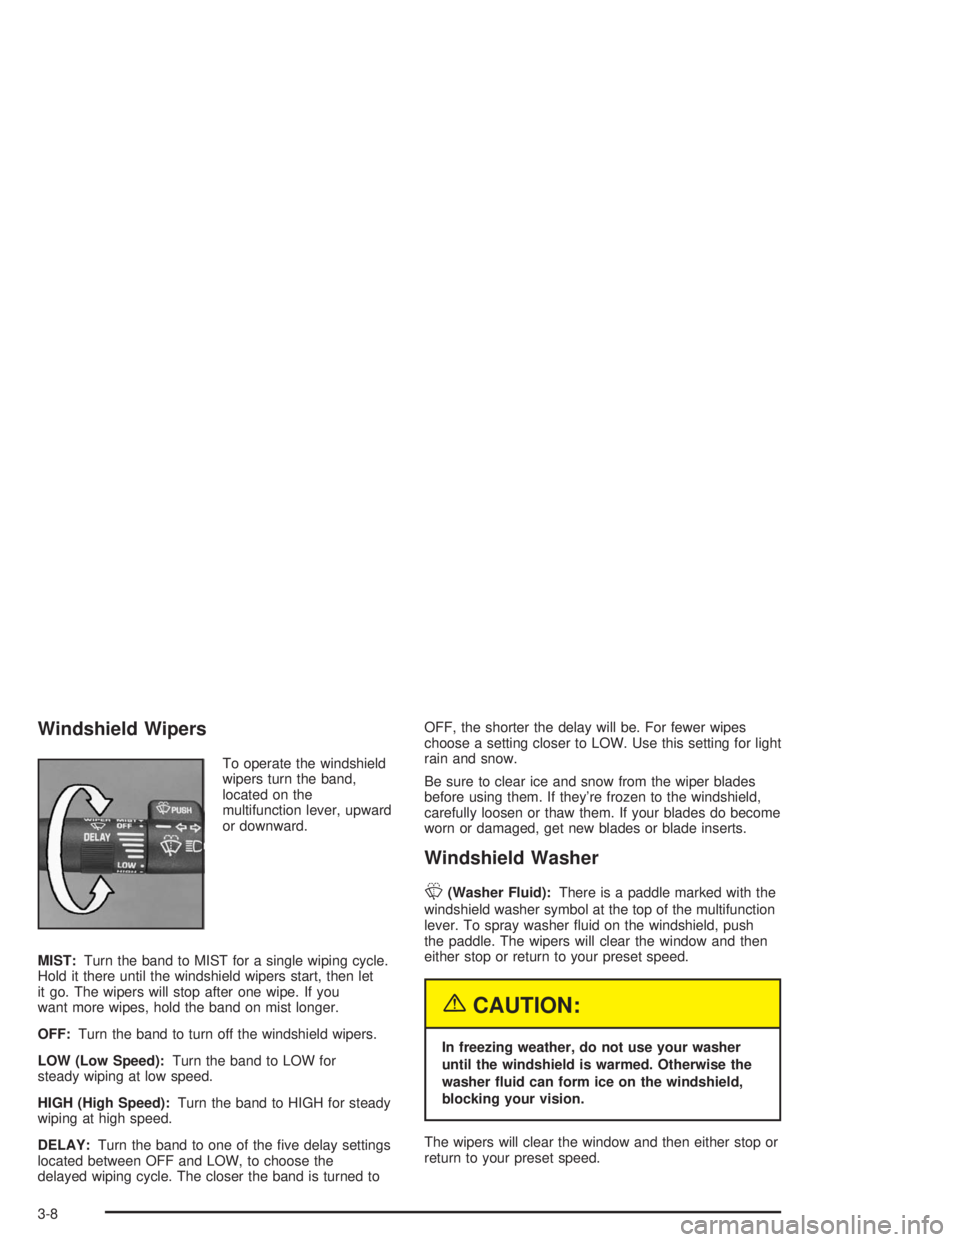
To operate the windshield
wipers turn the band,
located on the
multifunction lever, upward
or downward.
MIST:Turn the band to MIST for a single wiping cycle.
Hold it there until the windshield wipers start, then let
it go. The wipers will stop after one wipe. If you
want more wipes, hold the band on mist longer.
OFF:Turn the band to turn off the windshield wipers.
LOW (Low Speed):Turn the band to LOW for
steady wiping at low speed.
HIGH (High Speed):Turn the band to HIGH for steady
wiping at high speed.
DELAY:Turn the band to one of the �ve delay settings
located between OFF and LOW, to choose the
delayed wiping cycle. The closer the band is turned toOFF, the shorter the delay will be. For fewer wipes
choose a setting closer to LOW. Use this setting for light
rain and snow.
Be sure to clear ice and snow from the wiper blades
before using them. If they’re frozen to the windshield,
carefully loosen or thaw them. If your blades do become
worn or damaged, get new blades or blade inserts.
Windshield Washer
L
(Washer Fluid):There is a paddle marked with the
windshield washer symbol at the top of the multifunction
lever. To spray washer �uid on the windshield, push
the paddle. The wipers will clear the window and then
either stop or return to your preset speed.
{CAUTION:
In freezing weather, do not use your washer
until the windshield is warmed. Otherwise the
washer �uid can form ice on the windshield,
blocking your vision.
The wipers will clear the window and then either stop or
return to your preset speed.
3-8
Page 191 of 394

The exit ramp can be curved, sometimes quite sharply.
The exit speed is usually posted.
Reduce your speed according to your speedometer, not
to your sense of motion. After driving for any distance
at higher speeds, you may tend to think you are
going slower than you actually are.
Before Leaving on a Long Trip
Make sure you are ready. Try to be well rested. If you
must start when you are not fresh — such as after
a day’s work — do not plan to make too many miles that
�rst part of the journey. Wear comfortable clothing
and shoes you can easily drive in.
Is your vehicle ready for a long trip? If you keep it
serviced and maintained, it is ready to go. If it needs
service, have it done before starting out. Of course, you
will �nd experienced and able service experts in GM
dealerships all across North America. They will be ready
and willing to help if you need it.Here are some things you can check before a trip:
Windshield Washer Fluid:Is the reservoir full? Are
all windows clean inside and outside?
Wiper Blades:Are they in good shape?
Fuel, Engine Oil, Other Fluids:Have you checked
all levels?
Lamps:Are they all working? Are the lenses clean?
Tires:They are vitally important to a safe,
trouble-free trip. Is the tread good enough for
long-distance driving? Are the tires all in�ated to the
recommended pressure?
Weather Forecasts:What is the weather outlook
along your route? Should you delay your trip a
short time to avoid a major storm system?
Maps:Do you have up-to-date maps?
4-21
Page 217 of 394

Service............................................................5-3
Doing Your Own Service Work.........................5-3
Adding Equipment to the Outside of Your
Vehicle......................................................5-4
Fuel................................................................5-4
Gasoline Octane............................................5-4
Gasoline Speci�cations....................................5-5
California Fuel...............................................5-5
Additives.......................................................5-6
Fuels in Foreign Countries...............................5-6
Filling Your Tank............................................5-7
Filling a Portable Fuel Container.......................5-9
Checking Things Under
the Hood......................................................5-9
Hood Release..............................................5-10
Engine Compartment Overview.......................5-12
Engine Oil...................................................5-13
Engine Cover...............................................5-18
Engine Air Cleaner/Filter................................5-22
Automatic Transmission Fluid.........................5-23
Engine Coolant.............................................5-26Radiator Pressure Cap..................................5-28
Engine Overheating.......................................5-29
Cooling System............................................5-31
Engine Fan Noise.........................................5-37
Power Steering Fluid.....................................5-38
Windshield Washer Fluid................................5-39
Brakes........................................................5-40
Battery........................................................5-44
Jump Starting...............................................5-45
All-Wheel Drive..............................................5-50
Rear Axle.......................................................5-51
Front Axle......................................................5-52
Bulb Replacement..........................................5-53
Halogen Bulbs..............................................5-53
Headlamps..................................................5-53
Front Turn Signal Lamps...............................5-57
Taillamps.....................................................5-58
Replacement Bulbs.......................................5-59
Windshield Wiper Blade Replacement..............5-60
Section 5 Service and Appearance Care
5-1
Page 229 of 394

A. Windshield Washer Fluid. SeeWindshield Washer
Fluid on page 5-39.
B. Engine Coolant. SeeEngine Coolant on page 5-26.
C. Engine Oil Dipstick. SeeEngine Oil on page 5-13.
D. Transmission Dipstick. SeeAutomatic Transmission
Fluid on page 5-23.
E. Engine Air Cleaner/Filter. SeeEngine Air
Cleaner/Filter on page 5-22.
F. Engine Oil Fill. SeeEngine Oil on page 5-13.
G. Brake Master Cylinder Reservoir. SeeBrakes on
page 5-40.
H. Power Steering Fluid Reservoir. SeePower Steering
Fluid on page 5-38.
I. Battery. SeeBattery on page 5-44.Engine Oil
Checking Engine Oil
It is a good idea to check your engine oil every time you
get fuel. In order to get an accurate reading, the oil
must be warm and the vehicle must be on level ground.
The engine oil dipstick handle is a yellow loop. See
Engine Compartment Overview on page 5-12for
the location of the engine oil dipstick.
Turn off the engine and give the oil several minutes to
drain back into the oil pan. If you don’t, the oil
dipstick might not show the actual level.
Pull out the dipstick and clean it with a paper towel or
cloth, then push it back in all the way. Remove it again,
keeping the tip down, and check the level.
5-13
Page 255 of 394

Windshield Washer Fluid
What to Use
When you need windshield washer �uid, be sure to read
the manufacturer’s instructions before use. If you will
be operating your vehicle in an area where the
temperature may fall below freezing, use a �uid that has
sufficient protection against freezing.
Adding Washer Fluid
Open the cap with the
washer symbol on it. Add
washer �uid until the
tank is full.Notice:
When using concentrated washer �uid, follow
the manufacturer’s instructions for adding
water.
Do not mix water with ready-to-use washer �uid.
Water can cause the solution to freeze and
damage your washer �uid tank and other parts
of the washer system. Also, water does not
clean as well as washer �uid.
Fill your washer �uid tank only three-quarters
full when it is very cold. This allows for
expansion if freezing occurs, which could
damage the tank if it is completely full.
Do not use engine coolant (antifreeze) in your
windshield washer. It can damage your washer
system and paint.
5-39
Page 353 of 394

Part B: Owner Checks and Services
Listed in this part are owner checks and services
which should be performed at the intervals speci�ed to
help ensure the safety, dependability and emission
control performance of your vehicle.
Be sure any necessary repairs are completed at once.
Whenever any �uids or lubricants are added to your
vehicle, make sure they are the proper ones, as shown
in Part D.
At Each Fuel Fill
It is important for you or a service station attendant to
perform these underhood checks at each fuel �ll.
Engine Oil Level Check
Check the engine oil level and add the proper oil if
necessary. SeeEngine Oil on page 5-13for further
details.
Engine Coolant Level Check
Check the engine coolant level and add DEX-COOL®
coolant mixture if necessary. SeeEngine Coolant
on page 5-26for further details.
Windshield Washer Fluid Level Check
Check the windshield washer �uid level in the windshield
washer tank and add the proper �uid if necessary.
SeeWindshield Washer Fluid on page 5-39for further
details.
At Least Once a Month
Tire In�ation Check
Visually inspect your tires and make sure tires are
in�ated to the correct pressures. Do not forget to check
your spare tire. SeeTires on page 5-61for further
details.
6-25
Page 360 of 394

Part D: Recommended Fluids and
Lubricants
Fluids and lubricants identi�ed below by name, part
number or speci�cation may be obtained from your
dealer.
Usage Fluid/Lubricant
Engine OilEngine oil which meets GM
Standard GM6094M and displays
the American Petroleum Institute
Certi�ed for Gasoline Engines
starburst symbol. To determine the
proper viscosity for your vehicle’s
engine, seeEngine Oil on
page 5-13.
Engine Coolant50/50 mixture of clean, drinkable
water and use only
DEX-COOL
®Coolant. SeeEngine
Coolant on page 5-26.
Hydraulic Brake
SystemDelco Supreme 11 Brake Fluid or
equivalent DOT-3 brake �uid.
Windshield
Washer SolventGM Optikleen
®Washer Solvent.
Usage Fluid/Lubricant
Parking Brake
Cable GuidesChassis Lubricant (GM Part No.
U.S. 12377985, in Canada
88901242) or lubricant meeting
requirements of NLGI #2, Category
LB or GC-LB.
Power Steering
SystemGM Power Steering Fluid (GM Part
No. U.S. 89021184, in Canada
89021186).
Automatic
TransmissionDEXRON
®-III Automatic
Transmission Fluid.
Key Lock
CylindersMulti-Purpose Lubricant, Superlube
(GM Part No. U.S. 12346241, in
Canada 10953474).
Chassis
LubricationChassis Lubricant (GM Part No.
U.S. 12377985, in Canada
88901242) or lubricant meeting
requirements of NLGI #2, Category
LB or GC-LB.
Front Wheel
BearingsWheel bearing lubricant meeting
requirements of NLGI #2, Category
GC or GC-LB (GM Part No. U.S.
1051344, in Canada 993037).
6-32
Page 379 of 394

A
Accessory Power Outlets.................................3-16
Activating the Theft-Deterrent Feature................3-48
Adding Equipment to Your Air Bag-Equipped
Vehicle.......................................................1-71
Adding Washer Fluid.......................................5-39
Additional Program Information........................... 7-9
Additives, Fuel................................................. 5-6
Add-On Equipment..........................................4-34
Adjusting the Speakers (Balance/Fade)......3-40, 3-43
Air Bag
Readiness Light..........................................3-26
Air Bag System..............................................1-63
Adding Equipment to Your Air Bag-Equipped
Vehicle...................................................1-71
How Does an Air Bag Restrain?....................1-68
Servicing Your Air Bag-Equipped Vehicle.........1-70
What Makes an Air Bag In�ate?....................1-67
What Will You See After an Air Bag In�ates?......1-68
When Should an Air Bag In�ate?...................1-67
Where Are the Air Bags?..............................1-65
Air Cleaner/Filter, Engine.................................5-22
Airbag Sensing and Diagnostic Module (SDM)....7-10
All Overseas Locations...................................... 7-5
All-Wheel Drive...............................................5-50
All-Wheel Drive (AWD) System.........................2-24
All-Wheel-Drive Service Light............................3-35
AM ...............................................................3-50
AM-FM Radio.................................................3-39Antenna, Fixed Mast.......................................3-50
Anti-lock Brake System..................................... 4-7
Anti-Lock Brake, System Warning Light..............3-29
Appearance Care............................................5-93
Care of Safety Belts....................................5-96
Chemical Paint Spotting...............................5-99
Cleaning the Inside of Your Vehicle................5-93
Cleaning the Outside of Your Vehicle..............5-96
Finish Damage............................................5-98
Sheet Metal Damage...................................5-98
Underbody Maintenance...............................5-99
Vehicle Care/Appearance Materials................5-99
Weatherstrips..............................................5-96
Ashtrays........................................................3-17
Audio System(s).............................................3-38
AM-FM Radio.............................................3-39
Care of Your CD Player...............................3-50
Care of Your CDs........................................3-50
Fixed Mast Antenna.....................................3-50
Radio with CD............................................3-41
Rear Seat Audio (RSA)................................3-46
Setting the Time for Radios with HR and MN
Buttons...................................................3-38
Setting the Time for Radios with the Set
Button....................................................3-38
Theft-Deterrent Feature................................3-47
Understanding Radio Reception.....................3-50
Automatic Headlamp System............................3-13
Automatic Transmission
Fluid..........................................................5-23
1