2004 GMC CANYON high beam
[x] Cancel search: high beamPage 125 of 420
Instrument Panel Overview...............................3-2
Hazard Warning Flashers................................3-4
Other Warning Devices...................................3-4
Horn.............................................................3-4
Tilt Wheel.....................................................3-5
Turn Signal/Multifunction Lever.........................3-5
Exterior Lamps.............................................3-12
Interior Lamps..............................................3-15
Accessory Power Outlets...............................3-16
Ashtrays and Cigarette Lighter........................3-17
Climate Controls............................................3-18
Climate Control System.................................3-18
Outlet Adjustment.........................................3-21
Warning Lights, Gages, and Indicators............3-22
Instrument Panel Cluster................................3-23
Speedometer and Odometer...........................3-24
Trip Odometer..............................................3-24
Tachometer.................................................3-24
Safety Belt Reminder Light.............................3-24
Air Bag Readiness Light................................3-25
Air Bag Off Light..........................................3-26
Battery Warning Light....................................3-27
Up-Shift Light (Manual Transmission)...............3-28
Brake System Warning Light..........................3-28
Anti-Lock Brake System Warning Light.............3-29Engine Coolant Temperature Gage..................3-30
Malfunction Indicator Lamp.............................3-30
Oil Pressure Light.........................................3-34
Security Light...............................................3-35
Cruise Control Light......................................3-35
Highbeam On Light.......................................3-35
Daytime Running Lamps Indicator Light...........3-36
Fuel Gage...................................................3-36
Driver Information Center (DIC).......................3-37
DIC Controls and Displays.............................3-37
DIC Warnings and Messages.........................3-39
Audio System(s).............................................3-42
Setting the Time for Radios without Radio
Data Systems (RDS)..................................3-43
Setting the Time for Radios with Radio Data
Systems (RDS).........................................3-43
AM-FM Radio...............................................3-44
Radio with CD..............................................3-47
Radio with Six-Disc CD.................................3-56
Theft-Deterrent Feature (Non-RDS Radios).......3-67
Theft-Deterrent Feature (RDS Radios).............3-67
Radio Reception...........................................3-68
Care of Your CDs.........................................3-68
Care of Your CD Player................................3-68
Fixed Mast Antenna......................................3-68
Chime Level Adjustment................................3-68
Section 3 Instrument Panel
3-1
Page 129 of 420
Tilt Wheel
A tilt wheel allows you to adjust the steering wheel
before you drive. If you have the tilt steering wheel,
you can raise it to the highest level to allow more room
for the driver to enter and exit the vehicle.
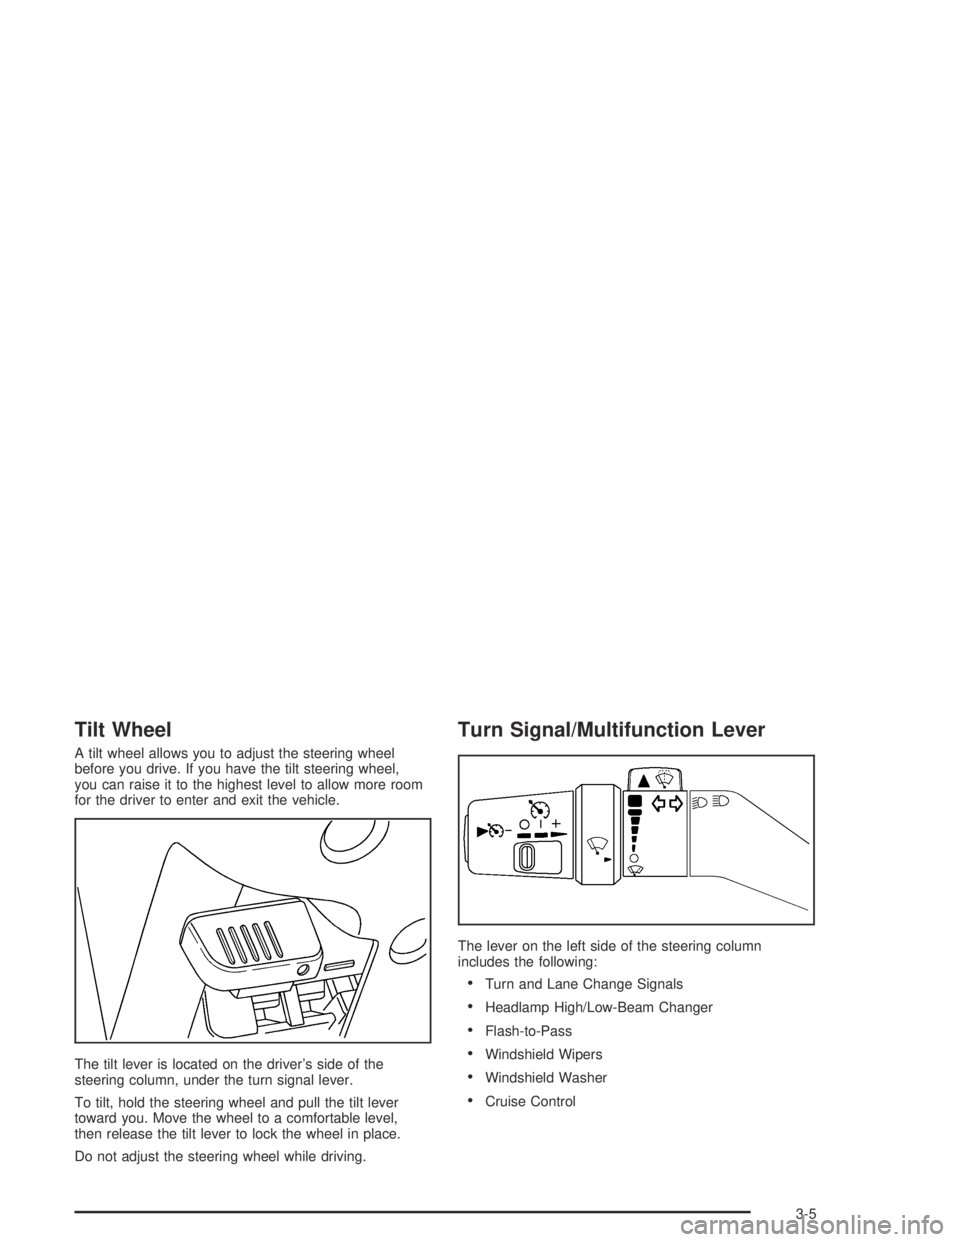
The tilt lever is located on the driver’s side of the
steering column, under the turn signal lever.
To tilt, hold the steering wheel and pull the tilt lever
toward you. Move the wheel to a comfortable level,
then release the tilt lever to lock the wheel in place.
Do not adjust the steering wheel while driving.
Turn Signal/Multifunction Lever
The lever on the left side of the steering column
includes the following:
Turn and Lane Change Signals
Headlamp High/Low-Beam Changer
Flash-to-Pass
Windshield Wipers
Windshield Washer
Cruise Control
3-5
Page 131 of 420
Headlamp High/Low-Beam Changer
53
(Headlamp High/Low Beam Changer):
To change the headlamps from low to high beam,
push the lever toward the instrument panel. To return
to low-beam headlamps, pull the multifunction lever
toward you. Then release it.
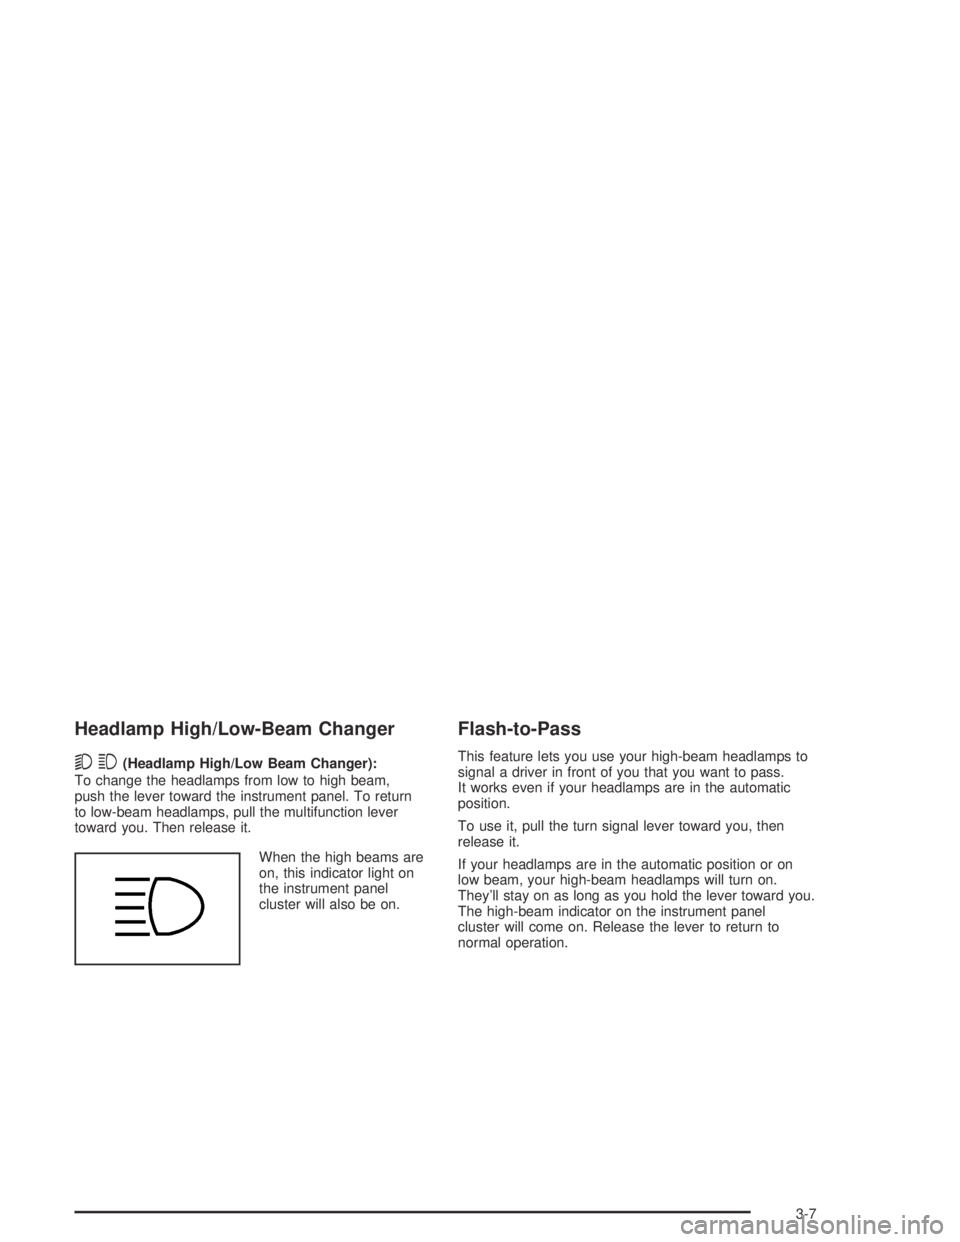
When the high beams are
on, this indicator light on
the instrument panel
cluster will also be on.
Flash-to-Pass
This feature lets you use your high-beam headlamps to
signal a driver in front of you that you want to pass.
It works even if your headlamps are in the automatic
position.
To use it, pull the turn signal lever toward you, then
release it.
If your headlamps are in the automatic position or on
low beam, your high-beam headlamps will turn on.
They’ll stay on as long as you hold the lever toward you.
The high-beam indicator on the instrument panel
cluster will come on. Release the lever to return to
normal operation.
3-7
Page 136 of 420
Exterior Lamps
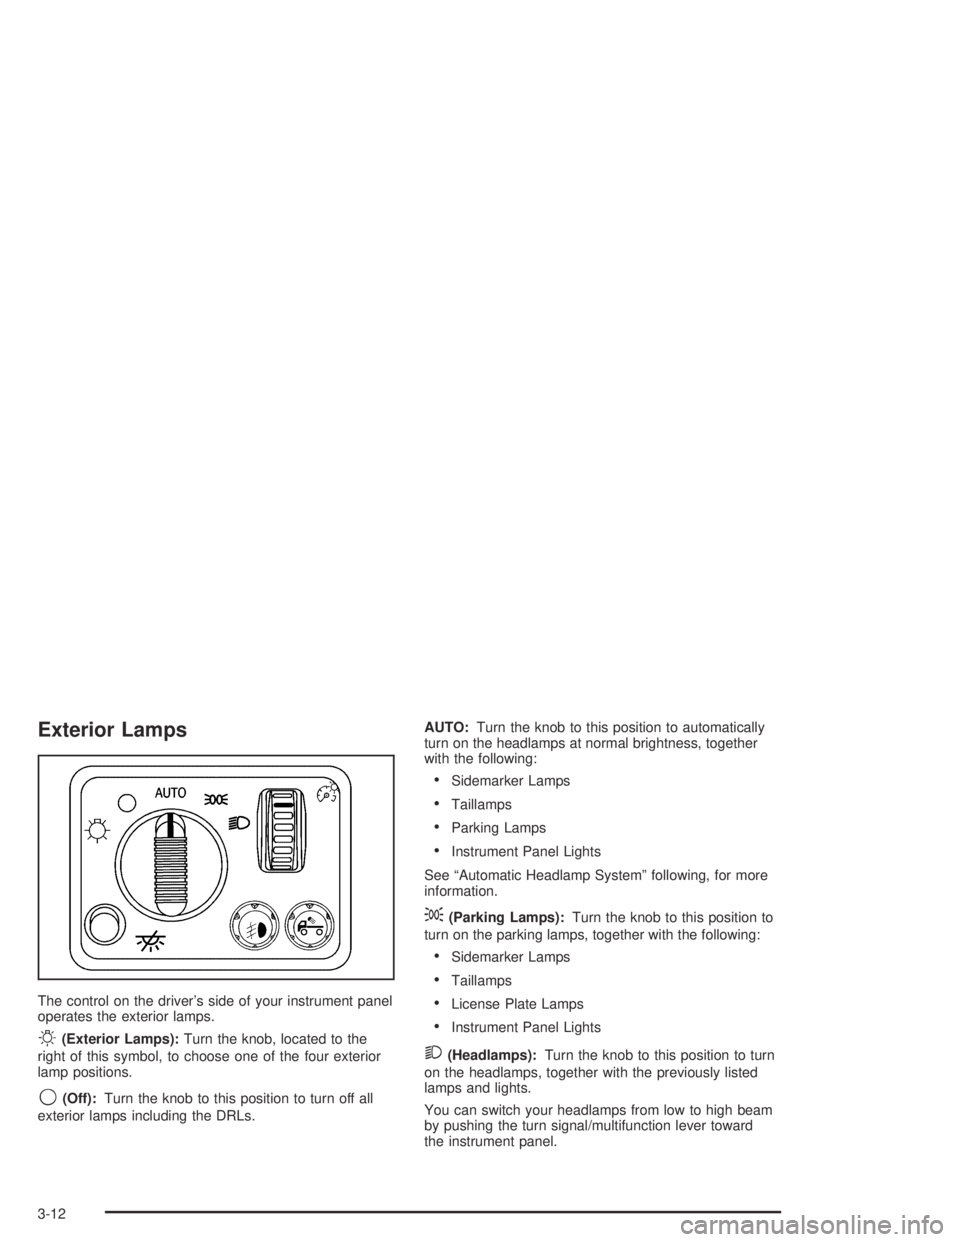
The control on the driver’s side of your instrument panel
operates the exterior lamps.
O(Exterior Lamps):Turn the knob, located to the
right of this symbol, to choose one of the four exterior
lamp positions.
9(Off):Turn the knob to this position to turn off all
exterior lamps including the DRLs.AUTO:Turn the knob to this position to automatically
turn on the headlamps at normal brightness, together
with the following:
Sidemarker Lamps
Taillamps
Parking Lamps
Instrument Panel Lights
See “Automatic Headlamp System” following, for more
information.
;(Parking Lamps):Turn the knob to this position to
turn on the parking lamps, together with the following:
Sidemarker Lamps
Taillamps
License Plate Lamps
Instrument Panel Lights
2(Headlamps):Turn the knob to this position to turn
on the headlamps, together with the previously listed
lamps and lights.
You can switch your headlamps from low to high beam
by pushing the turn signal/multifunction lever toward
the instrument panel.
3-12
Page 138 of 420

Daytime Running Lamps
Daytime Running Lamps (DRL) can make it easier
for others to see the front of your vehicle during the day.
DRL can be helpful in many different driving conditions,
but they can be especially helpful in the short periods
after dawn and before sunset. Fully functional daytime
running lamps are required on all vehicles �rst sold
in Canada.
The DRL system will come on when the following
conditions are met:
The ignition is on.
The exterior lamps control is in AUTO.
The automatic transmission is not in PARK (P).
The light sensor determines it is daytime.
When the DRL are on, only your DRL lamps will be on.
The taillamps, sidemarkers and other lamps will not
be on. The instrument panel will not be lit up either.
When it begins to get dark, the automatic headlamp
system will switch from DRL to the headlamps.
As with any vehicle, you should turn on the regular
headlamp system when you need it.
Fog Lamps
If your vehicle has fog lamps you can use them for
better vision in foggy or misty conditions. Your parking
lamps and/or low-beam headlamps must be on for
your fog lamps to work.
The fog lamp button is
located near the exterior
lamps control.
Press the button to turn the fog lamps on while the
headlamps or parking lamps are on. Press the button
again to turn them off. An indicator light will glow in the
button when the fog lamps are on.
Remember, fog lamps alone will not give off as much
light as your headlamps. Never use your fog lamps
in the dark without turning on the headlamps.
The fog lamps will go off whenever your high-beam
headlamps come on. When the high beams go off,
the fog lamps will come on again.
The fog lamps will be cancelled after the ignition is
turned off. If you still want to use the fog lamps after you
restart the vehicle, you will need to press the fog lamp
button again.
3-14
Page 159 of 420

Security Light
This light will come on
brie�y when you turn the
key to START. The light
will stay on until the
engine starts.
If the ignition is turned on, and the light �ashes, the
Passlock
®system has entered a tamper mode. If the
vehicle fails to start, seePasslock®on page 2-16.
If the light comes on continuously while driving and stays
on, there may be a problem with the Passlock
®
system. Your vehicle will not be protected by Passlock®,
and you should see your dealer.
Also, seeContent Theft-Deterrent on page 2-14for
additional information regarding the security light.
Cruise Control Light
This symbol appears on
your instrument panel
whenever you set
your cruise control. See
“Cruise Control” under
Turn Signal/Multifunction
Lever on page 3-5.
Highbeam On Light
This light comes on
whenever the high-beam
headlamps are on.
3-35
Page 222 of 420
Here are some tips on night driving.
Drive defensively.
Do not drink and drive.
Adjust your inside rearview mirror to reduce the
glare from headlamps behind you.
Since you can not see as well, you may need to
slow down and keep more space between you
and other vehicles.
Slow down, especially on higher speed roads.
Your headlamps can light up only so much
road ahead.
In remote areas, watch for animals.
If you are tired, pull off the road in a safe place
and rest.
No one can see as well at night as in the daytime.
But as we get older these differences increase.
A 50-year-old driver may require at least twice as much
light to see the same thing at night as a 20-year-old.
What you do in the daytime can also affect your
night vision. For example, if you spend the day in
bright sunshine you are wise to wear sunglasses.Your eyes will have less trouble adjusting to night.
But if you are driving, do not wear sunglasses at night.
They may cut down on glare from headlamps, but
they also make a lot of things invisible.
You can be temporarily blinded by approaching
headlamps. It can take a second or two, or even several
seconds, for your eyes to re-adjust to the dark. When you
are faced with severe glare (as from a driver who does
not lower the high beams, or a vehicle with misaimed
headlamps), slow down a little. Avoid staring directly into
the approaching headlamps.
Keep your windshield and all the glass on your vehicle
clean — inside and out. Glare at night is made much
worse by dirt on the glass. Even the inside of the glass
can build up a �lm caused by dust. Dirty glass makes
lights dazzle and �ash more than clean glass would,
making the pupils of your eyes contract repeatedly.
Remember that your headlamps light up far less of a
roadway when you are in a turn or curve. Keep your
eyes moving; that way, it is easier to pick out dimly
lighted objects. Just as your headlamps should be
checked regularly for proper aim, so should your eyes
be examined regularly. Some drivers suffer from
night blindness — the inability to see in dim light — and
are not even aware of it.
4-30
Page 314 of 420
Bulb Replacement
SeeReplacement Bulbs on page 5-54for the proper
types of bulbs to use. For any bulb changing procedure
not listed in this section, contact your dealer’s service
department.
Halogen Bulbs
{CAUTION:
Halogen bulbs have pressurized gas inside and
can burst if you drop or scratch the bulb. You or
others could be injured. Be sure to read and
follow the instructions on the bulb package.
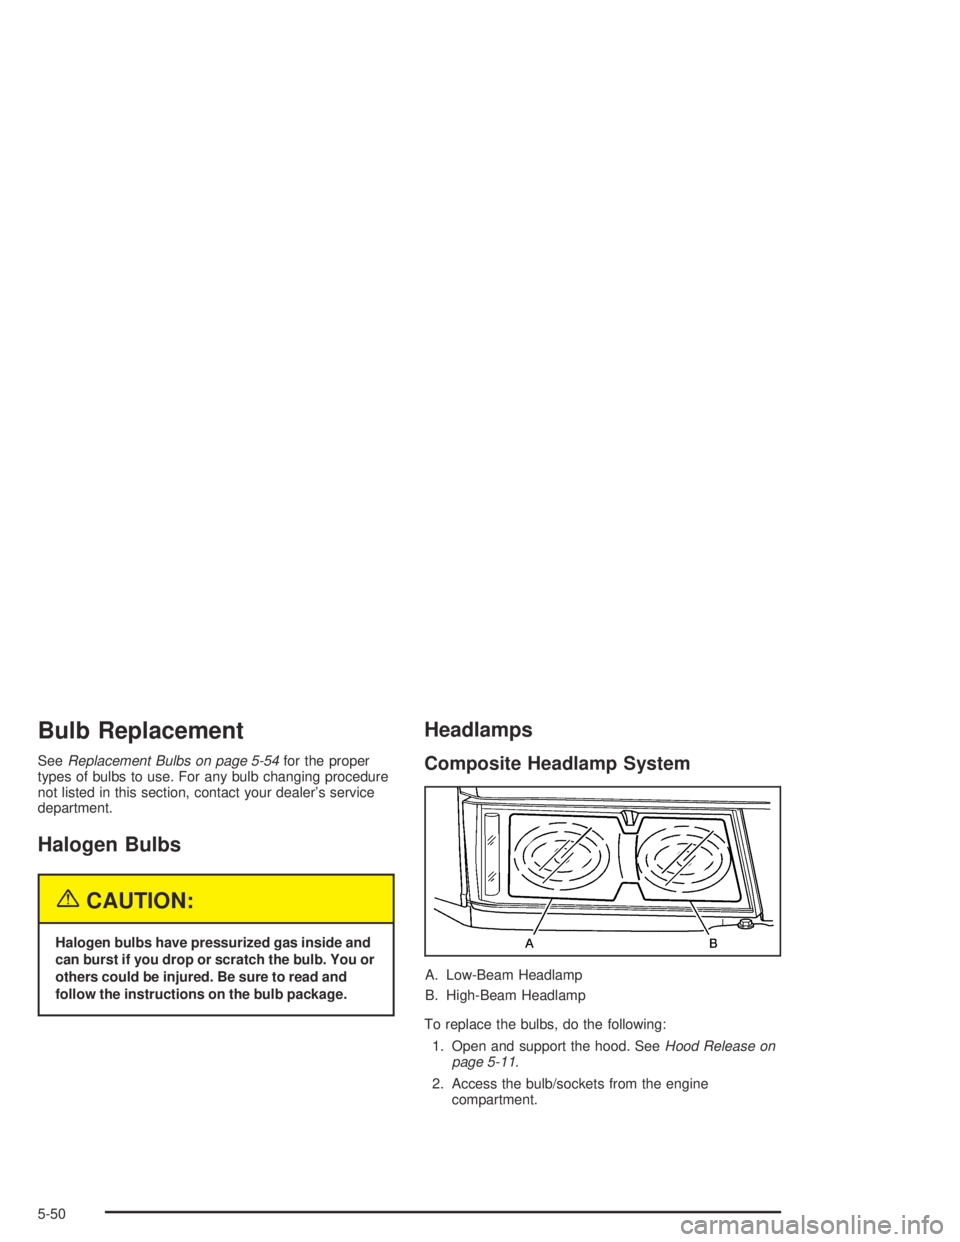
Headlamps
Composite Headlamp System
A. Low-Beam Headlamp
B. High-Beam Headlamp
To replace the bulbs, do the following:
1. Open and support the hood. SeeHood Release on
page 5-11.
2. Access the bulb/sockets from the engine
compartment.
5-50