Page 40 of 240
7. Carefully lift the lamp assembly
away from the liftgate.
8. Remove the bulb socket by
rotating it counterclockwise and
pulling it out from the lamp
assembly.
9. Carefully pull the bulb straight
out of the socket and push in the
new bulb.
10. To complete installation, follow
the removal procedure in reverse order.
Replacing high-mount brakelamp bulbs—Decklid spoiler
Your vehicle may be equipped with a decklid spoiler with an integral
multiple light emitting diodes (LED) type high mount stop lamp module.
If one or more LEDs burn out, the complete lamp module has to be
replaced. See your dealer for the replacement LED module.
To replace the LED module:
1. Remove the two outboard
grommets from the inside of the
decklid
2. On the inside of the decklid,
remove the three nuts that hold the
spoiler on and remove the spoiler.
2004 Taurus(tau)
Owners Guide (post-2002-fmt)
USA English(fus)
Lights
40
Page 42 of 240

Sedan
1. Make sure headlamp switch is in
OFF position and remove two
screws, grommets and the license
plate lamp assembly from the trunk
lid.
2. Carefully pull the bulb from the
socket and push in the new bulb.
3. Install the lamp assembly on
trunk lid with two grommets,
ensuring the grommets are pushed all the way in to the trunk lid and
secure with two screws.
Replacing tail/brake/turn signal/backup lamp bulbs
Sedan
The tail lamp, brake lamp, turn
signal lamp and backup lamp bulbs
are located in the same portion of
the tail lamp assembly. Follow the
same steps to replace either bulb.
1. Make sure headlamp switch is in
OFF position and open trunk and
remove two plastic mushroom nuts,
five push pins and the plastic cover
from inside the trunk to access the
lamp assembly.
2. Carefully pull the carpet away to
expose the lamp assembly hardware.
3. Remove three nut and washer
assemblies and the lamp assembly
from the vehicle.
4. Remove the bulb socket by
rotating it counterclockwise, then
pulling it out of the lamp assembly.
5. Pull the bulb from the socket and
push in the new bulb.
2004 Taurus(tau)
Owners Guide (post-2002-fmt)
USA English(fus)
Lights
42
Page 43 of 240

6. Install the bulb socket into the lamp assembly by rotating it clockwise.
7. Install the lamp assembly on the vehicle with three nut and washer
assemblies ensuring the washers on the nuts are flush with the body to
prevent water from entering the trunk.
8. Carefully push the carpet back in to place and install the plastic cover
inside the trunk with five push pins and two plastic mushroom nuts.
Wagon
The tail lamp/turn lamp
bulbs/brake/backup are located in
the same portion of the tail lamp
assembly, one just below the other.
Follow the same steps to replace
either bulb:
1. Make sure headlamp switch is in
OFF position and open the liftgate
to expose the lamp assemblies.
2. Remove the two bolts from the
tail lamp assembly.
3. Carefully pull the lamp assembly
from the tailgate.
4. Twist the bulb socket
counterclockwise and remove from
lamp assembly.
5. Pull the bulb straight out of the
socket and push in the new bulb.
6. Install bulb socket in lamp assembly by turning clockwise.
7. Carefully install the tail lamp assembly on tailgate and secure with two
bolts.
2004 Taurus(tau)
Owners Guide (post-2002-fmt)
USA English(fus)
Lights
43
Page 49 of 240

POWER ADJUSTABLE FOOT PEDALS (IF EQUIPPED)
The accelerator and brake pedal
should only be adjusted when the
vehicle is stopped and the gearshift
lever is in the P (Park) position.
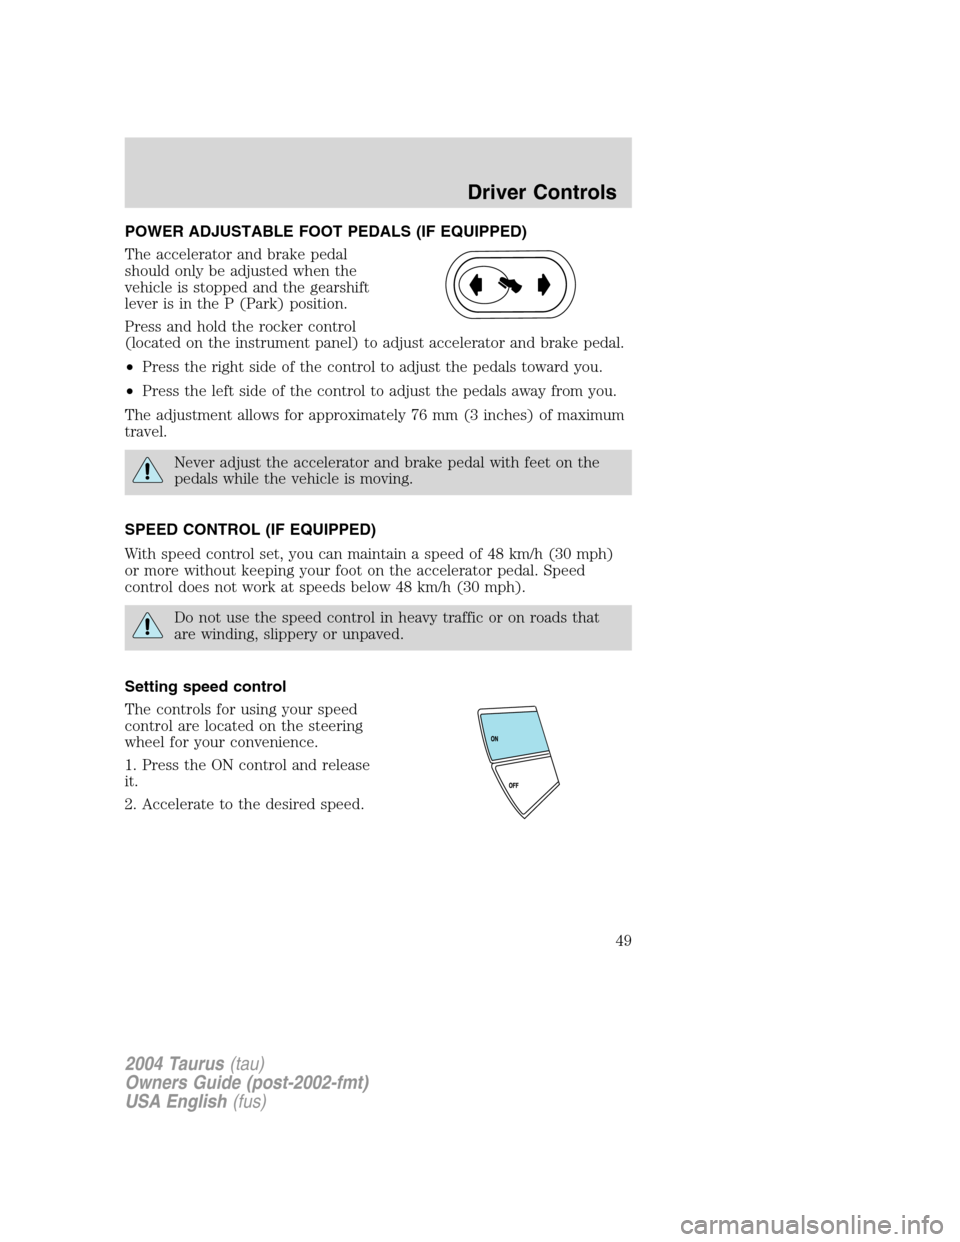
Press and hold the rocker control
(located on the instrument panel) to adjust accelerator and brake pedal.
•Press the right side of the control to adjust the pedals toward you.
•Press the left side of the control to adjust the pedals away from you.
The adjustment allows for approximately 76 mm (3 inches) of maximum
travel.
Never adjust the accelerator and brake pedal with feet on the
pedals while the vehicle is moving.
SPEED CONTROL (IF EQUIPPED)
With speed control set, you can maintain a speed of 48 km/h (30 mph)
or more without keeping your foot on the accelerator pedal. Speed
control does not work at speeds below 48 km/h (30 mph).
Do not use the speed control in heavy traffic or on roads that
are winding, slippery or unpaved.
Setting speed control
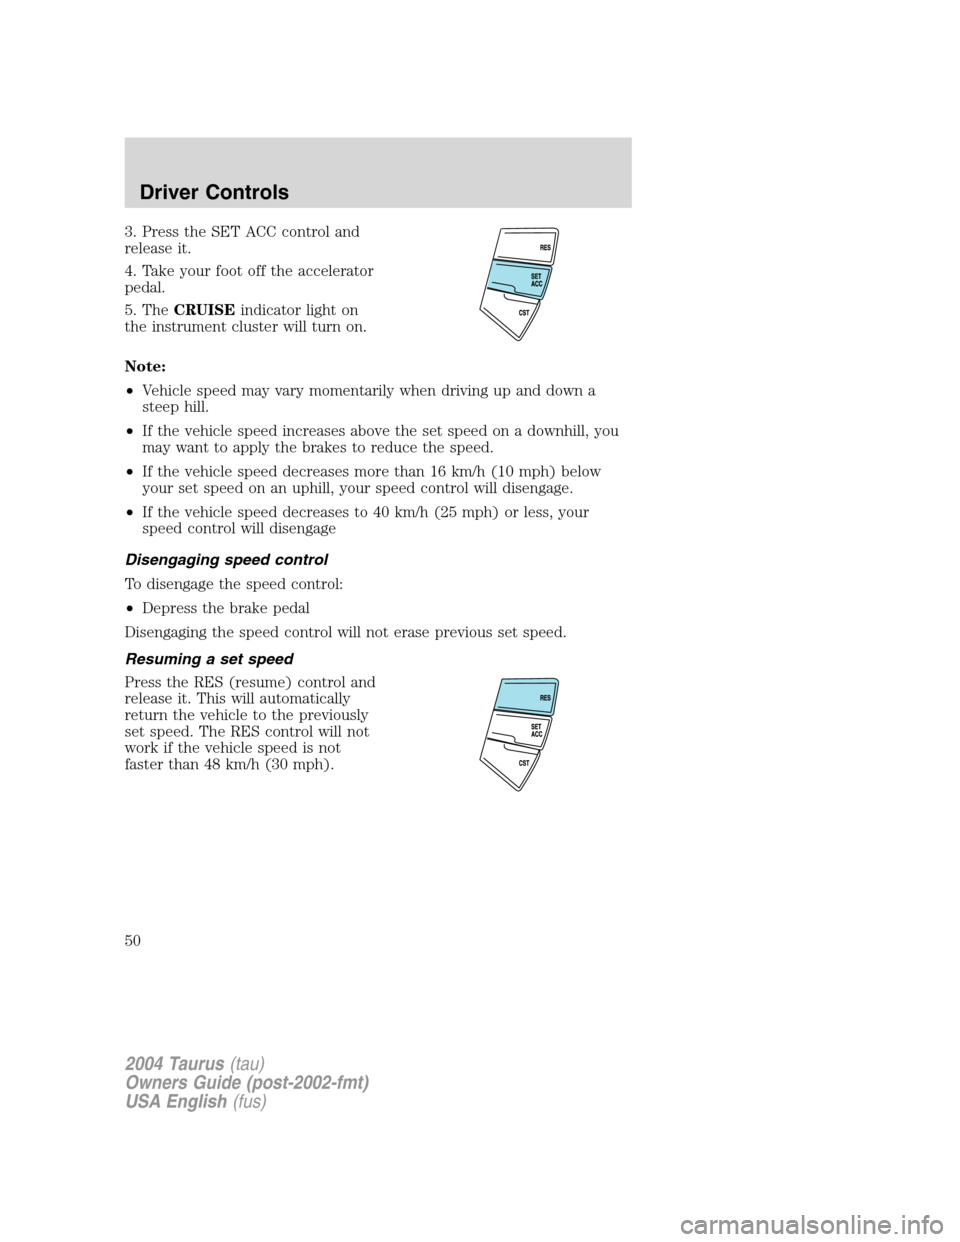
The controls for using your speed
control are located on the steering
wheel for your convenience.
1. Press the ON control and release
it.
2. Accelerate to the desired speed.
2004 Taurus(tau)
Owners Guide (post-2002-fmt)
USA English(fus)
Driver Controls
49
Page 50 of 240

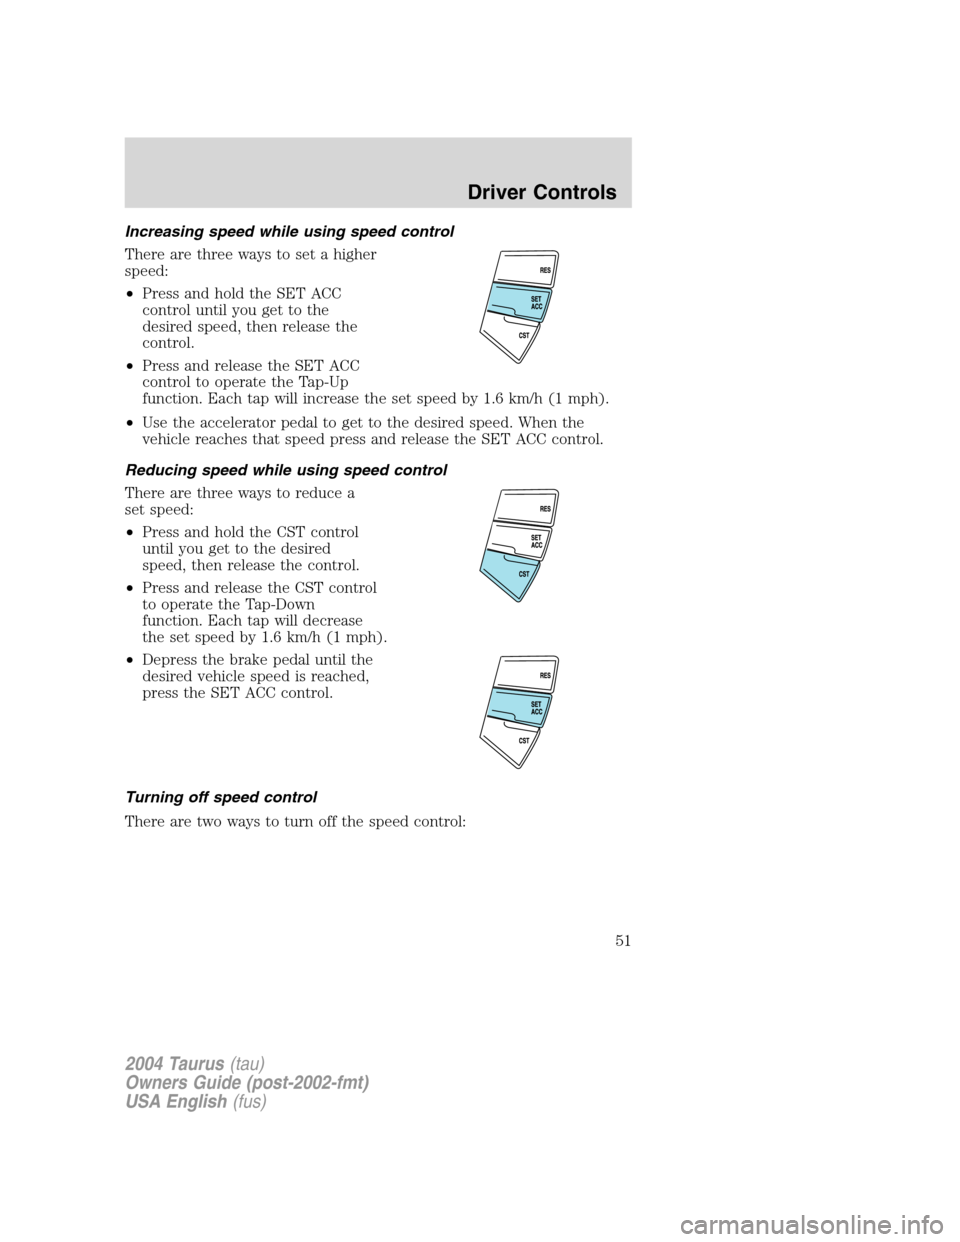
3. Press the SET ACC control and
release it.
4. Take your foot off the accelerator
pedal.
5. TheCRUISEindicator light on
the instrument cluster will turn on.
Note:
•Vehicle speed may vary momentarily when driving up and down a
steep hill.
•If the vehicle speed increases above the set speed on a downhill, you
may want to apply the brakes to reduce the speed.
•If the vehicle speed decreases more than 16 km/h (10 mph) below
your set speed on an uphill, your speed control will disengage.
•If the vehicle speed decreases to 40 km/h (25 mph) or less, your
speed control will disengage
Disengaging speed control
To disengage the speed control:
•Depress the brake pedal
Disengaging the speed control will not erase previous set speed.
Resuming a set speed
Press the RES (resume) control and
release it. This will automatically
return the vehicle to the previously
set speed. The RES control will not
work if the vehicle speed is not
faster than 48 km/h (30 mph).
2004 Taurus(tau)
Owners Guide (post-2002-fmt)
USA English(fus)
Driver Controls
50
Page 51 of 240

Increasing speed while using speed control
There are three ways to set a higher
speed:
•Press and hold the SET ACC
control until you get to the
desired speed, then release the
control.
•Press and release the SET ACC
control to operate the Tap-Up
function. Each tap will increase the set speed by 1.6 km/h (1 mph).
•Use the accelerator pedal to get to the desired speed. When the
vehicle reaches that speed press and release the SET ACC control.
Reducing speed while using speed control
There are three ways to reduce a
set speed:
•Press and hold the CST control
until you get to the desired
speed, then release the control.
•Press and release the CST control
to operate the Tap-Down
function. Each tap will decrease
the set speed by 1.6 km/h (1 mph).
•Depress the brake pedal until the
desired vehicle speed is reached,
press the SET ACC control.
Turning off speed control
There are two ways to turn off the speed control:
2004 Taurus(tau)
Owners Guide (post-2002-fmt)
USA English(fus)
Driver Controls
51
Page 52 of 240
•Depress the brake pedal. This will
not erase your vehicle’s
previously set speed.
•Press the speed control OFF
control.
Note:When you turn off the speed
control or the ignition, your speed
control set speed memory is erased.
MOON ROOF (IF EQUIPPED)
Push up on the control to raise the
moon roof to the vent position.
Push the front portion of the control
rearward to open the moon roof.
To close, press and hold the front
portion of the control.
Do not let children play with the moon roof. They may seriously
hurt themselves.
CENTER CONSOLE
Your vehicle may be equipped with a variety of console features. These
include:
•Utility compartment
•Bin mat (snap-in)
•Cupholders (front and rear)
•Coin holder slots
•Compact disc changer (if equipped)
•Tissue holder
•Rear A/C vent
•Rear ashtray (see your Ford, Lincoln Mercury dealer to obtain rear
ashtray
2004 Taurus(tau)
Owners Guide (post-2002-fmt)
USA English(fus)
Driver Controls
52
Page 59 of 240

System check
Selecting this function from the
SETUP menu causes the message
center to cycle through each of the
systems being monitored. For each
of the monitored systems, the
message center will indicate either an OK message or a warning message
for two to four seconds.
Pressing the RESET control cycles the message center through each of
the systems being monitored.
The sequence of the system check report is as follows:
1. OIL PRESSURE
2. CHARGING SYSTEM
3. BRAKE FLUID LEVEL
4. FUEL LEVEL
5. DOORS CLOSED (If RESET control is pressed PLEASE CLOSE DOOR
will be displayed).
6. PARK BRAKE STATUS
7. ENGINE TEMP
8. BRAKE SYSTEM
9. TRACTION CONTROL (if equipped)
System warnings
System warnings alert you to possible problems or malfunctions in your
vehicle’s operating systems.
In the event of a multiple warning situation, the message center will
cycle the display to show all warnings by displaying each one for several
seconds.
The message center will display the last selected feature if there are no
more warning messages. This allows you to use the full functionality of
the message center after you acknowledge the warning by pressing the
RESET control and clearing the warning message.
Warning messages that have been reset are divided into three categories:
•They will not disappear until a condition is changed.
•They will reappear on the display ten minutes from the reset.
•They will not reappear until an ignition OFF-ON cycle has been
completed.
2004 Taurus(tau)
Owners Guide (post-2002-fmt)
USA English(fus)
Driver Controls
59