Page 1 of 120
Introduction 3
Instrumentation 8
Warning and control lights 8
Gauges 11
Lights 14
Headlamps 14
Bulb replacement 15
Driver controls 16
Windshield wiper/washer control 16
Steering wheel adjustment 16
Speed control 17
Driving 20
Starting 20
Brakes 23
Transmission operation 27
Vehicle loading 31
Trailer towing 36
Roadside emergencies 39
Getting roadside assistance 39
Hazard flasher switch 40
Fuel pump shut-off switch 40
Fuses and relays 41
Changing tires 48
Jump starting 52
Wrecker towing 56
2004 Motorhome(mot)
Supplement
USA English(fus)
Table of contents
1
Page 9 of 120

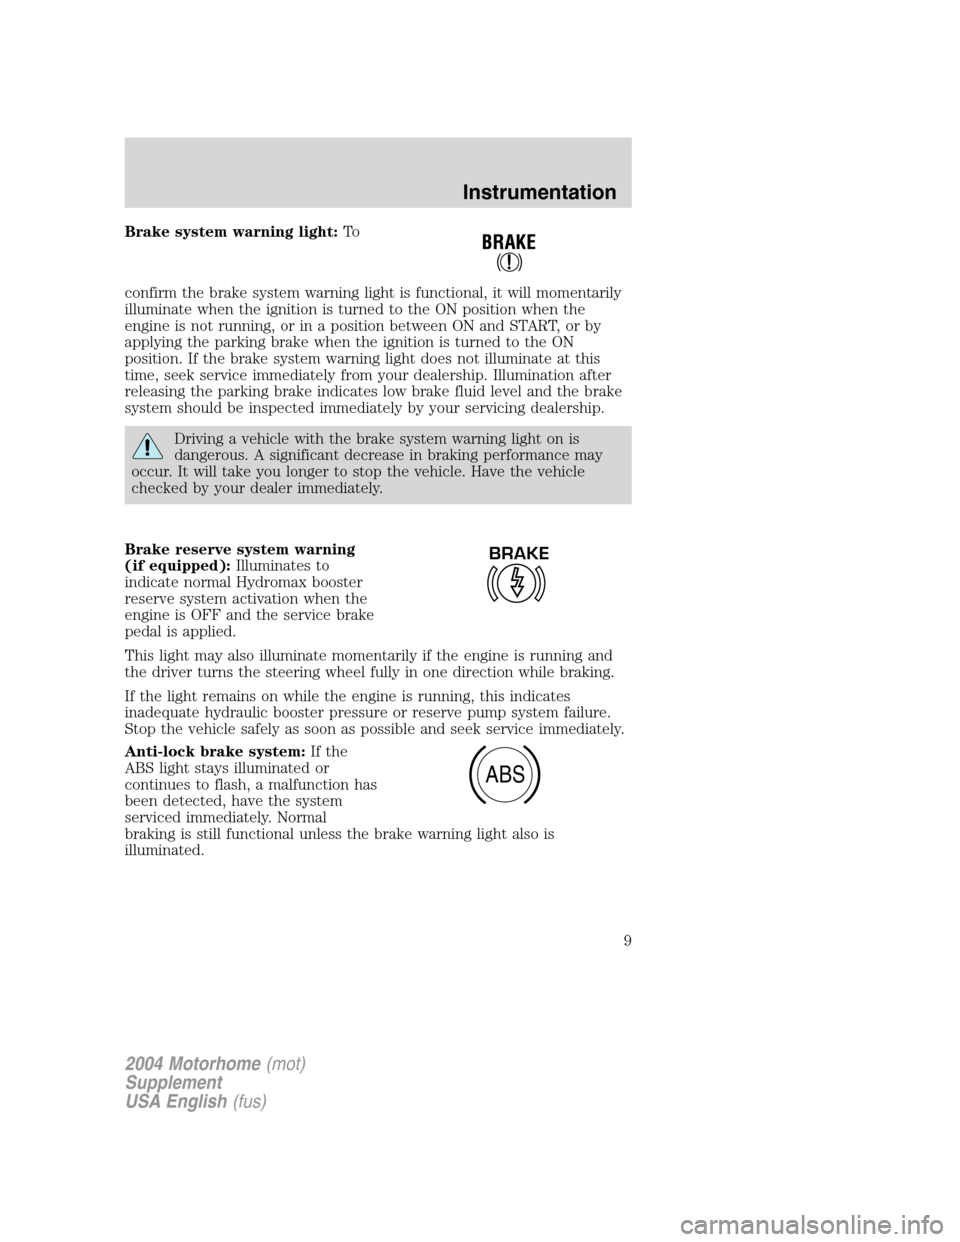
Brake system warning light:To
confirm the brake system warning light is functional, it will momentarily
illuminate when the ignition is turned to the ON position when the
engine is not running, or in a position between ON and START, or by
applying the parking brake when the ignition is turned to the ON
position. If the brake system warning light does not illuminate at this
time, seek service immediately from your dealership. Illumination after
releasing the parking brake indicates low brake fluid level and the brake
system should be inspected immediately by your servicing dealership.
Driving a vehicle with the brake system warning light on is
dangerous. A significant decrease in braking performance may
occur. It will take you longer to stop the vehicle. Have the vehicle
checked by your dealer immediately.
Brake reserve system warning
(if equipped):Illuminates to
indicate normal Hydromax booster
reserve system activation when the
engine is OFF and the service brake
pedal is applied.
This light may also illuminate momentarily if the engine is running and
the driver turns the steering wheel fully in one direction while braking.
If the light remains on while the engine is running, this indicates
inadequate hydraulic booster pressure or reserve pump system failure.
Stop the vehicle safely as soon as possible and seek service immediately.
Anti-lock brake system:If the
ABS light stays illuminated or
continues to flash, a malfunction has
been detected, have the system
serviced immediately. Normal
braking is still functional unless the brake warning light also is
illuminated.
BRAKE
ABS
2004 Motorhome(mot)
Supplement
USA English(fus)
Instrumentation
9
Page 16 of 120
MULTI-FUNCTION LEVER
Windshield wiper:Rotate the end
of the control away from you to
increase the speed of the wipers;
rotate towards you to decrease the
speed of the wipers.
Windshield washer:Push the end
of the stalk:
•briefly: causes three swipes of the
wipers without washer fluid.
•a quick push and hold: the wipers
will swipe four times with washer fluid.
•a long push and hold: the wipers and washer fluid will be activated for
up to ten seconds.
TILT STEERING WHEEL (IF EQUIPPED)
To adjust the steering wheel:
1. Pull and hold the steering wheel
release control toward you.
2. Move the steering wheel up or
down until you find the desired
location.
3. Release the steering wheel
release control. This will lock the
steering wheel in position.
Never adjust the steering wheel when the vehicle is moving.
2004 Motorhome(mot)
Supplement
USA English(fus)
Driver controls
Driver controls
16
Page 17 of 120

SPEED CONTROL (IF EQUIPPED)
With speed control set, you can maintain a speed of 48 km/h (30 mph)
or more without keeping your foot on the accelerator pedal. Speed
control does not work at speeds below 48 km/h (30 mph).
Do not use the speed control in heavy traffic or on roads that
are winding, slippery or unpaved.
Setting speed control
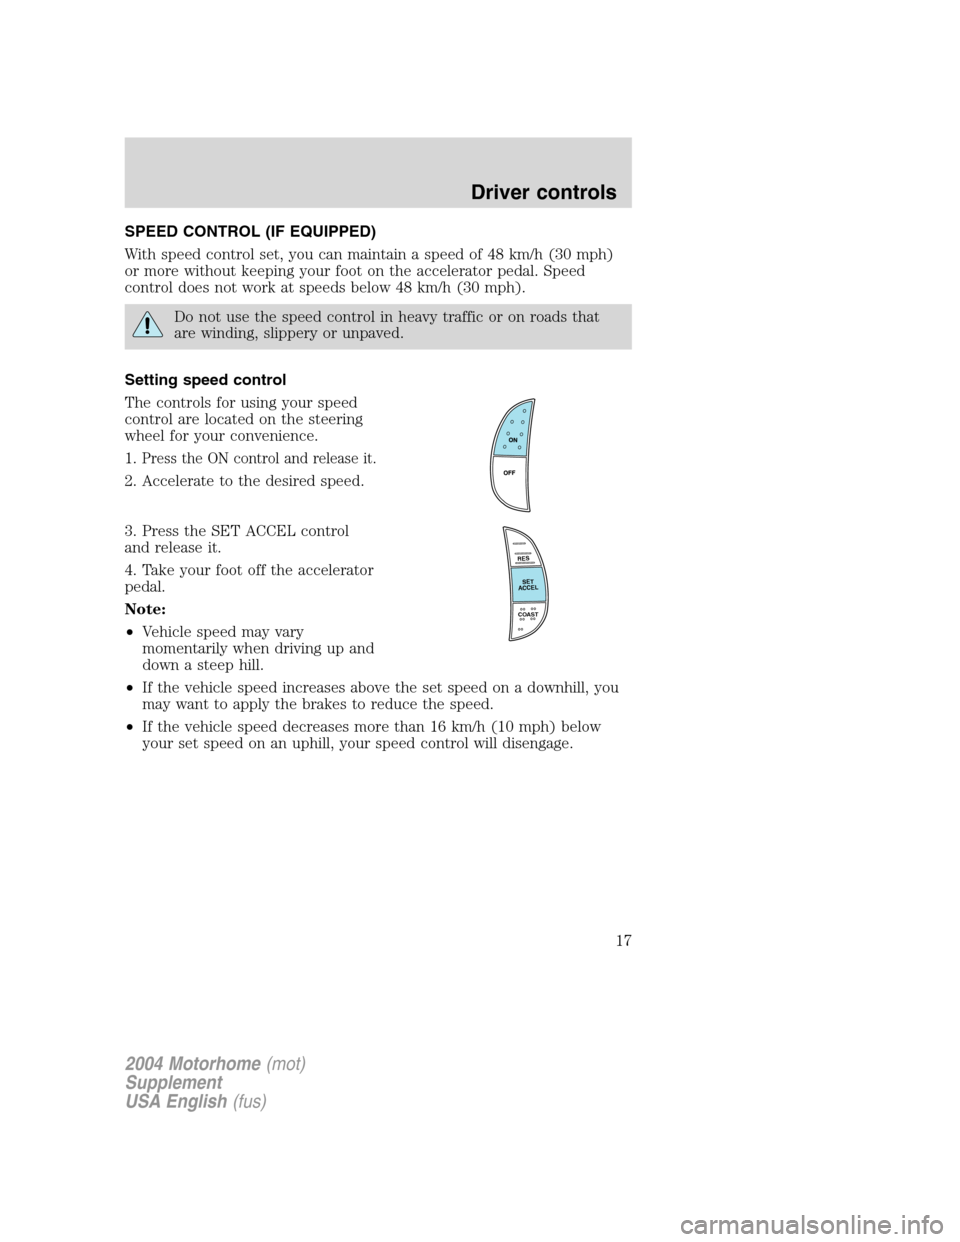
The controls for using your speed
control are located on the steering
wheel for your convenience.
1.
Press the ON control and release it.
2. Accelerate to the desired speed.
3. Press the SET ACCEL control
and release it.
4. Take your foot off the accelerator
pedal.
Note:
•Vehicle speed may vary
momentarily when driving up and
down a steep hill.
•If the vehicle speed increases above the set speed on a downhill, you
may want to apply the brakes to reduce the speed.
•If the vehicle speed decreases more than 16 km/h (10 mph) below
your set speed on an uphill, your speed control will disengage.
RES
SET
ACCEL
COAST
2004 Motorhome(mot)
Supplement
USA English(fus)
Driver controls
17
Page 20 of 120

STARTING
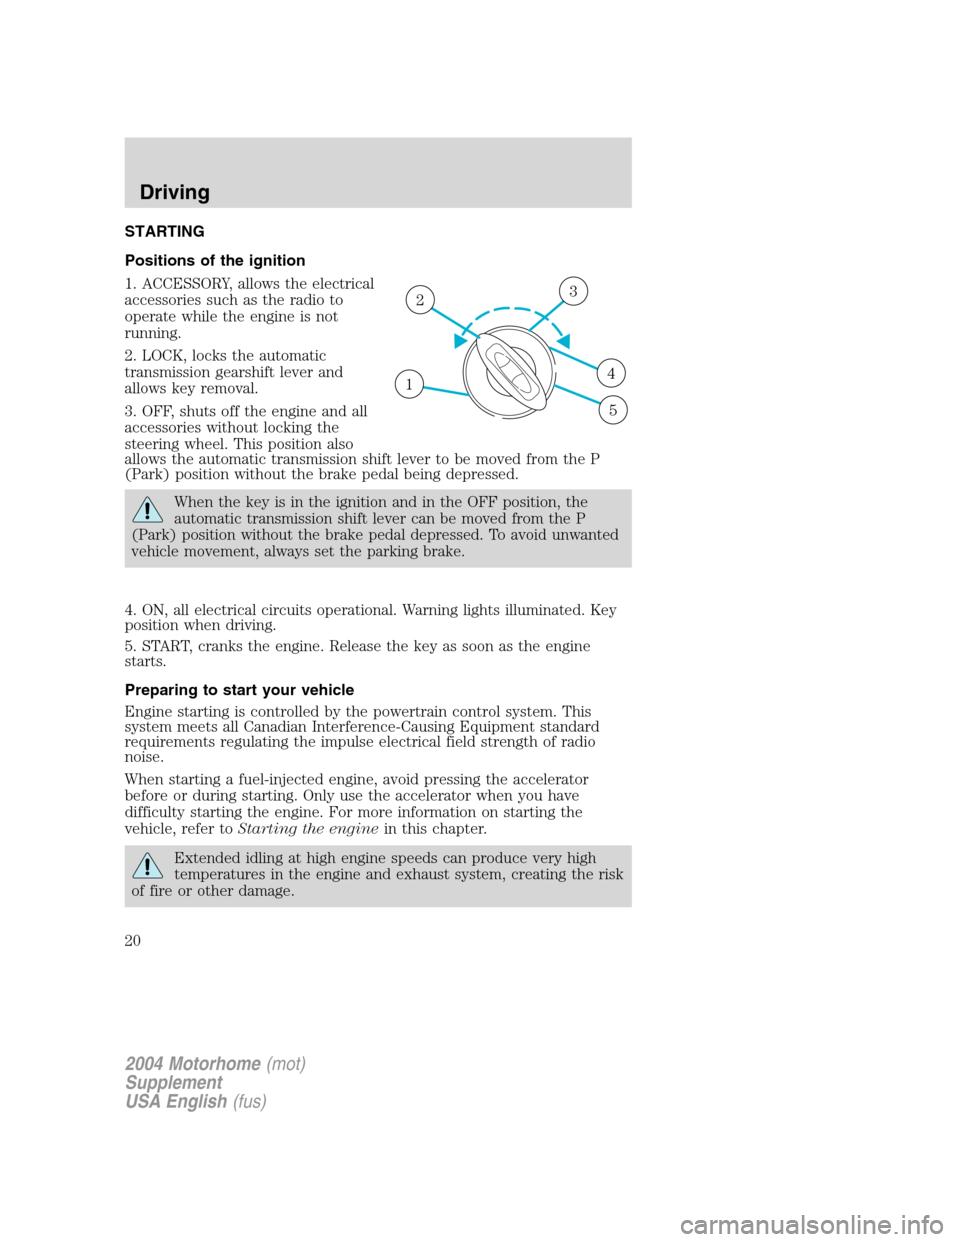
Positions of the ignition
1. ACCESSORY, allows the electrical
accessories such as the radio to
operate while the engine is not
running.
2. LOCK, locks the automatic
transmission gearshift lever and
allows key removal.
3. OFF, shuts off the engine and all
accessories without locking the
steering wheel. This position also
allows the automatic transmission shift lever to be moved from the P
(Park) position without the brake pedal being depressed.
When the key is in the ignition and in the OFF position, the
automatic transmission shift lever can be moved from the P
(Park) position without the brake pedal depressed. To avoid unwanted
vehicle movement, always set the parking brake.
4. ON, all electrical circuits operational. Warning lights illuminated. Key
position when driving.
5. START, cranks the engine. Release the key as soon as the engine
starts.
Preparing to start your vehicle
Engine starting is controlled by the powertrain control system. This
system meets all Canadian Interference-Causing Equipment standard
requirements regulating the impulse electrical field strength of radio
noise.
When starting a fuel-injected engine, avoid pressing the accelerator
before or during starting. Only use the accelerator when you have
difficulty starting the engine. For more information on starting the
vehicle, refer toStarting the enginein this chapter.
Extended idling at high engine speeds can produce very high
temperatures in the engine and exhaust system, creating the risk
of fire or other damage.
1
23
4
5
2004 Motorhome(mot)
Supplement
USA English(fus)
Driving
Driving
20
Page 24 of 120

however, they may be heard at any time while braking and can be
aggravated by environmental conditions such as cold, heat, moisture,
road dust, salt or mud. If a“metal-to-metal,”“continuous grinding”or
“continuous squeal”sound is present while braking, the brake linings
may be worn-out and should be inspected by a qualified service
technician.
If you are driving down a long or steep hill, shift to a lower gear.
Do not apply your brakes continuously, as they may overheat
and become less effective.
Anti-lock brake system (ABS)
On vehicles equipped with an anti-lock braking system (ABS), a noise
from the hydraulic pump motor and pulsation in the pedal may be
observed during ABS braking events. Pedal pulsation coupled with noise
while braking under panic conditions or on loose gravel, bumps, wet or
snowy roads is normal and indicates proper functioning of the vehicle’s
anti-lock brake system. The ABS performs a self-check after you start
the engine and begin to drive away. A brief mechanical noise may be
heard during this test. This is normal. If a malfunction is found, the ABS
warning light will come on. If the vehicle has continuous vibration or
shudder in the steering wheel while braking, the vehicle should be
inspected by a qualified service technician.
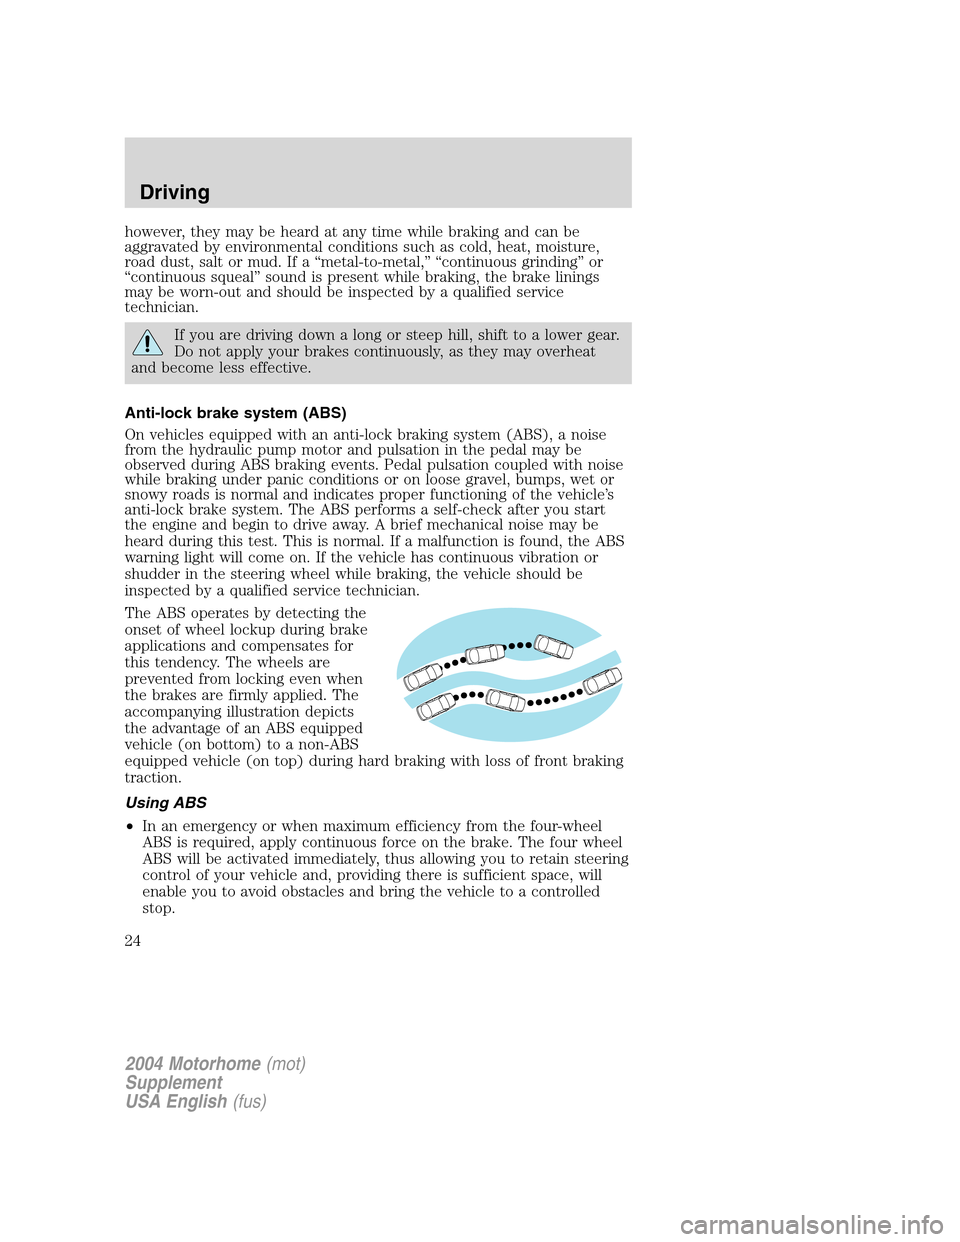
The ABS operates by detecting the
onset of wheel lockup during brake
applications and compensates for
this tendency. The wheels are
prevented from locking even when
the brakes are firmly applied. The
accompanying illustration depicts
the advantage of an ABS equipped
vehicle (on bottom) to a non-ABS
equipped vehicle (on top) during hard braking with loss of front braking
traction.
Using ABS
•In an emergency or when maximum efficiency from the four-wheel
ABS is required, apply continuous force on the brake. The four wheel
ABS will be activated immediately, thus allowing you to retain steering
control of your vehicle and, providing there is sufficient space, will
enable you to avoid obstacles and bring the vehicle to a controlled
stop.
2004 Motorhome(mot)
Supplement
USA English(fus)
Driving
24
Page 42 of 120
Passenger compartment fuse panel
The fuse panel is located below and to the left of the steering wheel by
the brake pedal. Remove the panel cover to access the fuses.
To remove a fuse use the fuse puller tool provided on the fuse panel
cover.
The fuses are coded as follows.
Fuse/Relay
LocationFuse Amp
RatingPassenger Compartment Fuse
Panel Description
1 20A Turn signal relay coil, Turn
indicators, Body builder rear
turn/stop feeds
2—Not used
3—Not used
4 15A Courtesy lamp relay, Interior lamp
feed
5 10A Body builder accessory feed
(accessory and run)
2004 Motorhome(mot)
Supplement
USA English(fus)
Roadside emergencies
42
Page 48 of 120
Relay module
The relay box is located by the power distribution box in front of the
radiator in the engine compartment.
The relays are coded as follows:
Relay location Description
1 Back up Lamp
2 Running Lamp
3 Not Used
4 Headlamp DRL
CHANGING THE TIRES
If you get a flat tire while driving, do not apply the brake heavily.
Instead, gradually decrease your speed. Hold the steering wheel firmly
and slowly move to a safe place on the side of the road.
The use of tire sealants is not recommended and may damage
your tires.
Tire change procedure
Preparing to change the tire
To help prevent the vehicle from moving when you change a tire,
be sure the parking brake is set, then block (in both directions)
the wheel that is diagonally opposite (other side and end of the
vehicle) to the tire being changed.
1. Park on a level surface.
2. Activate the warning flashers.
3. Place the gearshift in P (Park).
12 43
2004 Motorhome(mot)
Supplement
USA English(fus)
Roadside emergencies
48