Page 187 of 296
Fuse/Relay
LocationFuse Amp
RatingPassenger Compartment Fuse
Panel Description
23 15A Not used
24 15A Cigar lighter, OBD II, Neutral tow
25 5A Mode-Temperature actuator for
auxiliary climate control, Trailer
tow battery charge relay coil,
TPMS
26 7.5A Reverse park aid, Brake shift
interlock, IVD switch
27 7.5A Automatic dimming mirror, Digital
transmission range sensor, Backup
lamps
28 5A Radio (Start)
29 10A Digital transmission range sensor,
PWR feed to fuse #28 (Start feed)
30 5A Daytime Running Lamps (DRL),
DEATC climate controller, Manual
climate control, Manual climate
control temp blend actuator
2004 Explorer(exp)
Owners Guide (post-2002-fmt)
USA English(fus)
Roadside Emergencies
187
Page 190 of 296
The high-current fuses are coded as follows:
Fuse/Relay
LocationFuse Amp
RatingPower Distribution Box
Description
1 60A** PJB #1
2 30A** BSM
3 — Not used
4 30A** Rear defrost
5 40A** Anti-lock Brake System (ABS)
pump
6 60A** Delayed accessory, Power
windows, Audio
7 20A** Power point #2
8 30A** 4x4 shift motor
9 20A** Power point #1
10 30A** ABS module (valves)
11 40A** Powertrain Control Module (PCM)
12 50A** Ignition relay, Starter relay
13 40A** Trailer tow battery charge, Trailer
tow turn signals
14 10A* Daytime Running Lamps (DRL)
(Canada)
2004 Explorer(exp)
Owners Guide (post-2002-fmt)
USA English(fus)
Roadside Emergencies
190
Page 194 of 296
Auxiliary relay box (Vehicles equipped with 4x4)
The relay box is located on the front
right fender well.
The relays are coded as follows:
Fuse/Relay Location Description
Relay 64 Two-speed 4x4 motor clockwise
Relay 65 Two-speed 4x4 motor counterclockwise
Relay 66 Open
CHANGING THE TIRES
If you get a flat tire while driving:
•do not brake heavily.
•gradually decrease the vehicle’s speed.
•hold the steering wheel firmly.
•slowly move to a safe place on the side of the road.
The use of tire sealants may damage your tires. The use of tire
sealants may also damage your tire pressure monitoring system
(if equipped).
2004 Explorer(exp)
Owners Guide (post-2002-fmt)
USA English(fus)
Roadside Emergencies
194
Page 196 of 296

use. To restore the full functionality of the monitoring system, all road
wheels equipped with tire pressure monitoring sensors must be mounted
on the vehicle
If your vehicle is equipped with AWD, a spare tire of a different
size than the road tires should not be used. Such a tire could
make the vehicle difficult to control as well as result in damage to
driveline components.
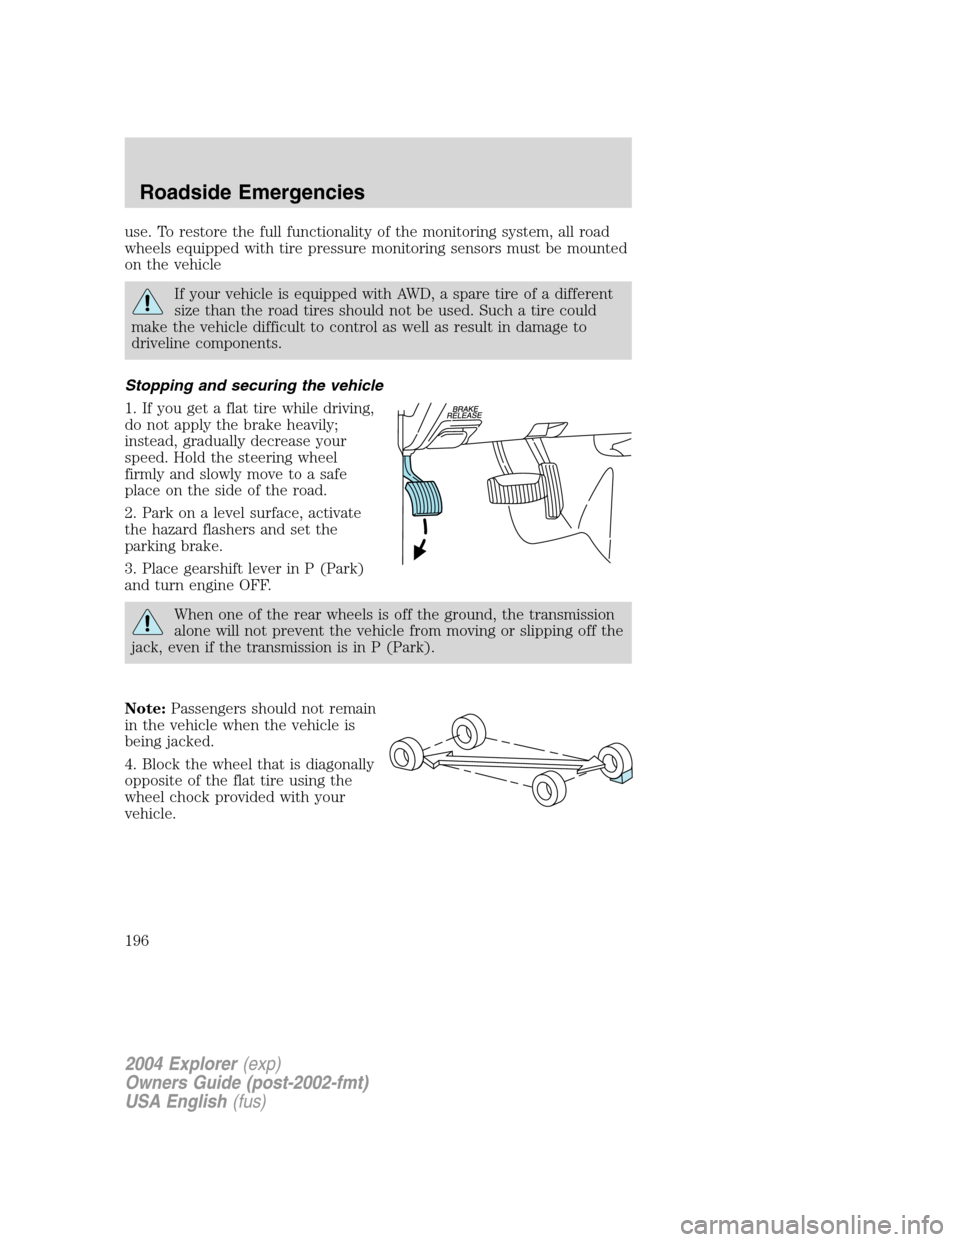
Stopping and securing the vehicle
1. If you get a flat tire while driving,
do not apply the brake heavily;
instead, gradually decrease your
speed. Hold the steering wheel
firmly and slowly move to a safe
place on the side of the road.
2. Park on a level surface, activate
the hazard flashers and set the
parking brake.
3. Place gearshift lever in P (Park)
and turn engine OFF.
When one of the rear wheels is off the ground, the transmission
alone will not prevent the vehicle from moving or slipping off the
jack, even if the transmission is in P (Park).
Note:Passengers should not remain
in the vehicle when the vehicle is
being jacked.
4. Block the wheel that is diagonally
opposite of the flat tire using the
wheel chock provided with your
vehicle.
2004 Explorer(exp)
Owners Guide (post-2002-fmt)
USA English(fus)
Roadside Emergencies
196
Page 197 of 296
Location of the spare tire and tools
The spare tire and tools for your vehicle are stowed in the following
locations:
Tool Location
Spare tire Under the vehicle, just in front of
the rear bumper. The spare tire
winch drive nut is located at the
rear center of the cargo area
under a lid.
Jack, lug nut wrench, jack handle,
wheel chockBehind the rear seat under the
carpeted floor lid in the cargo
floor. The tools are located in a
bag attached to the jack.
Removing the jack and tools
1. Open liftgate and remove the
carpeted floor lid, then the jack.
2. Turn jack screw eyelet
counterclockwise and remove the
jack from the bracket.
3. Remove the tools from the
provided bag.
2004 Explorer(exp)
Owners Guide (post-2002-fmt)
USA English(fus)
Roadside Emergencies
197
Page 199 of 296

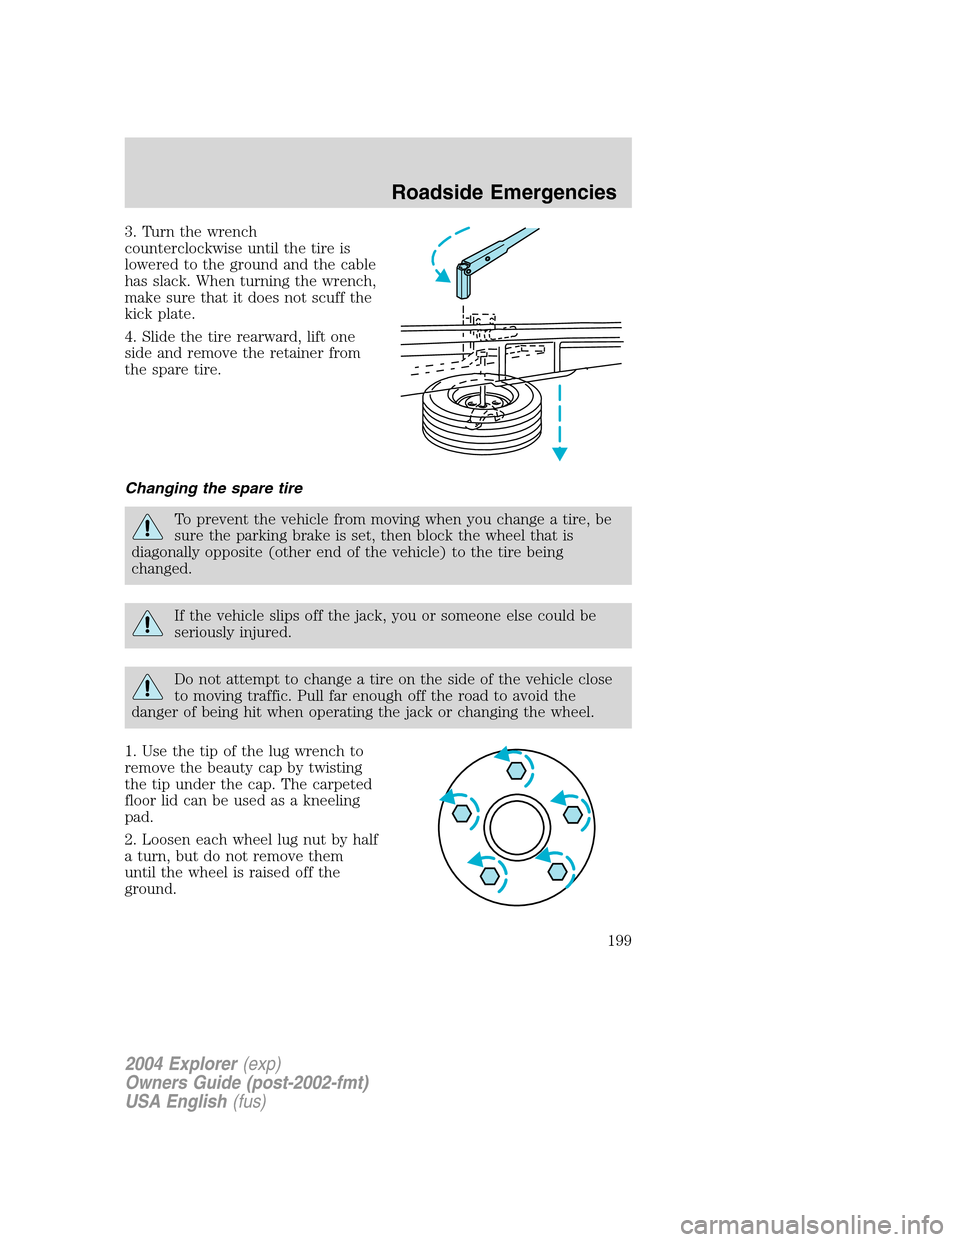
3. Turn the wrench
counterclockwise until the tire is
lowered to the ground and the cable
has slack. When turning the wrench,
make sure that it does not scuff the
kick plate.
4. Slide the tire rearward, lift one
side and remove the retainer from
the spare tire.
Changing the spare tire
To prevent the vehicle from moving when you change a tire, be
sure the parking brake is set, then block the wheel that is
diagonally opposite (other end of the vehicle) to the tire being
changed.
If the vehicle slips off the jack, you or someone else could be
seriously injured.
Do not attempt to change a tire on the side of the vehicle close
to moving traffic. Pull far enough off the road to avoid the
danger of being hit when operating the jack or changing the wheel.
1. Use the tip of the lug wrench to
remove the beauty cap by twisting
the tip under the cap. The carpeted
floor lid can be used as a kneeling
pad.
2. Loosen each wheel lug nut by half
a turn, but do not remove them
until the wheel is raised off the
ground.
2004 Explorer(exp)
Owners Guide (post-2002-fmt)
USA English(fus)
Roadside Emergencies
199
Page 200 of 296
3. Assemble the jack handle
extension on the lug nut wrench by
sliding the square end of the jack
handle through the plastic grommet
on the lug nut wrench and into the
square hole on the other side.
If equipped with a two-piece
extension, assemble the two-piece
extension by sliding the two halves
together.
4. Position the jack according to the
illustrated guides and turn the jack
handle clockwise until the tire is a
maximum of 25 mm (1 inch) off the
ground.
2004 Explorer(exp)
Owners Guide (post-2002-fmt)
USA English(fus)
Roadside Emergencies
200
Page 201 of 296

To lessen the risk of
personal injury, do not put
any part of your body under the
vehicle while changing a tire. Do
not start the engine when your
vehicle is on the jack. The jack is
only meant for changing the tire.
•Never use the front or rear
differential as a jacking point.
5. Remove the lug nuts with the lug wrench.
6. Replace the flat tire with the spare tire, making sure the valve stem is
facing outward. Reinstall the lug nuts, cone side in, until the wheel is
snug against the hub. Do not fully tighten the lug nuts until the wheel
has been lowered.
7. Lower the wheel by turning the jack handle counterclockwise.
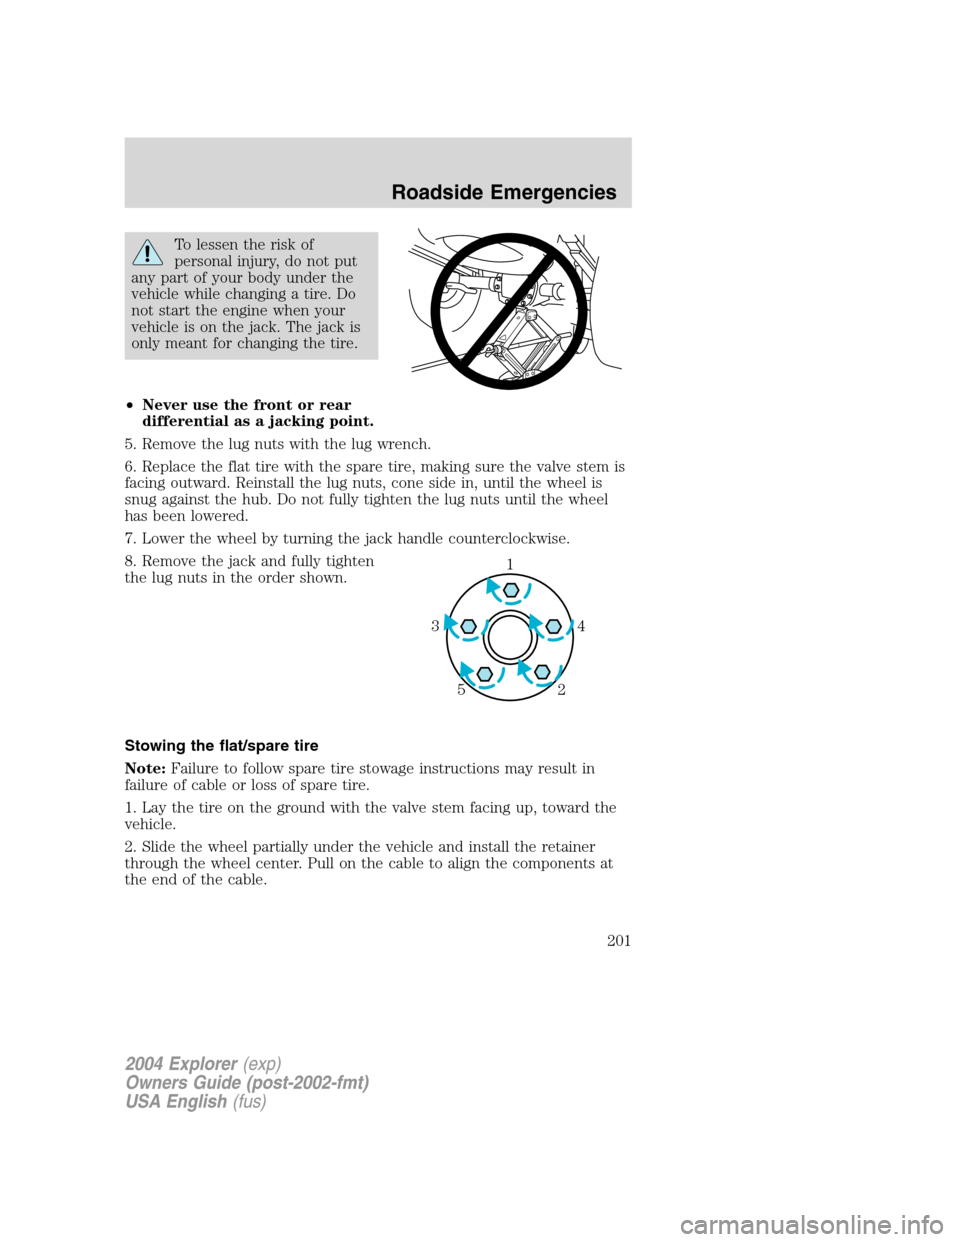
8. Remove the jack and fully tighten
the lug nuts in the order shown.
Stowing the flat/spare tire
Note:Failure to follow spare tire stowage instructions may result in
failure of cable or loss of spare tire.
1. Lay the tire on the ground with the valve stem facing up, toward the
vehicle.
2. Slide the wheel partially under the vehicle and install the retainer
through the wheel center. Pull on the cable to align the components at
the end of the cable.
1
4 3
2 5
2004 Explorer(exp)
Owners Guide (post-2002-fmt)
USA English(fus)
Roadside Emergencies
201