Page 38 of 426

6. To release the belt, push the red button on the buckle.
The belt will automatically retract to its stowed position.
If necessary, slide the latch plate down the webbing to
allow the belt to retract fully.
WARNING!
A frayed or torn belt could rip apart in a collision
and leave you with no protection. Inspect the belt
system periodically, checking for cuts, frays, or loose
parts. Damaged parts must be replaced immediately.
Do not disassemble or modify the system. Seat belt
assemblies must be replaced after a collision if they
have been damaged (bent retractor, torn webbing,
etc.) or if the airbag deployed.
Standard Cab Front Center Three Point Belt
1. The front center seat belt on the Standard Cab may be
disconnected to open up utilization of the storage areas
behind the front seats. The black latch plate can be
detached from the black keyed seat belt buckle located on
the inboard side of the passenger seat. Insert the vehicle
ignition key into the center white slot on the black buckle.
The black buckle latch plate can be removed when the
key is pressed into the buckle. Allow the retractor to take
up the surplus webbing, and the buckles will hang
vertically from the cab back exit bezel, thus freeing up all
the area behind the front seats.
38 THINGS TO KNOW BEFORE STARTING YOUR VEHICLE
Page 41 of 426

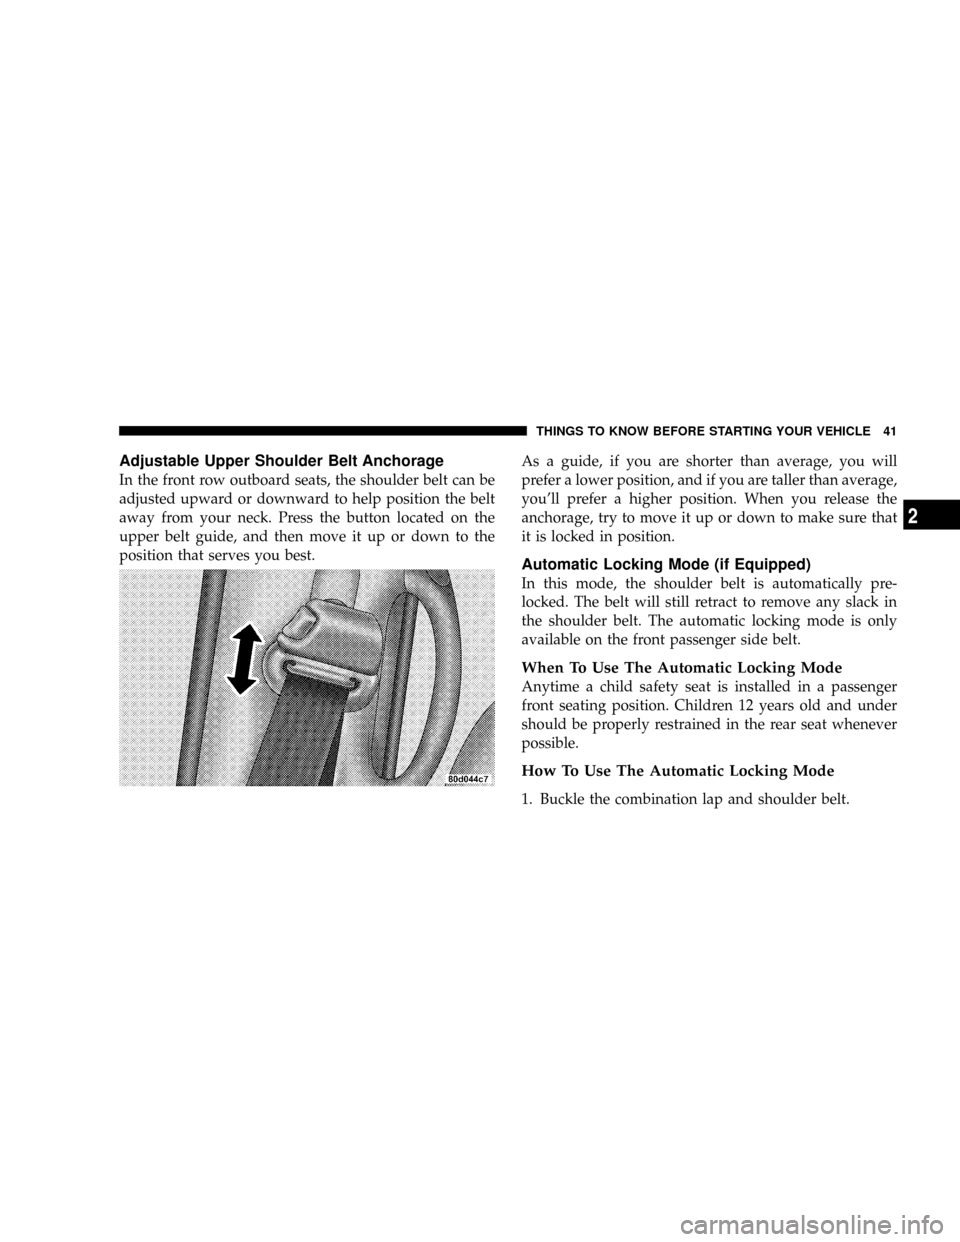
Adjustable Upper Shoulder Belt Anchorage
In the front row outboard seats, the shoulder belt can be
adjusted upward or downward to help position the belt
away from your neck. Press the button located on the
upper belt guide, and then move it up or down to the
position that serves you best.As a guide, if you are shorter than average, you will
prefer a lower position, and if you are taller than average,
you'll prefer a higher position. When you release the
anchorage, try to move it up or down to make sure that
it is locked in position.
Automatic Locking Mode (if Equipped)
In this mode, the shoulder belt is automatically pre-
locked. The belt will still retract to remove any slack in
the shoulder belt. The automatic locking mode is only
available on the front passenger side belt.
When To Use The Automatic Locking Mode
Anytime a child safety seat is installed in a passenger
front seating position. Children 12 years old and under
should be properly restrained in the rear seat whenever
possible.
How To Use The Automatic Locking Mode
1. Buckle the combination lap and shoulder belt.
THINGS TO KNOW BEFORE STARTING YOUR VEHICLE 41
2
Page 64 of 426
Tether Anchorage Points at the Right and Center
Front Seat (Regular Cab - All Seats)
1. Place the child restraint on the seat and adjust the
tether strap so that it will reach over the seat back under
the head restraint to the tether anchor directly behind the
seat.
2. Lift the cover (if so equipped), and attach the hook to
the square opening in the sheet metal.
3. Install the child restraint and remove the slack in the
tether strap according to the manufacturer's instructions.
Regular Cab With Any Bench Seat
64 THINGS TO KNOW BEFORE STARTING YOUR VEHICLE
Page 65 of 426

Multiple Child Restraint Installation Sequence -
(Quad Cab Rear Seats)
1. Obtain tether straps by raising the head restraints and
reaching between the rear glass and rear seat. The tether
strap may be retained with an elastic band. Accessibility
to the tether strap is greatly improved by raising the seat
cushion to the ªupº position. Remove the elastic before
use.
2. Place a child restraint on each outboard rear seat and
adjust the tether strap so that it will reach under the head
restraint to the tether anchor directly behind the seat and
then to the anchor directly behind the center rear seat.3. Pass each tether strap hook under the head restraint
and through the loop of webbing behind the child seat.
4. Route each tether strap to the anchor behind the center
seat, and attach the hooks to the metal ring.
5. Place a child restraint on the center rear seat and
adjust the tether strap so that it will reach under the head
restraint to the tether anchor directly behind the seat and
to the anchor directly behind the right seat.
6. Install each child restraint and remove the slack in the
tether strap according to the child restraint manufactur-
er's instructions.
THINGS TO KNOW BEFORE STARTING YOUR VEHICLE 65
2