Page 166 of 386

begin to play when you insert the disc. The display will
show the disc number, the track number, and index time
in minutes and seconds. Play will begin at the start of
track 1.
SEEK Button (CD MODE For CD Audio Play)
Press the right side of the SEEK button for the next
selection on the CD. Press the left side of the button to
return to the beginning of the current selection, or return
to the beginning of the previous selection if the CD is
within the first 10 seconds of the current selection.
MUTE Button (CD MODE For CD Audio Play)
Press the MUTE button to cancel the sound from the
speakers.9MUTE9will be displayed. Press the MUTE
button a second time and the sound from the speakers
will return. Rotating the volume control or turning OFF
the ignition will also return the sound from the speakers.
SCAN Button (CD MODE For CD Audio Play)
Press the Scan button to scan through each track on the
CD currently playing.
LOAD/EJECT Button (CD Mode For CD Audio
Play)
LOAD/ EJECT - Load
Press the LOAD/ EJECT button and the push-
button with the corresponding number where
the CD is being loaded. The radio will display
PLEASE WAIT and prompt when to INSERT
DISC. After the radio displays9LOAD DISC9insert the
CD into the player.
Radio display will show9LOADING DISC9when the disc
is loading.
166 INSTRUMENT PANEL AND CONTROLS
Page 167 of 386

LOAD / EJECT - Eject
Press the LOAD/ EJECT button and the push-
button with the corresponding number where
the CD was loaded and the disc will unload
and move to the entrance for easy removal.
Radio display will show9EJECTING DISC9when the disc
is being ejected and prompt the user to remove the disc.
If you have ejected a disc and have not removed it within
15 seconds, it will be reloaded. If the CD is not removed,
the radio will continue to play the non-removed CD. If
the CD is removed and there are other CD's in the radio,
the radio will play the next CD. If the CD is removed and
there are no other CD's in the radio, the radio will remain
in CD mode and display9NO DISC LOADED9. The disc
can be ejected with the radio and ignition OFF.
TIME Button (CD MODE For CD Audio Play)
Press this button to change the display from a large CD
playing time display and small clock time display to a
large clock time display and small CD playing time
display.
RW/FF (CD MODE For CD Audio Play)
Press FF (Fast Forward) once and the CD player will
begin to fast forward until FF is pressed again or RW or
another CD button is pressed. The RW (Reverse) button
works in a similar manner.
TUNE Control (CD MODE For CD Audio Play)
Pressing the TUNE control allows the setting of the Tone,
Fade, and Balance. See Radio Mode.
AM/FM Button (CD MODE For CD Audio Play)
Switches the Radio to the Radio mode.
INSTRUMENT PANEL AND CONTROLS 167
4
Page 168 of 386

RND/PTY Button (Random Play Button) (CD
MODE For CD Audio Play)
Press this button while the CD is playing to activate
Random Play. This feature plays the selections on the
compact disc in random order to provide an interesting
change of pace.
Press the SEEK button to move to the next randomly
selected track.
Press and hold the FF button to fast forward through the
tracks. Release the FF button to stop the fast forward
feature. If the RW button is pressed, the current track will
reverse to the beginning of the track and begin playing.
Press the RDN button a second time to stop Random
Play.
BUTTONS1-6(CDMODE For CD Audio Play)
Selects disc positions1-6forPlay/Load/Eject.
Notes On Playing MP3 Files
The radio can play MP3 files, however, acceptable MP3
file recording media and formats are limited. When
writing MP3 files, pay attention to the following restric-
tions.
Supported media (disc types)
The MP3 file recording media supported by the radio are
CD-ROM, CD-R and CD-RW.
Supported medium formats (file systems)
The medium formats supported by the radio are ISO 9660
Level 1 and Level 2 and includes the Joliet extension.
When reading discs recorded using formats other than
ISO 9660 Level 1 and Level 2, the radio may fail to read
files properly and may be unable to play the file nor-
mally. UDF and Apple HFS formats are not supported.
The radio uses the following limits for file systems:
²Maximum number of directory levels: 15
168 INSTRUMENT PANEL AND CONTROLS
Page 171 of 386

Operation Instructions - (CD Mode For MP3 Audio
Play)
SEEK Button (CD Mode For MP3 Play)
Pressing the right side of the SEEK button plays the next
MP3 File. Pressing the left side of the SEEK button plays
the beginning of the MP3 file. Pressing the button within
the first ten seconds plays the previous file.
LOAD/EJECT Button (CD Mode For MP3 Play)
LOAD/ EJECT - Load
Press the LOAD/ EJECT button and the push-
button with the corresponding number where
the CD is being loaded. The radio will display
PLEASE WAIT and prompt when to INSERT
DISC. After the radio displays9LOAD DISC9insert the
CD into the player.
Radio display will show9LOADING DISC9when the disc
is loading.
LOAD / EJECT - Eject
Press the LOAD/ EJECT button and the push-
button with the corresponding number where
the CD was loaded and the disc will unload
and move to the entrance for easy removal.
Radio display will show9EJECTING DISC9when the disc
is being ejected and prompt the user to remove the disc.
If you have ejected a disc and have not removed it within
15 seconds, it will be reloaded. If the CD is not removed,
the radio will continue to play the non-removed CD. If
the CD is removed and there are other CD's in the radio,
the radio will play the next CD. If the CD is removed and
there are no other CD's in the radio, the radio will remain
in CD mode and display9NO DISC LOADED.9
MSG Button (CD Mode For MP3 Play)
Press and MSG button while playing MP3 disc. The radio
scrolls through the following TAG information: Song
Title, Artist, File Name, and Folder Name (if available).
INSTRUMENT PANEL AND CONTROLS 171
4
Page 174 of 386

ESN/SID mode when any other button is pushed, the
ignition is turned OFF, or 5 minutes has passed since any
button was pushed.
ESN/SID Access With RAQ Radios
With the ignition switch in the ACCESSORY position and
the radio OFF, press the CD Eject and TIME buttons
simultaneously for 3 seconds. All twelve ESN/SID num-
bers will be displayed. The radio will exit the ESN/SID
mode when any other button is pushed, the ignition is
turned OFF, or 5 minutes has passed since any button
was pushed.
Selecting Satellite Mode in REF Radios
Press the MODE button repeatedly until9SA9appears in
the display. A CD may remain in the radio while in the
Satellite radio mode.
Selecting Satellite Mode in RAQ Radios
Press the MODE button repeatedly until the word
9SIRIUS9appears in the display. These radios will also
display the following:
²After 3 seconds, the current channel name and channel
number will be displayed for 5 seconds.
²The current program type and channel number will
then be displayed for 5 seconds.
²The current channel number will then be displayed
until an action occurs.
A CD may remain in the radio while in the Satellite radio
mode.
174 INSTRUMENT PANEL AND CONTROLS
Page 180 of 386

Air Conditioning Operation
To turn the air conditioning On or Off perform the
following steps:
²Position the mode control button to the desired airflow
setting.
²Set the front blower control to any desired speed.
²Press the Snowflake (A/C) button which is located to
the right of the temperature control slide. An indicator
light on the Snowflake (A/C) button shows that the air
conditioning is On.
²Press the Snowflake (A/C) button a second time to
turn the air conditioning Off.
NOTE:The compressor will not engage until the engine
has been running for several seconds. Slight changes inengine speed or power may be noticed when the com-
pressor is on. This is a normal occurrence since the
compressor will cycle on and off to maintain comfort and
improve fuel economy.
Front Blower Control
The Front Blower controls the
amount of air delivered to the
passenger compartment.
There are four blower speeds.
The fan speed increases as
you move the control clock-
wise. When the front blower
control is turned to OFF, the
blower will be turned off and
the system will be positioned
in recirculation mode.
180 INSTRUMENT PANEL AND CONTROLS
Page 183 of 386

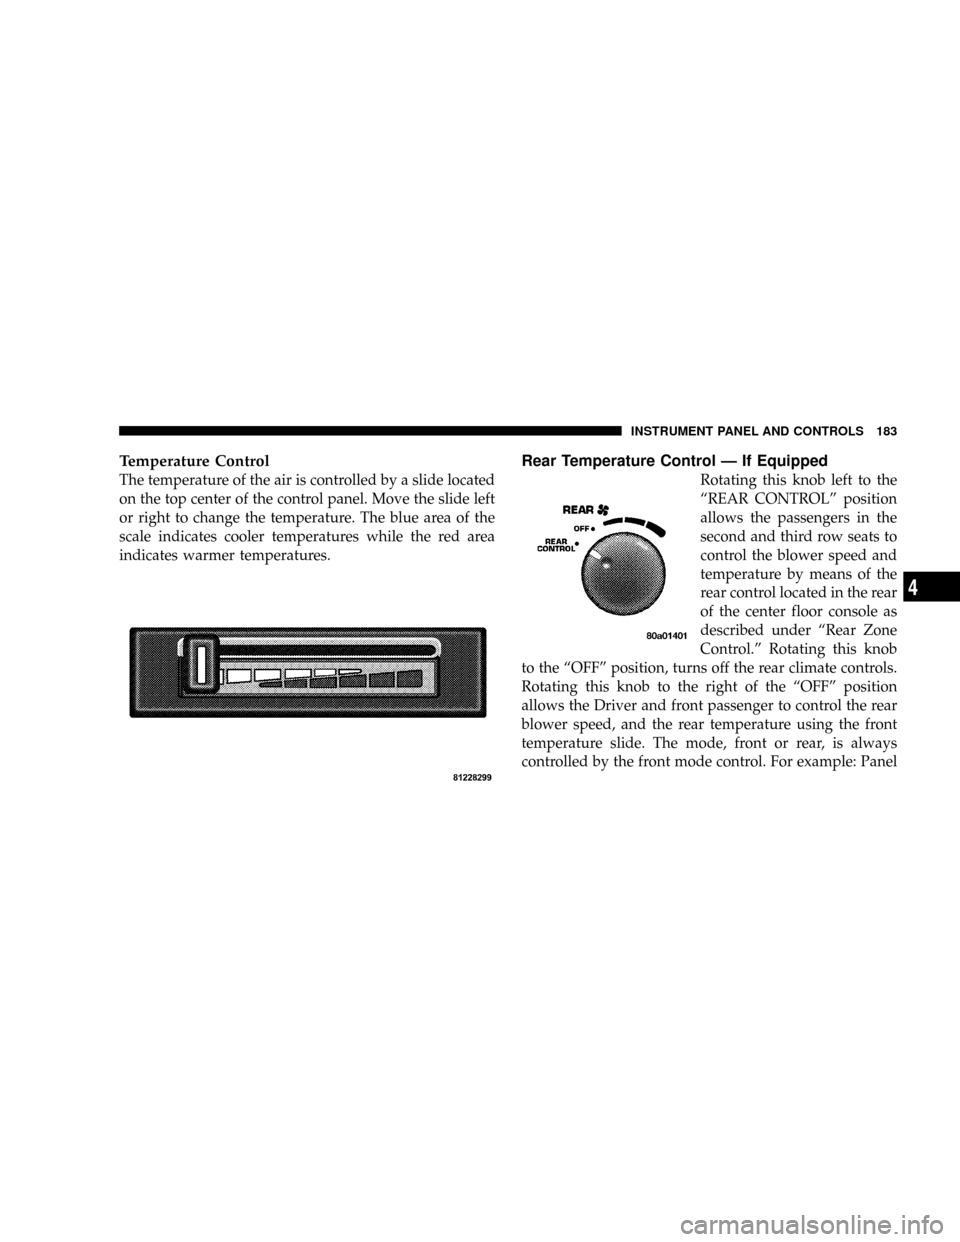
Temperature Control
The temperature of the air is controlled by a slide located
on the top center of the control panel. Move the slide left
or right to change the temperature. The blue area of the
scale indicates cooler temperatures while the red area
indicates warmer temperatures.
Rear Temperature Control Ð If Equipped
Rotating this knob left to the
ªREAR CONTROLº position
allows the passengers in the
second and third row seats to
control the blower speed and
temperature by means of the
rear control located in the rear
of the center floor console as
described under ªRear Zone
Control.º Rotating this knob
to the ªOFFº position, turns off the rear climate controls.
Rotating this knob to the right of the ªOFFº position
allows the Driver and front passenger to control the rear
blower speed, and the rear temperature using the front
temperature slide. The mode, front or rear, is always
controlled by the front mode control. For example: Panel
INSTRUMENT PANEL AND CONTROLS 183
4
Page 185 of 386

The ATC system uses an infrared sensor located in the
overhead console to measure the temperature of the
driver. Based on the sensor input, the system will auto-
matically control comfort by varying the temperature, fan
speed, and mode. This maintains a comfortable tempera-
ture, even under changing conditions. It is important that
the infrared sensor is kept clean and that objects are not
blocking the sensor. It is also important that objects are
not used that may scratch or damage it in any way.
Level Of Automatic Control
72ÉF (22ÉC) is the recommended setting for maximum
comfort for the average person, however, this may vary.
NOTE:The temperature setting can be adjusted at any
time without affecting automatic control operation. It is
not necessary to move the temperature setting for cold or
hot vehicles. The system automatically adjusts the tem-
perature, mode and fan speed to provide comfort as
quickly as possible.NOTE:In cold weather, the fan will not turn on in
AUTO mode until the engine coolant has warmed up
sufficiently. This is indicated by the WARM UP DELAY
message on the display.
NOTE:The temperature can be displayed in U.S. or
Metric by selecting the US/M customer programmable
feature. Refer to the9Overhead Console-Customer Pro-
grammable Features.9The mode will also be shown in the
display and will change as required during automatic
operation.
NOTE:The system can be put into recirculate mode
without affecting ATC operation. This will prevent out-
side air from entering the vehicle. Use this mode to
temporarily block out any outside odors, smoke, or dust.
INSTRUMENT PANEL AND CONTROLS 185
4