Page 91 of 386

then the system will turn off. Thus, a maximum of four
hours of operation until the system is reactivated.
If the low heat setting is initially selected, the system will
operate for two hours and then turn off.
If the indicator lamp on the heated seat switch does not
light when the switch is depressed or if heated seats does
not operate, the system should be serviced by a qualified
technician.
Second Row 40/20/40 Seat Ð Fold and Tumble
The 40/20/40 seat configuration is standard on all mod-
els. This seat is equipped with a unique fold-and-tumble
feature. The 40 % seatbacks have spring loaded hinges
which assist with the folding of the seatbacks.
To fold the 40 % seats, operate the latches by a single
lever on the outboard side of each seat. Upon raising the
lever slowly, the seatback releases first, allowing theseatbacks to fold with spring assistance. In this position,
the back is horizontal and aligned to the rear floor.
Second row leather seats have seatback recliners at the
40% seating positions. Raising the lever allows the seat-
back to be reclined an additional 11degrees.
UNDERSTANDING THE FEATURES OF YOUR VEHICLE 91
3
Page 92 of 386
Raising the lever allows third row seat passengers to fold
the seatbacks and release the latches when exiting the
vehicle. Once the seatback is in a folded position continue
raising the lever fully to release the cushion latches and
tumble the seat. This folding and tumbling action pro-
vides easy access to the third row seat.NOTE:The secondary lever on the rear of each cushion
allows third row-seat passengers to release the latches
and fold the seatbacks when exiting the vehicle.
NOTE:The head restraints must be lowered but do not
have to be removed to fold and tumble the seats.
92 UNDERSTANDING THE FEATURES OF YOUR VEHICLE
Page 93 of 386
Third Row Seat Bench Ð If Equipped
To Fold The Seats
Folding the third seat occurs in two stages: the cushion is
lifted and moved forward then the back is folded. Pull up
and forward on either one of the 2 straps at the front of
the cushion. The cushion rises on the ends of the
U-shaped bracket that pivots on the floor underneath the
cushion. If you continue to pull forward, the cushion
drops back to the floor directly behind the second seat.
Once the cushion has been moved forward, the seatback
is free to fold forward flush with the floor.
UNDERSTANDING THE FEATURES OF YOUR VEHICLE 93
3
Page 94 of 386
Flat Load Floor
Unsnap the flipper panels on the third row seats and flip
them forward on the back(s) of the second row seat(s).
94 UNDERSTANDING THE FEATURES OF YOUR VEHICLE
Page 95 of 386
To Achieve Maximum Cargo Capacity
Pull up the release handles and strap on the second row
seats and fold the seat backs flat. Then fold the third row
seat flat. Unsnap the flipper panel on the third row seat
and flip it forward on the backs of the second row seats.
NOTE:When returning the second row seats to their
upright position, always snap the third row seat flipper
panel(s) back to the third row seat first.
NOTE:The head restraints must be lowered when
folding the back but do not have to be removed.
NOTE:The seat belt buckles are hinged to fold with the
back.WARNING!
Make sure the cushion is properly engaged under
the seatback to properly lock the seatback in the
riding position.
Do not sit in the 3rd row seat with the second row
seatbacks folded or with the second row seats folded
and tumbled. In a collision, you could slide under
the seat belt and be seriously or even fatally injured.
UNDERSTANDING THE FEATURES OF YOUR VEHICLE 95
3
Page 96 of 386
Third Seat 50/50 Split Seat Ð If Equipped
To Fold Down The Seat(s)
Folding the third row 50/50 seats requires one step. Pull
up the release handle and move the seatback forward.
This can be done from either in front of or behind the
third row seat. The seatback and seat cushion movesimultaneously into a flat load floor position. The cush-
ion and back will move forward together resting on the
floor behind the second row seats. The seat belt buckles
are hinged to fold with the seatback.
To extend the load floor, unsnap the straps and flip the
flipper panel(s) on the third row seat forward on the
back(s) of the second row seat(s).
96 UNDERSTANDING THE FEATURES OF YOUR VEHICLE
Page 105 of 386

all the way down to the OFF detent will cause all the
interior lights to go out. This allows the doors to stay
open for extended periods of time without discharging
the vehicle's battery.
The brightness of the instrument panel lighting can be
regulated by rotating the dimmer control up (brighter) or
down (dimmer). When the headlights are ON you can
supplement the brightness of the odometer, trip odom-
eter, radio and overhead console by rotating the control
up until you hear a click. This feature is termed the
9Parade9mode and is useful when headlights are re-
quired during the day.
Battery Saver
To protect the life of your vehicle's battery, Load Shed-
ding is provided for both the interior and exterior lights.If the ignition is off and any door is left ajar for eight
minutes or the dimmer control is rotated upwards for
eight minutes, the interior lights will automatically turn
off.
If the headlights remain on while the ignition is cycled
off, the exterior lights will automatically turn off after 8
minutes. If the headlights are turned on and left on for 8
minutes while the ignition is off, the exterior lights will
automatically turn off.
NOTE:Battery Saver mode is cancelled if the ignition is
ON.
NOTE:While the engine is running, the system will
deactivate the Fog Lights and Heated seats if a low
battery system voltage is detected.
UNDERSTANDING THE FEATURES OF YOUR VEHICLE 105
3
Page 183 of 386

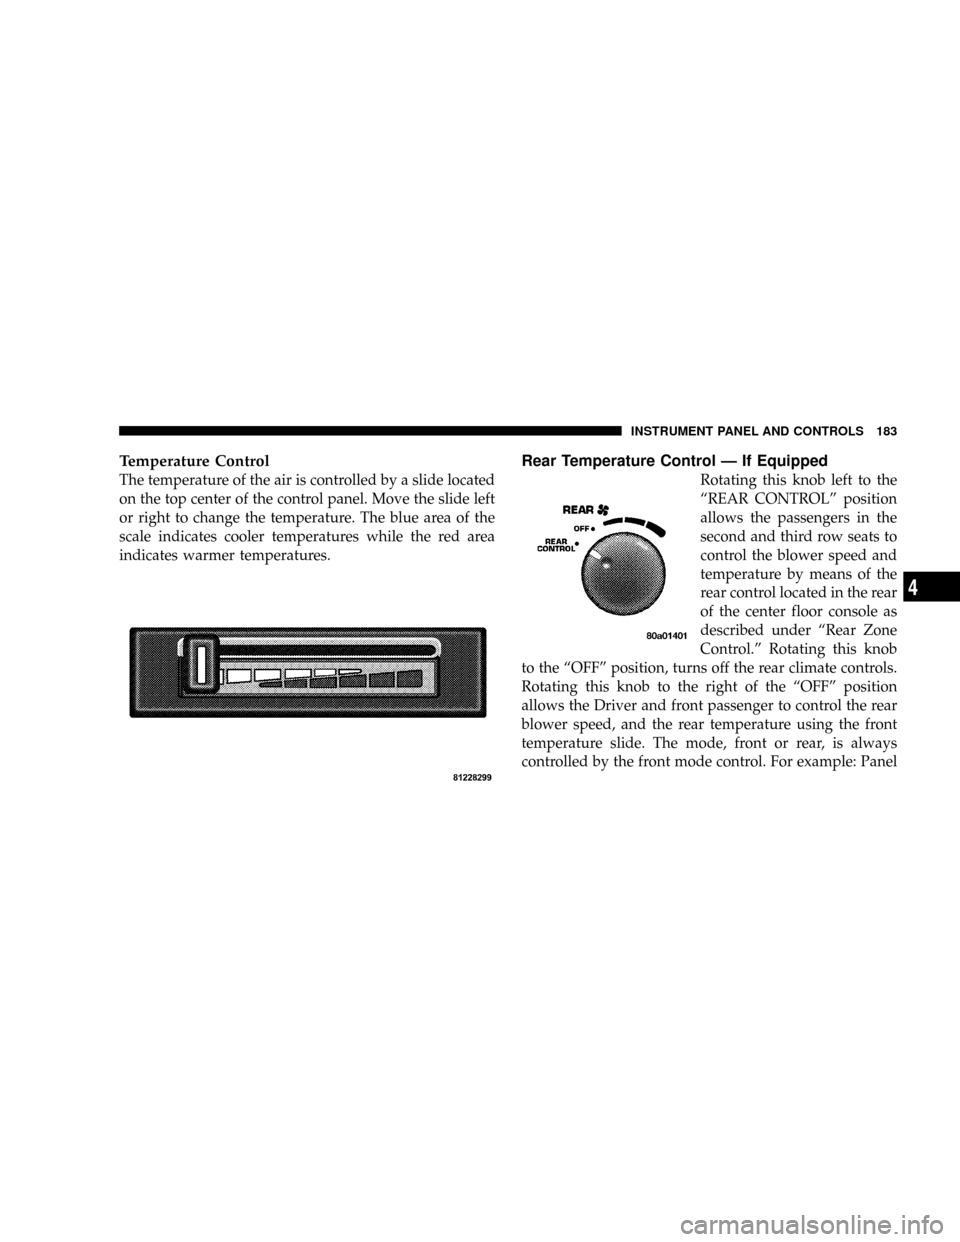
Temperature Control
The temperature of the air is controlled by a slide located
on the top center of the control panel. Move the slide left
or right to change the temperature. The blue area of the
scale indicates cooler temperatures while the red area
indicates warmer temperatures.
Rear Temperature Control Ð If Equipped
Rotating this knob left to the
ªREAR CONTROLº position
allows the passengers in the
second and third row seats to
control the blower speed and
temperature by means of the
rear control located in the rear
of the center floor console as
described under ªRear Zone
Control.º Rotating this knob
to the ªOFFº position, turns off the rear climate controls.
Rotating this knob to the right of the ªOFFº position
allows the Driver and front passenger to control the rear
blower speed, and the rear temperature using the front
temperature slide. The mode, front or rear, is always
controlled by the front mode control. For example: Panel
INSTRUMENT PANEL AND CONTROLS 183
4