Page 2418 of 2643
BUMPERS AND FASCIAS 9O – 7
DAEWOO V–121 BL4
Installation Procedure
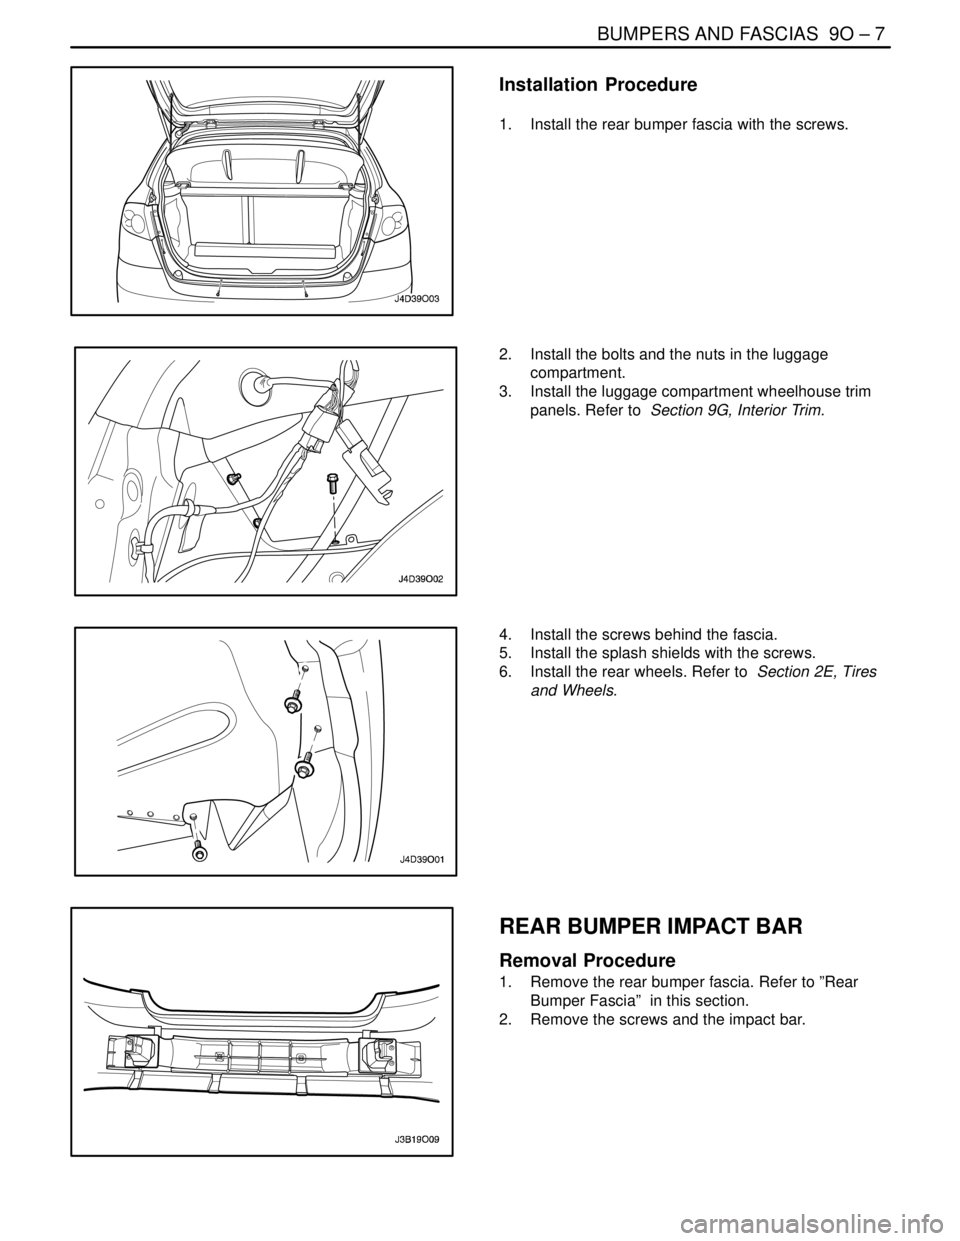
1. Install the rear bumper fascia with the screws.
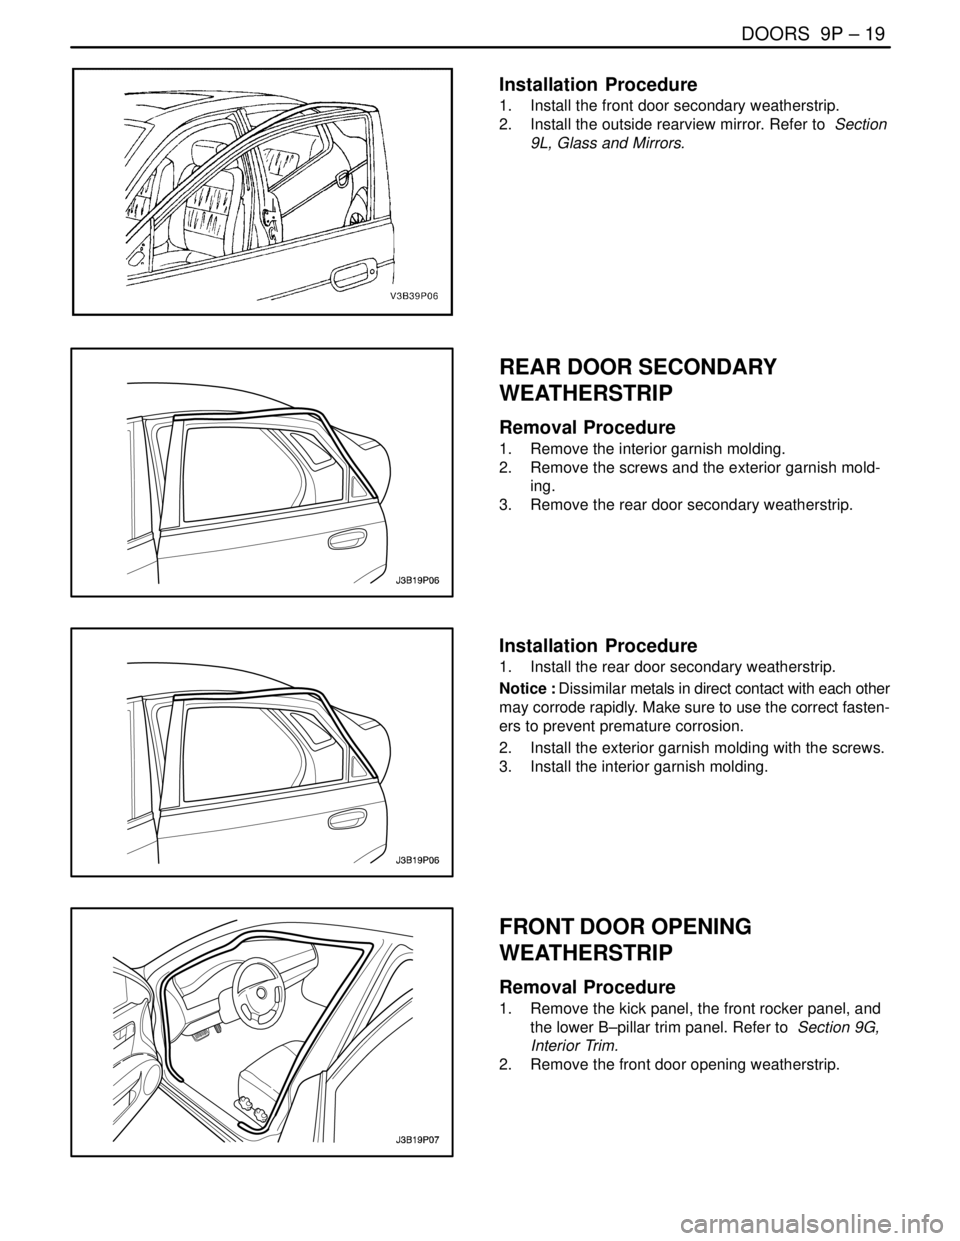
2. Install the bolts and the nuts in the luggage
compartment.
3. Install the luggage compartment wheelhouse trim
panels. Refer to Section 9G, Interior Trim.
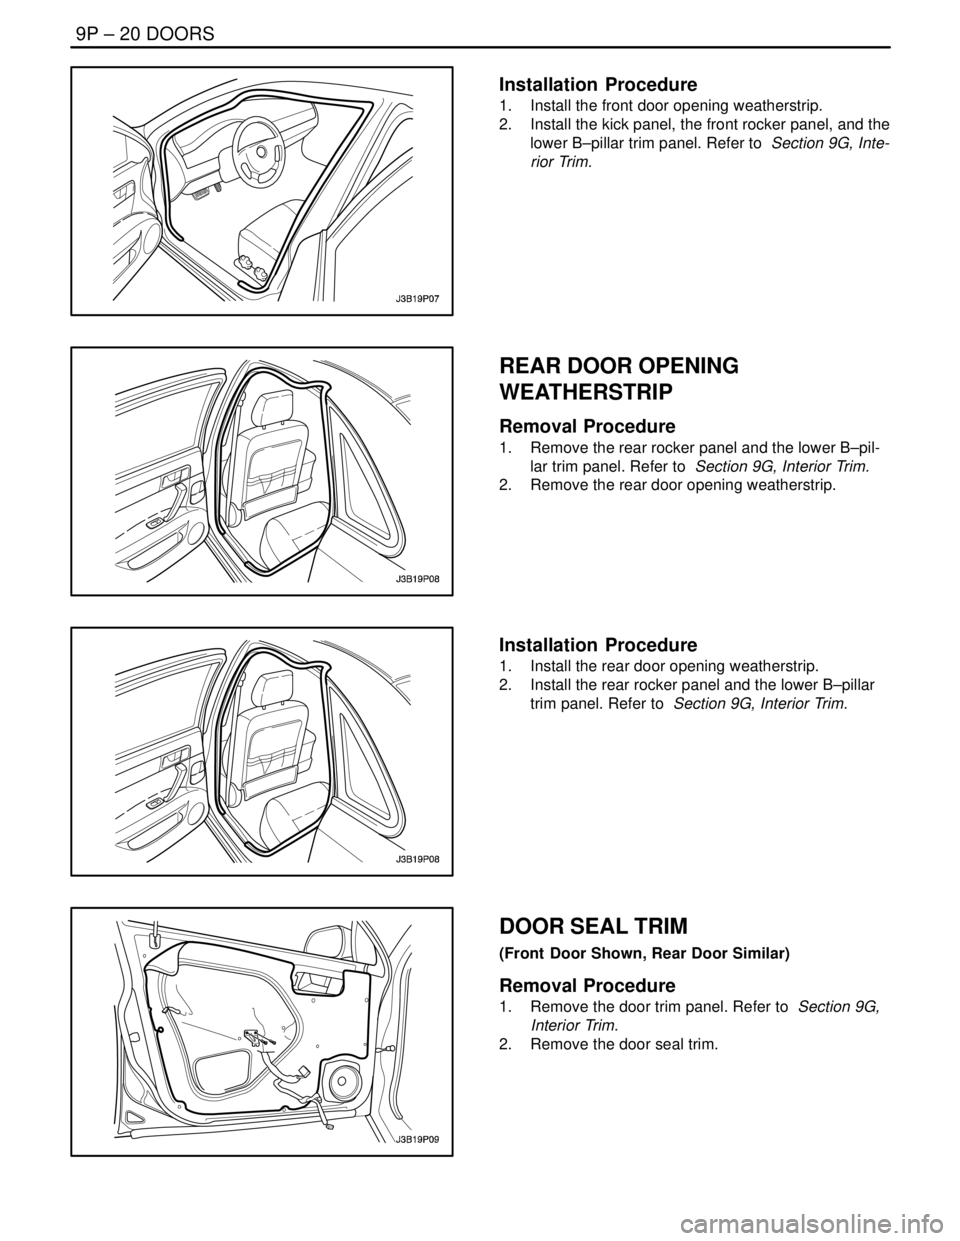
4. Install the screws behind the fascia.
5. Install the splash shields with the screws.
6. Install the rear wheels. Refer to Section 2E, Tires
and Wheels.
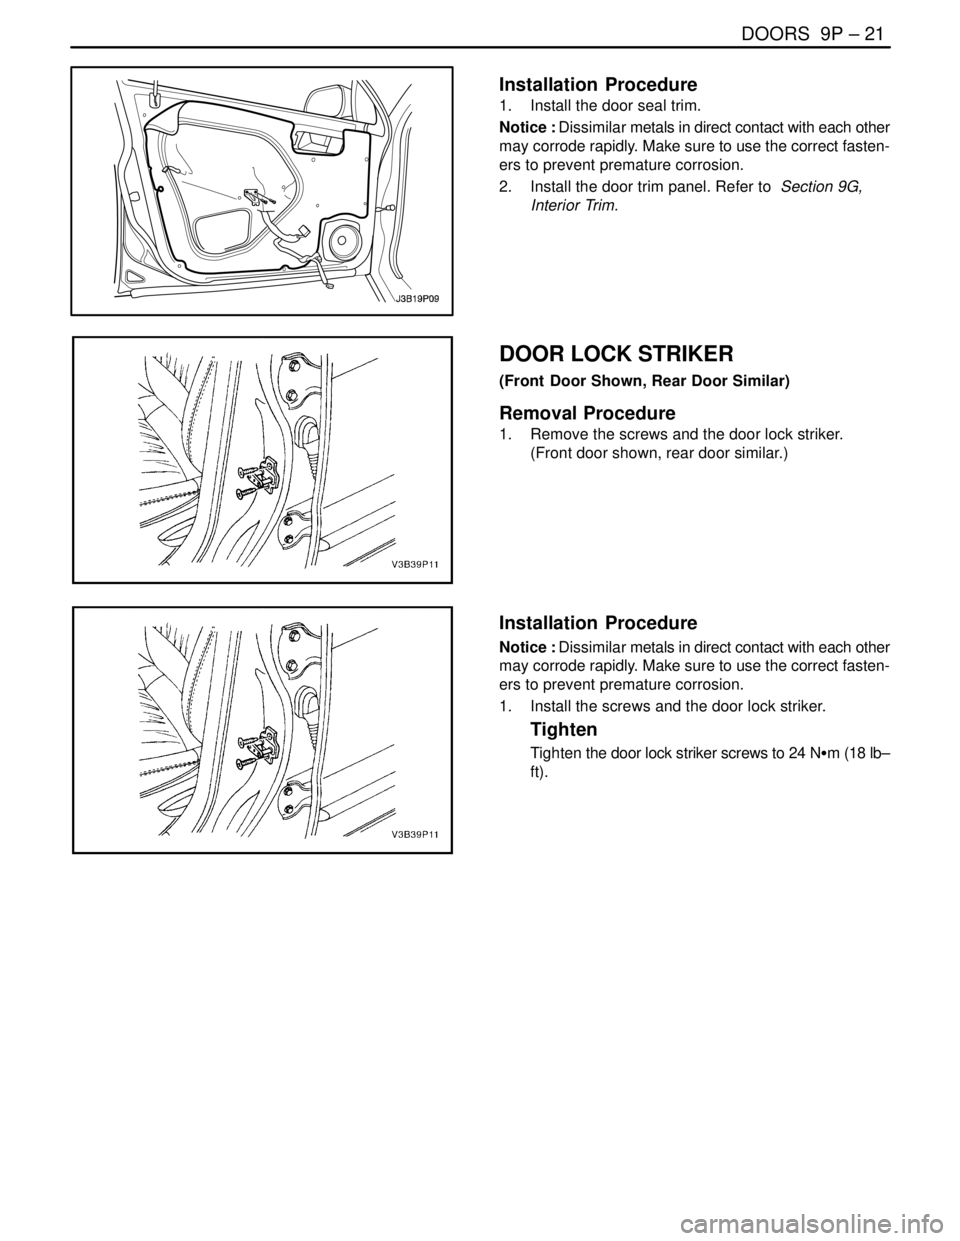
REAR BUMPER IMPACT BAR
Removal Procedure
1. Remove the rear bumper fascia. Refer to ”Rear
Bumper Fascia” in this section.
2. Remove the screws and the impact bar.
Page 2439 of 2643
DOORS 9P – 19
DAEWOO V–121 BL4
Installation Procedure
1. Install the front door secondary weatherstrip.
2. Install the outside rearview mirror. Refer to Section
9L, Glass and Mirrors.
REAR DOOR SECONDARY
WEATHERSTRIP
Removal Procedure
1. Remove the interior garnish molding.
2. Remove the screws and the exterior garnish mold-
ing.
3. Remove the rear door secondary weatherstrip.
Installation Procedure
1. Install the rear door secondary weatherstrip.
Notice : Dissimilar metals in direct contact with each other
may corrode rapidly. Make sure to use the correct fasten-
ers to prevent premature corrosion.
2. Install the exterior garnish molding with the screws.
3. Install the interior garnish molding.
FRONT DOOR OPENING
WEATHERSTRIP
Removal Procedure
1. Remove the kick panel, the front rocker panel, and
the lower B–pillar trim panel. Refer to Section 9G,
Interior Trim.
2. Remove the front door opening weatherstrip.
Page 2440 of 2643
9P – 20IDOORS
DAEWOO V–121 BL4
Installation Procedure
1. Install the front door opening weatherstrip.
2. Install the kick panel, the front rocker panel, and the
lower B–pillar trim panel. Refer to Section 9G, Inte-
rior Trim.
REAR DOOR OPENING
WEATHERSTRIP
Removal Procedure
1. Remove the rear rocker panel and the lower B–pil-
lar trim panel. Refer to Section 9G, Interior Trim.
2. Remove the rear door opening weatherstrip.
Installation Procedure
1. Install the rear door opening weatherstrip.
2. Install the rear rocker panel and the lower B–pillar
trim panel. Refer to Section 9G, Interior Trim.
DOOR SEAL TRIM
(Front Door Shown, Rear Door Similar)
Removal Procedure
1. Remove the door trim panel. Refer to Section 9G,
Interior Trim.
2. Remove the door seal trim.
Page 2441 of 2643
DOORS 9P – 21
DAEWOO V–121 BL4
Installation Procedure
1. Install the door seal trim.
Notice : Dissimilar metals in direct contact with each other
may corrode rapidly. Make sure to use the correct fasten-
ers to prevent premature corrosion.
2. Install the door trim panel. Refer to Section 9G,
Interior Trim.
DOOR LOCK STRIKER
(Front Door Shown, Rear Door Similar)
Removal Procedure
1. Remove the screws and the door lock striker.
(Front door shown, rear door similar.)
Installation Procedure
Notice : Dissimilar metals in direct contact with each other
may corrode rapidly. Make sure to use the correct fasten-
ers to prevent premature corrosion.
1. Install the screws and the door lock striker.
Tighten
Tighten the door lock striker screws to 24 NSm (18 lb–
ft).
Page 2458 of 2643
ROOF 9Q – 9
DAEWOO V–121 BL4
6. Remove the power sunroof control switch, if
equipped. Refer to ”Power Sunroof Control Switch”
in this section.
7. Remove the A–, B–, and C–pillar trim panels. Refer
to Section 9G, Interior Trim.
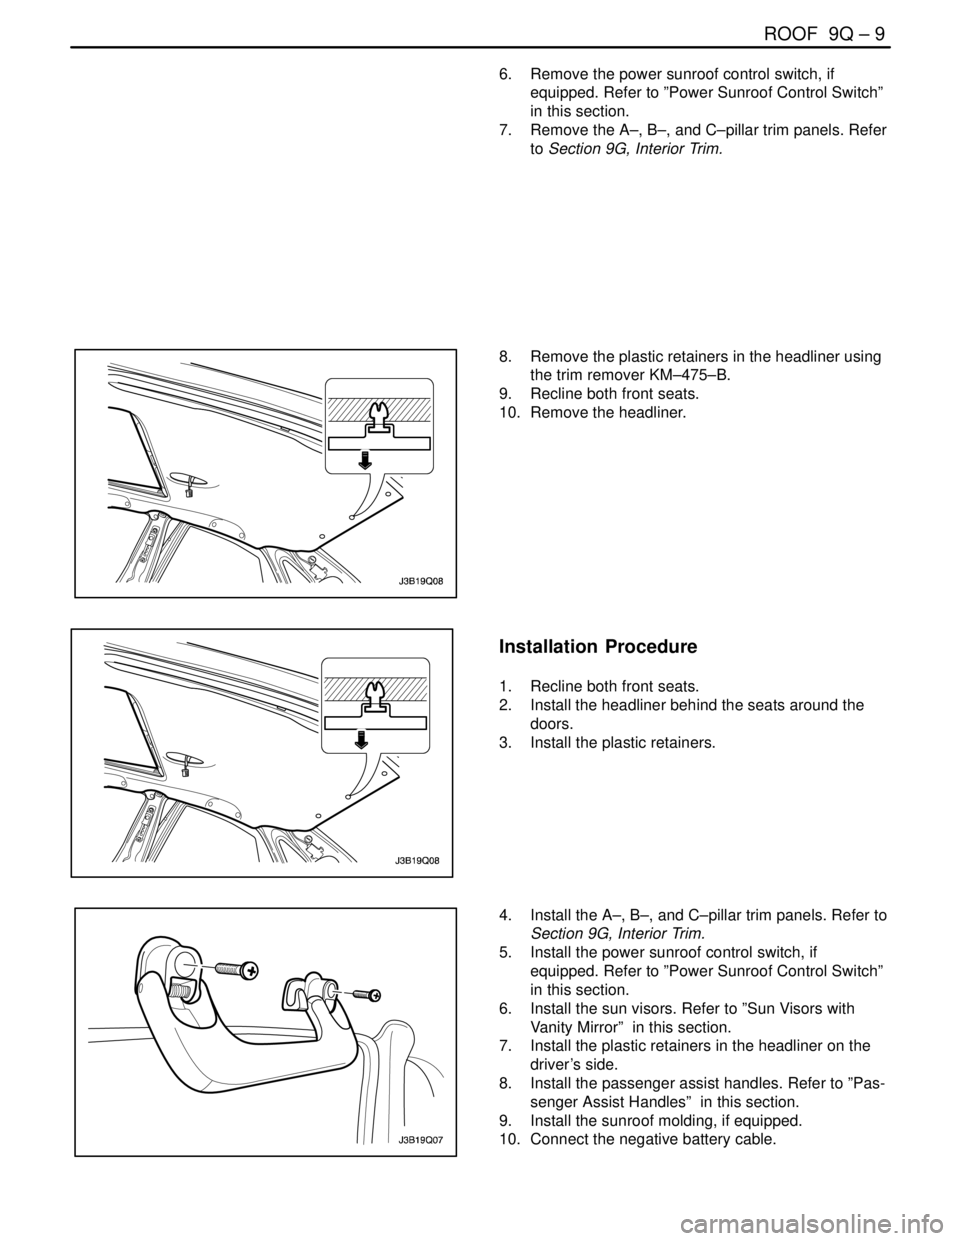
8. Remove the plastic retainers in the headliner using
the trim remover KM–475–B.
9. Recline both front seats.
10. Remove the headliner.
Installation Procedure
1. Recline both front seats.
2. Install the headliner behind the seats around the
doors.
3. Install the plastic retainers.
4. Install the A–, B–, and C–pillar trim panels. Refer to
Section 9G, Interior Trim.
5. Install the power sunroof control switch, if
equipped. Refer to ”Power Sunroof Control Switch”
in this section.
6. Install the sun visors. Refer to ”Sun Visors with
Vanity Mirror” in this section.
7. Install the plastic retainers in the headliner on the
driver’s side.
8. Install the passenger assist handles. Refer to ”Pas-
senger Assist Handles” in this section.
9. Install the sunroof molding, if equipped.
10. Connect the negative battery cable.
Page 2473 of 2643
9S – 2IBODY REAR END
DAEWOO V–121 BL4
MAINTENANCE AND REPAIR
ON–VEHICLE SERVICE
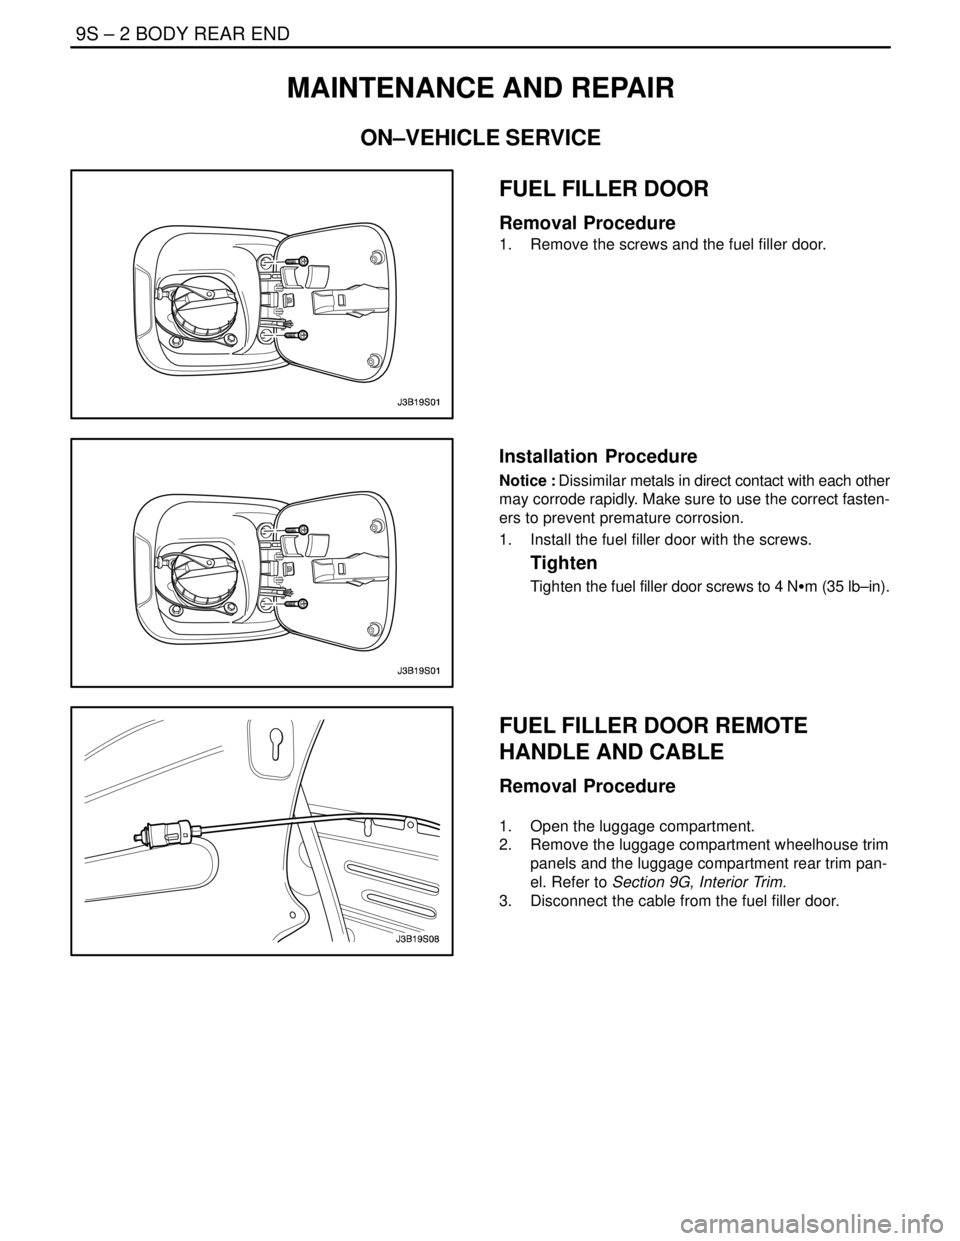
FUEL FILLER DOOR
Removal Procedure
1. Remove the screws and the fuel filler door.
Installation Procedure
Notice : Dissimilar metals in direct contact with each other
may corrode rapidly. Make sure to use the correct fasten-
ers to prevent premature corrosion.
1. Install the fuel filler door with the screws.
Tighten
Tighten the fuel filler door screws to 4 NSm (35 lb–in).
FUEL FILLER DOOR REMOTE
HANDLE AND CABLE
Removal Procedure
1. Open the luggage compartment.
2. Remove the luggage compartment wheelhouse trim
panels and the luggage compartment rear trim pan-
el. Refer to Section 9G, Interior Trim.
3. Disconnect the cable from the fuel filler door.
Page 2474 of 2643
BODY REAR END 9S – 3
DAEWOO V–121 BL4
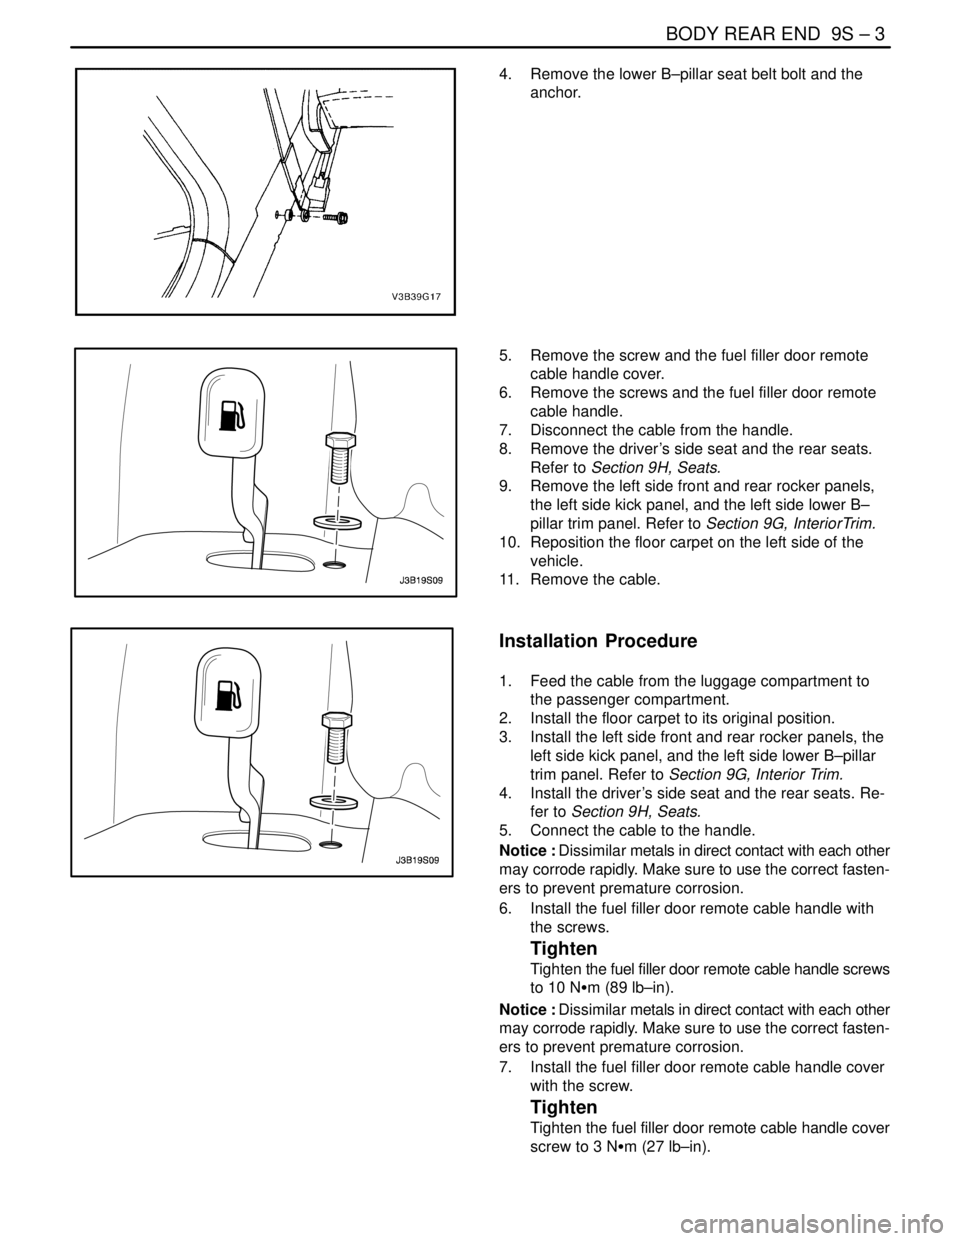
4. Remove the lower B–pillar seat belt bolt and the
anchor.
5. Remove the screw and the fuel filler door remote
cable handle cover.
6. Remove the screws and the fuel filler door remote
cable handle.
7. Disconnect the cable from the handle.
8. Remove the driver’s side seat and the rear seats.
Refer to Section 9H, Seats.
9. Remove the left side front and rear rocker panels,
the left side kick panel, and the left side lower B–
pillar trim panel. Refer to Section 9G, InteriorTrim.
10. Reposition the floor carpet on the left side of the
vehicle.
11. Remove the cable.
Installation Procedure
1. Feed the cable from the luggage compartment to
the passenger compartment.
2. Install the floor carpet to its original position.
3. Install the left side front and rear rocker panels, the
left side kick panel, and the left side lower B–pillar
trim panel. Refer to Section 9G, Interior Trim.
4. Install the driver’s side seat and the rear seats. Re-
fer to Section 9H, Seats.
5. Connect the cable to the handle.
Notice : Dissimilar metals in direct contact with each other
may corrode rapidly. Make sure to use the correct fasten-
ers to prevent premature corrosion.
6. Install the fuel filler door remote cable handle with
the screws.
Tighten
Tighten the fuel filler door remote cable handle screws
to 10 NSm (89 lb–in).
Notice : Dissimilar metals in direct contact with each other
may corrode rapidly. Make sure to use the correct fasten-
ers to prevent premature corrosion.
7. Install the fuel filler door remote cable handle cover
with the screw.
Tighten
Tighten the fuel filler door remote cable handle cover
screw to 3 NSm (27 lb–in).
Page 2475 of 2643
9S – 4IBODY REAR END
DAEWOO V–121 BL4
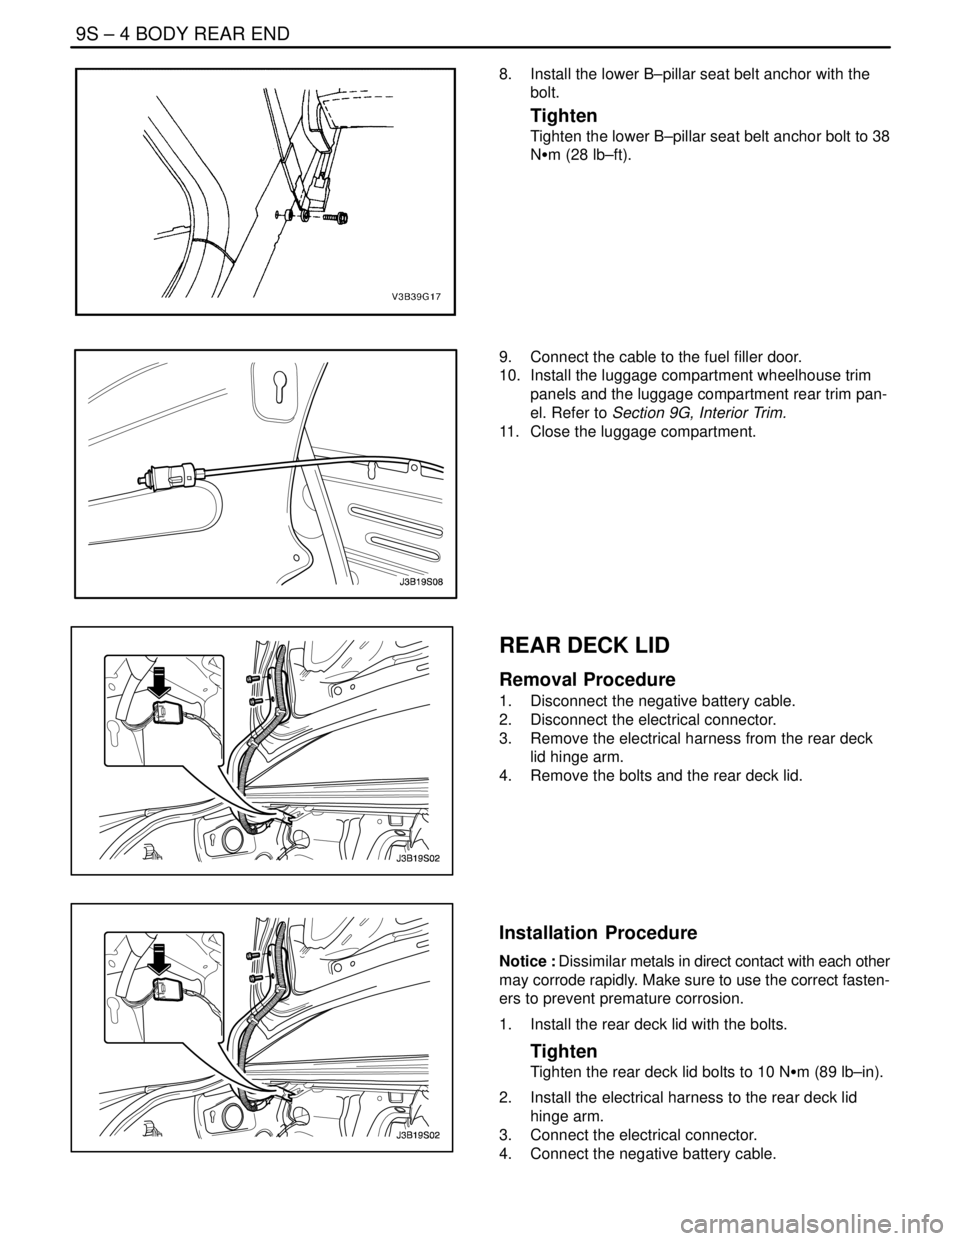
8. Install the lower B–pillar seat belt anchor with the
bolt.
Tighten
Tighten the lower B–pillar seat belt anchor bolt to 38
NSm (28 lb–ft).
9. Connect the cable to the fuel filler door.
10. Install the luggage compartment wheelhouse trim
panels and the luggage compartment rear trim pan-
el. Refer to Section 9G, Interior Trim.
11. Close the luggage compartment.
REAR DECK LID
Removal Procedure
1. Disconnect the negative battery cable.
2. Disconnect the electrical connector.
3. Remove the electrical harness from the rear deck
lid hinge arm.
4. Remove the bolts and the rear deck lid.
Installation Procedure
Notice : Dissimilar metals in direct contact with each other
may corrode rapidly. Make sure to use the correct fasten-
ers to prevent premature corrosion.
1. Install the rear deck lid with the bolts.
Tighten
Tighten the rear deck lid bolts to 10 NSm (89 lb–in).
2. Install the electrical harness to the rear deck lid
hinge arm.
3. Connect the electrical connector.
4. Connect the negative battery cable.