2004 CHRYSLER SEBRING SEDAN weight
[x] Cancel search: weightPage 40 of 273

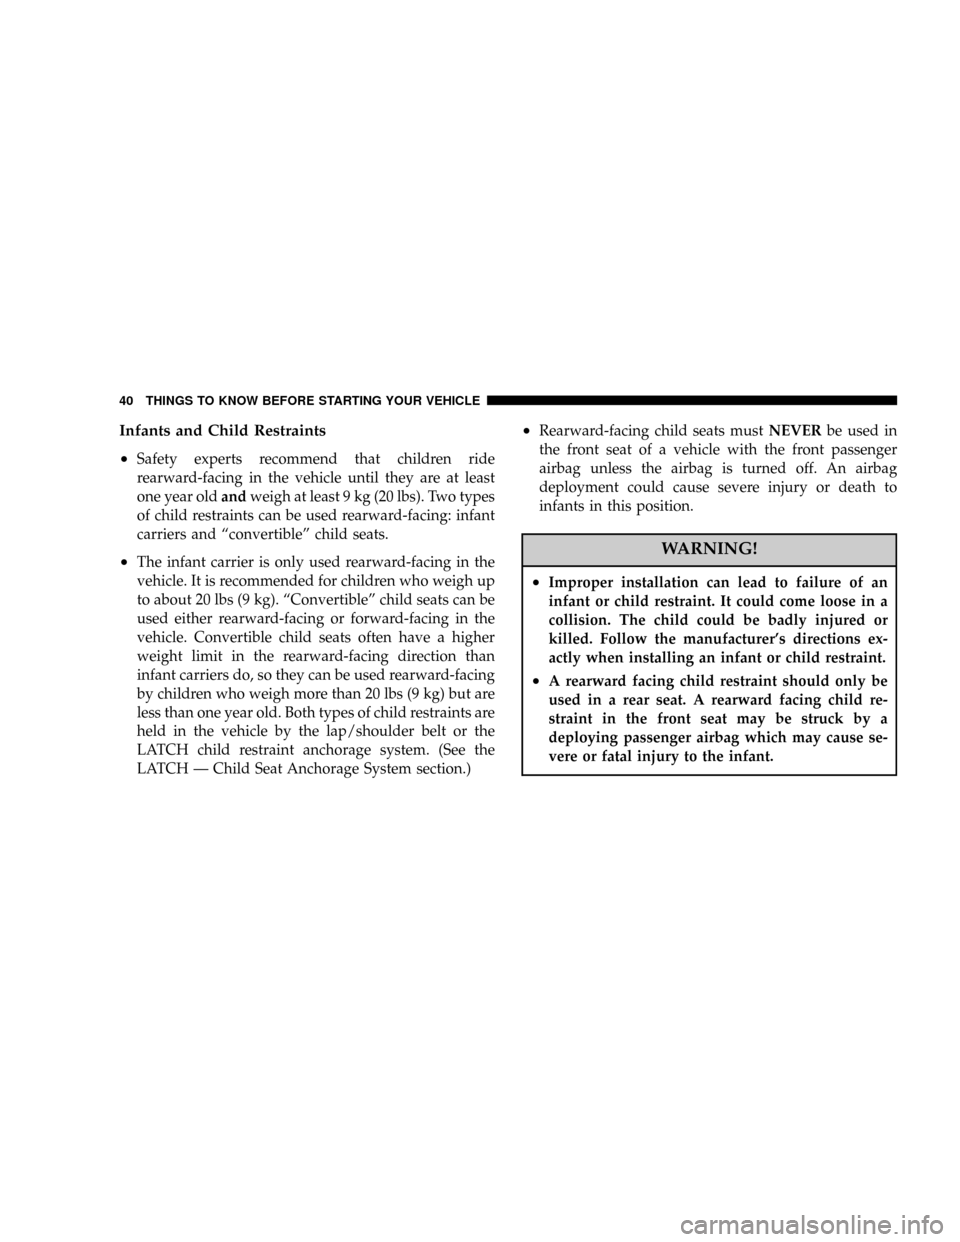
Infants and Child Restraints
²
Safety experts recommend that children ride
rearward-facing in the vehicle until they are at least
one year oldandweigh at least 9 kg (20 lbs). Two types
of child restraints can be used rearward-facing: infant
carriers and ªconvertibleº child seats.
²The infant carrier is only used rearward-facing in the
vehicle. It is recommended for children who weigh up
to about 20 lbs (9 kg). ªConvertibleº child seats can be
used either rearward-facing or forward-facing in the
vehicle. Convertible child seats often have a higher
weight limit in the rearward-facing direction than
infant carriers do, so they can be used rearward-facing
by children who weigh more than 20 lbs (9 kg) but are
less than one year old. Both types of child restraints are
held in the vehicle by the lap/shoulder belt or the
LATCH child restraint anchorage system. (See the
LATCH Ð Child Seat Anchorage System section.)
²Rearward-facing child seats mustNEVERbe used in
the front seat of a vehicle with the front passenger
airbag unless the airbag is turned off. An airbag
deployment could cause severe injury or death to
infants in this position.
WARNING!
²Improper installation can lead to failure of an
infant or child restraint. It could come loose in a
collision. The child could be badly injured or
killed. Follow the manufacturer's directions ex-
actly when installing an infant or child restraint.
²A rearward facing child restraint should only be
used in a rear seat. A rearward facing child re-
straint in the front seat may be struck by a
deploying passenger airbag which may cause se-
vere or fatal injury to the infant.
40 THINGS TO KNOW BEFORE STARTING YOUR VEHICLE
Page 41 of 273

Here are some tips on getting the most out of your child
restraint:
²Before buying any restraint system, make sure that it
has a label certifying that it meets all applicable Safety
Standards. We also recommend that you make sure
that you can install the child restraint in the vehicle
where you will use it before you buy it.
²The restraint must be appropriate for your child's
weight and height. Check the label on the restraint for
weight and height limits.
²Carefully follow the instructions that come with the
restraint. If you install the restraint improperly, it may
not work when you need it.
²Buckle the child into the seat according to the child
restraint manufacturer's directions.
²When your child restraint is not in use, secure it in the
vehicle with the seat belt or remove it from the vehicle.
Do not leave it loose in the vehicle. In a sudden stop or
collision, it could strike the occupants or seat backs
and cause serious personal injury.
NOTE:For additional information refer to
www.seatcheck.org or call 1±866±SEATCHECK.
Older Children and Child Restraints
Children who weigh more than 20 lbs (9 kg) and who are
older than one year can ride forward-facing in the
vehicle. Forward-facing child seats and convertible child
seats used in the forward-facing direction are for children
who weigh 20 to 40 lbs (9 to 18 kg) and who are older
than one year. These child seats are also held in the
vehicle by the lap/shoulder belt or the LATCH child
restraint anchorage system. (See the LATCH Ð Child
Seat Anchorage System Section.)
The belt-positioning booster seat is for children weighing
more than 40 lbs (18 kg), but who are still too small to fit
the vehicle's seat belts properly. If the child cannot sit
with knees bent over the vehicle's seat cushion while the
child's back is against the seat back, they should use a
belt-positioning booster seat. The child and belt-
positioning booster seat are held in the vehicle by the
lap/shoulder belt.
THINGS TO KNOW BEFORE STARTING YOUR VEHICLE 41
2
Page 148 of 273

Tire Loading and Tire Pressure
Tire Placard Location
NOTE:
Some vehicles have a ªTire and Loading Infor-
mationº placard located on the driver's side ªBº pillar.
Tire and Loading Information Placard
This placard tells you important information about the,
1) number of people that can be carried in the vehicle
2) the total weight your vehicle can carry
3) the tire size designed for your vehicle
4) the cold tire inflation pressures for the front, rear
and spare tires.
Loading
The vehicle maximum load on the tire must not exceed
the load carrying capacity of the tire on your vehicle. You
will not exceed the tire's load carrying capacity if you
148 STARTING AND OPERATING
Page 149 of 273

adhere to the loading conditions, tire size and cold tire
inflation pressures specified on the Tire and Loading
Information placard and the Vehicle Loading section of
this manual.
NOTE:Under a maximum loaded vehicle condition,
gross axle weight ratings (GAWR's) for the front and rear
axles must not be exceeded. For further information on
GAWR's, vehicle loading and trailer towing, see the
Vehicle Loading section of this manual.
To determine the maximum loading conditions of your
vehicle, locate the statement ªThe combined weight of
occupants and cargo should never exceed XXX kg or XXX
lbs.º on the Tire and Loading Information placard. The
combined weight of occupants, cargo/luggage and
trailer tongue weight (if applicable) should never exceed
the weight referenced here.
Steps for Determining Correct Load Limit
1. Locate the statement ªThe combined weight of occu-
pants and cargo should never exceed XXX poundsº on
your vehicle's placard.
2. Determine the combined weight of the driver and
passengers that will be riding in your vehicle.3. Subtract the combined weight of the driver and pas-
sengers from XXX kilograms or XXX pounds.
4.
The resulting figure equals the available amount of cargo
and luggage load capacity. For example, if ªXXXº amount
equals 1400 lbs. and there will be five 150 lb. passengers in
your vehicle, the amount of available cargo and luggage
load capacity is 650 lb. (1400±750 (5 x 150) = 650 lb.)
5. Determine the combined weight of luggage and cargo
being loaded on the vehicle. That weight may not safely
exceed the available cargo and luggage load capacity
calculated in step 4.
6. If your vehicle will be towing a trailer, load from your
trailer will be transferred to your vehicle. Consult this
manual to determine how this reduces the available
cargo and luggage load capacity of your vehicle.
NOTE:The following table shows examples on how to
calculate total load, cargo/luggage and towing capacities
of your vehicle with varying seating configurations and
number and size of occupants. This table is for illustra-
tion purposes only and may not be accurate for the
seating and load carry capacity of your vehicle.
STARTING AND OPERATING 149
5
Page 150 of 273

NOTE:For the following example the combined weight of
occupants and cargo should never exceed 865 lbs. (392 Kg).
150 STARTING AND OPERATING
Page 165 of 273

WARNING!
²Never have any smoking materials lit in or near
the vehicle when the gas cap is removed or the
tank filled.
²Never add fuel to the vehicle when the engine is
running.
²A fire may result if gasoline is pumped into a
portable container that is inside of a vehicle. You
could be burned. Always place gas containers on
the ground while filling.
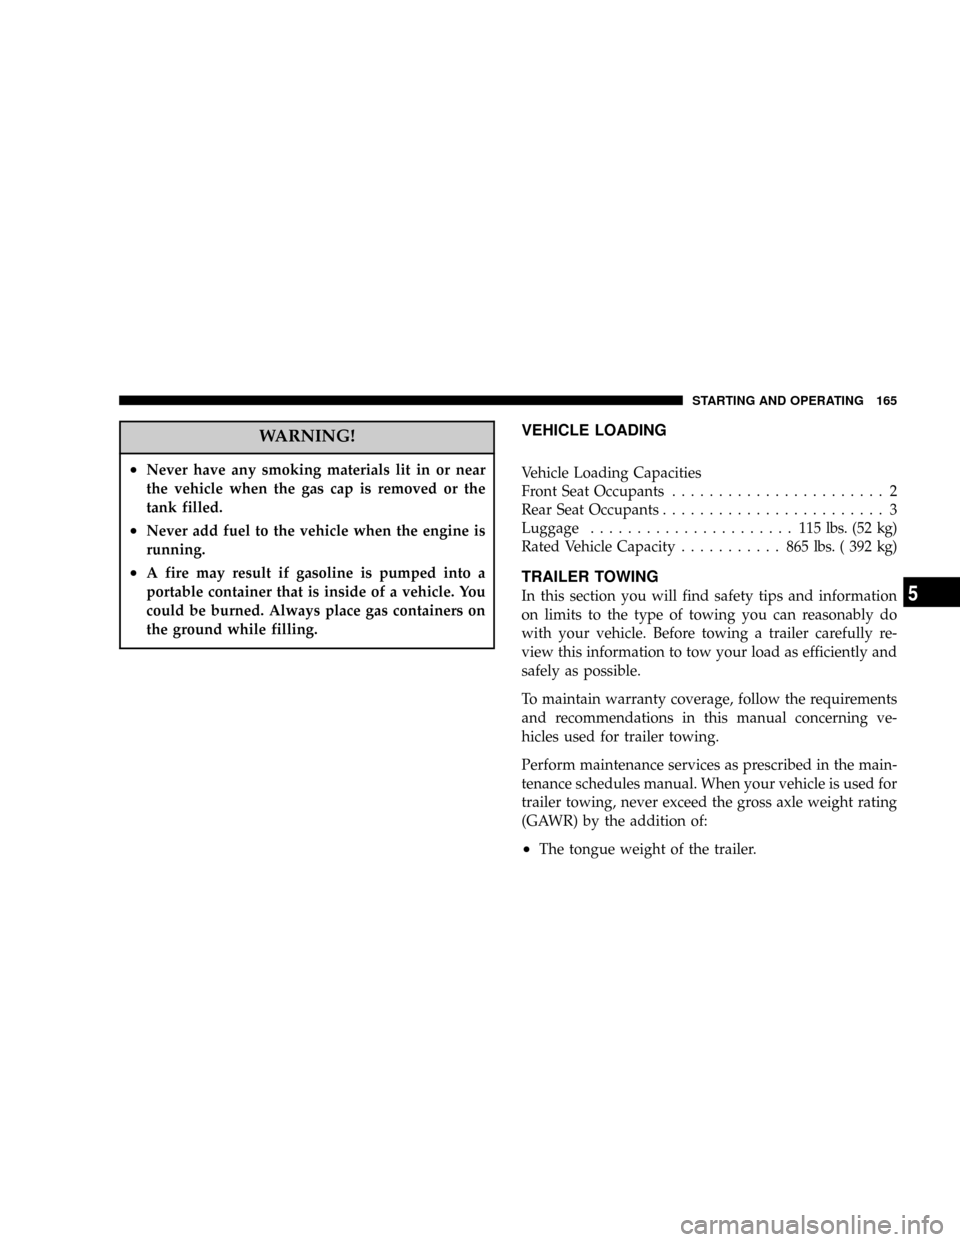
VEHICLE LOADING
Vehicle Loading Capacities
Front Seat Occupants....................... 2
Rear Seat Occupants........................ 3
Luggage...................... 115lbs. (52 kg)
Rated Vehicle Capacity........... 865lbs. ( 392 kg)
TRAILER TOWING
In this section you will find safety tips and information
on limits to the type of towing you can reasonably do
with your vehicle. Before towing a trailer carefully re-
view this information to tow your load as efficiently and
safely as possible.
To maintain warranty coverage, follow the requirements
and recommendations in this manual concerning ve-
hicles used for trailer towing.
Perform maintenance services as prescribed in the main-
tenance schedules manual. When your vehicle is used for
trailer towing, never exceed the gross axle weight rating
(GAWR) by the addition of:
²The tongue weight of the trailer.
STARTING AND OPERATING 165
5
Page 166 of 273

²The weight of any other type of cargo or equipment
put in or on your vehicle.
²Remember that everything put in or on the trailer adds
to the load on your vehicle.
Warranty Requirements
The Manufacturer's Passenger Vehicle Warranty will
apply to vehicles used to tow trailers for non-commercial
use. However the following conditions must be met:
²The maximum trailer load is 1,000 lbs (450 kg).
²The maximum frontal area of the trailer cannot exceed
20 square feet (1.86 square meters).
²If using a manual transaxle vehicle for trailer towing,
all starts must be in FIRST gear to avoid excessive
clutch slippage.
²The trailer tongue load must be considered as part of
the combined weight of occupants and cargo, and
should never exceed the weight referenced on the Tire
and Loading Information placard. Refer to the Tire±
Safety Information Section in this manual.
²The ªDº range can be selected when towing. However,
if frquent shifting occurs while in this range, the ª3º
range must be selected.
NOTE:Using the ª3º range while operating the vehicle
under heavy operating conditions will improve perfor-
mance and extend tranaxle life by reducing excessive
shifting and heat build up.
WARNING!
Connecting trailer brakes to your vehicle's hydraulic
brake lines can overload your brake system and
cause it to fail. You might not have brakes when you
need them and could have an accident.
²Do not attempt to tow a trailer while using a compact
spare tire.
²Whenever you pull a trailer, regardless of the trailer
size, stop lights and turn signals on the trailer are
recommended for motoring safety.
166 STARTING AND OPERATING
Page 227 of 273

License Plate Bulb Replacement
1. Locate both small slots on the outboard side of the
license lamp. Using a small screwdriver, remove the
entire housing.
2. Turn the bulb socket counterclockwise to remove it
from the housing. Pull the bulb out of the socket. Replace
the bulb and snap it back into place on the housing of the
chrome appliqu×.
Headlight Aiming
The headlights on your new vehicle were aimed at the
factory. The factory setting was made at a no load setting.
A great increase in weight will change the aiming and it
may be necessary to readjust the headlights if carrying an
excessive amount of weight in the trunk, rear seats or
pulling a trailer. To readjust the headlights first mark the
position of the headlights on a wall prior to loading the
vehicle. Load the vehicle and then readjust the headlights
to the original position. If any further adjustments are
necessary contact your manufacturer's dealer. A detailed
service procedure is contained in the manufacturer's
Service Manual. Information on purchasing a Service
Manual can be found at the back of this Owner's Manual.
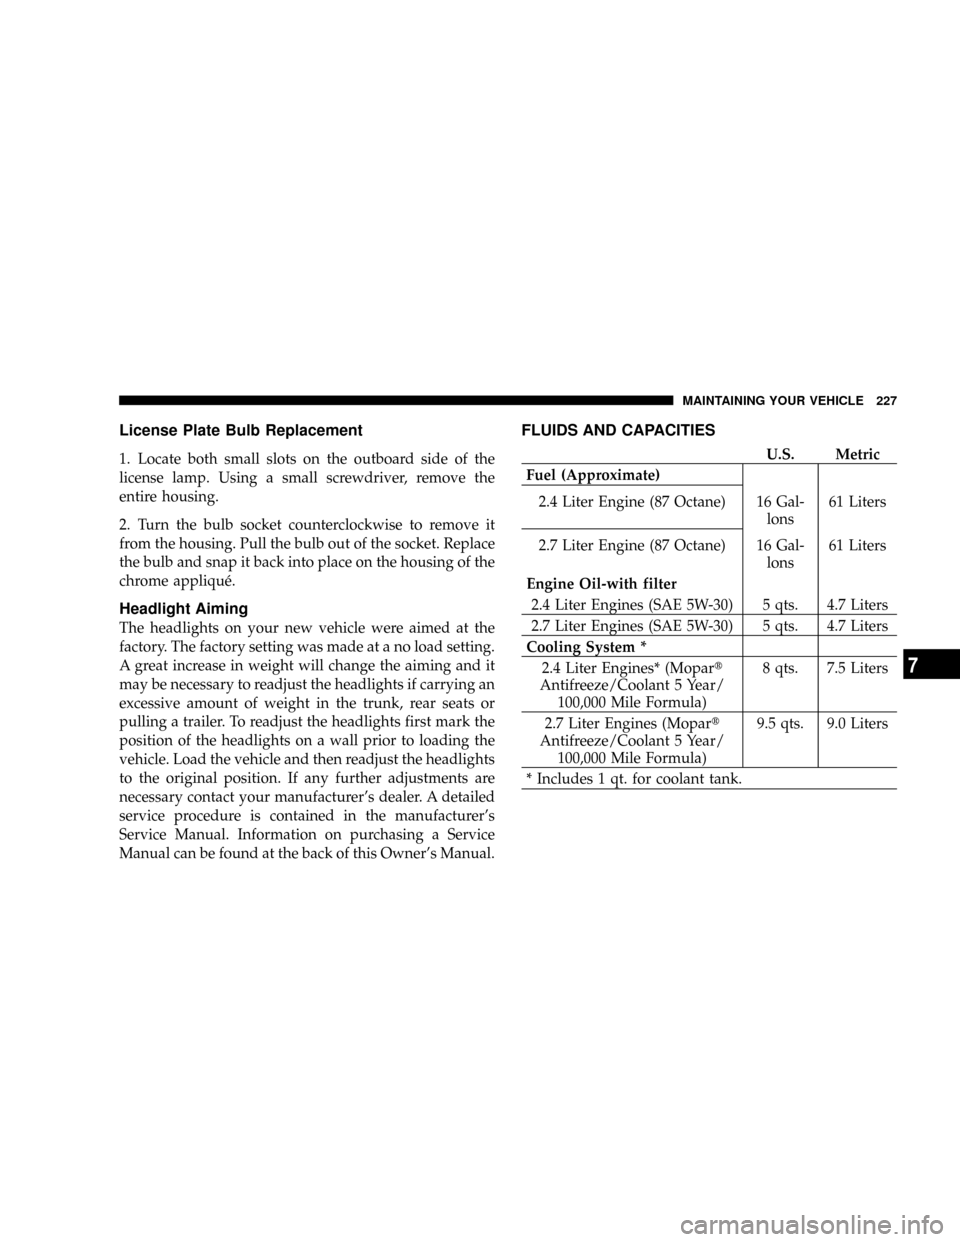
FLUIDS AND CAPACITIES
U.S. Metric
Fuel (Approximate)
2.4 Liter Engine (87 Octane) 16 Gal-
lons61 Liters
2.7 Liter Engine (87 Octane) 16 Gal-
lons61 Liters
Engine Oil-with filter
2.4 Liter Engines (SAE 5W-30) 5 qts. 4.7 Liters
2.7 Liter Engines (SAE 5W-30) 5 qts. 4.7 Liters
Cooling System *
2.4 Liter Engines* (Mopart
Antifreeze/Coolant 5 Year/
100,000 Mile Formula)8 qts. 7.5 Liters
2.7 Liter Engines (Mopart
Antifreeze/Coolant 5 Year/
100,000 Mile Formula)9.5 qts. 9.0 Liters
* Includes 1 qt. for coolant tank.
MAINTAINING YOUR VEHICLE 227
7