2004 CHRYSLER SEBRING COUPE warning
[x] Cancel search: warningPage 307 of 382

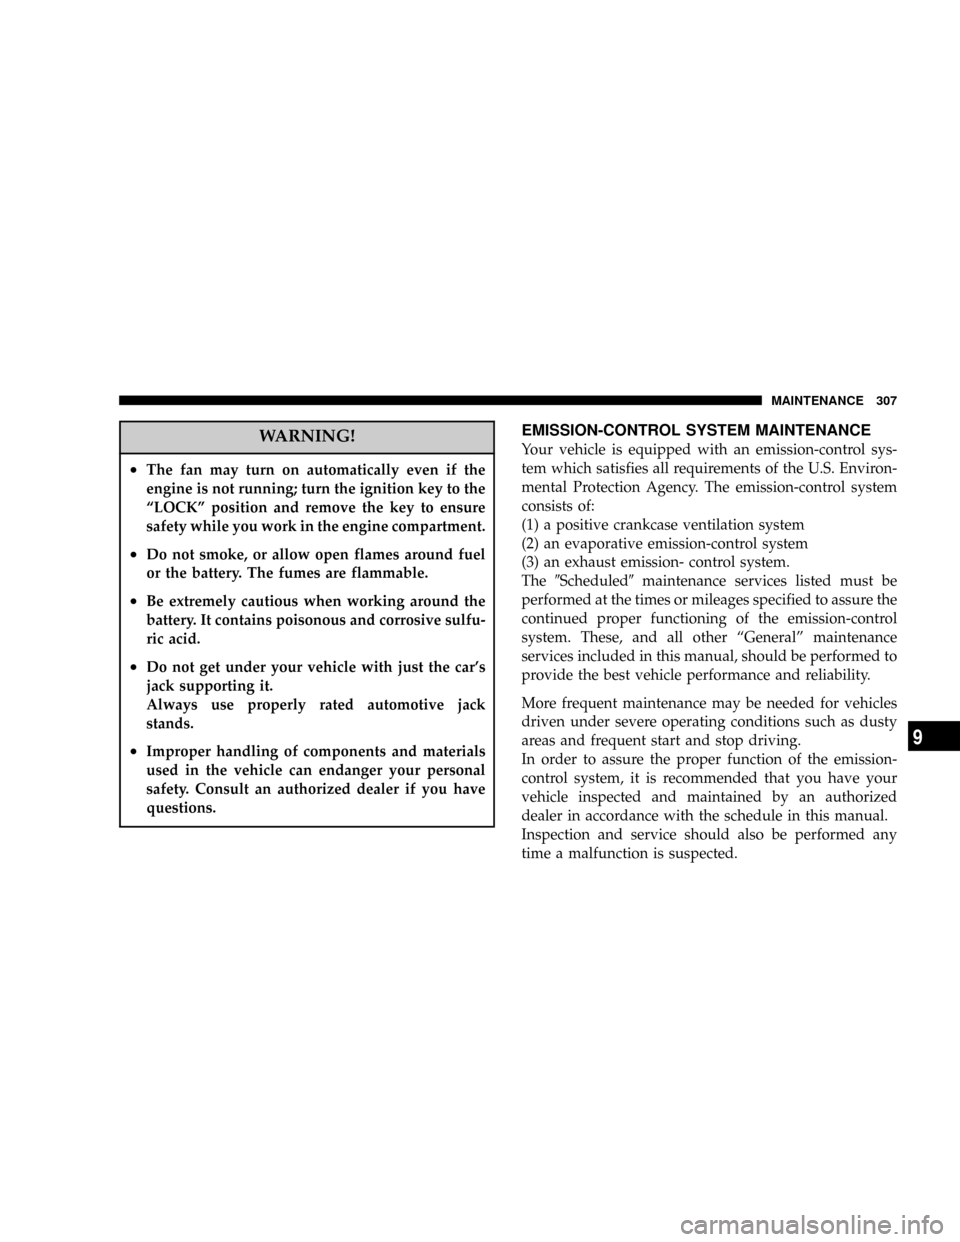
WARNING!
²The fan may turn on automatically even if the
engine is not running; turn the ignition key to the
ªLOCKº position and remove the key to ensure
safety while you work in the engine compartment.
²Do not smoke, or allow open flames around fuel
or the battery. The fumes are flammable.
²Be extremely cautious when working around the
battery. It contains poisonous and corrosive sulfu-
ric acid.
²Do not get under your vehicle with just the car's
jack supporting it.
Always use properly rated automotive jack
stands.
²Improper handling of components and materials
used in the vehicle can endanger your personal
safety. Consult an authorized dealer if you have
questions.
EMISSION-CONTROL SYSTEM MAINTENANCE
Your vehicle is equipped with an emission-control sys-
tem which satisfies all requirements of the U.S. Environ-
mental Protection Agency. The emission-control system
consists of:
(1) a positive crankcase ventilation system
(2) an evaporative emission-control system
(3) an exhaust emission- control system.
The9Scheduled9maintenance services listed must be
performed at the times or mileages specified to assure the
continued proper functioning of the emission-control
system. These, and all other ªGeneralº maintenance
services included in this manual, should be performed to
provide the best vehicle performance and reliability.
More frequent maintenance may be needed for vehicles
driven under severe operating conditions such as dusty
areas and frequent start and stop driving.
In order to assure the proper function of the emission-
control system, it is recommended that you have your
vehicle inspected and maintained by an authorized
dealer in accordance with the schedule in this manual.
Inspection and service should also be performed any
time a malfunction is suspected.
MAINTENANCE 307
9
Page 309 of 382

If the light is flashing, severe catalytic converter damage
and power loss will soon occur. Immediate service is
required.
If the gas cap is not tightened properly, the light may
come on. Be sure the gas cap is tightened every time you
add fuel. Tighten the cap until you hear it ªclick.º
REPLACEMENT PARTS
Use of genuine Mopar parts for normal/scheduled main-
tenance and repairs is highly recommended to insure the
designed performance. Damage or failures caused by the
use of non-Mopar parts for maintenance and repairs will
not be covered by the DaimlerChrysler Motors Corpora-
tion warranty.
Fuel system (tank, filler tube, connections, and
fuel tank filler cap)
Check periodically for damage or leakage in the fuel lines
and connections, and check for damage and looseness of
the fuel tank filler tube cap. Particular attention should be
paid to examining those fuel lines nearest to high heat
sources such as the exhaust manifold.
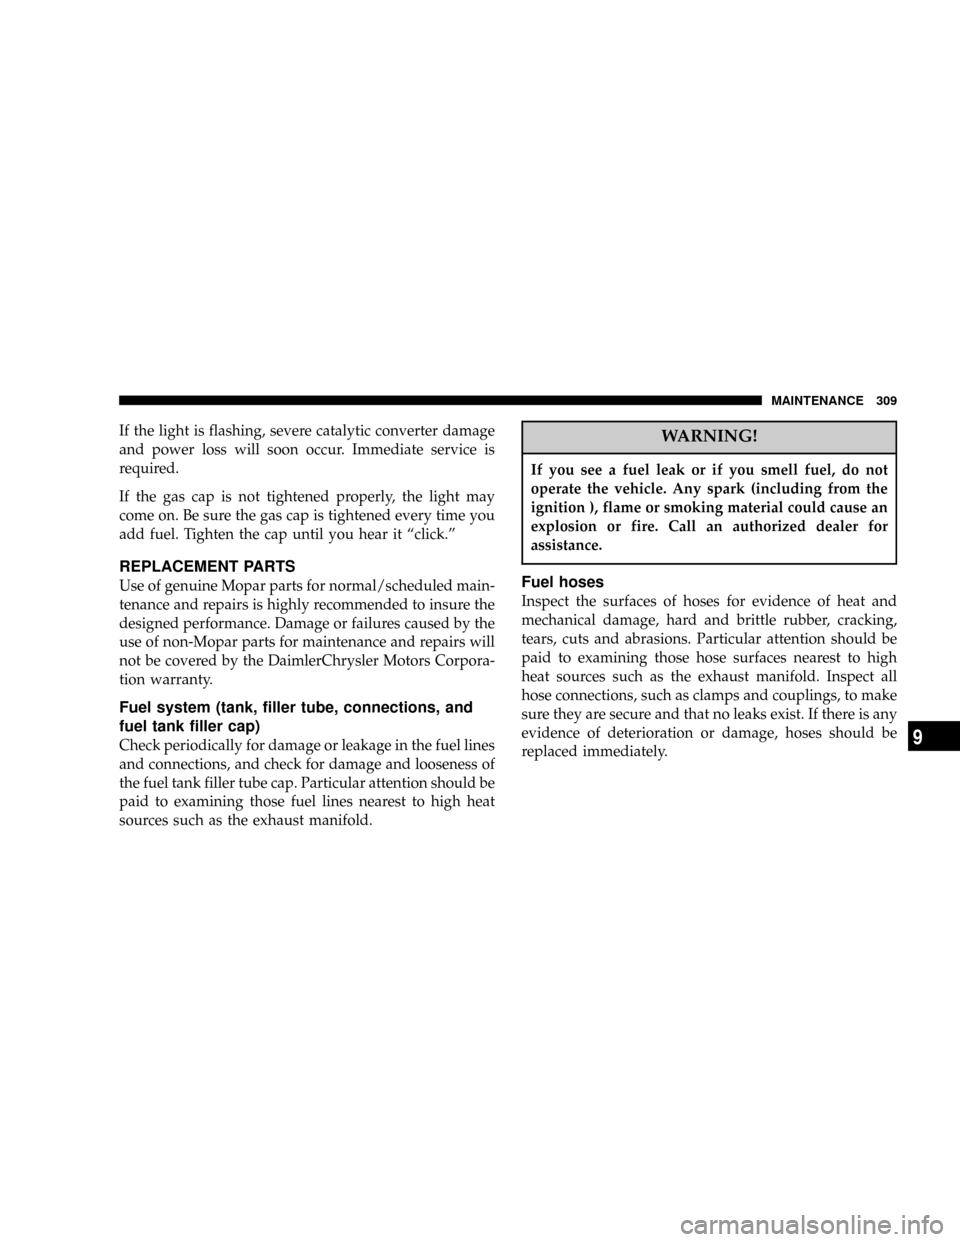
WARNING!
If you see a fuel leak or if you smell fuel, do not
operate the vehicle. Any spark (including from the
ignition ), flame or smoking material could cause an
explosion or fire. Call an authorized dealer for
assistance.
Fuel hoses
Inspect the surfaces of hoses for evidence of heat and
mechanical damage, hard and brittle rubber, cracking,
tears, cuts and abrasions. Particular attention should be
paid to examining those hose surfaces nearest to high
heat sources such as the exhaust manifold. Inspect all
hose connections, such as clamps and couplings, to make
sure they are secure and that no leaks exist. If there is any
evidence of deterioration or damage, hoses should be
replaced immediately.
MAINTENANCE 309
9
Page 313 of 382

To check and refill engine oil
It is normal for an engine to consume some oil. You may
find it necessary to add oil between the recommended oil
change intervals. Before starting the engine, check the
engine oil level. Replenish if necessary.
To check the oil level, remove the dipstick, wipe it off,
and gently insert it fully into the crankcase. Slowly
remove it again. The oil level must not exceed the range
of ªGoodº on the dipstick.
NOTE: The engine must be ªOFFº when performing oil
level checks.
If the level does not reach the range of ªGoodº, which
indicates minimum necessary quantity of oil, remove the
oil filler cap on the engine valve cover, and refill to within
the ªGoodº range.
CAUTION!
Overfilling the crankcase will cause oil aeration and
loss of oil pressure, which could damage the engine.
WARNING!
²Used engine oil is contaminated, and can cause
skin problems: Avoid contact with the skin and
wash thoroughly after working with used oil.
²Keep used oil out of reach of children.
M03A0710
3.0 liter engine
Good
MAINTENANCE 313
9
Page 317 of 382

Radiator cap
The radiator cap must be fully tightened to prevent loss
of coolant and engine damage.
WARNING!
Make sure that the engine is thoroughly cooled
down before removing the radiator cap, otherwise
hot steam or boiling coolant may gush from the filler
port and scald you.
Points to remember
1. Do not overfill the reserve tank.
2. A special radiator cap is used to ensure sealing and to
allow the coolant to return from the reserve tank to the
radiator when the engine cools. If cap replacement is
necessary, use the proper cap.
3. Check the coolant freeze point in the radiator using
proper instruments, when it is safe to do so. If antifreeze
is added, the contents of the reserve tank must be
protected against freezing.
4. Keep the front of the radiator clean. If your vehicle is
equipped with air conditioning, keep the front of the
condenser clean.5. If the temperature of the engine coolant does not rise
normally after engine warm-up, take the vehicle to an
authorized dealer to have the thermostat checked, and
replaced if necessary.
BRAKE FLUID
Recommended brake fluid conforming to DOT 3 or DOT 4
should be used. The reservoir cap must be fully tightened
to avoid contamination from foreign matter or moisture.
CAUTION!
²Do not allow petroleum-based fluid to contact,
mix with, or otherwise contaminate the brake
fluid. Seal damage will result.
²Take care in handling brake fluid as it may cause
damage to painted surfaces.
²Use only the specified brake fluid. Also, the
additives in different brands may result in a
chemical reaction when mixed together, so avoid
mixing different brands if possible.
²Keep the reservoir tank cap closed to prevent the
brake fluid from evaporating or absorbing moisture.
MAINTENANCE 317
9
Page 320 of 382

WARNING!
²Never disconnect the battery while the engine is
running; doing so could damage the vehicle's
electrical components.
²Never short-circuit the battery; doing so could
cause it to overheat and be damaged.
²Keep sparks, cigarettes and flames away from the
battery because the battery may produce an explo-
sion.
²Electrolyte (battery acid) is corrosive diluted sul-
furic acid. If electrolyte comes in contact with,
your hands, eyes, clothes, or the coated surface of
your vehicle, thoroughly flush the area with wa-
ter. If electrolyte gets in your eyes, flush them
with water immediately and get prompt medical
attention.
WARNING!
²Ventilate the area when charging or using the
battery in an enclosed space.
²Always wear protective clothing and goggles
when working with the battery, or have a skilled
technician do it.
²If the battery is to be quick-charged, first discon-
nect the battery cables from the vehicle.
²In order to prevent a short circuit, be sure to
disconnect the negative(-) terminal first, and re-
connect it last.
²If the electrolyte level is very low, have the battery
checked at an authorized dealer.
²Battery posts, terminals and related accessories
contain lead and lead compounds. Wash hands
after handling.
320 MAINTENANCE
Page 322 of 382

To check the fluid level
The fluid level should be checked when the engine
temperature gauge indicates a normal warmed up con-
dition and the fluid in the transaxle is heated to its
normal operating temperature. Operation with an im-
proper fluid level will greatly reduce the life of the
transaxle and the fluid.
Procedure for checking the fluid level
1. With the parking brake engaged and the engine idling,
select each gear momentarily, ending with the selector
lever in the ªNº (NEUTRAL) position.
2. The fluid level should be at the HOT mark, but never
above the HOT mark when the engine is at its normal
warmed up condition. Add or drain as necessary to bring
the fluid to this prescribed level.
3. Make certain that the dipstick cap is reseated properly
to prevent dirt and water from entering the transaxle.
WARNING!
Transaxle fluid is extremely flammable and poison-
ous. Do not spill fluid when adding or draining.
To add or change the fluid
Use only recommended Mopar ATF+4 automatic trans-
mission fluid to ensure optimum transaxle performance.
M05A0460
Drain plug
322 MAINTENANCE
Page 324 of 382

DOOR HINGES, REAR HATCH HINGES, HOOD
LOCK RELEASE MECHANISM AND SAFETY
CATCH
The door hinges, trunk hinges, hood lock release mecha-
nism and hood safety catch should be inspected, cleaned,
and lubricated as required to maintain ease of operation
and to provide protection against rust and wear. Apply
engine oil to door hinges, hood hinges, and trunk hinges.
Apply Multipurpose Grease NLGI Grade 2 sparingly to
all sliding contact areas of the hood latch and release
lever. Work lubricant into the hood lock mechanism until
all frictional surfaces are covered.
Also, apply a film of the same lubricant to the pivot
contact areas of the safety catch.
EXHAUST SYSTEM
WARNING!
Carbon monoxide gas found in the vehicle's exhaust
is poisonous. Inhalation of exhaust fumes can cause
unconsciousness or death.
The best protection against carbon monoxide entry into
the vehicle interior is a properly maintained engine
exhaust system.
Whenever a change is noticed in the sound of the exhaust
system; when exhaust fumes can be detected inside the
vehicle; or when the underside or rear of the vehicle is
damaged, have a competent technician inspect the com-
plete exhaust system and adjacent body areas for broken,
damaged, deteriorated, or mispositioned parts.
In addition inspect the exhaust system each time the
vehicle is raised for lubrication or oil change. Replace as
required.
Open seams or loose connections could permit danger-
ous exhaust fumes to seep into the trunk and passenger
compartments.
Do this service when performing underbody service.
Check for any of the following conditions:
1. Check for holes or exhaust gas leakage caused by
corrosion or damage.
2. Check the joints and connections for looseness or
exhaust gas leakage.
3. Check the rubber hangers and brackets for damage.
324 MAINTENANCE
Page 328 of 382

Amount of belt deflection
in (mm)
Standard value Used belt New belt
A .26 to .35
(6.7 to 9.0).28 to .33
(7.2 to 8.4).17 to .21
(4.4 to 5.3)
B .46 to .60
(11.7 to 15.3).49 to .56
(12.5 to 14.3).34 to .43
(8.8 to 11.0)
C .43 to .56
(11.0 to 14.3).46 to .52
(11.7 to 13.3).33 to .41
(8.4 to 10.4)
D .33 to .43
(8.5 to 10.9).35 to .40
(9.0 to 10.1).24 to .30
(6.2 to 7.6)
WARNING!
Do not check or touch the drive belt with the engine
running, or serious injury may result.
TIMING BELT
The timing belt should be replaced with a new one at the
mileage specified on the scheduled maintenance chart.
TIRES
WARNING!
Driving with tires that are worn or improperly inflated
can result in a collision, and serious or fatal injury.
Tire inflation pressures
Proper tire inflation pressure is essential to the safe and
satisfactory operation of your vehicle. Three primary
areas are affected by improper tire pressure:
1. Safety
Under-inflation increases tire flexing and can result in tire
failure. Over-inflation results in a tire losing its ability to
cushion shock. Objects on the road and potholes could
cause tire damage that may result in tire failure.
2. Economy
Improper inflation pressures can cause uneven wear
patterns to develop across the tire tread. These abnormal
wear patterns will reduce tread life, resulting in a need
for earlier tire replacement.
Under-inflation also increases tire rolling resistance and
results in higher fuel consumption.
328 MAINTENANCE