2004 CHEVROLET VENTURE light
[x] Cancel search: lightPage 229 of 516
If the Light Is Flashing
The following may prevent more serious damage to
your vehicle:
Reducing vehicle speed.
Avoiding hard accelerations.
Avoiding steep uphill grades.
If you are towing a trailer, reduce the amount of
cargo being hauled as soon as it is possible.
If the light stops �ashing and remains on steady, see “If
the Light Is On Steady” following.
If the light continues to �ash, when it is safe to do so,
stop the vehicle.Find a safe place to park your vehicle.
Turn the key off, wait at least 10 seconds and restart
the engine. If the light remains on steady, see “If
the Light Is On Steady” following. If the light is still
�ashing, follow the previous steps, and see your dealer
for service as soon as possible.
If the Light Is On Steady
You may be able to correct the emission system
malfunction by considering the following:
Did you recently put fuel into your vehicle?
If so, reinstall the fuel cap, making sure to fully install
the cap. SeeFilling Your Tank on page 5-7. The
diagnostic system can determine if the fuel cap has
been left off or improperly installed. A loose or missing
fuel cap will allow fuel to evaporate into the atmosphere.
A few driving trips with the cap properly installed
should turn the light off.
Did you just drive through a deep puddle of water?
If so, your electrical system may be wet. The condition
will usually be corrected when the electrical system
dries out. A few driving trips should turn the light off.
3-47
Page 230 of 516
Have you recently changed brands of fuel?
If so, be sure to fuel your vehicle with quality fuel. See
Gasoline Octane on page 5-4. Poor fuel quality will
cause your engine not to run as efficiently as designed.
You may notice this as stalling after start-up, stalling
when you put the vehicle into gear, mis�ring, hesitation
on acceleration or stumbling on acceleration. (These
conditions may go away once the engine is warmed up.)
This will be detected by the system and cause the
light to turn on.
If you experience one or more of these conditions,
change the fuel brand you use. It will require at least
one full tank of the proper fuel to turn the light off.
If none of the above steps have made the light turn off,
your dealer can check the vehicle. Your dealer has the
proper test equipment and diagnostic tools to �x any
mechanical or electrical problems that may have
developed.Emissions Inspection and Maintenance
Programs
Some state/provincial and local governments have or
may begin programs to inspect the emission control
equipment on your vehicle. Failure to pass this
inspection could prevent you from getting a vehicle
registration.
Here are some things you need to know in order to help
your vehicle pass an inspection:
Your vehicle will not pass this inspection if the SERVICE
ENGINE SOON or CHECK ENGINE light is on or not
working properly.
Your vehicle will not pass this inspection if the OBD
(on-board diagnostic) system determines that critical
emission control systems have not been completely
diagnosed by the system. The vehicle would be
considered not ready for inspection. This can happen if
you have recently replaced your battery or if your
battery has run down. The diagnostic system is
designed to evaluate critical emission control systems
during normal driving. This may take several days
of routine driving. If you have done this and your vehicle
still does not pass the inspection for lack of OBD
system readiness, your GM dealer can prepare the
vehicle for inspection.
3-48
Page 239 of 516
All-Wheel Drive Disable Warning
Message
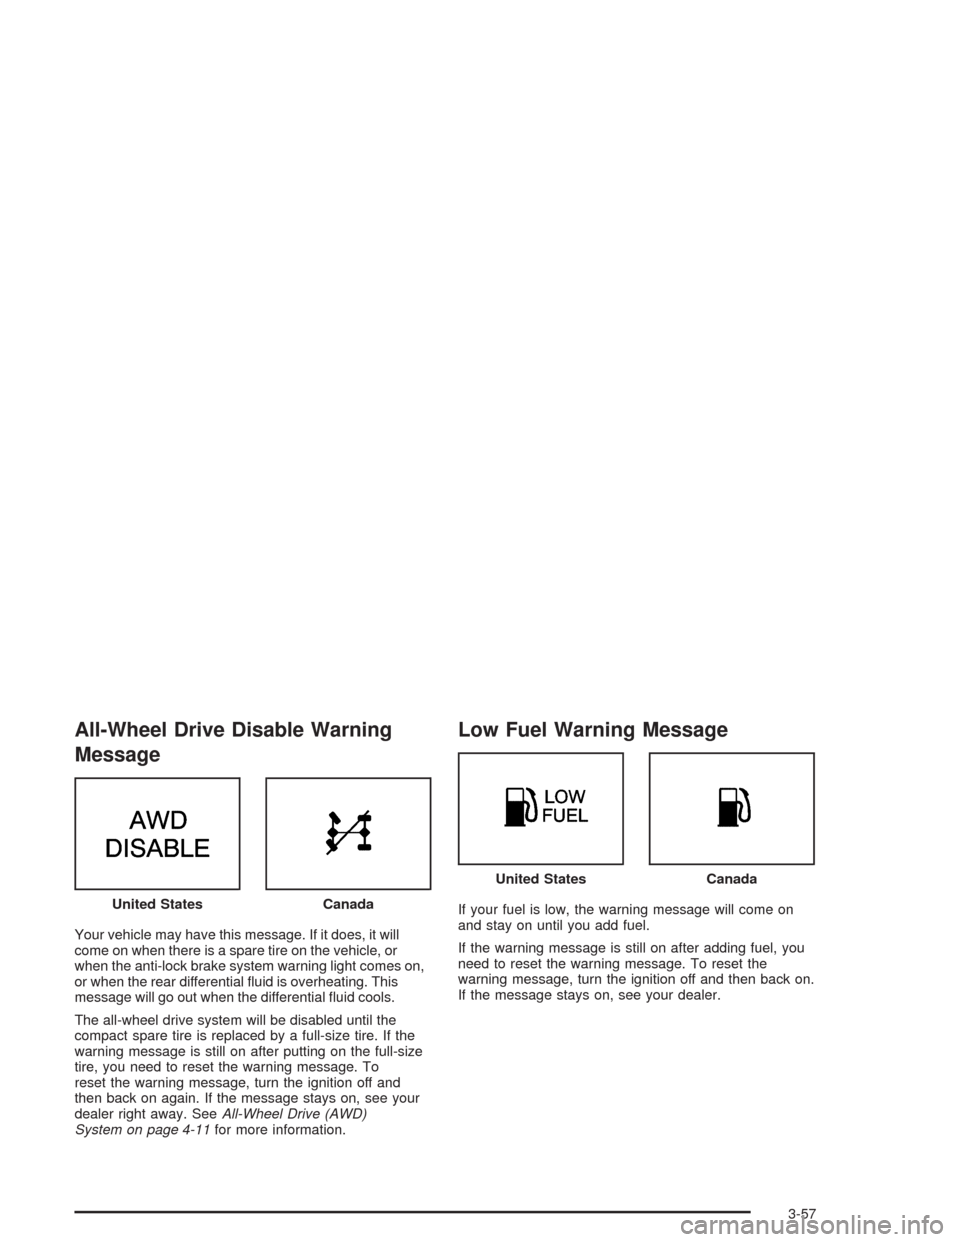
Your vehicle may have this message. If it does, it will
come on when there is a spare tire on the vehicle, or
when the anti-lock brake system warning light comes on,
or when the rear differential �uid is overheating. This
message will go out when the differential �uid cools.
The all-wheel drive system will be disabled until the
compact spare tire is replaced by a full-size tire. If the
warning message is still on after putting on the full-size
tire, you need to reset the warning message. To
reset the warning message, turn the ignition off and
then back on again. If the message stays on, see your
dealer right away. SeeAll-Wheel Drive (AWD)
System on page 4-11for more information.
Low Fuel Warning Message
If your fuel is low, the warning message will come on
and stay on until you add fuel.
If the warning message is still on after adding fuel, you
need to reset the warning message. To reset the
warning message, turn the ignition off and then back on.
If the message stays on, see your dealer. United StatesCanada
United StatesCanada
3-57
Page 285 of 516
Playing a CD
The CD player can play the smaller 8 cm single CDs
with an adapter ring. Full-size CDs and the smaller CDs
are loaded in the same manner.
If playing a CD-R the sound quality may be reduced
due to CD-R quality, the method of recording, the quality
of the music that has been recorded, and the way the
CD-R has been handled. You may experience an
increase in skipping, difficulty in �nding tracks, and/or
difficulty in loading and ejecting. If these problems occur
try a known good CD.
Do not add paper labels to CDs, they could get caught
in the CD player.
Do not play 3 inch CDs without a standard adapter CD.
If an error appears on the display, see “CD Messages”
later in this section.LOAD CD
Z:Press the LOAD side of this button to
load CDs into the CD player. This CD player will
hold up to six CDs.
To insert one CD, do the following:
1. Turn the ignition on.
2. Press and release the LOAD side of the LOAD CD
button.
3. Wait for the light, located to the right of the slot, to
turn green.
4. Load a CD. Insert the CD partway into the slot,
label side up. The player will pull the CD in.
When a CD is inserted, the CD symbol will be displayed.
If you select an equalization setting for your CD, it will
be activated each time you play a CD.
The CD will begin to play automatically. As each new
track starts to play, the track number will appear on the
display.
3-103
Page 286 of 516

To insert multiple CDs, do the following:
1. Turn the ignition on.
2. Press and hold the LOAD side of the LOAD CD
button for two seconds.
You will hear a beep and the light, located to the
right of the slot, will begin to �ash.
3. Once the light stops �ashing and turns green, load
a CD. Insert the CD partway into the slot, label side
up. The player will pull the CD in.
4. Once the CD is loaded, the light will begin �ashing
again. Press the LOAD side of the LOAD CD button
again. Once the light turns green, load the next
CD. Repeat this procedure for each CD.
The CD player takes up to six CDs. Do not try to
load more than six.
To load more than one CD but less than six, complete
Steps 1 through 3. When you have �nished loading
CDs, the radio will begin to play the last CD loaded.
When a CD is inserted, the CD symbol will be displayed.
If more than one CD has been loaded, a number for
each CD will be displayed. If you select an equalization
setting for your CD, it will be activated each time you
play a CD.
As each new track starts to play, the track number will
appear on the display.Playing a Speci�c Loaded CD
For every CD loaded, a number will appear on the
display. To play a speci�c CD, �rst press the CD AUX
button, then press the numbered pushbutton that
corresponds to the CD you want to play. A small bar will
appear under the CD number that is playing, and the
track number will appear.
If an error appears on the display, see “CD Messages”
later in this section.
LOAD CD
Z(Eject):Press the CD eject side of this
button to eject a CD. You will hear a beep and the
light will �ash to let you know when a CD is being
ejected.
REMOVE CD will be displayed. You can now remove
the CD. If the CD is not removed, after 25 seconds, the
CD will be automatically pulled back into the receiver.
If you try to push the CD back into the receiver,
before the 25 second time period is complete, the
receiver will sense an error and will try to eject the CD
several times before stopping.
Do not repeatedly press the CD eject button to eject a
CD after you have tried to push it in manually. The
receivers 25-second eject timer will reset at each press
of eject, which will cause the receiver to not eject
the CD until the 25-second time period has elapsed.
3-104
Page 291 of 516
Headphones
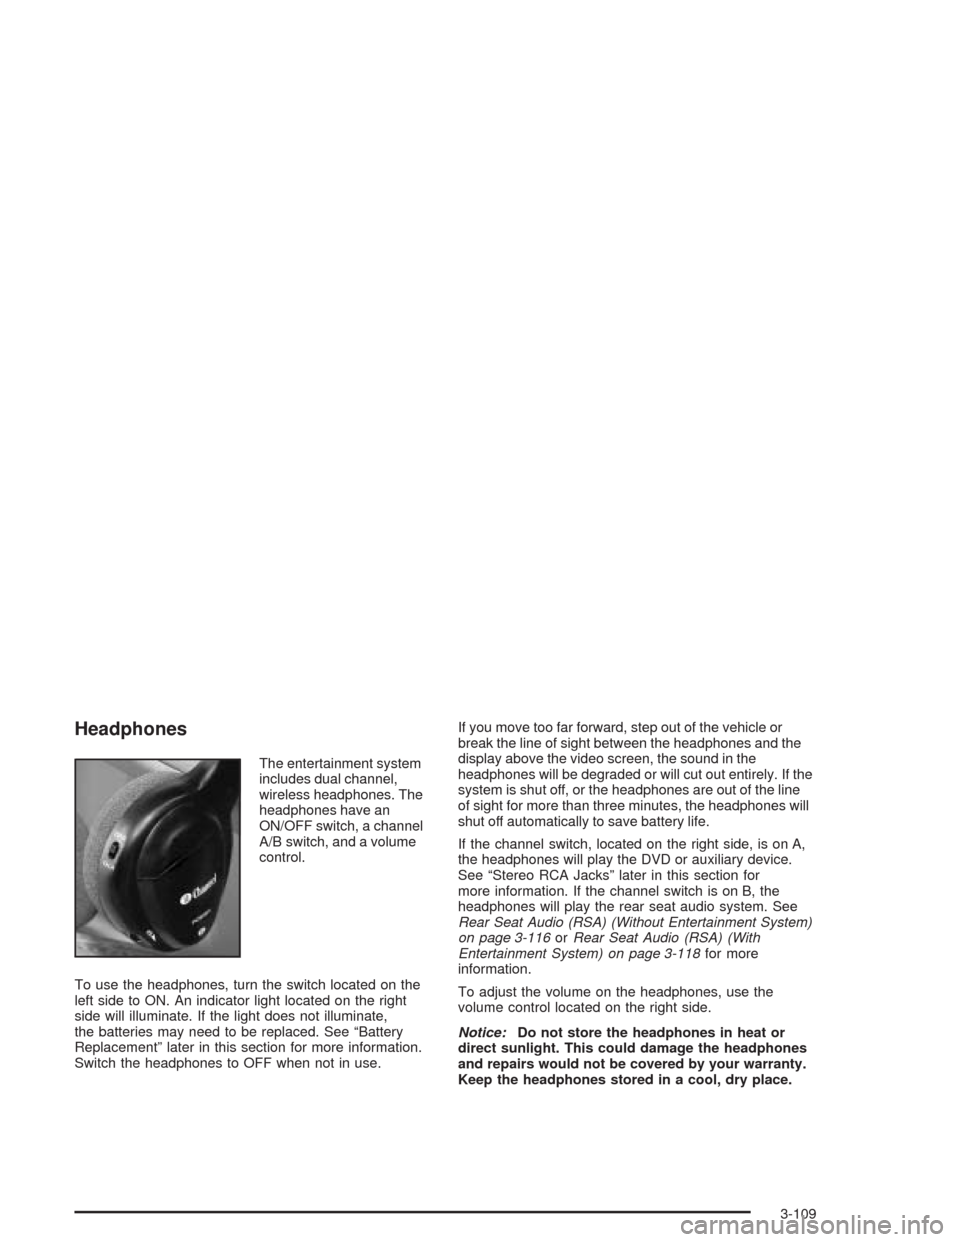
The entertainment system
includes dual channel,
wireless headphones. The
headphones have an
ON/OFF switch, a channel
A/B switch, and a volume
control.
To use the headphones, turn the switch located on the
left side to ON. An indicator light located on the right
side will illuminate. If the light does not illuminate,
the batteries may need to be replaced. See “Battery
Replacement” later in this section for more information.
Switch the headphones to OFF when not in use.If you move too far forward, step out of the vehicle or
break the line of sight between the headphones and the
display above the video screen, the sound in the
headphones will be degraded or will cut out entirely. If the
system is shut off, or the headphones are out of the line
of sight for more than three minutes, the headphones will
shut off automatically to save battery life.
If the channel switch, located on the right side, is on A,
the headphones will play the DVD or auxiliary device.
See “Stereo RCA Jacks” later in this section for
more information. If the channel switch is on B, the
headphones will play the rear seat audio system. See
Rear Seat Audio (RSA) (Without Entertainment System)
on page 3-116orRear Seat Audio (RSA) (With
Entertainment System) on page 3-118for more
information.
To adjust the volume on the headphones, use the
volume control located on the right side.
Notice:Do not store the headphones in heat or
direct sunlight. This could damage the headphones
and repairs would not be covered by your warranty.
Keep the headphones stored in a cool, dry place.
3-109
Page 295 of 516
Playing a Disc
To play a disc, gently insert the disc with the label side
up into the loading slot until it stops. The DVD player
will continue loading the disc and the player will
automatically start.
If a disc is already in the player, press the play/pause
button on the DVD player faceplate or on the remote
control.
Some DVDs will not allow fast forwarding or skipping of
the copyright information or the previews. Some
DVDs will begin playing the movie automatically after
the previews have �nished, there may be a delay of up
to 30 seconds. If the DVD does not begin playing
the movie automatically, press the play/pause button on
the DVD player faceplate or the remote control. If the
DVD still does not play, refer to the on-screen
instructions.
Stopping and Resuming Playback
To stop playing a disc, press the stop/eject button on
the DVD player.
To resume playback, press the play/pause button. The
movie will start playing from where it was last stopped
if the disc has not been ejected. If the disc has
been ejected, the player will start playing at the
beginning.
Ejecting a Disc
Press the stop/eject button on the DVD player once to
stop and a second time to eject the disc.
If a disc is ejected from the player, but not removed,
the DVD player will reload the disc after a short period
of time.
Remote Control
To use the remote control, aim it at the display above
the video screen and press the desired button.
Direct sunlight or very bright light may affect the ability
of the entertainment system to receive signals from
the remote control. Be sure the remote’s batteries are
not discharged, as this will also affect the function of the
remote control. Objects blocking the line of sight may
also affect the function of the remote control.
Notice:Storing the remote control in a hot area or
in direct sunlight may damage it, and the repairs
would not be covered by your warranty. Keep
the remote control stored in a cool, dry place.
3-113
Page 298 of 516
Rear Seat Audio (RSA)
(Without Entertainment System)
This feature allows rear seat passengers to listen to and
control any of the sources: radio and CDs. However,
the rear seat passengers can only control the sources
that the front seat passengers are not listening to.
For example, rear seat passengers may listen to and
control a CD through headphones, while the driver
listens to the radio through the front speakers. The rear
seat passengers have control of the volume for each
set of headphones.
The front seat audio controls always have priority over
the RSA controls. If the front seat passengers switch
the source for the main radio to a remote source,
the RSA will not be able to control the remote source.
You can operate the RSA when the main radio is off.
Primary Radio Controls
The following function is controlled by the main radio:
PWR (Power):Press this knob twice to turn RSA off.
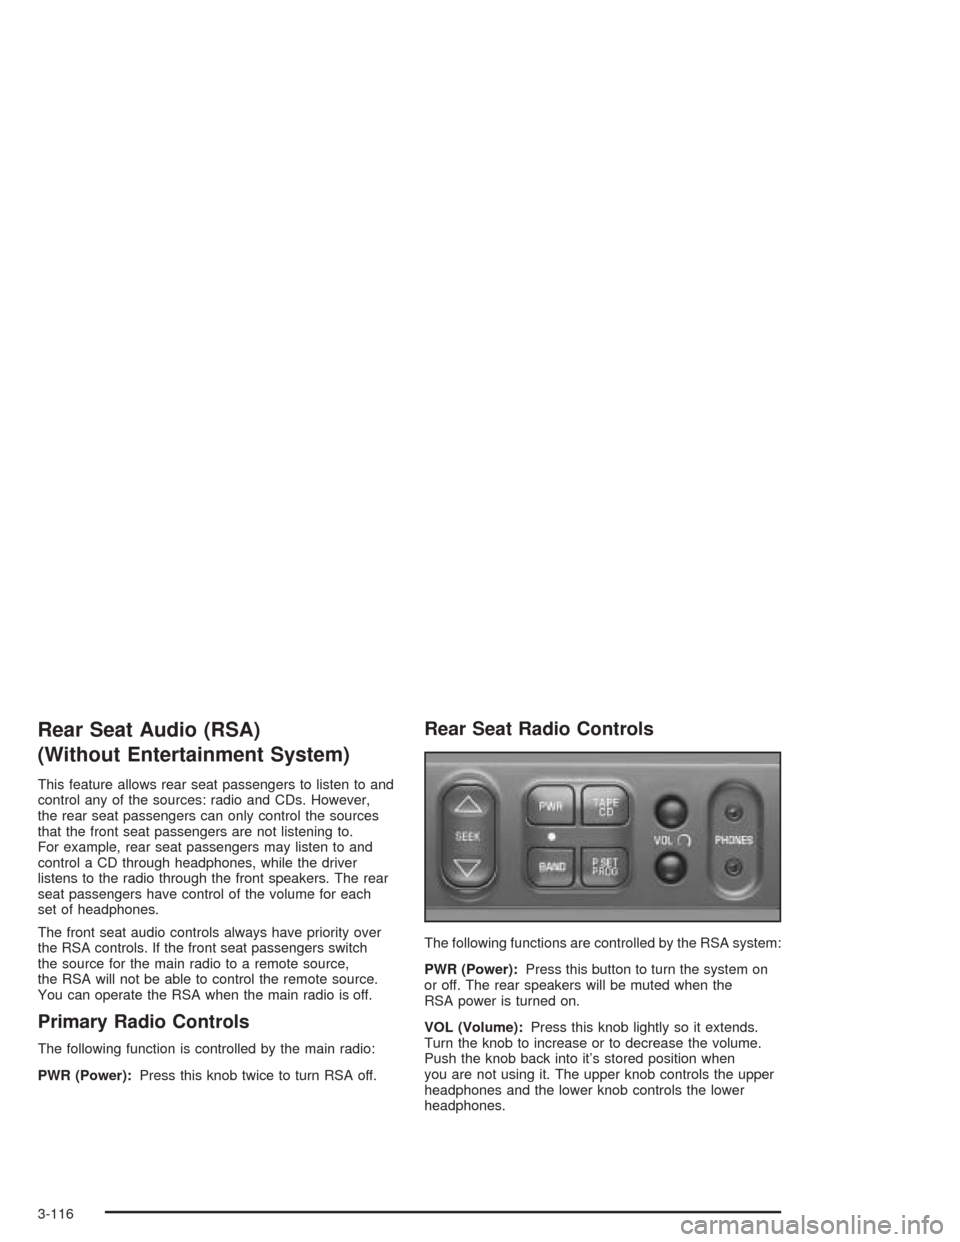
Rear Seat Radio Controls
The following functions are controlled by the RSA system:
PWR (Power):Press this button to turn the system on
or off. The rear speakers will be muted when the
RSA power is turned on.
VOL (Volume):Press this knob lightly so it extends.
Turn the knob to increase or to decrease the volume.
Push the knob back into it’s stored position when
you are not using it. The upper knob controls the upper
headphones and the lower knob controls the lower
headphones.
3-116