2004 CHEVROLET VENTURE seats
[x] Cancel search: seatsPage 214 of 516
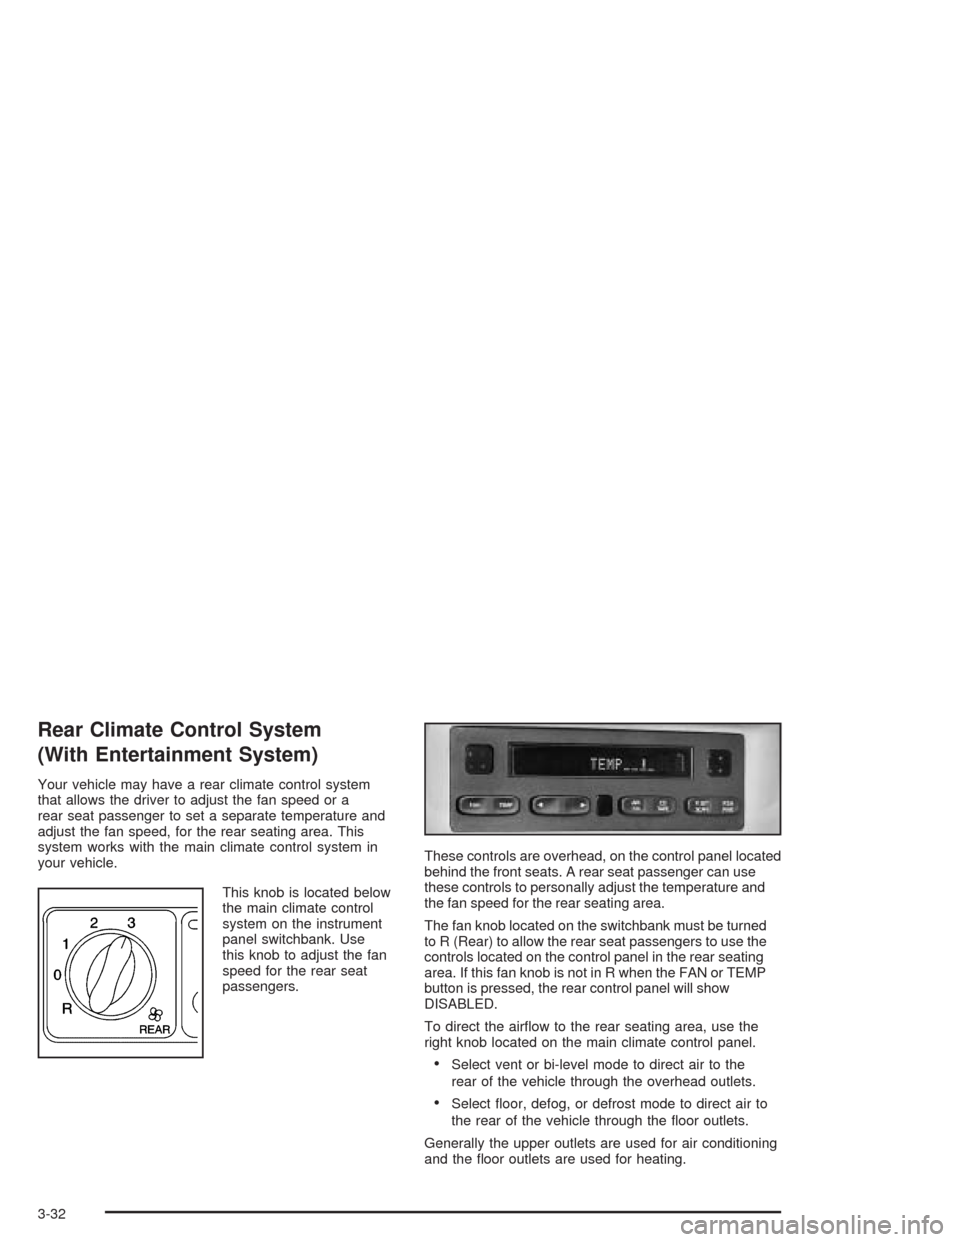
Rear Climate Control System
(With Entertainment System)
Your vehicle may have a rear climate control system
that allows the driver to adjust the fan speed or a
rear seat passenger to set a separate temperature and
adjust the fan speed, for the rear seating area. This
system works with the main climate control system in
your vehicle.
This knob is located below
the main climate control
system on the instrument
panel switchbank. Use
this knob to adjust the fan
speed for the rear seat
passengers.These controls are overhead, on the control panel located
behind the front seats. A rear seat passenger can use
these controls to personally adjust the temperature and
the fan speed for the rear seating area.
The fan knob located on the switchbank must be turned
to R (Rear) to allow the rear seat passengers to use the
controls located on the control panel in the rear seating
area. If this fan knob is not in R when the FAN or TEMP
button is pressed, the rear control panel will show
DISABLED.
To direct the airow to the rear seating area, use the
right knob located on the main climate control panel.
Select vent or bi-level mode to direct air to the
rear of the vehicle through the overhead outlets.
Select oor, defog, or defrost mode to direct air to
the rear of the vehicle through the oor outlets.
Generally the upper outlets are used for air conditioning
and the oor outlets are used for heating.
3-32
Page 215 of 516
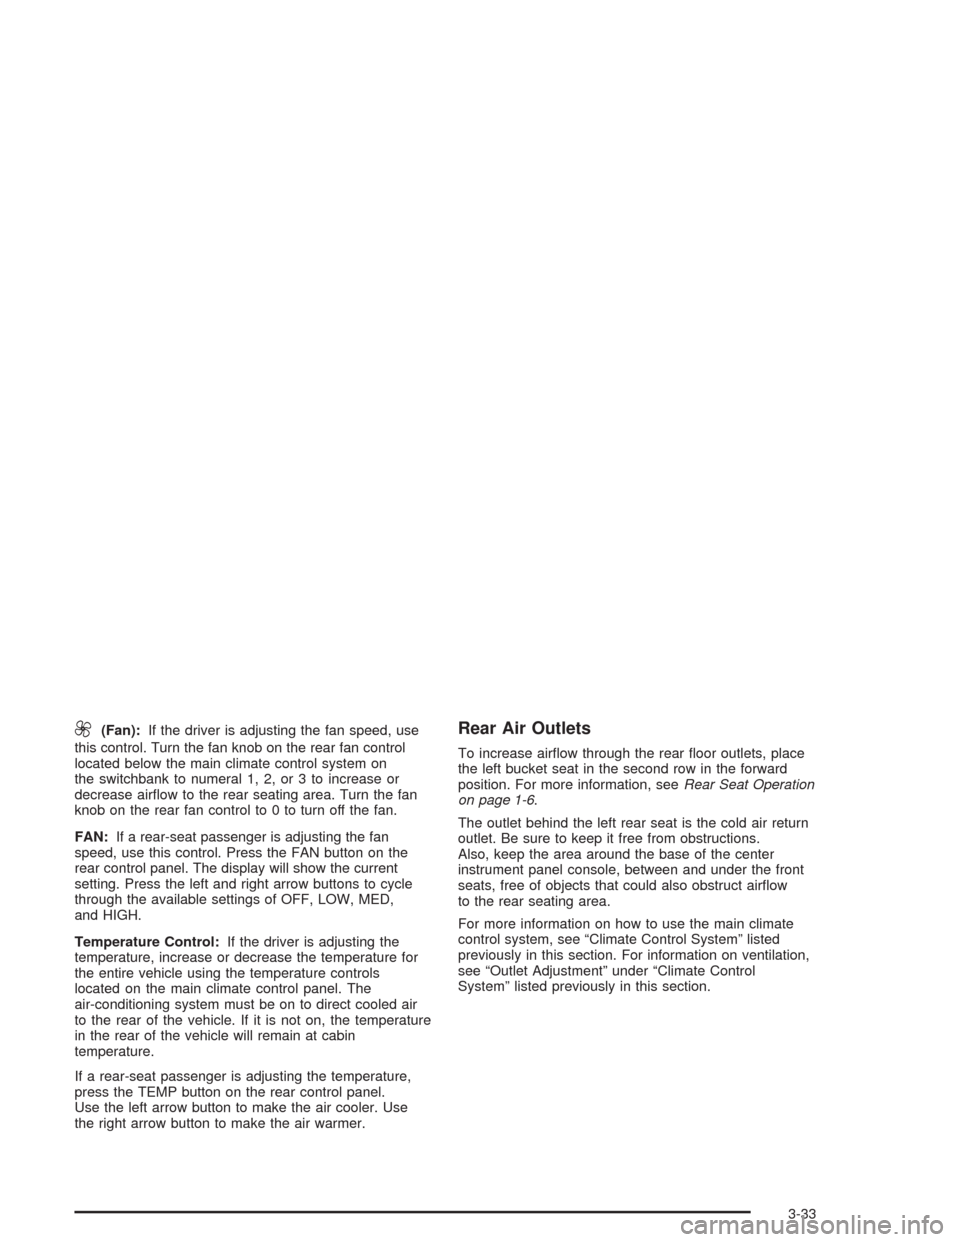
9(Fan):If the driver is adjusting the fan speed, use
this control. Turn the fan knob on the rear fan control
located below the main climate control system on
the switchbank to numeral 1, 2, or 3 to increase or
decrease airow to the rear seating area. Turn the fan
knob on the rear fan control to 0 to turn off the fan.
FAN:If a rear-seat passenger is adjusting the fan
speed, use this control. Press the FAN button on the
rear control panel. The display will show the current
setting. Press the left and right arrow buttons to cycle
through the available settings of OFF, LOW, MED,
and HIGH.
Temperature Control:If the driver is adjusting the
temperature, increase or decrease the temperature for
the entire vehicle using the temperature controls
located on the main climate control panel. The
air-conditioning system must be on to direct cooled air
to the rear of the vehicle. If it is not on, the temperature
in the rear of the vehicle will remain at cabin
temperature.
If a rear-seat passenger is adjusting the temperature,
press the TEMP button on the rear control panel.
Use the left arrow button to make the air cooler. Use
the right arrow button to make the air warmer.Rear Air Outlets
To increase airow through the rear oor outlets, place
the left bucket seat in the second row in the forward
position. For more information, seeRear Seat Operation
on page 1-6.
The outlet behind the left rear seat is the cold air return
outlet. Be sure to keep it free from obstructions.
Also, keep the area around the base of the center
instrument panel console, between and under the front
seats, free of objects that could also obstruct airow
to the rear seating area.
For more information on how to use the main climate
control system, see “Climate Control System” listed
previously in this section. For information on ventilation,
see “Outlet Adjustment” under “Climate Control
System” listed previously in this section.
3-33
Page 290 of 516

CD Messages
CHECK CD:If this message appears on the radio
display, it could be for one of the following reasons:
It is very hot. When the temperature returns to
normal, the CD should play.
You are driving on a very rough road. When the
road becomes smoother, the CD should play.
The CD is dirty, scratched, wet, or upside down.
The air is very humid. If so, wait about an hour and
try again.
There may have been a problem while burning
the CD.
The label may be caught in the CD player.
If the CD is not playing correctly, for any other reason,
try a known good CD.
If any error occurs repeatedly or if an error cannot be
corrected, contact your dealer. If your radio displays an
error message, write it down and provide it to your
dealer when reporting the problem.
Entertainment System
Your vehicle may have a DVD entertainment system.
The entertainment system works with the vehicle’s audio
system and includes a DVD player, a video display
screen, headphones, and a remote control. The
entertainment system also integrates the rear climate
control and rear seat audio functions.
Before You Drive
The entertainment system is for passengers in the
second and third row seats only. The driver cannot
safely view the video screen while driving and should not
try to do so.
In severe or extreme weather conditions the
entertainment system will shut down until the temperature
is within the operating range. This protection feature will
keep the video components from being damaged while
the temperature is below−4°F (−20°C) or above
140°F (60°C). To resume operation, shut off the
entertainment system, pull down the video screen, and
then heat or cool the vehicle until the temperature is
within the operating range.
3-108
Page 344 of 516
If you put things inside your vehicle – like suitcases,
tools, packages, or anything else – they will go as fast
as the vehicle goes. If you have to stop or turn
quickly, or if there is a crash, they will keep going.
{CAUTION:
Things you put inside your vehicle can strike
and injure people in a sudden stop or turn, or
in a crash.
Put things in the cargo area of your
vehicle. Try to spread the weight evenly.
Never stack heavier things, like suitcases,
inside the vehicle so that some of them
are above the tops of the seats.
Do not leave an unsecured child restraint
in your vehicle.
When you carry something inside the
vehicle, secure it whenever you can.
Do not leave a seat folded down unless
you need to.
Level Control
On vehicles equipped with automatic level control, the
rear of the vehicle is automatically kept level as you load
or unload your vehicle. However, you should still not
exceed the GVWR or the GAWR. SeeLoading
Your Vehicle on page 4-35.
You may hear the compressor operating when you load
or unload your vehicle, and periodically as the system
self-adjusts. This is normal. The compressor should
operate for brief periods of time. If the sound continues
for an extended period of time, your vehicle needs
service.
Using heavier suspension components to get added
durability might not change your weight ratings. Ask your
dealer to help you load your vehicle the right away.
4-40
Page 417 of 516

(C) Aspect Ratio:A two-digit number that indicates the
tire height-to-width measurements. For example, if
the tire size aspect ratio is “75,” as shown in item “C” of
the illustration, it would mean that the tire’s sidewall
is 75% as high as it is wide.
(D) Construction Code:A letter code is used to
indicate the type of ply construction in the tire. The letter
“R” means radial ply construction; the letter “D” means
diagonal or bias ply construction; and the letter “B”
means belted-bias ply construction.
(E) Rim Diameter:Diameter of the wheel in inches.
(F) Service Description:The service description
indicates the load range and speed rating of a tire. The
load index can range from 1 to 279. Speed ratings
range from “A” to “Z”. The light truck tire size example
above shows dual or single tire congurations.Tire Terminology and Denitions
Air Pressure:The amount of air inside the tire pressing
outward on each square inch of the tire. Air pressure
is expressed in pounds per square inch (psi) or
kilopascal (kPa).
Accessory Weight:This means the combined weight
of optional accessories. Some examples of optional
accessories are, automatic transmission, power steering,
power brakes, power windows, power seats, and air
conditioning.
Aspect Ratio:The relationship of a tire’s height to its
width.
Belt:A rubber coated layer of cords that is located
between the plies and the tread. Cords may be made
from steel or other reinforcing materials.
Bead:The tire bead contains steel wires wrapped by
steel cords that hold the tire onto the rim.
5-65
Page 461 of 516
Fuse Usage
LH HEADLP
LOWNot Used
LH HEADLP
HIGHNot Used
Blank Not Used
Blank Not Used
Blank Not Used
RAP RELAYRetained Accessory Power (RAP)
Relay
Blank Not Used
HVAC/DIC/DRL/
HEATED SEATAir Inlet Actuator, DIC Display, DRL
Control Module, Heater-A/C Control,
Temperature Door Actuator (Front)
and Rear Window Defogger Relay
BCM PRGRAM BCM Programming
RH HEAD LP
LOWNot Used
RH HEAD LP
HIGHNot Used
PCM/ABSIGN MAIN Relay and PCM,
Electronic Brake Control ModuleCircuit Breaker Usage
HEADLAMPDaytime Running Lamps (DRL)
Control Module, Headlamp and
Instrument Panel Dimmer Switch
PWR SLD DR Power Sliding Door
PWR WDO Front Power Windows
PWR/HEATED
SEAT PSDSix-Way Power Seats and Rear
Side Door Actuator Motor
FRT HVAC HI
BLWRBlower Motor Hi Speed Relay
Module
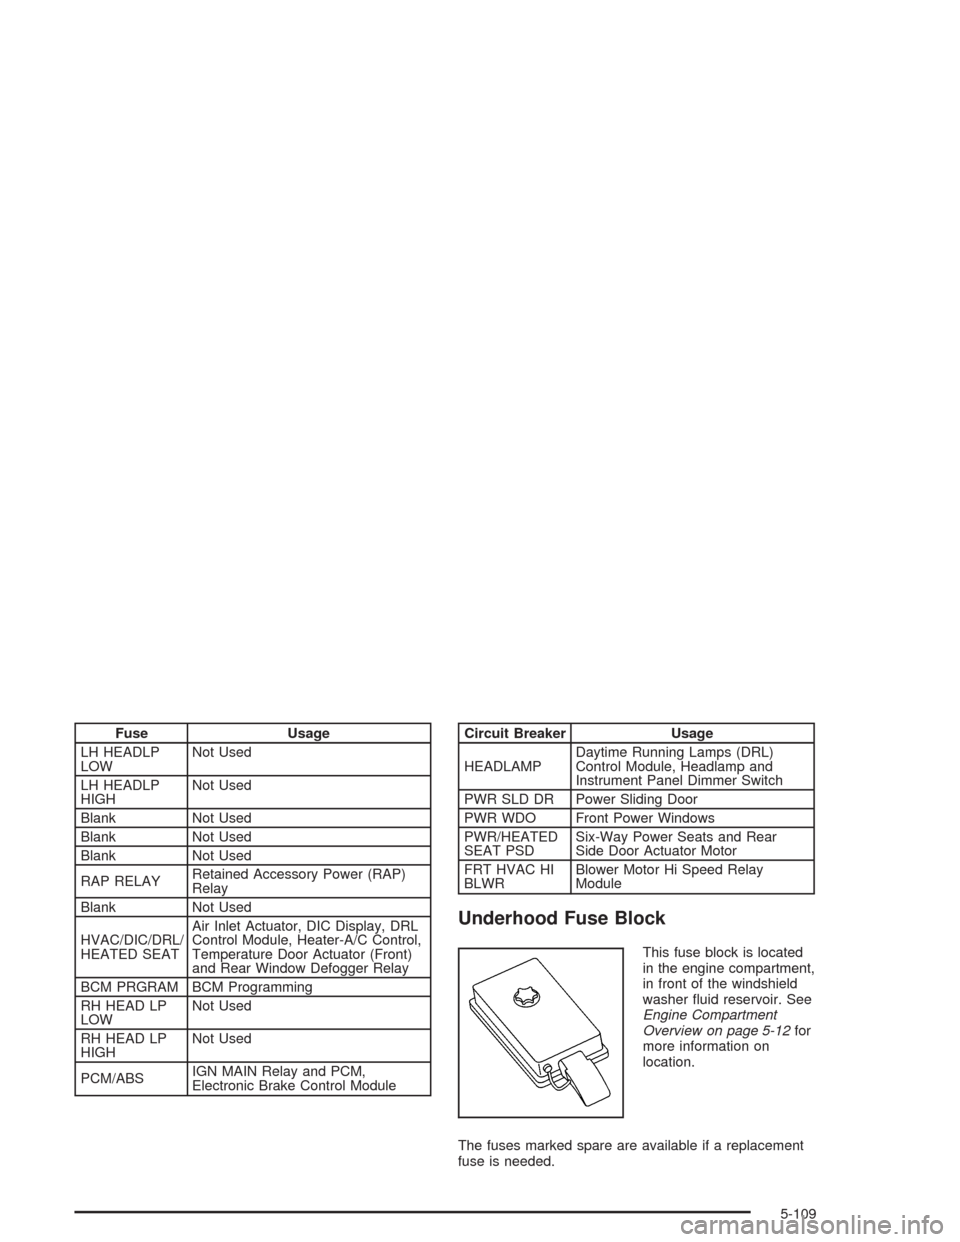
Underhood Fuse Block
This fuse block is located
in the engine compartment,
in front of the windshield
washer uid reservoir. See
Engine Compartment
Overview on page 5-12for
more information on
location.
The fuses marked spare are available if a replacement
fuse is needed.
5-109
Page 474 of 516
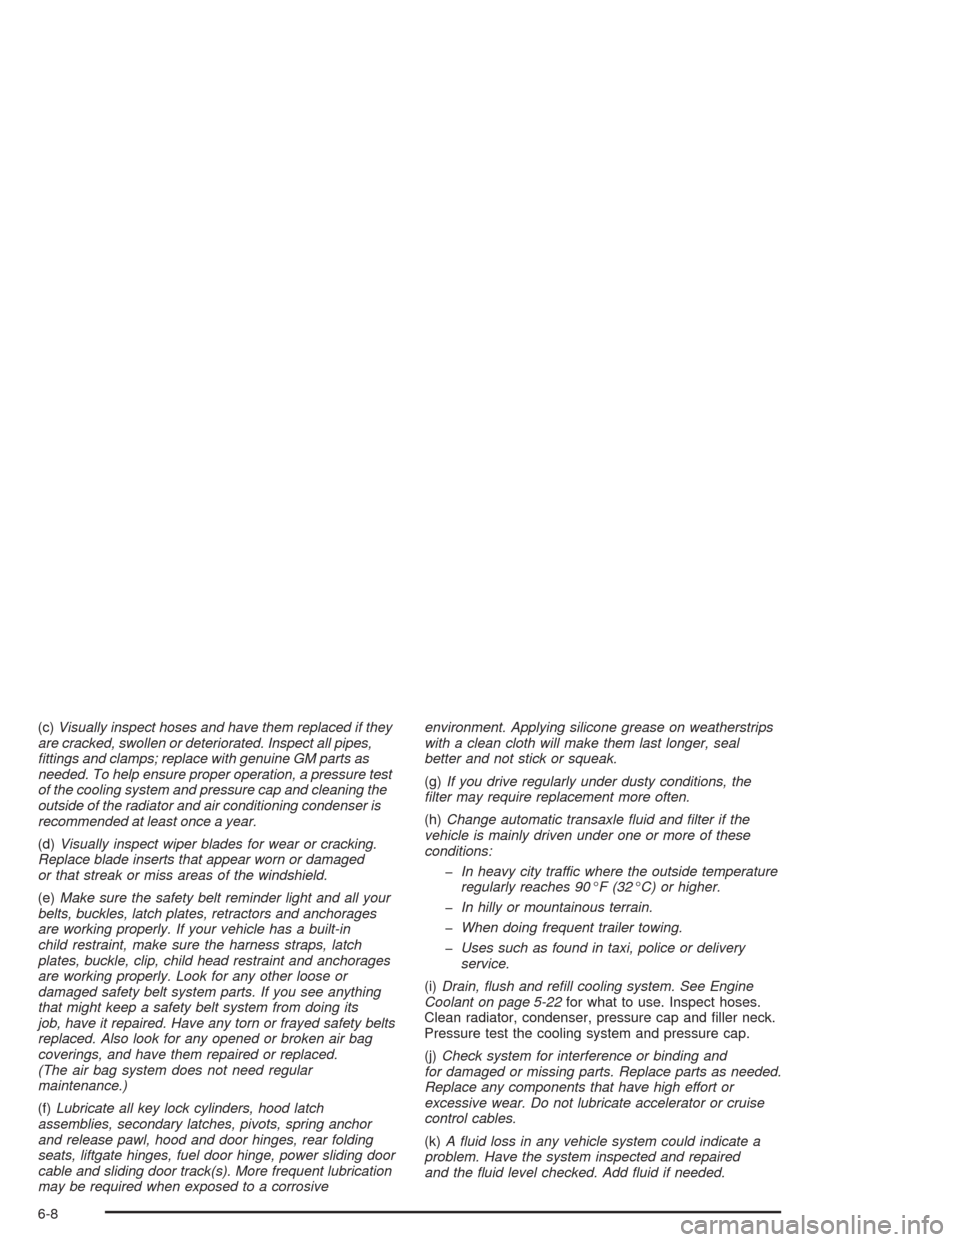
(c)Visually inspect hoses and have them replaced if they
are cracked, swollen or deteriorated. Inspect all pipes,
ttings and clamps; replace with genuine GM parts as
needed. To help ensure proper operation, a pressure test
of the cooling system and pressure cap and cleaning the
outside of the radiator and air conditioning condenser is
recommended at least once a year.
(d)Visually inspect wiper blades for wear or cracking.
Replace blade inserts that appear worn or damaged
or that streak or miss areas of the windshield.
(e)Make sure the safety belt reminder light and all your
belts, buckles, latch plates, retractors and anchorages
are working properly. If your vehicle has a built-in
child restraint, make sure the harness straps, latch
plates, buckle, clip, child head restraint and anchorages
are working properly. Look for any other loose or
damaged safety belt system parts. If you see anything
that might keep a safety belt system from doing its
job, have it repaired. Have any torn or frayed safety belts
replaced. Also look for any opened or broken air bag
coverings, and have them repaired or replaced.
(The air bag system does not need regular
maintenance.)
(f)Lubricate all key lock cylinders, hood latch
assemblies, secondary latches, pivots, spring anchor
and release pawl, hood and door hinges, rear folding
seats, liftgate hinges, fuel door hinge, power sliding door
cable and sliding door track(s). More frequent lubrication
may be required when exposed to a corrosiveenvironment. Applying silicone grease on weatherstrips
with a clean cloth will make them last longer, seal
better and not stick or squeak.
(g)If you drive regularly under dusty conditions, the
lter may require replacement more often.
(h)Change automatic transaxle uid and lter if the
vehicle is mainly driven under one or more of these
conditions:
In heavy city traffic where the outside temperature
regularly reaches 90°F (32°C) or higher.
In hilly or mountainous terrain.
When doing frequent trailer towing.
Uses such as found in taxi, police or delivery
service.
(i)Drain, ush and rell cooling system. See Engine
Coolant on page 5-22for what to use. Inspect hoses.
Clean radiator, condenser, pressure cap and ller neck.
Pressure test the cooling system and pressure cap.
(j)Check system for interference or binding and
for damaged or missing parts. Replace parts as needed.
Replace any components that have high effort or
excessive wear. Do not lubricate accelerator or cruise
control cables.
(k)A uid loss in any vehicle system could indicate a
problem. Have the system inspected and repaired
and the uid level checked. Add uid if needed.
6-8
Page 499 of 516
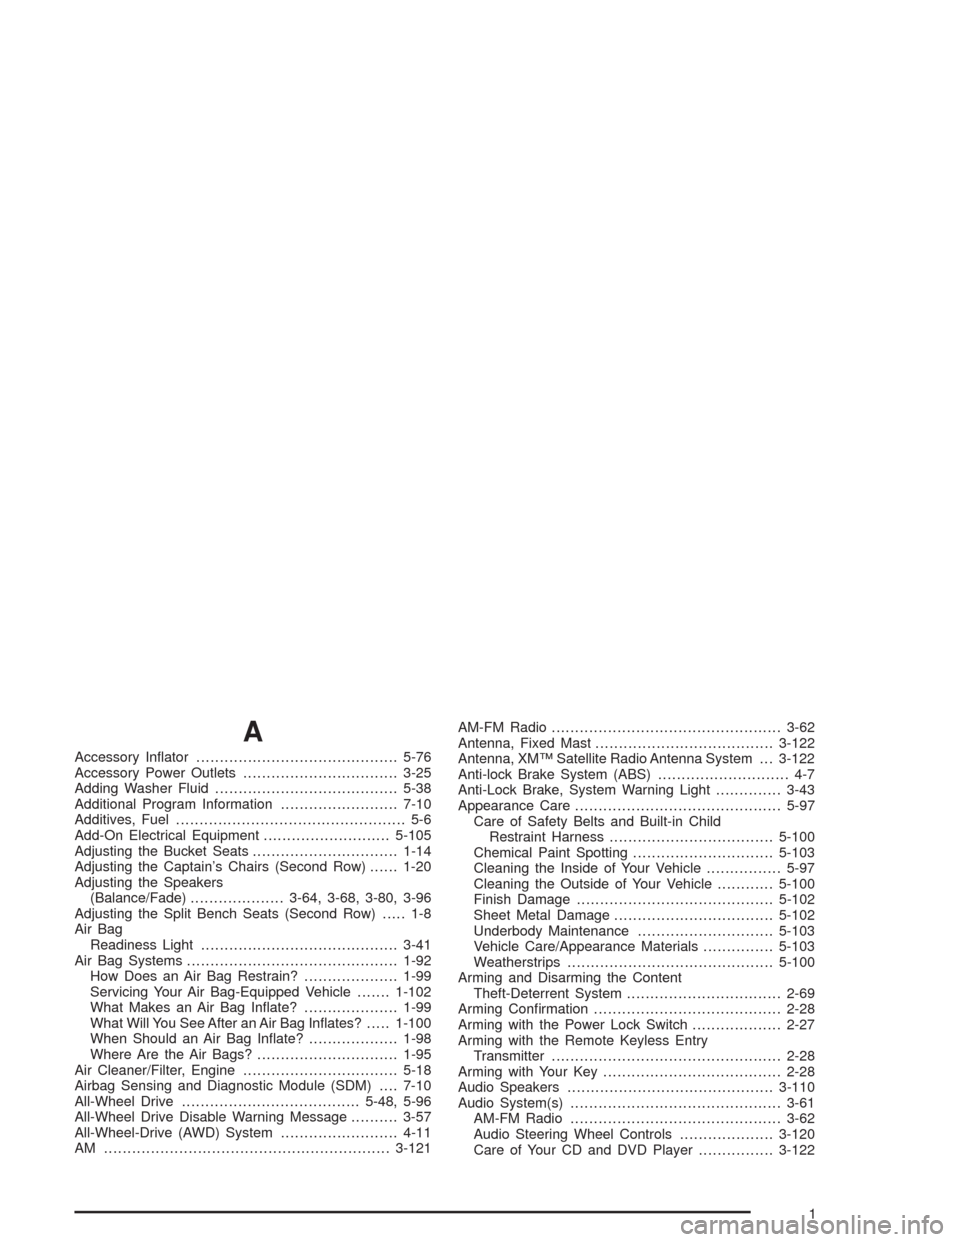
A
Accessory Inator...........................................5-76
Accessory Power Outlets.................................3-25
Adding Washer Fluid.......................................5-38
Additional Program Information.........................7-10
Additives, Fuel................................................. 5-6
Add-On Electrical Equipment...........................5-105
Adjusting the Bucket Seats...............................1-14
Adjusting the Captain’s Chairs (Second Row)......1-20
Adjusting the Speakers
(Balance/Fade)....................3-64, 3-68, 3-80, 3-96
Adjusting the Split Bench Seats (Second Row)..... 1-8
Air Bag
Readiness Light..........................................3-41
Air Bag Systems.............................................1-92
How Does an Air Bag Restrain?....................1-99
Servicing Your Air Bag-Equipped Vehicle.......1-102
What Makes an Air Bag Inate?....................1-99
What Will You See After an Air Bag Inates?.....1-100
When Should an Air Bag Inate?...................1-98
Where Are the Air Bags?..............................1-95
Air Cleaner/Filter, Engine.................................5-18
Airbag Sensing and Diagnostic Module (SDM)....7-10
All-Wheel Drive......................................5-48, 5-96
All-Wheel Drive Disable Warning Message..........3-57
All-Wheel-Drive (AWD) System.........................4-11
AM .............................................................3-121AM-FM Radio.................................................3-62
Antenna, Fixed Mast......................................3-122
Antenna, XM™ Satellite Radio Antenna System . . . 3-122
Anti-lock Brake System (ABS)............................ 4-7
Anti-Lock Brake, System Warning Light..............3-43
Appearance Care............................................5-97
Care of Safety Belts and Built-in Child
Restraint Harness...................................5-100
Chemical Paint Spotting..............................5-103
Cleaning the Inside of Your Vehicle................5-97
Cleaning the Outside of Your Vehicle............5-100
Finish Damage..........................................5-102
Sheet Metal Damage..................................5-102
Underbody Maintenance.............................5-103
Vehicle Care/Appearance Materials...............5-103
Weatherstrips............................................5-100
Arming and Disarming the Content
Theft-Deterrent System.................................2-69
Arming Conrmation........................................2-28
Arming with the Power Lock Switch...................2-27
Arming with the Remote Keyless Entry
Transmitter.................................................2-28
Arming with Your Key......................................2-28
Audio Speakers............................................3-110
Audio System(s).............................................3-61
AM-FM Radio.............................................3-62
Audio Steering Wheel Controls....................3-120
Care of Your CD and DVD Player................3-122
1