Page 361 of 516
When you put the fuel cap back on, turn it to the right
(clockwise) until you hear a clicking sound. Make
sure you fully install the cap. The diagnostic system can
determine if the fuel cap has been left off or improperly
installed. This would allow fuel to evaporate into the
atmosphere. SeeMalfunction Indicator Lamp on
page 3-45.
{CAUTION:
If a �re starts while you are refueling, do not
remove the nozzle. Shut off the �ow of fuel by
shutting off the pump or by notifying the
station attendant. Leave the area immediately.The malfunction indicator lamp (SERVICE ENGINE
SOON or CHECK ENGINE light) will come on if the fuel
cap is not properly installed.
Notice:If you need a new fuel cap, be sure to get
the right type. Your dealer can get one for you.
If you get the wrong type, it may not �t properly.
This may cause your malfunction indicator lamp to
light and may damage your fuel tank and emissions
system. SeeMalfunction Indicator Lamp on
page 3-45.
5-9
Page 365 of 516

A. Underhood Fuse Block. SeeFuses and Circuit
Breakers on page 5-106.
B. Remote Positive (+) Terminal. SeeJump Starting on
page 5-43.
C. Windshield Washer Fluid Reservoir. SeeWindshield
Washer Fluid on page 5-38.
D. Radiator Pressure Cap. SeeRadiator Pressure Cap
on page 5-25.
E. Power Steering Fluid Reservoir. SeePower Steering
Fluid on page 5-36.
F. Engine Oil Fill Cap. SeeEngine Oil on page 5-13.
G. Engine Oil Dipstick. SeeEngine Oil on page 5-13.
H. Transaxle Fluid Dipstick. SeeAutomatic Transaxle
Fluid on page 5-20.
I. Brake Master Cylinder Reservoir. SeeBrakes on
page 5-39.
J. Engine Air Cleaner/Filter. SeeEngine Air
Cleaner/Filter on page 5-18.
K. Coolant Recovery Tank. SeeCooling System on
page 5-28.Engine Oil
Checking Engine Oil
It is a good idea to check your engine oil every time you
get fuel. In order to get an accurate reading, the oil
must be warm and the vehicle must be on level ground.
The engine oil dipstick handle is a yellow loop. See
Engine Compartment Overview on page 5-12for
the location of the engine oil dipstick.
Turn off the engine and give the oil several minutes to
drain back into the oil pan. If you don’t, the oil
dipstick might not show the actual level.
5-13
Page 385 of 516
1. You can remove the radiator pressure cap when
the cooling system, including the radiator pressure
cap and upper radiator hose, is no longer hot.
Turn the pressure cap slowly counterclockwise until
it �rst stops. Do not press down while turning the
pressure cap.
If you hear a hiss, wait for that to stop. A hiss
means there is still some pressure left.2. Then keep turning the pressure cap, but now push
down as you turn it. Remove the pressure cap.
{CAUTION:
You can be burned if you spill coolant on hot
engine parts. Coolant contains ethylene glycol
and it will burn if the engine parts are hot
enough. Do not spill coolant on a hot engine.
5-33
Page 396 of 516

Notice:If you leave your radio or other accessories
on during the jump starting procedure, they could
be damaged. The repairs would not be covered
by your warranty. Always turn off your radio and
other accessories when jump starting your vehicle.
3. Turn off the ignition on both vehicles. Unplug
unnecessary accessories plugged into the cigarette
lighter or in the accessory power outlet. Turn off
the radio and all lamps that aren’t needed. This will
avoid sparks and help save both batteries. And it
could save your radio!
4. Open the hoods and locate the batteries. Find the
positive (+) and negative (−) terminal locations on
each vehicle.
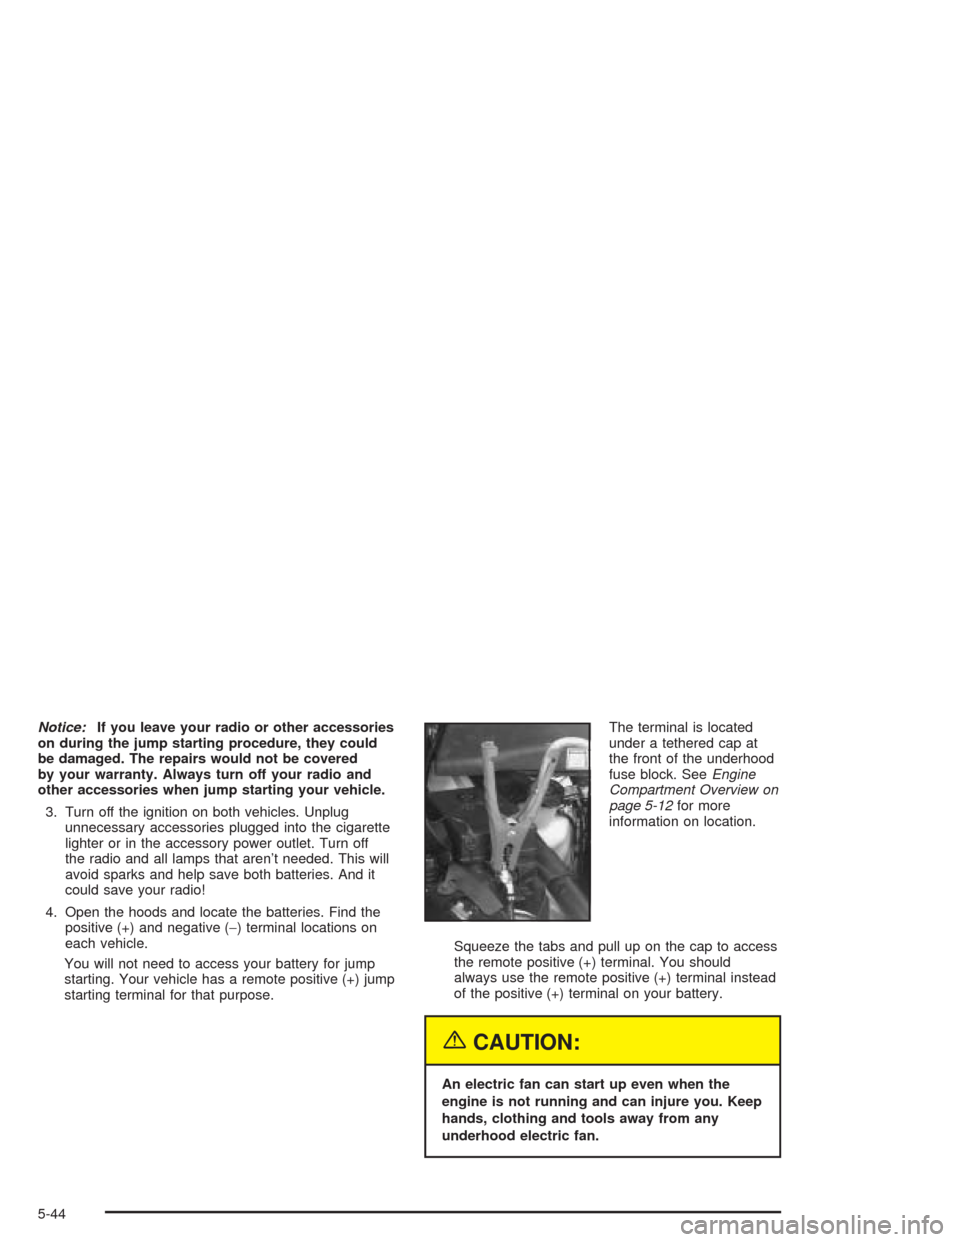
You will not need to access your battery for jump
starting. Your vehicle has a remote positive (+) jump
starting terminal for that purpose.The terminal is located
under a tethered cap at
the front of the underhood
fuse block. SeeEngine
Compartment Overview on
page 5-12for more
information on location.
Squeeze the tabs and pull up on the cap to access
the remote positive (+) terminal. You should
always use the remote positive (+) terminal instead
of the positive (+) terminal on your battery.
{CAUTION:
An electric fan can start up even when the
engine is not running and can injure you. Keep
hands, clothing and tools away from any
underhood electric fan.
5-44
Page 405 of 516
4. Unscrew the bulb socket from the lamp assembly
by pressing the tab while turning it
counterclockwise.
5. Replace the bulb by pulling the old one out and
gently pushing the new one into the lamp socket.
6. Line up the tabs on the socket with the gaps in the
socket holes and screw the bulb socket back into
the lamp housing until a click is heard (the tab
popping back out). Front Turn Signal/Parking Lamp
Front Sidemarker Lamp
5-53
Page 431 of 516
{CAUTION:
Changing a tire can be dangerous. The vehicle
can slip off the jack and roll over or fall on you
or other people. You and they could be badly
injured or even killed. Find a level place to
change your tire. To help prevent the vehicle
from moving:
1. Set the parking brake �rmly.
2. Put the shift lever in PARK (P).
3. Turn off the engine and do not restart
while the vehicle is raised.
4. Do not allow passengers to remain in the
vehicle.
To be even more certain the vehicle won’t
move, you should put blocks at the front and
rear of the tire farthest away from the one
being changed. That would be the tire, on the
other side, at the opposite end of the vehicle.The following steps will tell you how to use the jack and
change a tire.
5-79
Page 433 of 516
The tools you will be using include the jack (A),
extension (B) and folding wrench (C).
The compact spare tire is located under the rear of the
vehicle. See “Compact Spare Tire” later in this
section for more information about the compact spare.
To remove the compact spare tire, do the following:A. Hoist Shaft
B. Hoist Assembly
C. Retainer
D. Compact Spare TireE. Extension
(Chisel End)
F. Folding Wrench
1. Attach the folding wrench to the extension and
insert the chisel end on an angle through the
hole in the rear bumper and into the hoist shaft.
2. Turn the folding wrench counterclockwise to lower
the compact spare tire to the ground. Continue to
turn the wrench so the compact spare tire can
be pulled out from under the vehicle.
5-81
Page 434 of 516

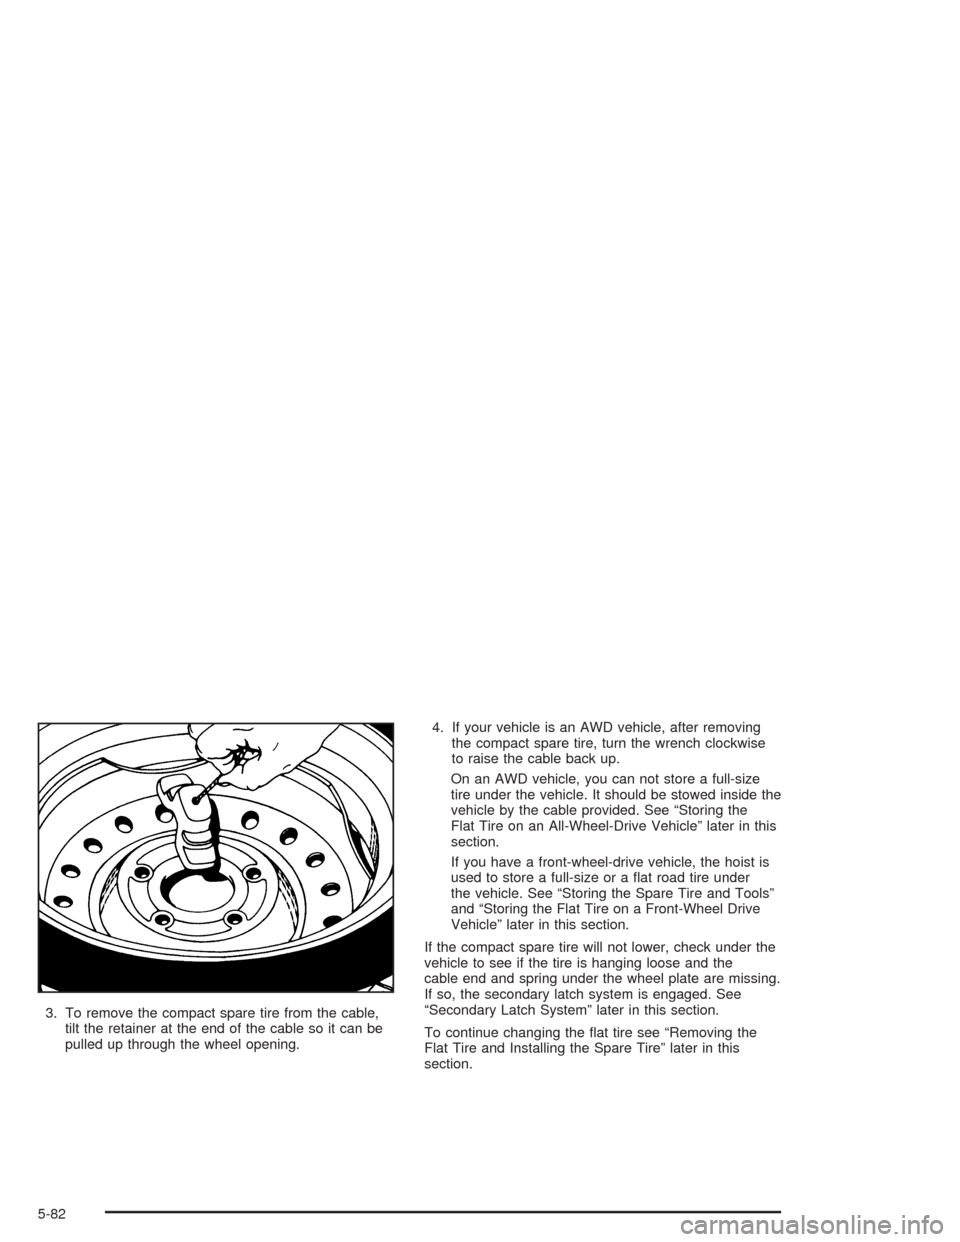
3. To remove the compact spare tire from the cable,
tilt the retainer at the end of the cable so it can be
pulled up through the wheel opening.4. If your vehicle is an AWD vehicle, after removing
the compact spare tire, turn the wrench clockwise
to raise the cable back up.
On an AWD vehicle, you can not store a full-size
tire under the vehicle. It should be stowed inside the
vehicle by the cable provided. See “Storing the
Flat Tire on an All-Wheel-Drive Vehicle” later in this
section.
If you have a front-wheel-drive vehicle, the hoist is
used to store a full-size or a �at road tire under
the vehicle. See “Storing the Spare Tire and Tools”
and “Storing the Flat Tire on a Front-Wheel Drive
Vehicle” later in this section.
If the compact spare tire will not lower, check under the
vehicle to see if the tire is hanging loose and the
cable end and spring under the wheel plate are missing.
If so, the secondary latch system is engaged. See
“Secondary Latch System” later in this section.
To continue changing the �at tire see “Removing the
Flat Tire and Installing the Spare Tire” later in this
section.
5-82